How to Use batterie au lithium avec jst PH: Examples, Pinouts, and Specs
Introduction
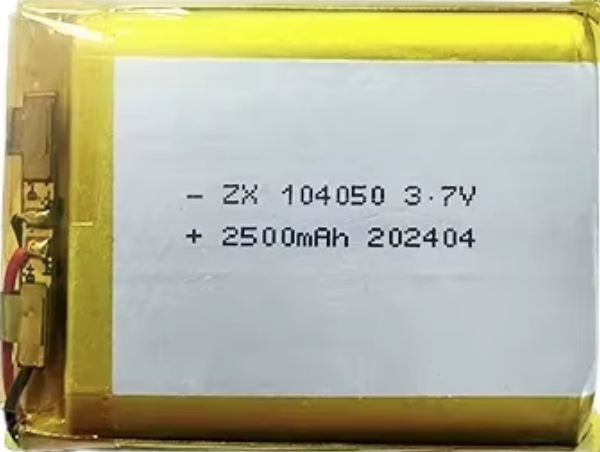
A lithium battery with a JST PH connector is a compact, lightweight, and high-energy-density power source commonly used in small electronic devices. The JST PH connector provides a secure and reliable connection, making it ideal for portable applications. These batteries are rechargeable and are widely used in robotics, IoT devices, handheld gadgets, and prototyping projects.
Explore Projects Built with batterie au lithium avec jst PH


Explore Projects Built with batterie au lithium avec jst PH
Common Applications:
- Powering microcontroller-based projects (e.g., Arduino, Raspberry Pi)
- Wearable electronics
- Remote-controlled devices (e.g., drones, cars)
- Portable sensors and IoT devices
- Backup power for small systems
Technical Specifications
Below are the general specifications for a typical lithium battery with a JST PH connector. Note that specific values may vary depending on the manufacturer and model.
| Parameter | Specification |
|---|---|
| Nominal Voltage | 3.7V |
| Capacity Range | 100mAh to 2000mAh (varies by model) |
| Charging Voltage | 4.2V (maximum) |
| Discharge Cutoff Voltage | 3.0V |
| Maximum Discharge Current | 1C to 3C (varies by model) |
| Connector Type | JST PH 2.0mm, 2-pin |
| Dimensions | Varies (e.g., 30mm x 20mm x 5mm) |
| Weight | Typically 5g to 50g |
| Chemistry | Lithium Polymer (LiPo) or Lithium-Ion |
Pin Configuration
The JST PH connector is a 2-pin connector with the following pinout:
| Pin | Name | Description |
|---|---|---|
| 1 | Positive (+) | Connects to the positive terminal of the battery |
| 2 | Negative (-) | Connects to the negative terminal of the battery |
Usage Instructions
How to Use the Lithium Battery in a Circuit
Connecting the Battery:
- Ensure the device or circuit is compatible with the battery's voltage and current ratings.
- Plug the JST PH connector into the corresponding socket on your device or circuit.
- Verify the polarity of the connector to avoid reverse polarity damage.
Charging the Battery:
- Use a dedicated lithium battery charger with a constant current/constant voltage (CC/CV) charging profile.
- Set the charging voltage to 4.2V and ensure the charging current does not exceed the battery's maximum rating (e.g., 1C).
Discharging the Battery:
- Avoid discharging the battery below its cutoff voltage (3.0V) to prevent damage.
- Use a battery protection circuit or a voltage monitoring system to ensure safe operation.
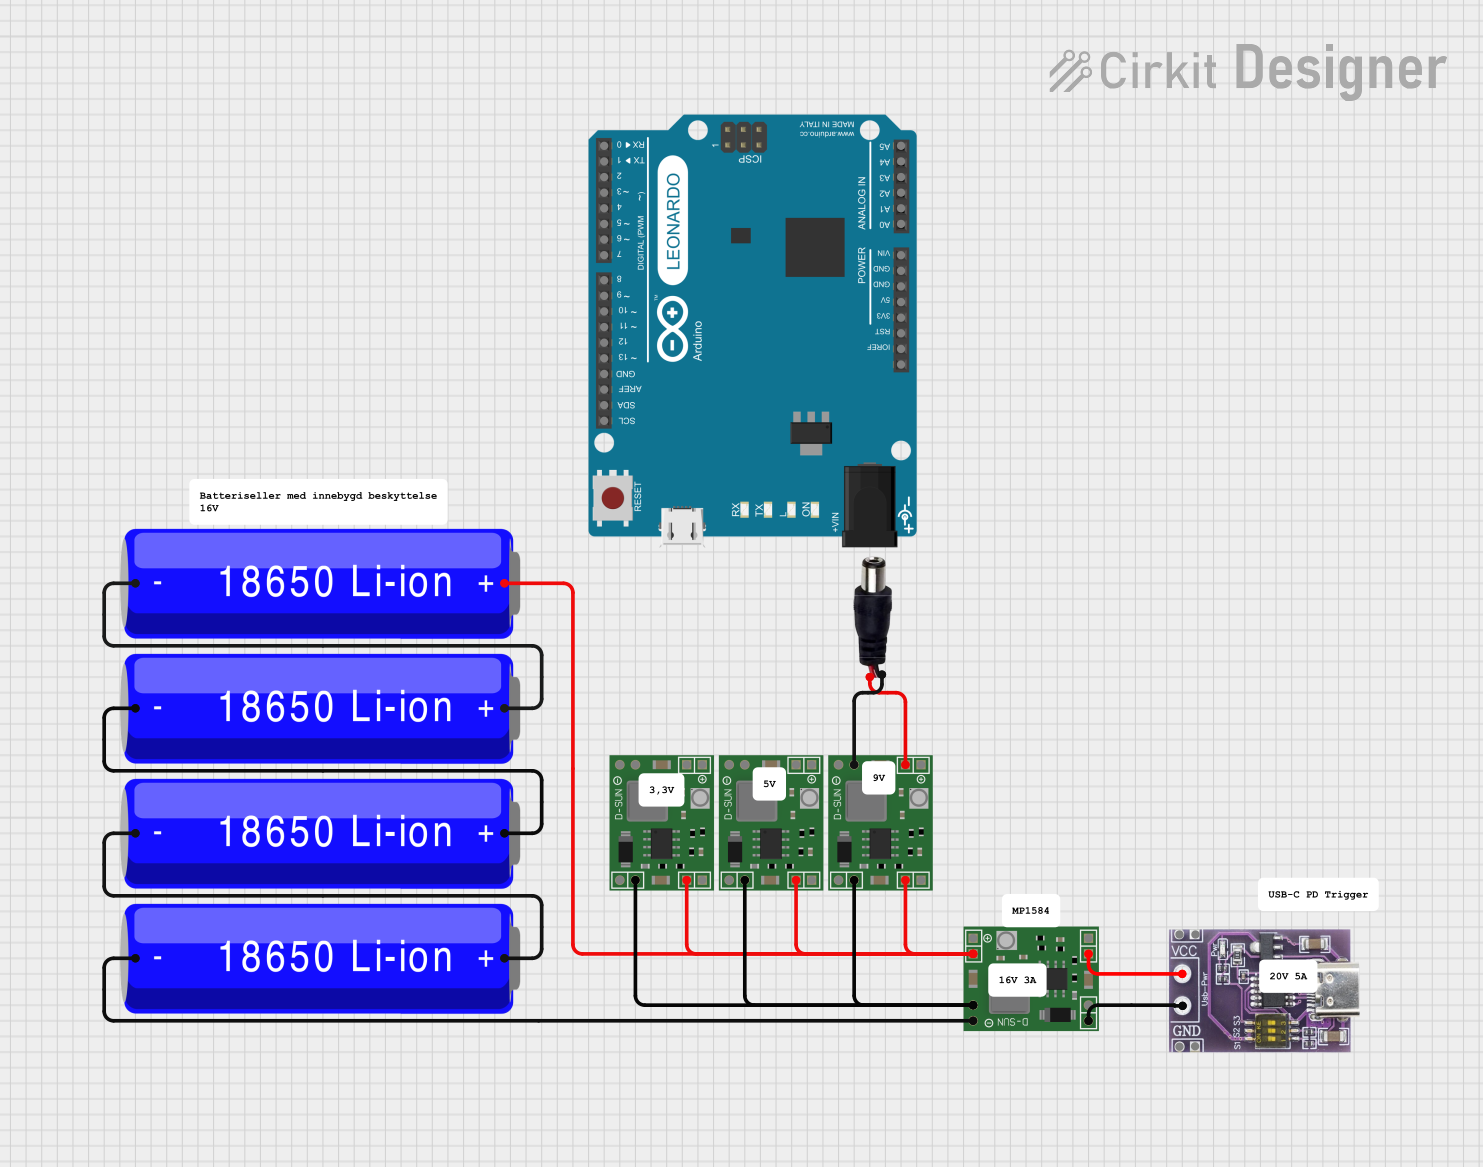
Connecting to an Arduino UNO:
- Use a voltage regulator (e.g., LM7805 or a buck converter) if the battery voltage exceeds 5V.
- Connect the positive terminal of the battery to the VIN pin of the Arduino UNO.
- Connect the negative terminal of the battery to the GND pin.
Example Code for Monitoring Battery Voltage with Arduino UNO
The following code demonstrates how to monitor the battery voltage using an analog input pin on the Arduino UNO.
// Define the analog pin connected to the battery voltage divider
const int batteryPin = A0;

// Define the voltage divider ratio (adjust based on your resistor values)
const float voltageDividerRatio = 2.0;

// Reference voltage of the Arduino (5V for most boards)
const float referenceVoltage = 5.0;

void setup() {
  Serial.begin(9600); // Initialize serial communication
}

void loop() {
  // Read the analog value from the battery pin
  int analogValue = analogRead(batteryPin);

  // Convert the analog value to a voltage
  float batteryVoltage = (analogValue / 1023.0) * referenceVoltage * voltageDividerRatio;

  // Print the battery voltage to the Serial Monitor
  Serial.print("Battery Voltage: ");
  Serial.print(batteryVoltage);
  Serial.println(" V");

  delay(1000); // Wait for 1 second before the next reading
}
Note: Use a voltage divider circuit to scale down the battery voltage to a safe range (0-5V) for the Arduino's analog input. For example, use two resistors in series (e.g., 10kΩ and 10kΩ) to divide the voltage by half.
Important Considerations and Best Practices
- Polarity: Always check the polarity of the JST PH connector before connecting the battery to avoid damage.
- Overcharging/Overdischarging: Use a battery management system (BMS) or protection circuit to prevent overcharging or overdischarging.
- Storage: Store the battery in a cool, dry place at around 50% charge for long-term storage.
- Handling: Avoid puncturing, short-circuiting, or exposing the battery to high temperatures.
Troubleshooting and FAQs
Common Issues and Solutions
| Issue | Possible Cause | Solution |
|---|---|---|
| Battery does not charge | Faulty charger or incorrect charging voltage | Verify charger and ensure 4.2V is applied |
| Device does not power on | Battery is discharged or connector is loose | Recharge the battery or check connections |
| Battery heats up during use | Overcurrent or short circuit | Check the circuit for shorts or reduce load |
| Voltage drops quickly | Battery is old or damaged | Replace the battery with a new one |
FAQs
Can I use this battery to power a 5V device?
- Yes, but you will need a boost converter to step up the voltage from 3.7V to 5V.
How do I know when the battery is fully charged?
- A lithium battery is fully charged when the voltage reaches 4.2V and the charging current drops to a minimal level.
Can I connect multiple batteries in series or parallel?
- Yes, but ensure you use a proper battery management system (BMS) to balance the cells and protect them from overcharging or overdischarging.
Is it safe to leave the battery connected to the charger?
- No, it is not recommended to leave the battery connected to the charger for extended periods after it is fully charged.
By following this documentation, you can safely and effectively use a lithium battery with a JST PH connector in your projects.