
How to Use 7-Inch Capacitive Touch Screen 1024x600 IPS LCD: Examples, Pinouts, and Specs
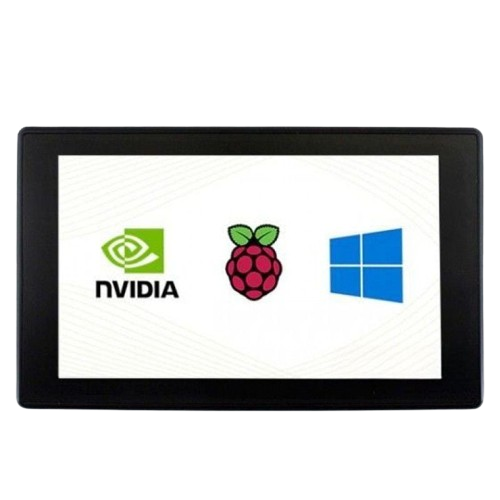
 Design with 7-Inch Capacitive Touch Screen 1024x600 IPS LCD in Cirkit Designer
Introduction
The 7-Inch Capacitive Touch Screen 1024x600 IPS LCD is a high-quality display module designed for applications requiring clear visuals and responsive touch functionality. With a resolution of 1024x600 pixels and IPS (In-Plane Switching) technology, this display offers wide viewing angles and vibrant color reproduction. The capacitive touch interface ensures smooth and precise touch input, making it ideal for embedded systems, portable devices, industrial control panels, and multimedia applications.
Explore Projects Built with 7-Inch Capacitive Touch Screen 1024x600 IPS LCD
 Open Project in Cirkit Designer
 Open Project in Cirkit Designer
 Open Project in Cirkit Designer
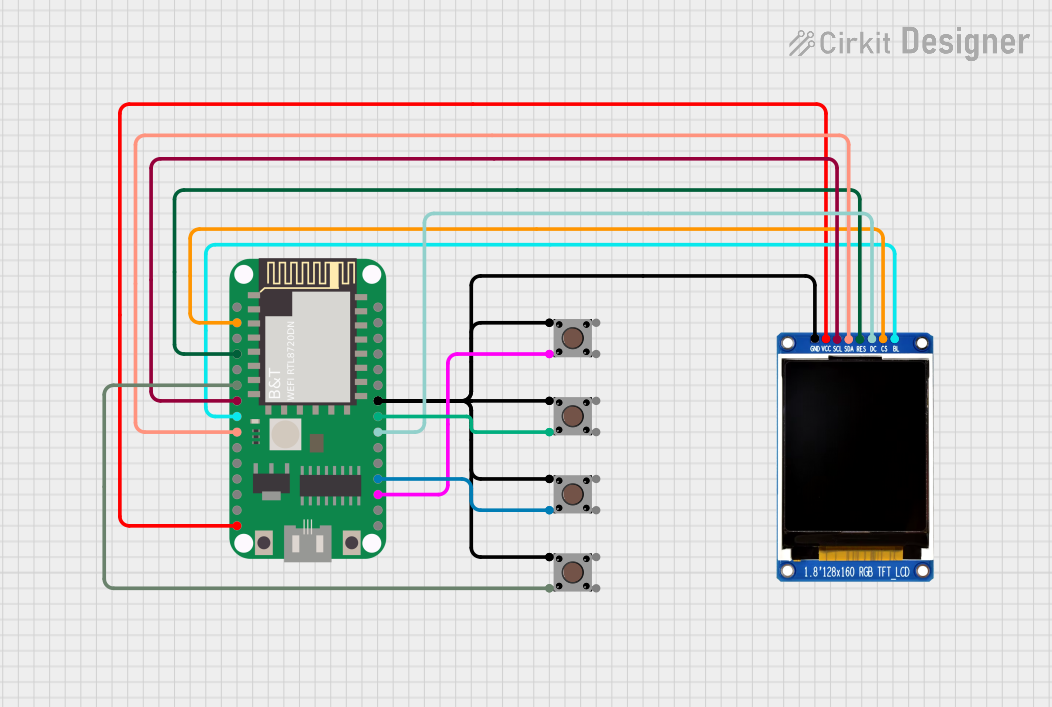
 Open Project in Cirkit Designer
Explore Projects Built with 7-Inch Capacitive Touch Screen 1024x600 IPS LCD

 Open Project in Cirkit Designer
 Open Project in Cirkit Designer
 Open Project in Cirkit Designer
 Open Project in Cirkit Designer
Common Applications
- Embedded systems and single-board computers (e.g., Raspberry Pi, Arduino)
- Portable devices and handheld terminals
- Industrial control panels and automation systems
- Multimedia displays and kiosks
- Smart home interfaces and IoT devices
Technical Specifications
Key Technical Details
| Parameter | Specification |
|---|---|
| Display Type | IPS LCD |
| Screen Size | 7 inches |
| Resolution | 1024x600 pixels |
| Touch Technology | Capacitive |
| Viewing Angle | 178° (horizontal and vertical) |
| Interface | HDMI (video), USB (touch input) |
| Power Supply Voltage | 5V DC (via USB or external source) |
| Backlight | LED |
| Brightness | 250 cd/m² |
| Contrast Ratio | 800:1 |
| Operating Temperature | -20°C to 70°C |
| Dimensions | 164.9mm x 100mm x 7.2mm |
Pin Configuration and Descriptions
HDMI Connector (Video Input)
| Pin Number | Signal Name | Description |
|---|---|---|
| 1 | TMDS Data2+ | HDMI video signal |
| 2 | TMDS Data2- | HDMI video signal |
| 3 | TMDS Data1+ | HDMI video signal |
| ... | ... | ... (standard HDMI pinout) |
USB Connector (Touch Input and Power)
| Pin Number | Signal Name | Description |
|---|---|---|
| 1 | VBUS | 5V power supply |
| 2 | D- | USB data negative |
| 3 | D+ | USB data positive |
| 4 | GND | Ground |
Usage Instructions
Connecting the Display
- Power Supply: Connect the USB cable to a 5V power source (e.g., USB port or power adapter).
- Video Input: Use an HDMI cable to connect the display to your video source (e.g., Raspberry Pi, PC, or other HDMI-enabled devices).
- Touch Input: Connect the USB cable to the host device to enable touch functionality.
Using with an Arduino UNO
The 7-inch capacitive touch screen is not directly compatible with the Arduino UNO for video output, as the UNO lacks HDMI output. However, the touch functionality can be interfaced via USB. For video output, consider using a Raspberry Pi or other HDMI-enabled devices.
Important Considerations
- Ensure the power supply provides sufficient current (at least 1A) to avoid flickering or instability.
- Use high-quality HDMI and USB cables to ensure reliable performance.
- Avoid exposing the display to extreme temperatures or moisture.
Example Code for Touch Input with Arduino UNO
The touch functionality can be used with Arduino if the USB touch interface is connected via a USB host shield. Below is an example of how to read touch data using an Arduino UNO and a USB host shield.
#include <Usb.h>
#include <usbhid.h>
#include <hiduniversal.h>

// Initialize USB host object
USB Usb;
// Initialize HID object for touch input
HIDUniversal Hid(&Usb);

void setup() {
  Serial.begin(9600);
  if (Usb.Init() == -1) {
    Serial.println("USB initialization failed. Check connections.");
    while (1); // Halt execution if USB fails
  }
  Serial.println("USB initialized successfully.");
}

void loop() {
  Usb.Task(); // Process USB events
  if (Hid.isReady()) {
    // Example: Read touch data (implementation depends on touch protocol)
    Serial.println("Touch input detected.");
  }
}
Notes:
- The above code assumes the use of a USB host shield to interface with the touch screen.
- Additional libraries or modifications may be required depending on the touch screen's USB protocol.
Troubleshooting and FAQs
Common Issues and Solutions
No Display Output
- Ensure the HDMI cable is securely connected to both the display and the video source.
- Verify that the video source is outputting a resolution of 1024x600 or compatible.
Touch Not Working
- Check that the USB cable is properly connected to the host device.
- Ensure the host device has the necessary drivers for USB touch input.
Flickering or Unstable Display
- Verify that the power supply provides at least 1A of current.
- Use a high-quality USB power adapter and cable.
No Response from USB Host Shield
- Ensure the USB host shield is properly connected to the Arduino UNO.
- Verify that the USB host library is correctly installed in the Arduino IDE.
FAQs
Q: Can this display be used with a Raspberry Pi?
A: Yes, the display is fully compatible with Raspberry Pi. Simply connect the HDMI and USB cables to the Raspberry Pi for video and touch functionality.
Q: Does the display support multi-touch?
A: Yes, the capacitive touch screen supports multi-touch input, but the exact number of touch points depends on the host device and driver support.
Q: Can I power the display using a power bank?
A: Yes, as long as the power bank provides a stable 5V output with at least 1A of current.
Q: Is the display sunlight-readable?
A: The display has a brightness of 250 cd/m², which is suitable for indoor use but may not be easily readable in direct sunlight.