How to Use 20L Ultrasonic oxygen sensor: Examples, Pinouts, and Specs
Introduction
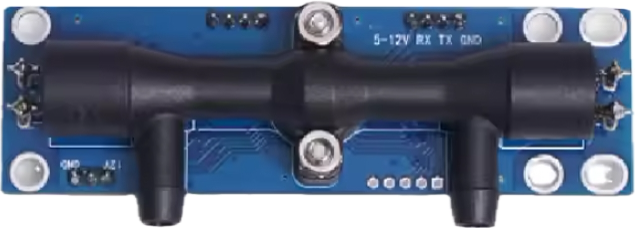
The 20L Ultrasonic Oxygen Sensor (Model: OCS-3FRL1.0) is a sophisticated device manufactured by Winpower Technology Co. Ltd. This sensor utilizes ultrasonic waves to accurately measure the concentration of oxygen in various gas mixtures. It is particularly valuable in applications such as environmental monitoring, industrial processes, and safety systems where precise oxygen levels are critical.
Explore Projects Built with 20L Ultrasonic oxygen sensor
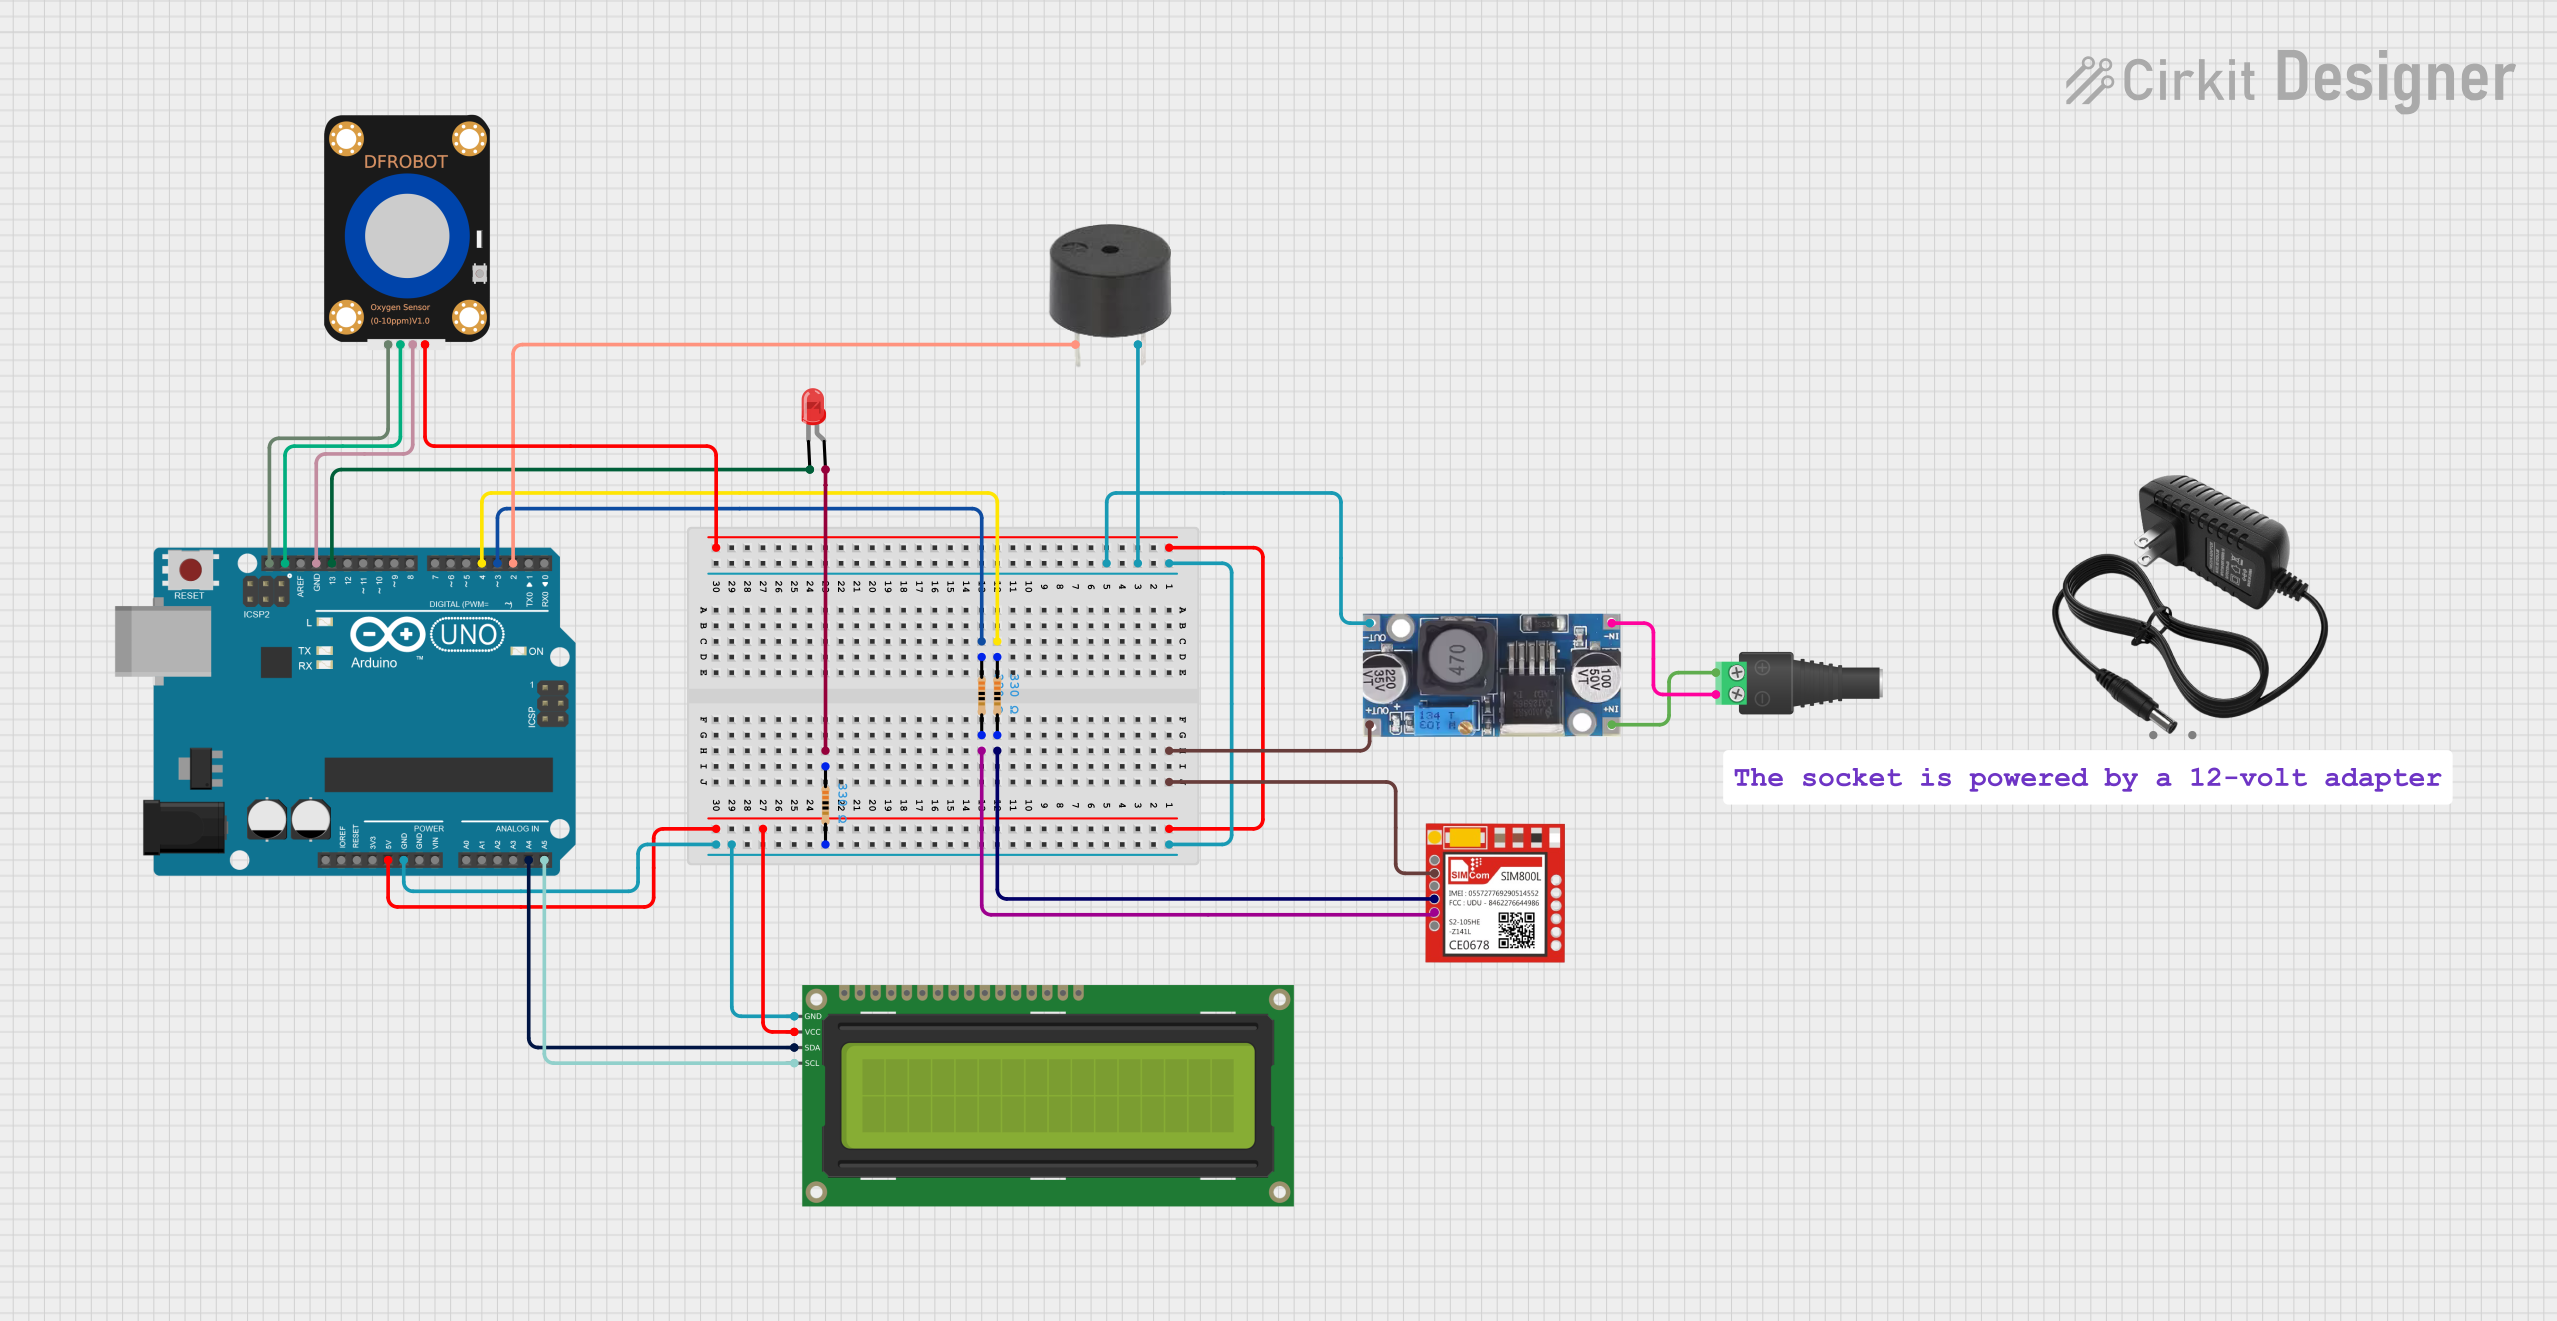
Explore Projects Built with 20L Ultrasonic oxygen sensor
Common Applications and Use Cases
- Environmental Monitoring: Used in air quality assessment and pollution control.
- Industrial Applications: Monitoring oxygen levels in manufacturing processes.
- Safety Systems: Ensuring safe oxygen levels in confined spaces or hazardous environments.
- Research Laboratories: Measuring oxygen concentration in experimental setups.
Technical Specifications
Key Technical Details
| Specification | Value |
|---|---|
| Operating Voltage | 5V DC |
| Current Consumption | 20 mA (max) |
| Measurement Range | 0% to 100% O2 |
| Output Signal | Analog (0-5V) |
| Response Time | < 1 second |
| Operating Temperature | -20°C to 50°C |
| Dimensions | 20mm x 20mm x 10mm |
Pin Configuration and Descriptions
| Pin Number | Pin Name | Description |
|---|---|---|
| 1 | VCC | Power supply (5V DC) |
| 2 | GND | Ground connection |
| 3 | OUT | Analog output signal (0-5V) |
| 4 | TRIG | Trigger pin for initiating measurement |
Usage Instructions
How to Use the Component in a Circuit
Wiring the Sensor:
- Connect the VCC pin to a 5V power supply.
- Connect the GND pin to the ground of your circuit.
- Connect the OUT pin to an analog input pin on your microcontroller (e.g., Arduino).
- Optionally, connect the TRIG pin to a digital output pin if you want to trigger measurements.
Basic Circuit Example:
+5V ---- VCC (Pin 1)
GND ---- GND (Pin 2)
A0  ---- OUT (Pin 3)
D2  ---- TRIG (Pin 4)
Important Considerations and Best Practices
- Ensure that the sensor is calibrated for accurate readings.
- Avoid exposing the sensor to extreme temperatures or humidity.
- Use shielded cables for long-distance connections to minimize noise.
- Regularly check connections to prevent signal loss.
Troubleshooting and FAQs
Common Issues Users Might Face
No Output Signal:
- Solution: Check power connections and ensure the sensor is powered correctly.
Inconsistent Readings:
- Solution: Ensure the sensor is calibrated and not exposed to rapid environmental changes.
Output Signal Fluctuations:
- Solution: Use a low-pass filter to stabilize the output signal.
Tips for Troubleshooting
- Always refer to the datasheet for specific electrical characteristics.
- Test the sensor in a controlled environment to verify its functionality.
- If using with an Arduino, ensure the analog pin is configured correctly in the code.
Example Arduino Code
Here is a simple Arduino sketch to read the output from the 20L Ultrasonic Oxygen Sensor:
const int sensorPin = A0; // Analog pin connected to OUT
const int triggerPin = 2; // Digital pin connected to TRIG

void setup() {
  Serial.begin(9600); // Initialize serial communication
  pinMode(triggerPin, OUTPUT); // Set trigger pin as output
}

void loop() {
  digitalWrite(triggerPin, HIGH); // Trigger the sensor
  delay(10); // Wait for 10 ms
  digitalWrite(triggerPin, LOW); // Stop triggering

  int sensorValue = analogRead(sensorPin); // Read the output
  float voltage = sensorValue * (5.0 / 1023.0); // Convert to voltage
  Serial.print("Oxygen Concentration Voltage: ");
  Serial.println(voltage); // Print the voltage value

  delay(1000); // Wait for 1 second before next reading
}
This code initializes the sensor and reads the output voltage, which corresponds to the oxygen concentration. Adjust the delay as needed for your application.
By following this documentation, users can effectively utilize the 20L Ultrasonic Oxygen Sensor in various applications, ensuring accurate and reliable measurements of oxygen concentration.