Cirkit Designer Logo
Cirkit Designer
Your all-in-one circuit design IDE
Home / 
Component Documentation

How to Use TPA3110: Examples, Pinouts, and Specs

Image of TPA3110
Cirkit Designer LogoDesign with TPA3110 in Cirkit Designer

Introduction

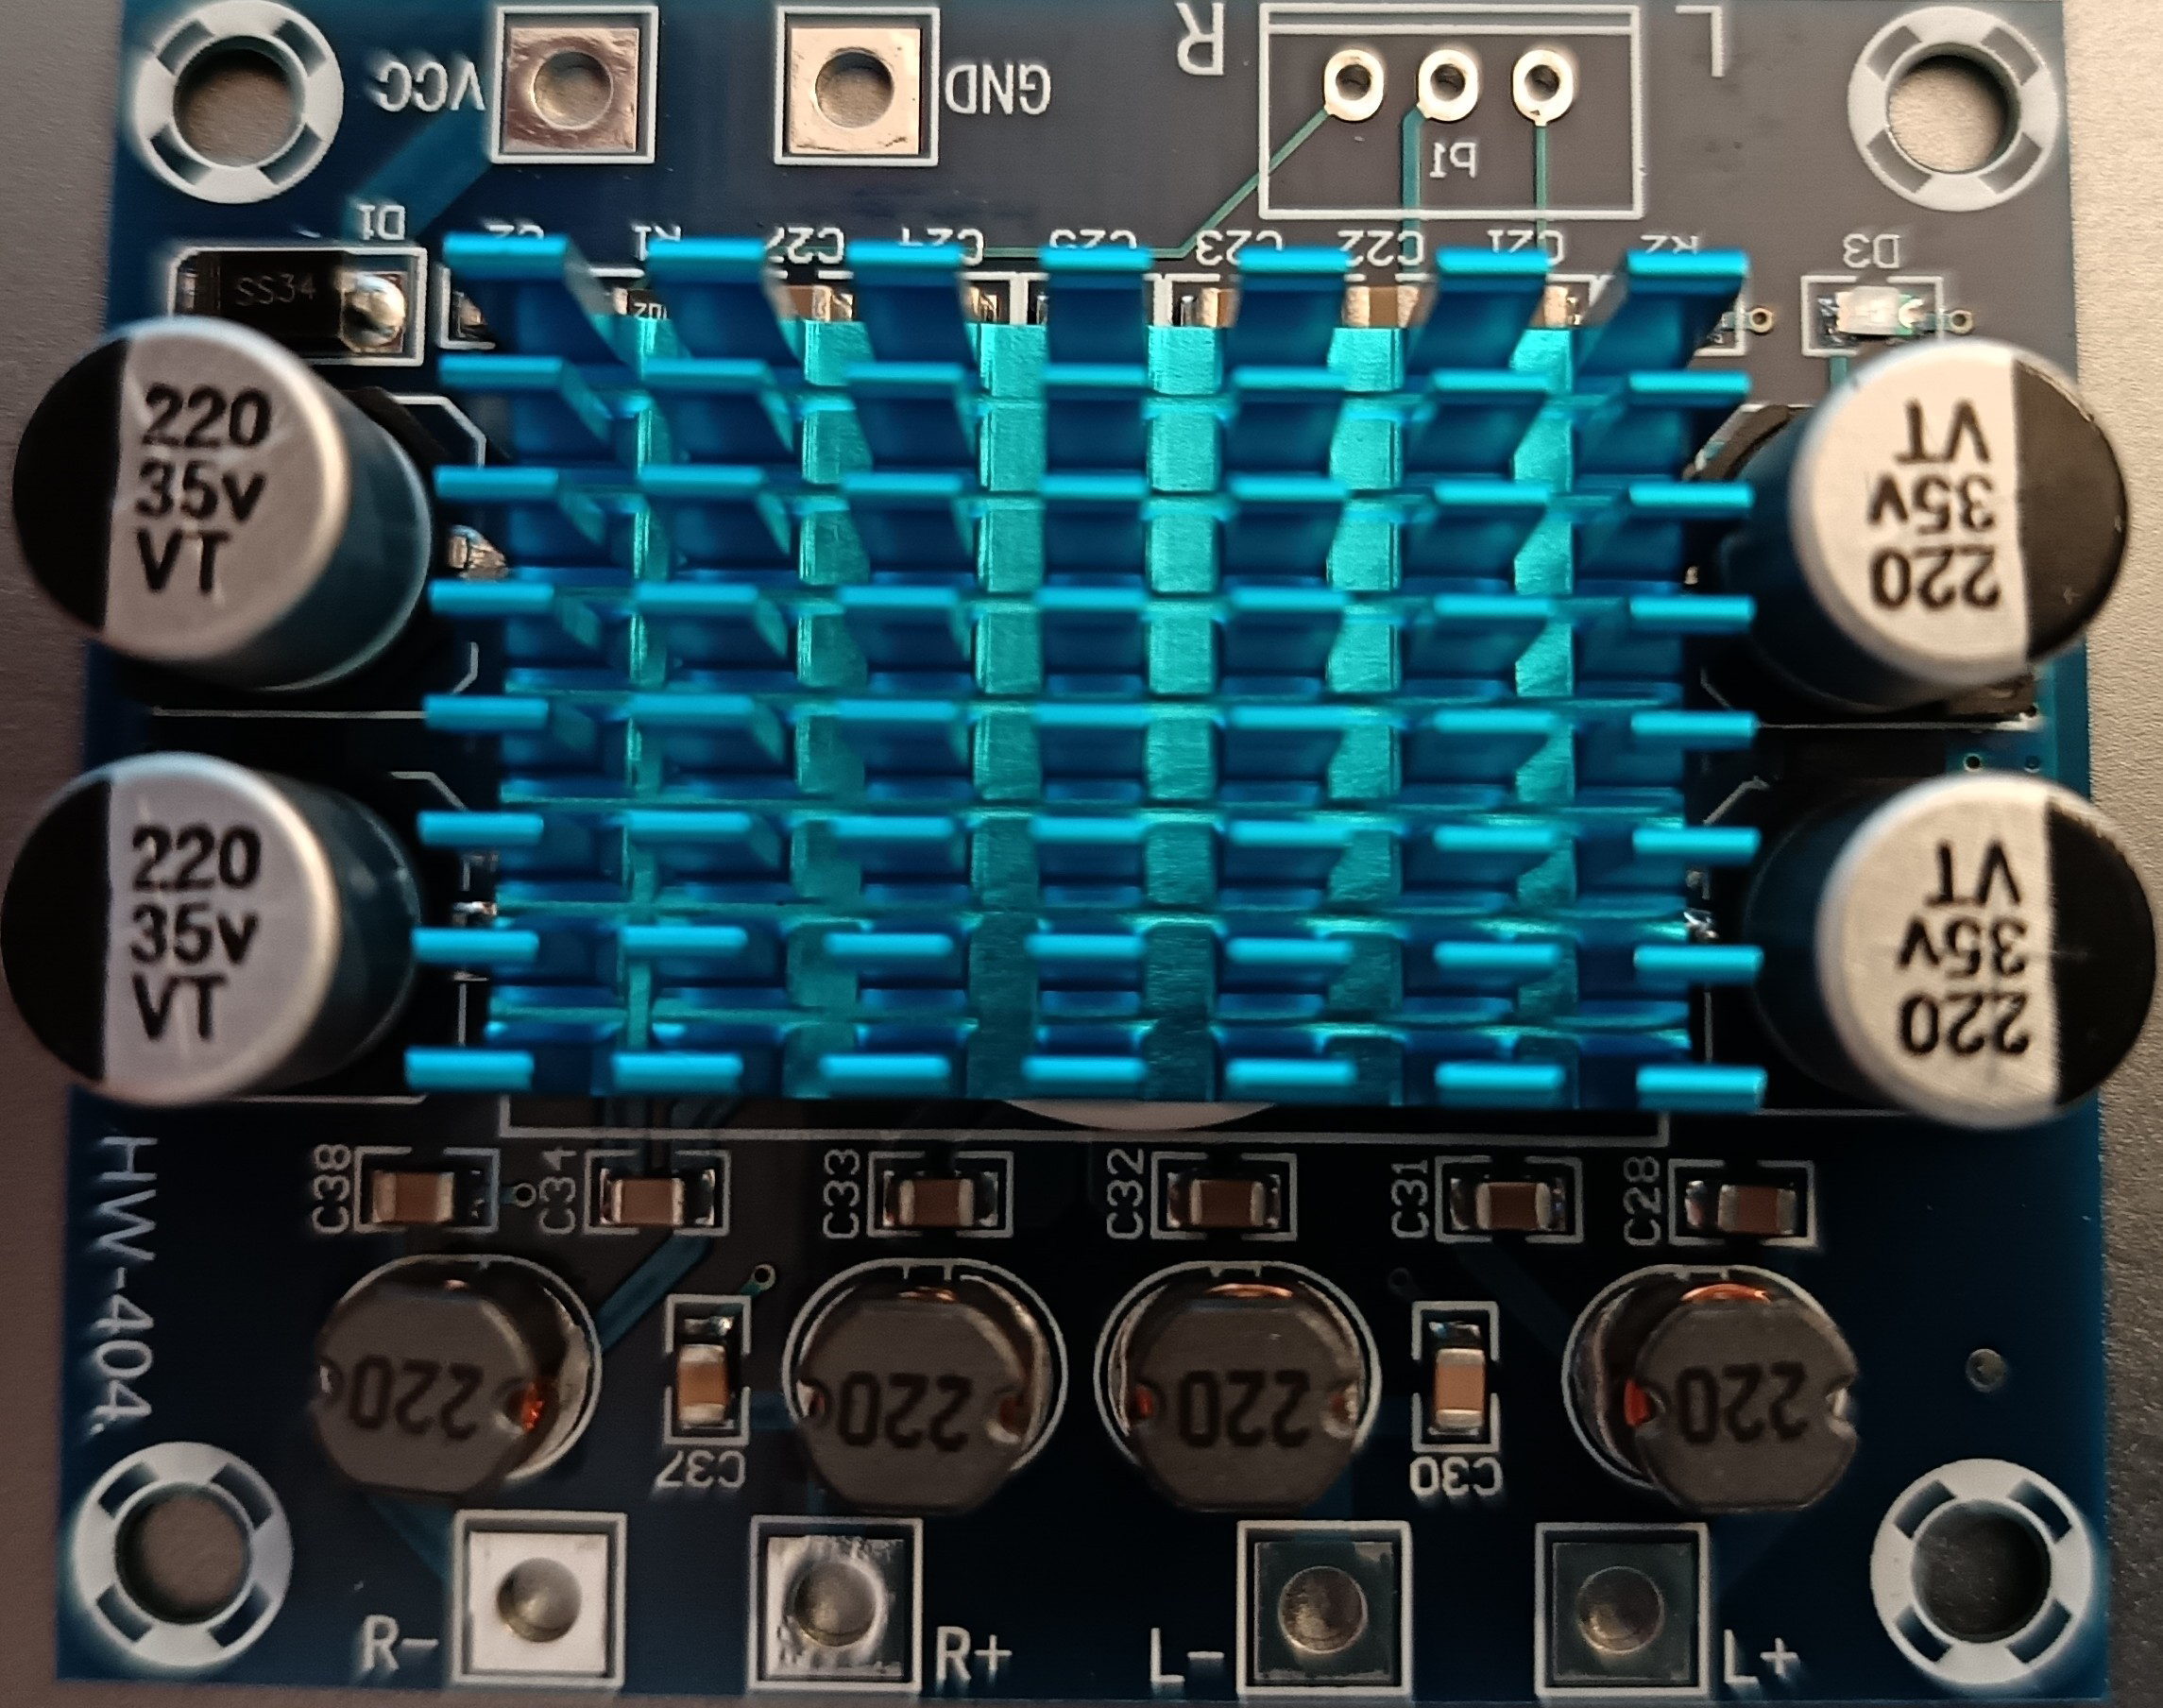
The TPA3110 is a Class-D audio amplifier IC designed by Esida, known for its high efficiency and low heat generation. This component is ideal for driving speakers in various audio applications, including portable speakers, sound systems, and other audio amplification needs. The TPA3110 can operate with a wide range of supply voltages, making it versatile for different power sources.

Explore Projects Built with TPA3110

Use Cirkit Designer to design, explore, and prototype these projects online. Some projects support real-time simulation. Click "Open Project" to start designing instantly!
Bluetooth-Enabled Audio Amplifier System with Subwoofer and Cooling Fan
Image of 2.1 120w amplifier: A project utilizing TPA3110 in a practical application
This circuit is a Bluetooth-enabled audio amplifier system with a subwoofer pre-amp and dual 8-ohm speakers. It includes a 12V power supply, a 7805 voltage regulator, and a cooling fan, with a toggle switch to control power. The Bluetooth module provides audio input to the amplifiers, which drive the speakers and subwoofer.
Cirkit Designer LogoOpen Project in Cirkit Designer
Bluetooth Audio Receiver with Battery-Powered Amplifier and Loudspeakers
Image of speaker bluetooh portable: A project utilizing TPA3110 in a practical application
This circuit is a Bluetooth-enabled audio system powered by a rechargeable 18650 Li-ion battery. It includes a TP4056 module for battery charging and protection, a PAM8403 amplifier with volume control to drive two loudspeakers, and a Bluetooth audio receiver to wirelessly receive audio signals.
Cirkit Designer LogoOpen Project in Cirkit Designer
Battery-Powered MP3 Player with Amplified Dual Speakers
Image of bluethooth speaker( 2 speaker): A project utilizing TPA3110 in a practical application
This circuit is a portable audio playback system powered by two 18650 Li-ion batteries, which are charged and protected by a TP4056 module. The MP3 module provides audio signals to a 5V amplifier board, which then drives two speakers. A push switch is used to control the power to the MP3 module and amplifier.
Cirkit Designer LogoOpen Project in Cirkit Designer
ESP32-Powered Wi-Fi Controlled Robotic Car with OLED Display and Ultrasonic Sensor
Image of playbot: A project utilizing TPA3110 in a practical application
This circuit is a battery-powered system featuring an ESP32 microcontroller that controls an OLED display, a motor driver for two hobby motors, an ultrasonic sensor for distance measurement, and a DFPlayer Mini for audio output through a loudspeaker. The TP4056 module manages battery charging, and a step-up boost converter provides a stable 5V supply to the components.
Cirkit Designer LogoOpen Project in Cirkit Designer

Explore Projects Built with TPA3110

Use Cirkit Designer to design, explore, and prototype these projects online. Some projects support real-time simulation. Click "Open Project" to start designing instantly!
Image of 2.1 120w amplifier: A project utilizing TPA3110 in a practical application
Bluetooth-Enabled Audio Amplifier System with Subwoofer and Cooling Fan
This circuit is a Bluetooth-enabled audio amplifier system with a subwoofer pre-amp and dual 8-ohm speakers. It includes a 12V power supply, a 7805 voltage regulator, and a cooling fan, with a toggle switch to control power. The Bluetooth module provides audio input to the amplifiers, which drive the speakers and subwoofer.
Cirkit Designer LogoOpen Project in Cirkit Designer
Image of speaker bluetooh portable: A project utilizing TPA3110 in a practical application
Bluetooth Audio Receiver with Battery-Powered Amplifier and Loudspeakers
This circuit is a Bluetooth-enabled audio system powered by a rechargeable 18650 Li-ion battery. It includes a TP4056 module for battery charging and protection, a PAM8403 amplifier with volume control to drive two loudspeakers, and a Bluetooth audio receiver to wirelessly receive audio signals.
Cirkit Designer LogoOpen Project in Cirkit Designer
Image of bluethooth speaker( 2 speaker): A project utilizing TPA3110 in a practical application
Battery-Powered MP3 Player with Amplified Dual Speakers
This circuit is a portable audio playback system powered by two 18650 Li-ion batteries, which are charged and protected by a TP4056 module. The MP3 module provides audio signals to a 5V amplifier board, which then drives two speakers. A push switch is used to control the power to the MP3 module and amplifier.
Cirkit Designer LogoOpen Project in Cirkit Designer
Image of playbot: A project utilizing TPA3110 in a practical application
ESP32-Powered Wi-Fi Controlled Robotic Car with OLED Display and Ultrasonic Sensor
This circuit is a battery-powered system featuring an ESP32 microcontroller that controls an OLED display, a motor driver for two hobby motors, an ultrasonic sensor for distance measurement, and a DFPlayer Mini for audio output through a loudspeaker. The TP4056 module manages battery charging, and a step-up boost converter provides a stable 5V supply to the components.
Cirkit Designer LogoOpen Project in Cirkit Designer

Technical Specifications

Key Technical Details

Parameter Value
Manufacturer Esida
Part ID Stereo audio amplifier board DC 8-24V 3A
Supply Voltage 8V to 24V DC
Output Power 2 x 15W (at 8Ω, 24V)
Efficiency Up to 90%
THD+N 0.1% (at 1W, 1kHz)
Signal-to-Noise Ratio 95 dB
Operating Temperature -40°C to 85°C

Pin Configuration and Descriptions

Pin Number Pin Name Description
1 INL Left channel audio input
2 INR Right channel audio input
3 GND Ground
4 VCC Power supply (8V to 24V DC)
5 OUTL+ Positive output for left channel
6 OUTL- Negative output for left channel
7 OUTR+ Positive output for right channel
8 OUTR- Negative output for right channel

Usage Instructions

How to Use the Component in a Circuit

  1. Power Supply: Connect the VCC pin to a DC power supply ranging from 8V to 24V. Ensure the power supply can provide sufficient current (up to 3A) for optimal performance.
  2. Ground Connection: Connect the GND pin to the ground of the power supply.
  3. Audio Input: Connect the audio source to the INL and INR pins for left and right channels, respectively.
  4. Speaker Connection: Connect the speakers to the OUTL+/- and OUTR+/- pins. Ensure the speakers' impedance matches the amplifier's specifications (typically 8Ω).

Important Considerations and Best Practices

  • Heat Dissipation: Although the TPA3110 is highly efficient, it is recommended to use a heat sink or ensure proper ventilation to avoid overheating.
  • Power Supply: Use a stable and clean power supply to avoid noise and distortion in the audio output.
  • Speaker Impedance: Ensure the connected speakers have an impedance of 8Ω to match the amplifier's output specifications.
  • PCB Layout: When designing a PCB, keep the power and ground traces thick and short to minimize resistance and inductance.

Example Circuit with Arduino UNO

/*
 * Example code to control the TPA3110 amplifier with an Arduino UNO.
 * This example demonstrates how to use the amplifier to play audio
 * from an analog input.
 */

const int audioInputPin = A0; // Analog input pin for audio signal

void setup() {
  // Initialize serial communication for debugging
  Serial.begin(9600);
}

void loop() {
  // Read the analog input value
  int audioSignal = analogRead(audioInputPin);

  // Map the analog input value to a range suitable for the amplifier
  int mappedSignal = map(audioSignal, 0, 1023, 0, 255);

  // Output the mapped signal to the amplifier
  analogWrite(9, mappedSignal); // Assuming pin 9 is connected to the amplifier

  // Print the signal value for debugging
  Serial.println(mappedSignal);

  // Small delay to stabilize the output
  delay(10);
}

Troubleshooting and FAQs

Common Issues Users Might Face

  1. No Sound Output:

    • Solution: Check the power supply connections and ensure the voltage is within the specified range. Verify the audio input connections and ensure the audio source is functioning correctly.
  2. Distorted Sound:

    • Solution: Ensure the power supply is stable and free from noise. Check the speaker connections and ensure they match the amplifier's impedance specifications. Reduce the input signal level if it is too high.
  3. Overheating:

    • Solution: Ensure proper ventilation and consider using a heat sink. Check the power supply voltage and current to ensure they are within the specified limits.

FAQs

  • Q: Can I use a 4Ω speaker with the TPA3110?

    • A: It is recommended to use 8Ω speakers for optimal performance. Using 4Ω speakers may cause overheating and reduce the amplifier's efficiency.
  • Q: What is the maximum input voltage for the TPA3110?

    • A: The maximum input voltage for the TPA3110 is 24V DC.
  • Q: How can I reduce noise in the audio output?

    • A: Use a clean and stable power supply, keep audio input cables short, and ensure proper grounding in your circuit design.

This documentation provides a comprehensive guide to using the TPA3110 Stereo Audio Amplifier Board. By following the instructions and best practices, users can achieve optimal performance and reliability in their audio applications.