How to Use Pressure Transducer: Examples, Pinouts, and Specs
Introduction
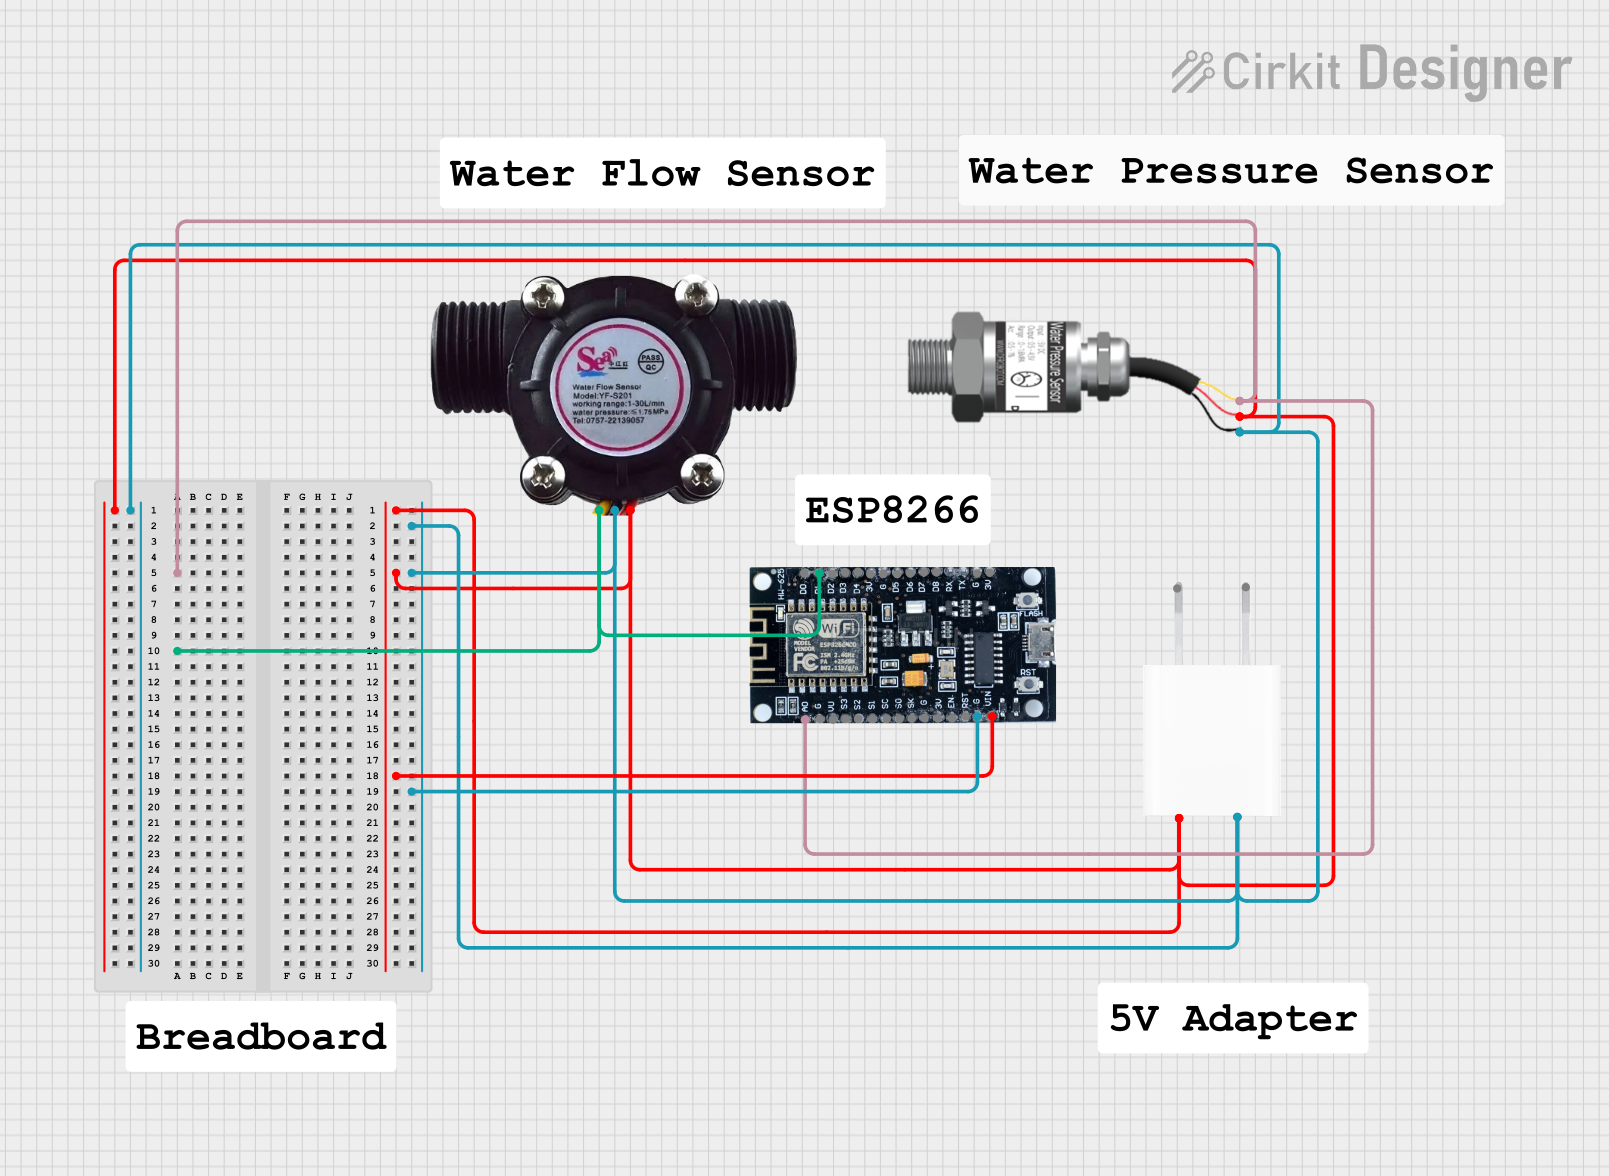
The Honeywell SSCDANT150PGAA5 is a state-of-the-art pressure transducer designed to convert pressure measurements into an electrical output signal. This component is ideal for a wide range of applications, including industrial automation, HVAC systems, automotive diagnostics, and medical equipment. Its robust design and high accuracy make it suitable for environments where precise pressure monitoring is critical.
Explore Projects Built with Pressure Transducer
Explore Projects Built with Pressure Transducer
Technical Specifications
Key Technical Details
- Pressure Range: 0 to 150 psi (absolute pressure)
- Output Signal: Analog voltage
- Supply Voltage: 5 VDC
- Accuracy: ±2% Full Scale (typical)
- Operating Temperature Range: -40°C to 125°C
- Response Time: < 1ms
Pin Configuration and Descriptions
| Pin Number | Description | Notes |
|---|---|---|
| 1 | Supply Voltage (Vcc) | 5 VDC input |
| 2 | Ground (GND) | Reference ground |
| 3 | Output Voltage (Vout) | Analog output (0.5V to 4.5V) |
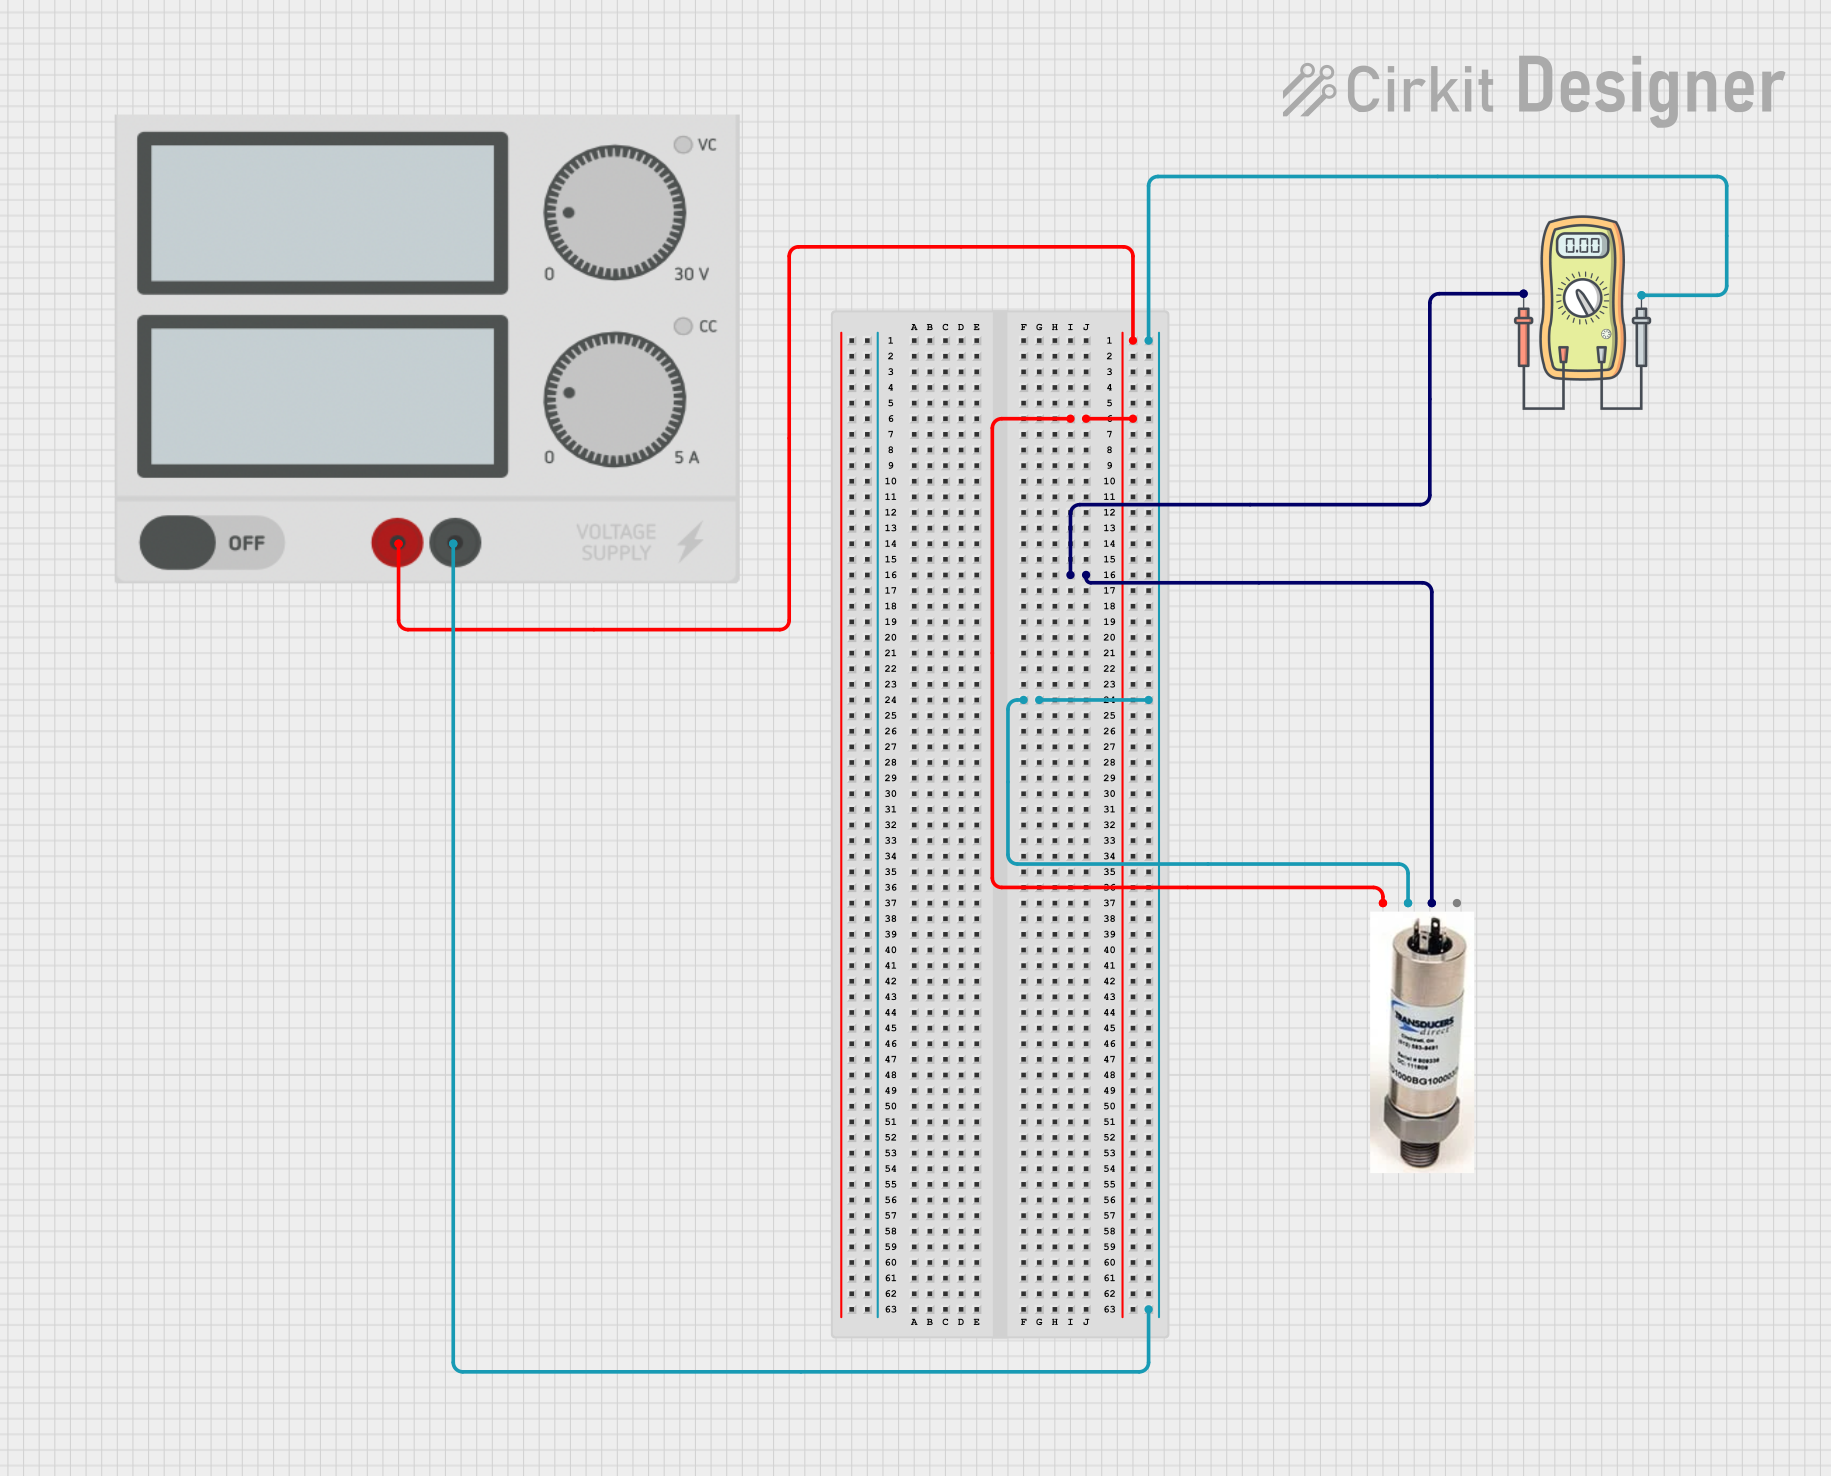
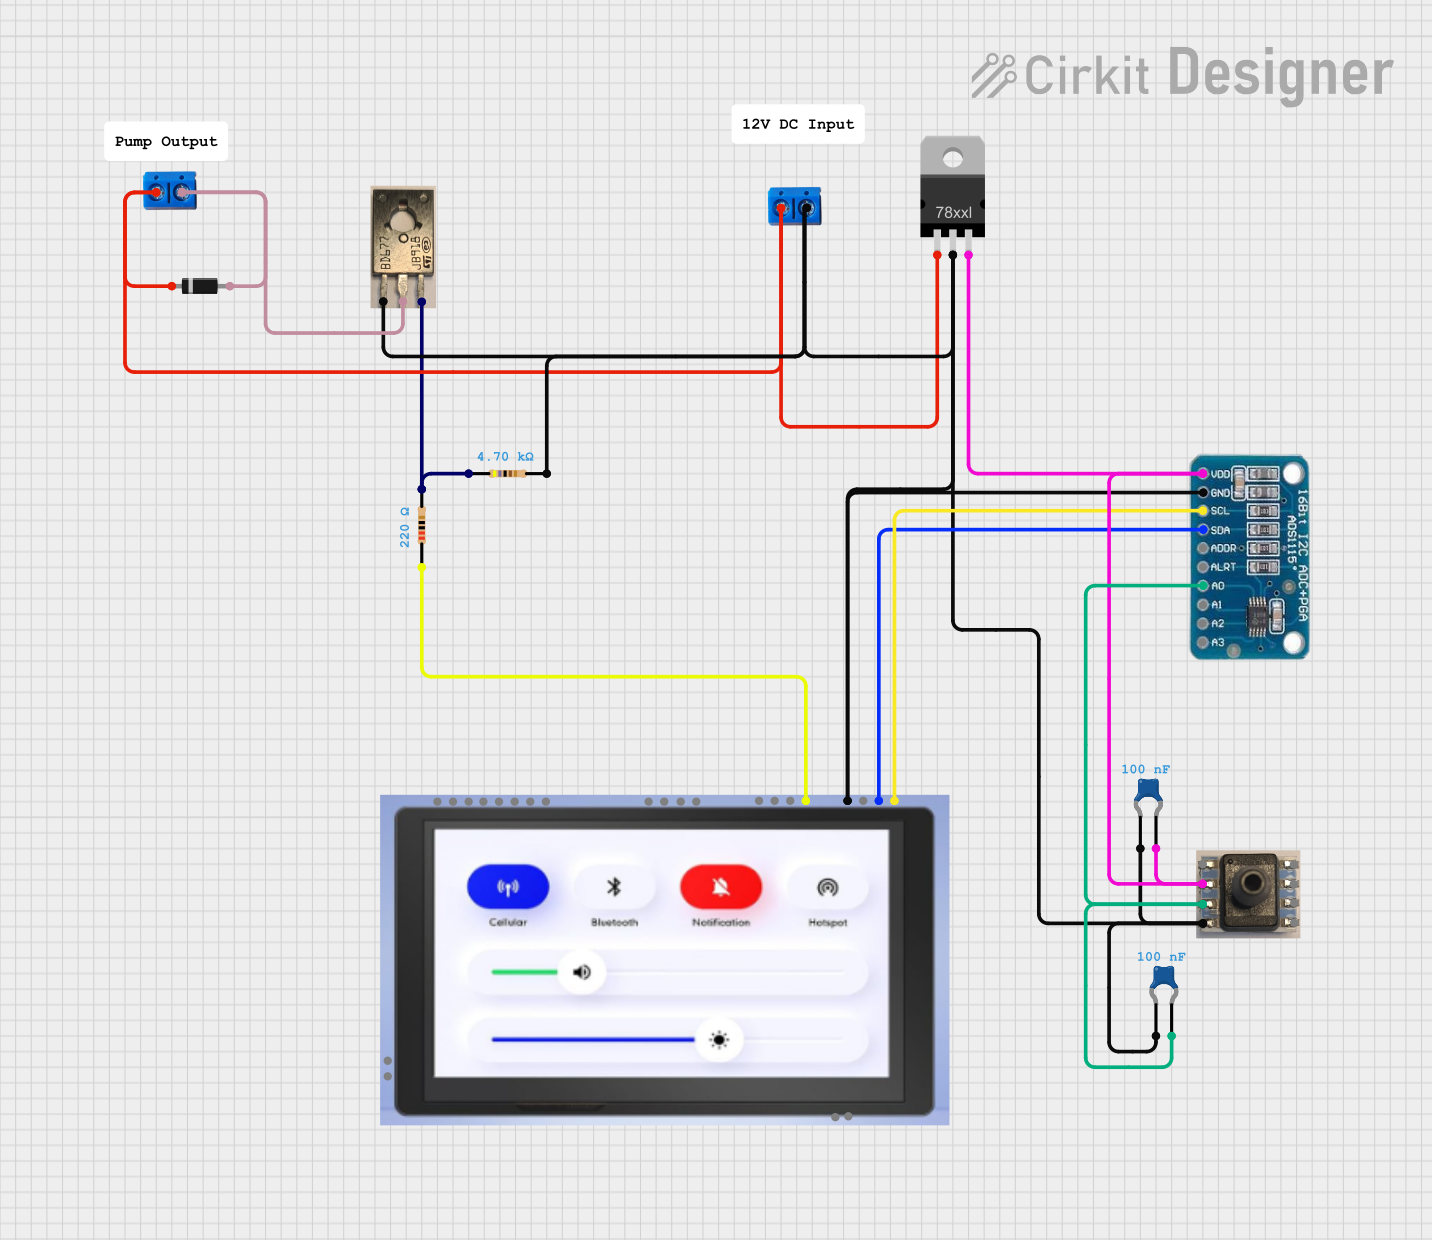
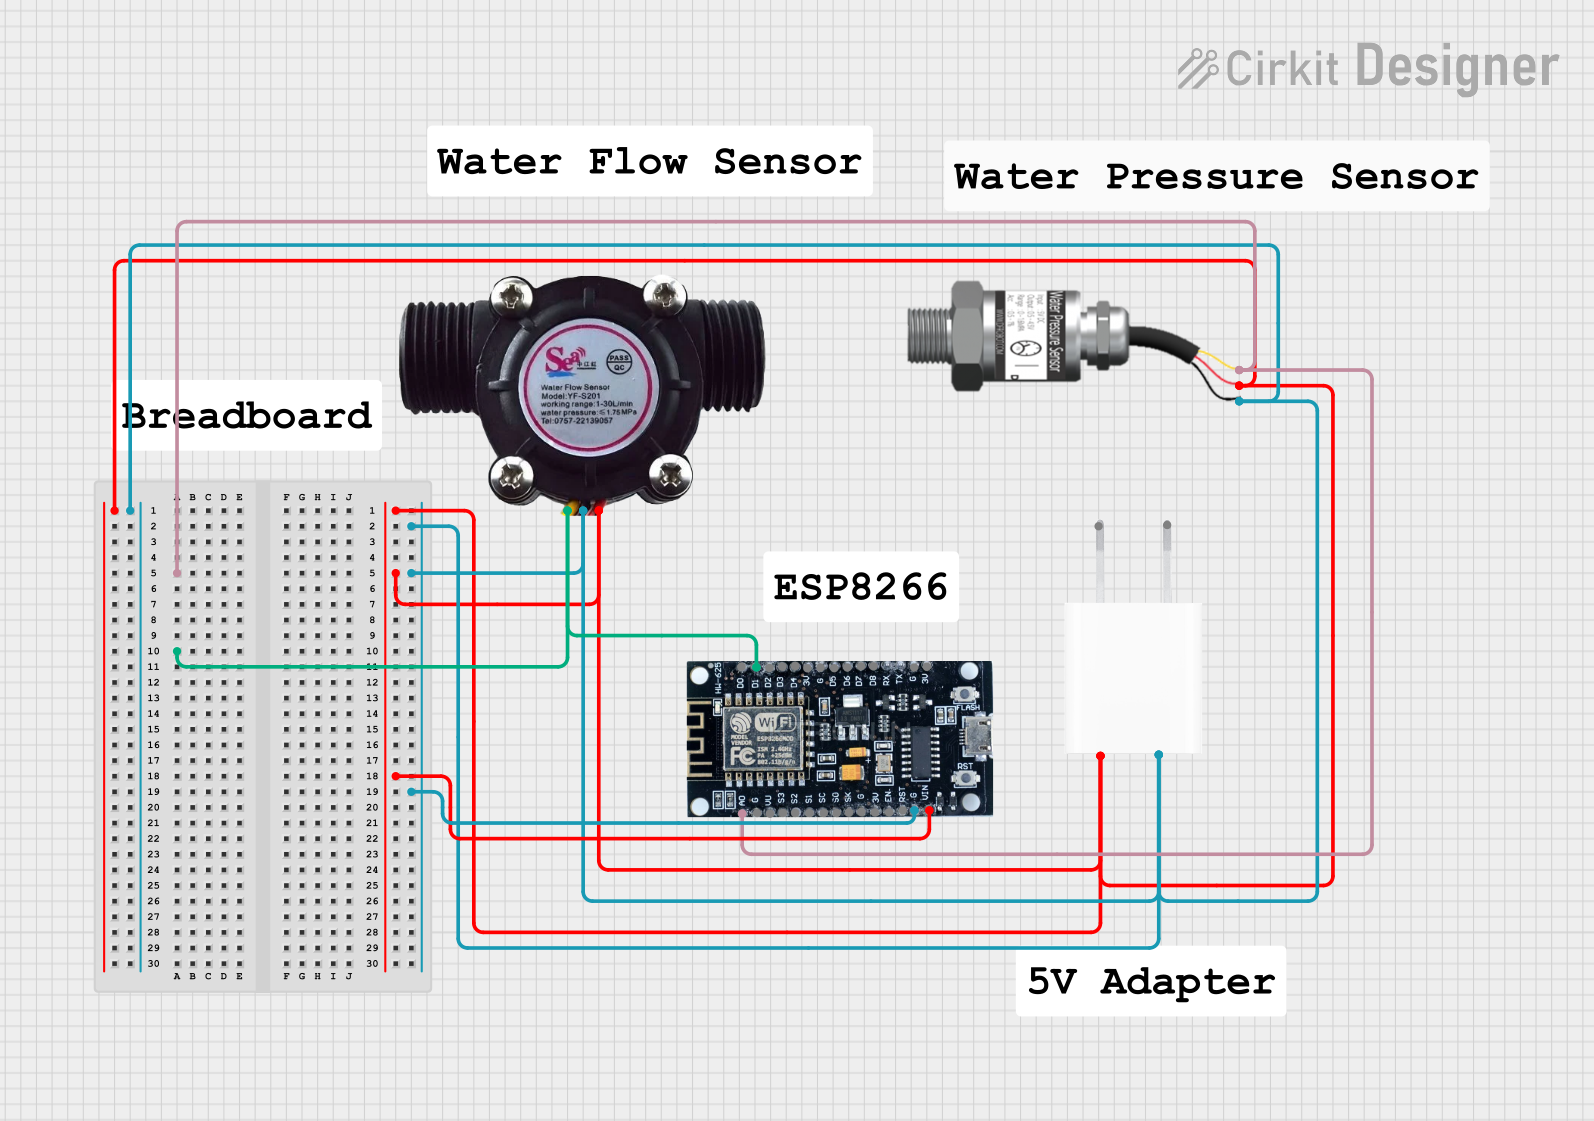
Usage Instructions
Integration into a Circuit
To use the SSCDANT150PGAA5 pressure transducer in a circuit:
- Connect the Vcc pin to a 5 VDC power supply.
- Connect the GND pin to the common ground in your circuit.
- Connect the Vout pin to an analog input on your data acquisition system or microcontroller, such as an Arduino UNO.
Important Considerations and Best Practices
- Ensure that the power supply does not exceed the recommended 5 VDC to avoid damaging the transducer.
- Use a decoupling capacitor (e.g., 10 µF) near the power supply pins to minimize power supply noise.
- Avoid mechanical stress and extreme temperatures that exceed the specified operating range.
- For accurate readings, allow the transducer to warm up for the recommended time specified in the datasheet before taking measurements.
Example Code for Arduino UNO
// Define the analog input pin connected to the pressure transducer
const int pressurePin = A0;

void setup() {
  // Initialize serial communication at 9600 baud rate
  Serial.begin(9600);
}

void loop() {
  // Read the analog value from the pressure transducer
  int sensorValue = analogRead(pressurePin);
  // Convert the analog value to pressure in psi
  float pressure = (sensorValue * (150.0 / 1023.0)) + 0;

  // Print the pressure value to the Serial Monitor
  Serial.print("Pressure: ");
  Serial.print(pressure);
  Serial.println(" psi");

  // Wait for a short period before reading again
  delay(500);
}
Troubleshooting and FAQs
Common Issues
- Inaccurate Readings: Ensure that the transducer is correctly calibrated and that there is no physical damage to the device.
- No Output Signal: Check the power supply connections and verify that the transducer is receiving the correct voltage.
- Drifting Signal: This could be due to temperature changes or mechanical stress. Ensure the transducer is installed in a stable environment.
Solutions and Tips
- If the output signal is unstable, check for loose connections and consider using shielded cables.
- For best performance, calibrate the transducer periodically according to the manufacturer's instructions.
- Protect the transducer from corrosive or overly humid environments to prevent premature failure.
FAQs
Q: Can the SSCDANT150PGAA5 be used to measure differential pressure? A: No, this model is designed for absolute pressure measurements.
Q: What is the expected lifespan of this pressure transducer? A: The lifespan can vary based on usage conditions, but Honeywell transducers are generally designed for long-term reliability.
Q: Is there a recommended way to mount the transducer? A: Yes, it should be mounted in a way that minimizes mechanical stress and vibration. Refer to the datasheet for detailed mounting instructions.
Q: How can I verify the accuracy of the transducer? A: Use a known pressure source and compare the transducer's output to the expected value. Adjustments may be necessary if the readings are outside the specified accuracy range.
For further assistance, contact Honeywell's technical support with the part ID SSCDANT150PGAA5 for more detailed guidance.