How to Use hc12: Examples, Pinouts, and Specs
Introduction
The HC12 is a low-power, high-performance 12-bit microcontroller designed for embedded systems. It features integrated peripherals, making it a versatile choice for a wide range of applications. The HC12 is commonly used in automation, control systems, and communication devices due to its efficient processing capabilities and robust design.
Explore Projects Built with hc12
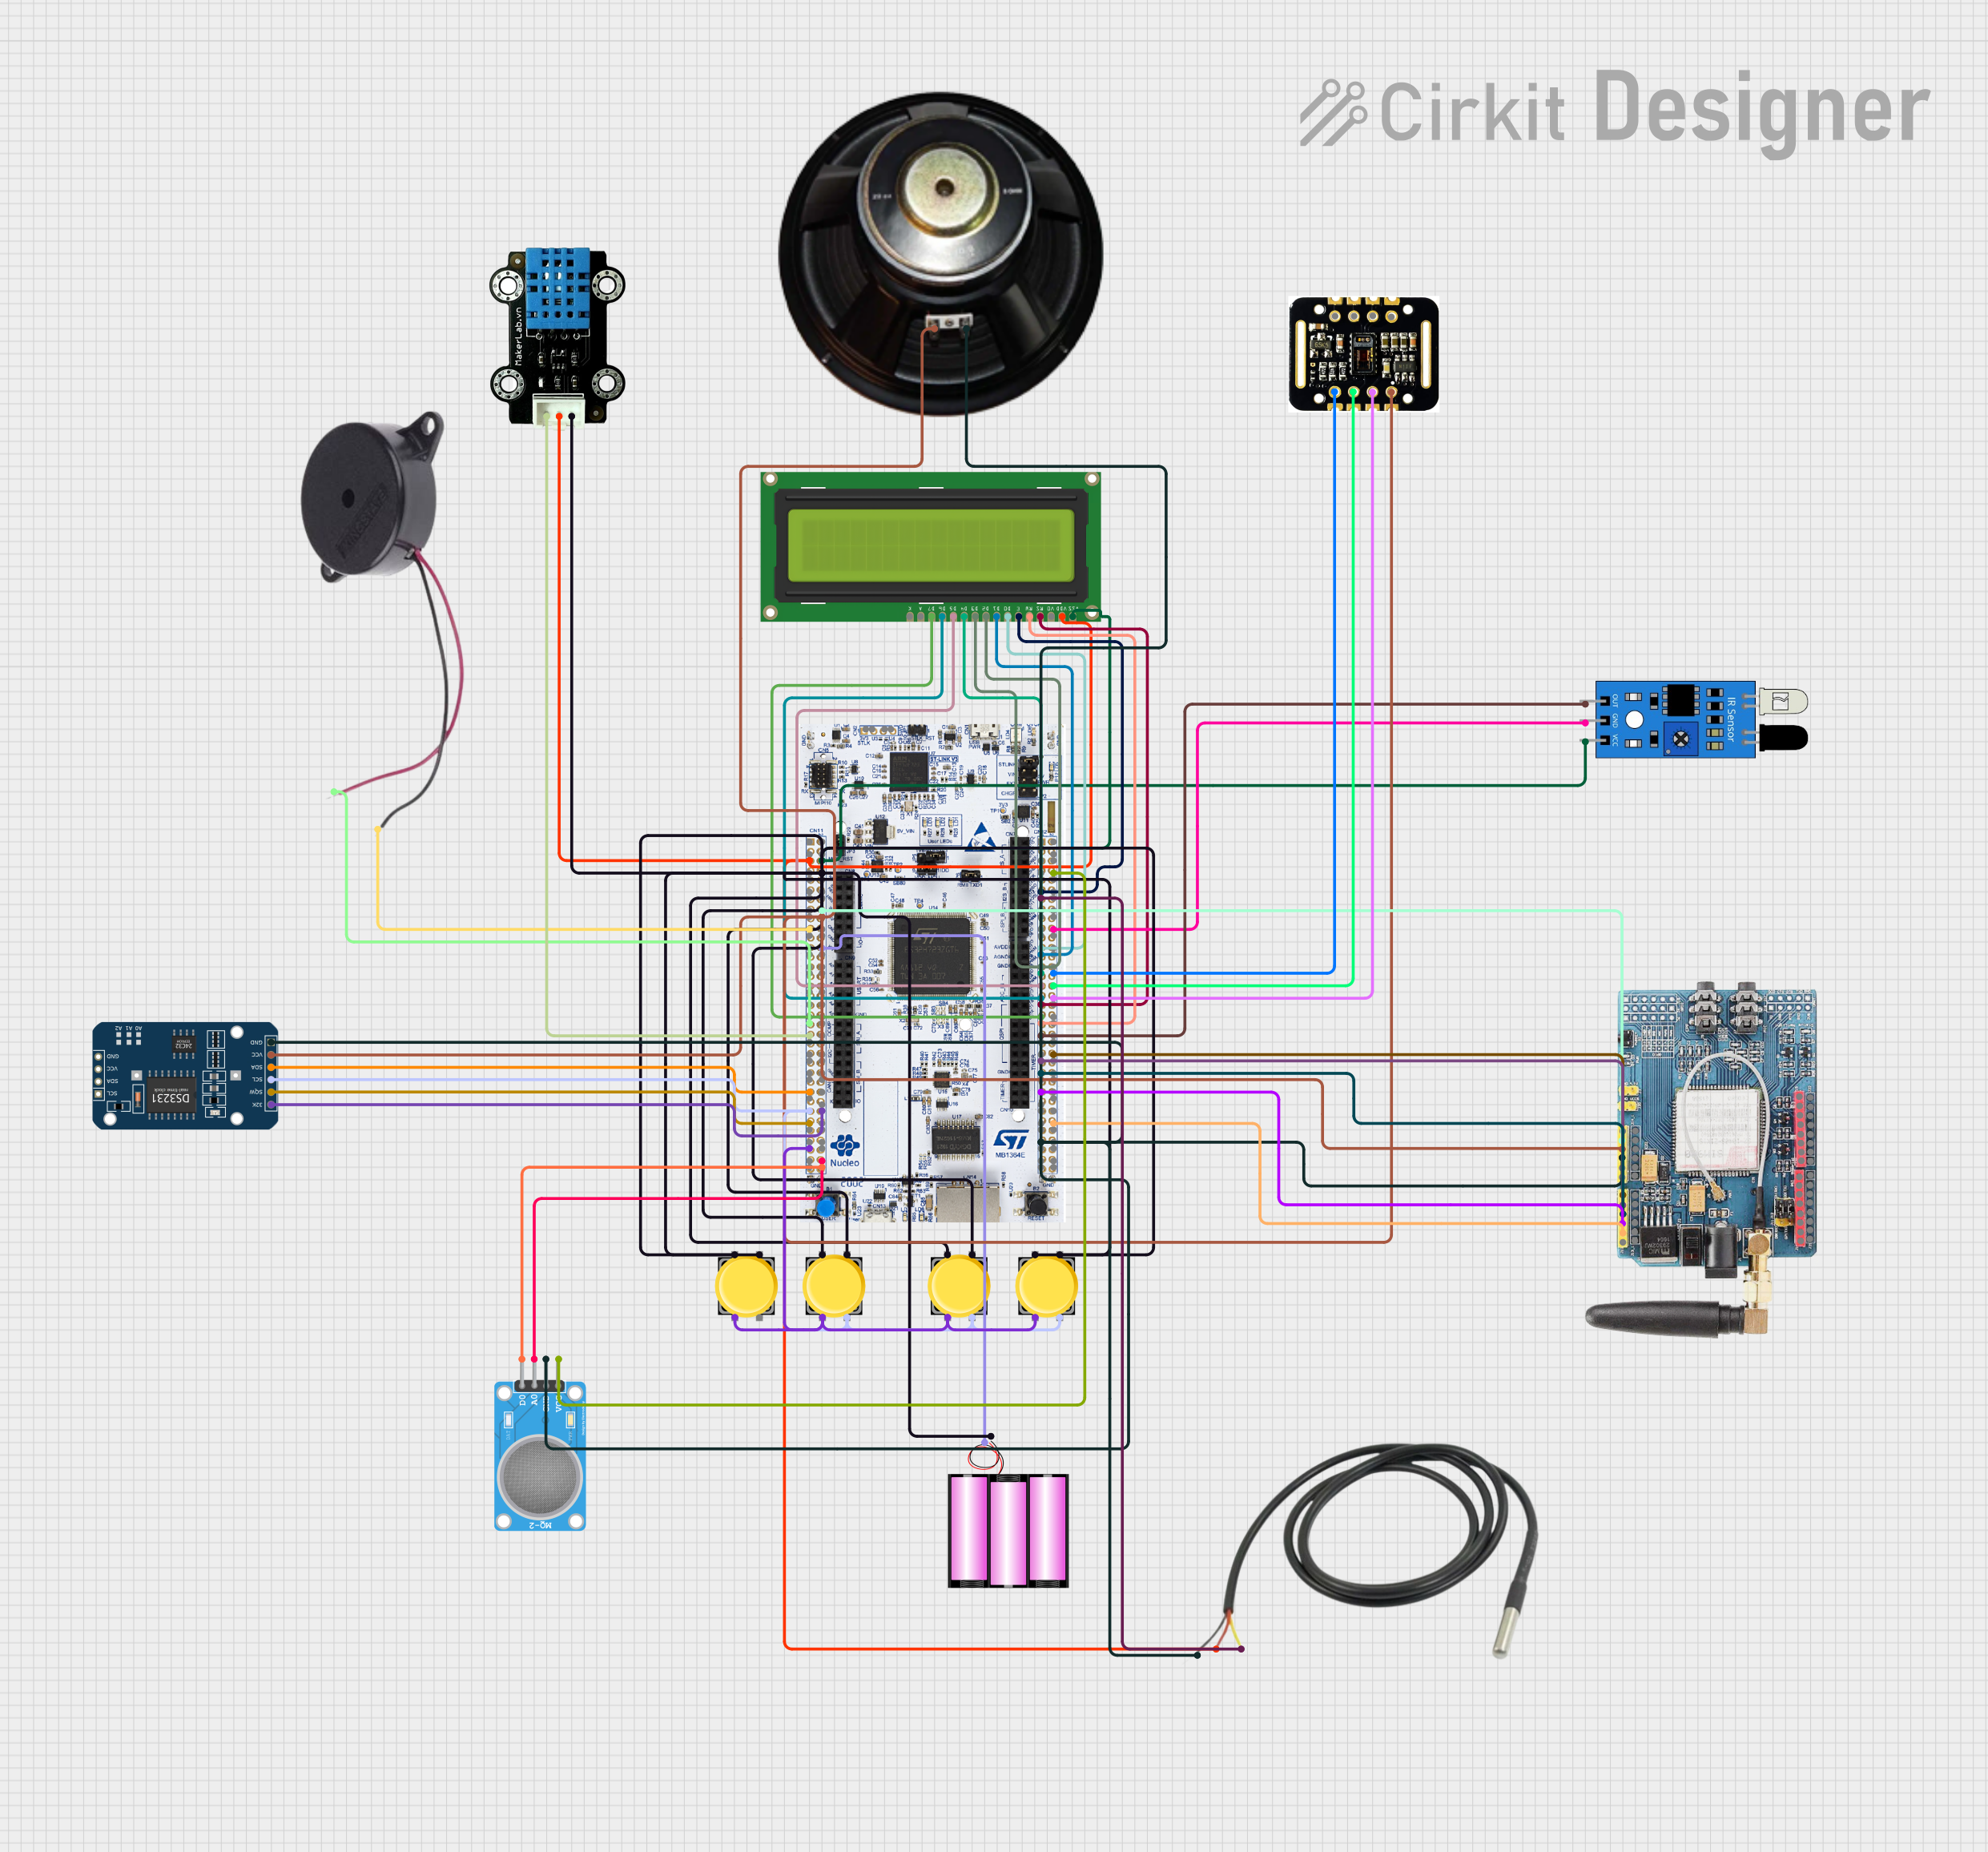

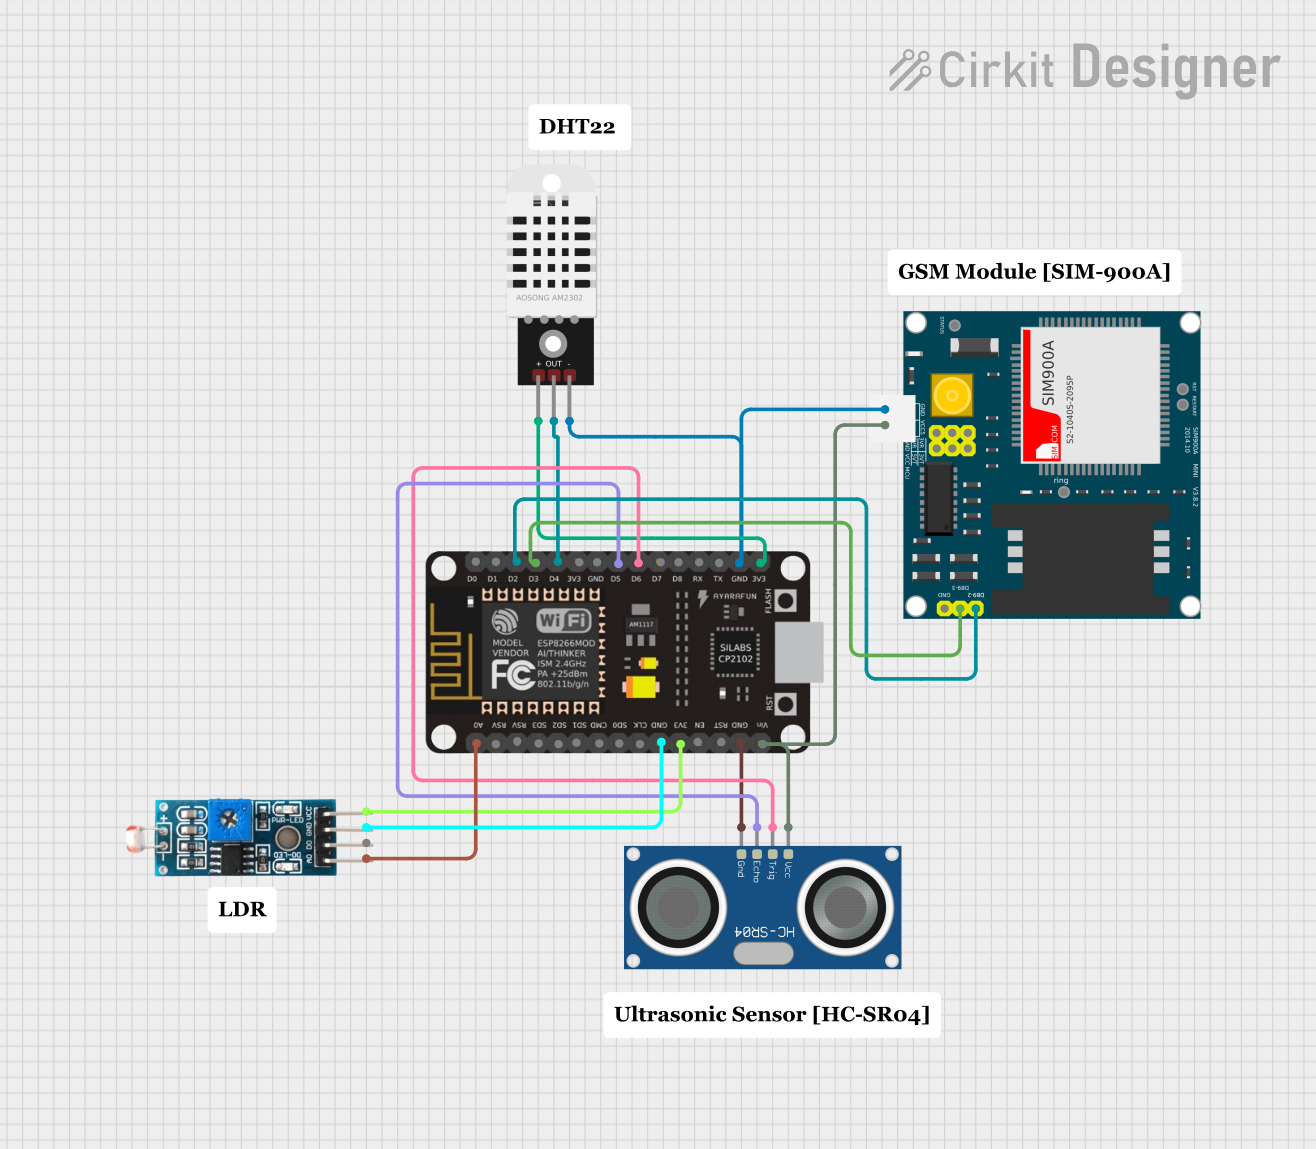
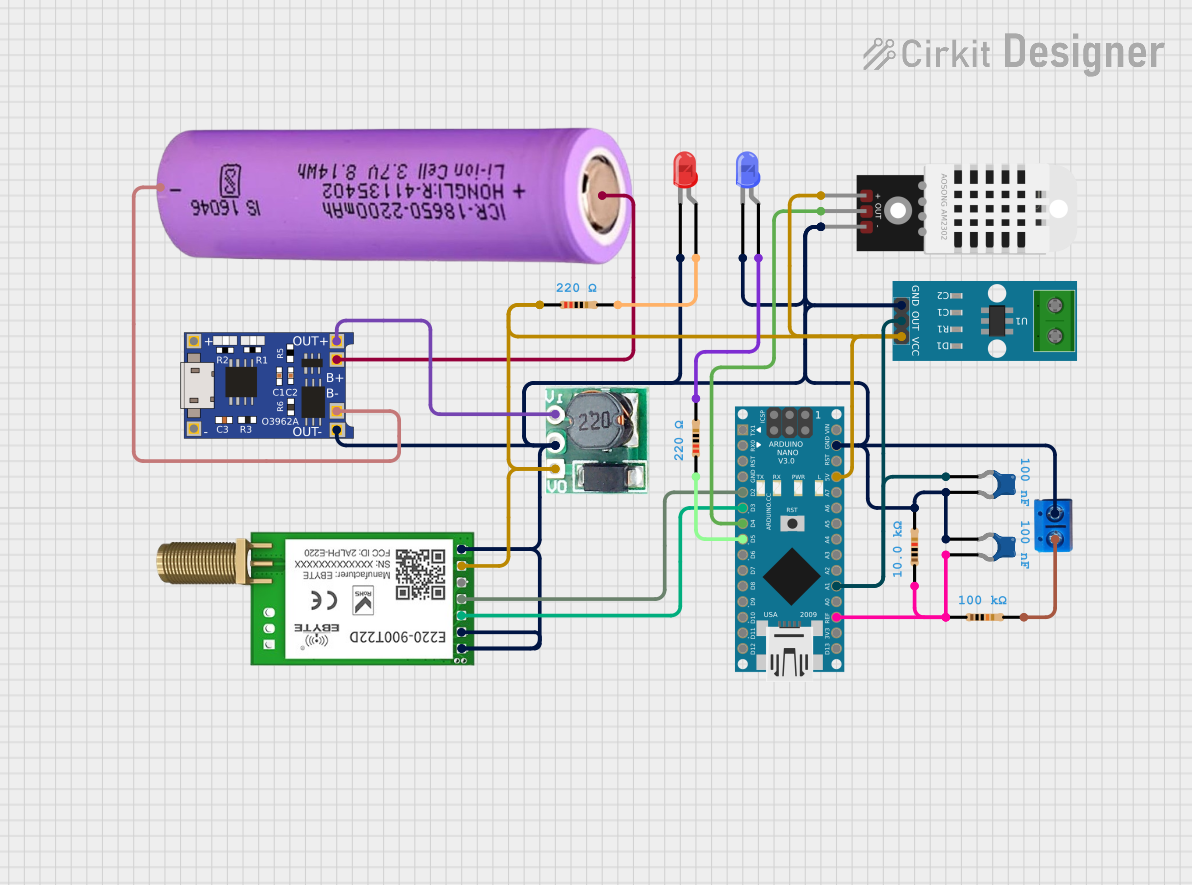
Explore Projects Built with hc12
Common Applications and Use Cases
- Industrial automation and process control
- Home automation systems
- Wireless communication modules
- Data acquisition and sensor interfacing
- Robotics and motor control
- IoT (Internet of Things) devices
Technical Specifications
The HC12 microcontroller is equipped with a variety of features that make it suitable for demanding embedded applications. Below are its key technical specifications:
Key Technical Details
- Architecture: 12-bit RISC (Reduced Instruction Set Computing)
- Operating Voltage: 2.7V to 5.5V
- Clock Speed: Up to 25 MHz
- Flash Memory: 32 KB
- RAM: 2 KB
- EEPROM: 512 bytes
- I/O Pins: Up to 32 configurable GPIO pins
- Communication Interfaces: UART, SPI, I2C
- Timers: 16-bit and 8-bit timers with PWM support
- ADC: 10-bit Analog-to-Digital Converter (up to 8 channels)
- Power Consumption: Low-power modes available (sleep, idle)
- Temperature Range: -40°C to +85°C
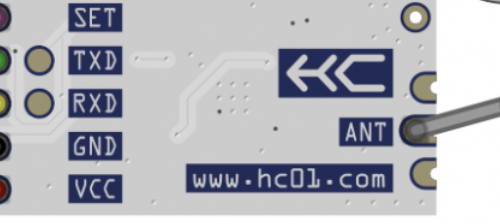
Pin Configuration and Descriptions
The HC12 microcontroller typically comes in a 40-pin DIP (Dual Inline Package) or other package types. Below is a table describing the pin configuration:
| Pin Number | Pin Name | Description |
|---|---|---|
| 1 | VDD | Positive power supply (2.7V to 5.5V) |
| 2 | VSS | Ground (0V) |
| 3-10 | GPIO1-GPIO8 | General-purpose I/O pins |
| 11 | RXD | UART Receive |
| 12 | TXD | UART Transmit |
| 13-16 | ADC1-ADC4 | Analog-to-Digital Converter inputs |
| 17 | SCL | I2C Clock Line |
| 18 | SDA | I2C Data Line |
| 19-22 | PWM1-PWM4 | PWM output pins |
| 23-32 | GPIO9-GPIO18 | Additional general-purpose I/O pins |
| 33 | RESET | Reset pin (active low) |
| 34-40 | Reserved | Reserved for future use or custom pins |
Usage Instructions
The HC12 microcontroller is versatile and can be used in a variety of circuits. Below are the steps and best practices for using the HC12 in your project.
How to Use the HC12 in a Circuit
- Power Supply: Connect the VDD pin to a stable power source (2.7V to 5.5V) and the VSS pin to ground.
- Programming: Use a compatible programmer or development board to upload your code to the HC12's flash memory.
- GPIO Configuration: Configure the GPIO pins as input or output in your code, depending on your application.
- Communication: Use the UART, SPI, or I2C interfaces for communication with other devices.
- Analog Inputs: Connect sensors to the ADC pins for analog-to-digital conversion.
- PWM Outputs: Use the PWM pins to control motors, LEDs, or other devices requiring pulse-width modulation.
Important Considerations and Best Practices
- Decoupling Capacitors: Place a 0.1 µF ceramic capacitor close to the VDD pin to reduce noise and stabilize the power supply.
- Pull-up Resistors: Use pull-up resistors on the I2C lines (SCL and SDA) for proper communication.
- Reset Circuit: Ensure the RESET pin is connected to a pull-up resistor or a reset button for reliable operation.
- Clock Source: If using an external clock, connect it to the appropriate pins and configure the clock settings in your code.
- Code Optimization: Optimize your code to make efficient use of the HC12's 12-bit architecture and memory.
Example Code for Arduino UNO Integration
The HC12 can be interfaced with an Arduino UNO for communication via UART. Below is an example code snippet:
#include <SoftwareSerial.h>

// Define RX and TX pins for HC12 communication
SoftwareSerial HC12(10, 11); // RX = Pin 10, TX = Pin 11

void setup() {
  Serial.begin(9600);        // Start serial communication with PC
  HC12.begin(9600);          // Start serial communication with HC12
  Serial.println("HC12 Ready");
}

void loop() {
  // Check if data is available from HC12
  if (HC12.available()) {
    String data = HC12.readString(); // Read data from HC12
    Serial.println("Received: " + data); // Print received data
  }

  // Check if data is available from Serial Monitor
  if (Serial.available()) {
    String data = Serial.readString(); // Read data from Serial Monitor
    HC12.println(data);               // Send data to HC12
  }
}
Note: Ensure the HC12's RX and TX pins are connected to the Arduino's TX and RX pins, respectively, with appropriate voltage level shifting if required.
Troubleshooting and FAQs
Common Issues and Solutions
No Communication with HC12
- Cause: Incorrect baud rate or wiring.
- Solution: Verify the baud rate settings in your code and check the wiring connections.
Microcontroller Not Powering On
- Cause: Insufficient or unstable power supply.
- Solution: Ensure the VDD pin is connected to a stable power source within the specified voltage range.
ADC Not Reading Correctly
- Cause: Noise or incorrect reference voltage.
- Solution: Use proper grounding and decoupling capacitors. Verify the ADC reference voltage settings.
Reset Pin Issues
- Cause: Floating RESET pin.
- Solution: Connect the RESET pin to a pull-up resistor or a reset button.
FAQs
Q1: Can the HC12 operate at 3.3V?
A1: Yes, the HC12 can operate at 3.3V, as its operating voltage range is 2.7V to 5.5V.
Q2: How do I program the HC12?
A2: The HC12 can be programmed using a compatible programmer or development board. Refer to the manufacturer's documentation for specific programming instructions.
Q3: Can I use the HC12 for wireless communication?
A3: The HC12 itself does not have wireless capabilities, but it can interface with wireless modules via UART, SPI, or I2C.
Q4: What is the maximum clock speed of the HC12?
A4: The HC12 can operate at a maximum clock speed of 25 MHz.
By following this documentation, you can effectively integrate the HC12 microcontroller into your embedded systems projects.