How to Use Adafruit AMG8833: Examples, Pinouts, and Specs
Introduction
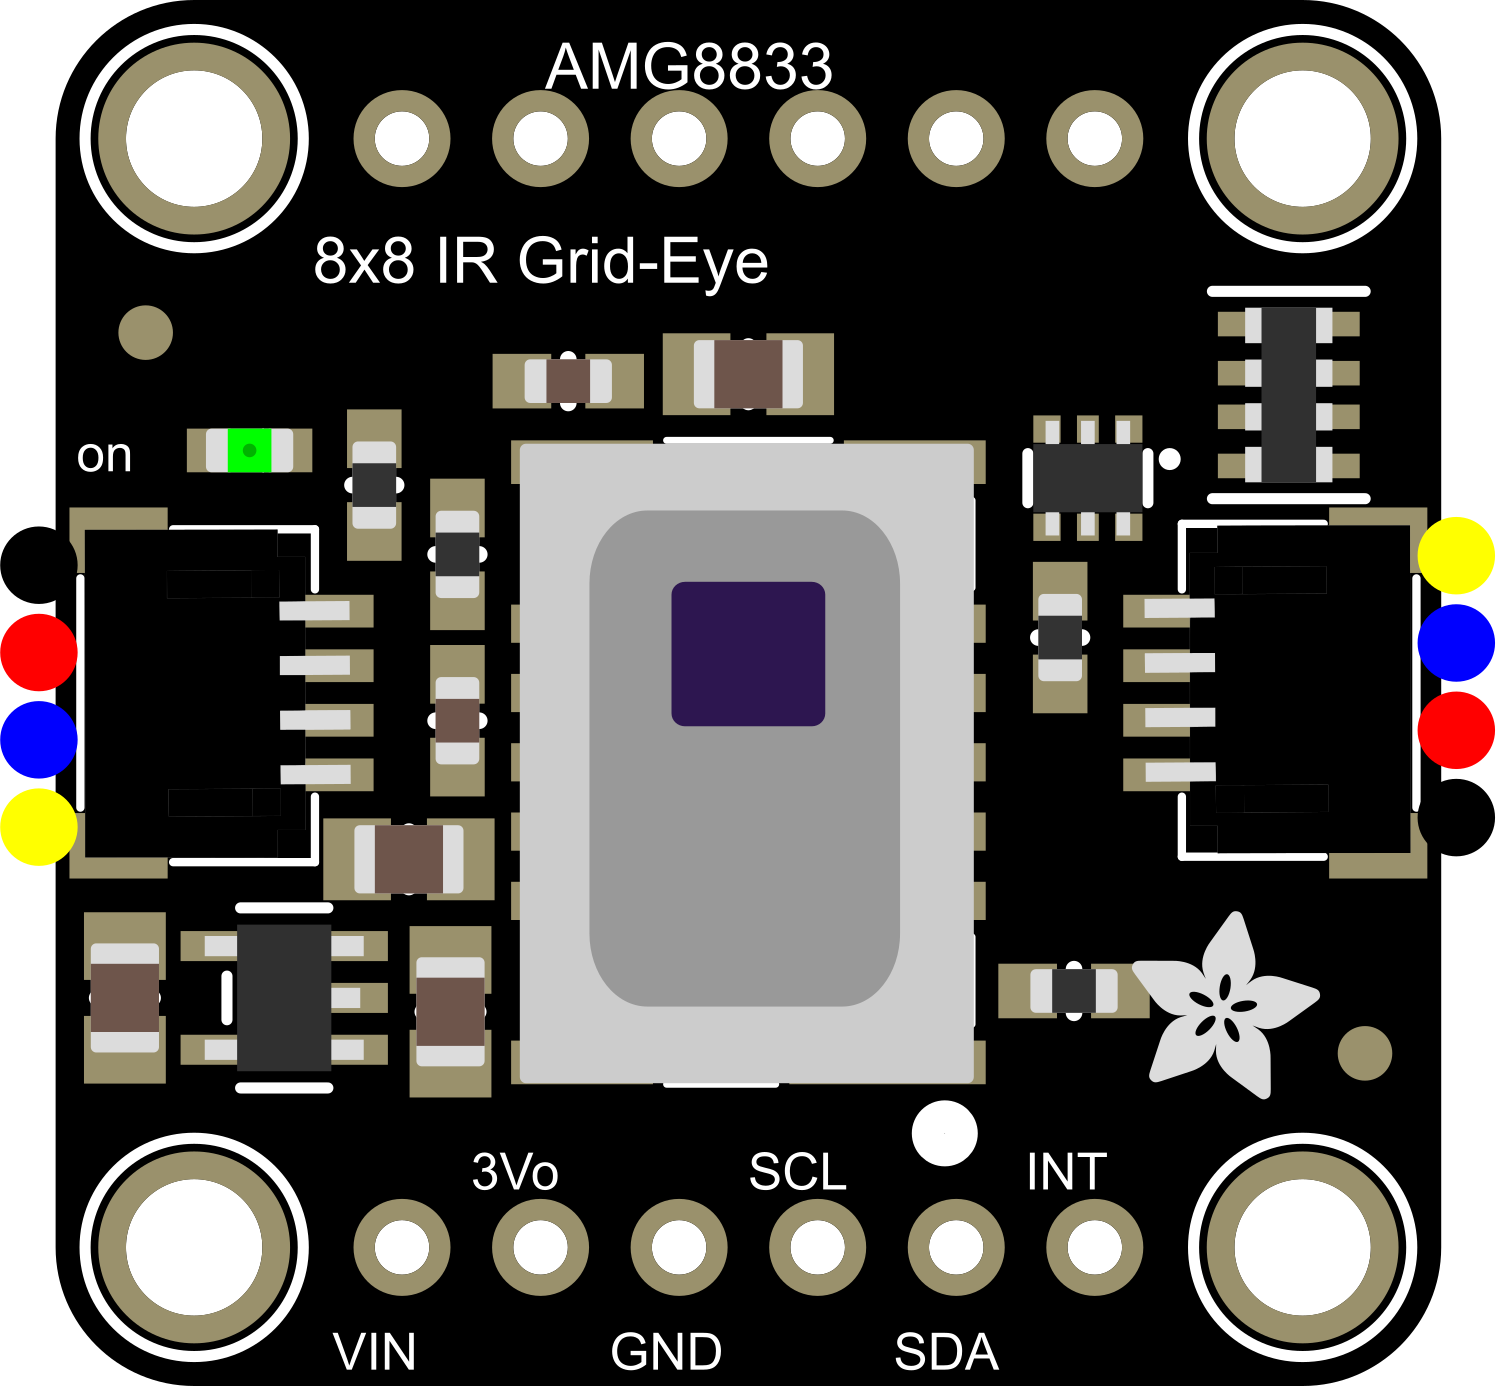
The Adafruit AMG8833 is an 8x8 infrared thermal sensor array capable of detecting temperature distributions in its field of view. This module is particularly useful for creating thermal imaging solutions, enabling applications such as human presence detection, temperature measurement, and thermal mapping. It is a popular choice for hobbyists and professionals alike due to its ease of use and integration with platforms like Arduino.
Explore Projects Built with Adafruit AMG8833


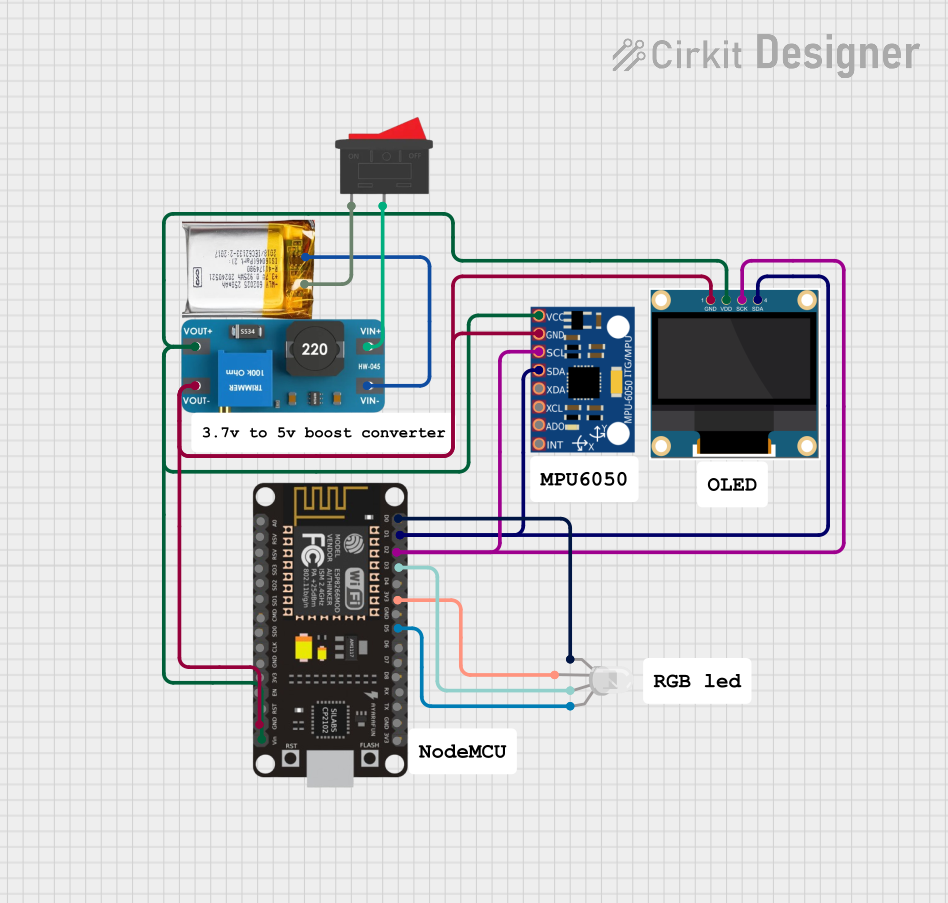
Explore Projects Built with Adafruit AMG8833
Common Applications and Use Cases
- Human detection and tracking
- Thermal imaging cameras
- Temperature sensing for home automation
- Heat source monitoring
- Night vision enhancements
Technical Specifications
Key Technical Details
- Sensor Array: 8x8 (64 pixels)
- Temperature Range: -20°C to 100°C
- Frame Rate: 1 to 10 Hz
- Interface: I2C
- Supply Voltage: 3.3V to 5V
- Operating Current: 4.5mA (typical)
Pin Configuration and Descriptions
| Pin Number | Name | Description |
|---|---|---|
| 1 | VDD | Power supply (3.3V to 5V) |
| 2 | GND | Ground connection |
| 3 | SDA | I2C Data Line |
| 4 | SCL | I2C Clock Line |
| 5 | INT | Interrupt pin (active low) |
Usage Instructions
Integration with Arduino
To use the AMG8833 with an Arduino, follow these steps:
Connect the Module:
- Connect VDD to the 3.3V or 5V output on the Arduino.
- Connect GND to one of the Arduino's ground pins.
- Connect SDA and SCL to the Arduino's SDA and SCL pins, respectively.
- The INT pin can be left unconnected if the interrupt feature is not used.
Install the Adafruit AMG8833 Library:
- Open the Arduino IDE.
- Go to
Sketch>Include Library>Manage Libraries.... - Search for "Adafruit AMG8833" and install the library.
Sample Code:
#include <Wire.h>
#include <Adafruit_AMG88xx.h>

Adafruit_AMG88xx amg;

void setup() {
  Serial.begin(9600);
  Serial.println(F("AMG8833 thermal camera"));

  bool status = amg.begin();
  if (!status) {
    Serial.println("Could not find a valid AMG8833 sensor, check wiring!");
    while (1);
  }
  // Default settings are fine for basic temperature readings.
}

void loop() {
  // Read the thermal sensor values.
  float pixels[AMG88xx_PIXEL_ARRAY_SIZE];
  amg.readPixels(pixels);

  // Output the array of temperatures.
  for (int i = 0; i < AMG88xx_PIXEL_ARRAY_SIZE; i++) {
    Serial.print(pixels[i]);
    Serial.print(", ");
    if ((i + 1) % 8 == 0) Serial.println();
  }
  Serial.println();

  // Delay between readings.
  delay(100);
}
Important Considerations and Best Practices
- Ensure that the power supply voltage matches the module's requirements.
- Use pull-up resistors on the I2C lines if they are not included on the breakout board.
- Avoid placing heat-generating components or surfaces near the sensor to prevent false readings.
- For accurate temperature measurements, calibrate the sensor for the specific application environment.
Troubleshooting and FAQs
Common Issues
- Sensor Not Detected: Check the wiring and ensure that the correct I2C address is used in the code.
- Inaccurate Temperature Readings: Ensure that the sensor is not exposed to rapid temperature changes and that there is no heat source close to the sensor.
- No Data on Serial Monitor: Confirm that the correct baud rate is set in the serial monitor.
Solutions and Tips for Troubleshooting
- Double-check the connections and solder joints.
- Use the I2C scanner sketch to verify that the Arduino is communicating with the sensor.
- Make sure that the Arduino library for the AMG8833 is up to date.
- If using long wires for I2C communication, consider using shielded cables to prevent noise.
FAQs
Q: Can the AMG8833 be used to measure the temperature of liquids? A: The AMG8833 is designed for detecting infrared radiation from solid surfaces. It is not suitable for measuring the temperature of liquids directly.
Q: How can I increase the frame rate of the sensor? A: The frame rate can be adjusted using the library functions provided by Adafruit. However, the maximum frame rate is limited to 10 Hz.
Q: Is it possible to connect multiple AMG8833 sensors to a single Arduino? A: Yes, it is possible if each sensor has a unique I2C address. You may need to use an I2C multiplexer if the addresses are not configurable.
Q: What is the field of view (FOV) of the AMG8833 sensor? A: The AMG8833 has a horizontal and vertical FOV of approximately 60 degrees each.
For further assistance, consult the Adafruit AMG8833 datasheet and the Adafruit support forums.