How to Use CrowPanel ESP32 Display 4.3 inch: Examples, Pinouts, and Specs
Introduction
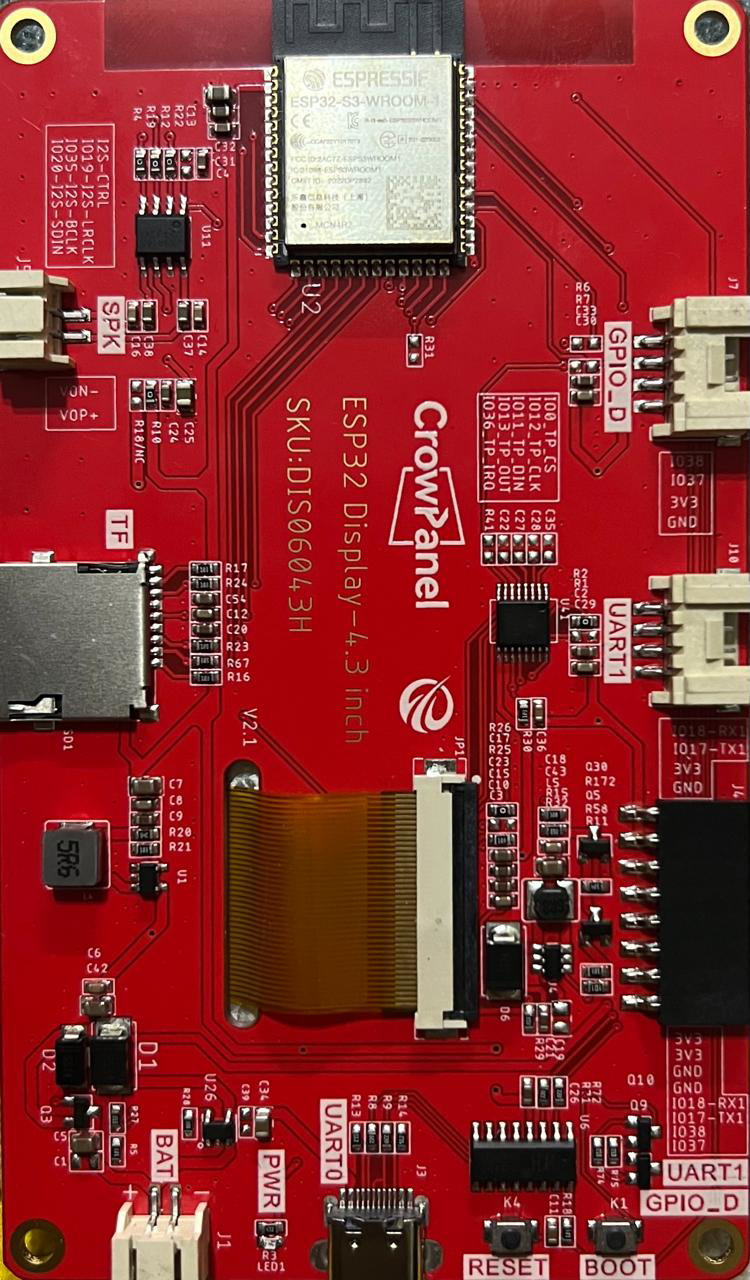
The CrowPanel ESP32 Display 4.3 inch is a versatile touchscreen display integrated with the powerful ESP32 microcontroller. This component is designed for Internet of Things (IoT) applications, offering a seamless way to interact with and control devices through a graphical user interface. Its compact design and built-in Wi-Fi and Bluetooth capabilities make it ideal for smart home systems, industrial automation, and portable devices.
Explore Projects Built with CrowPanel ESP32 Display 4.3 inch


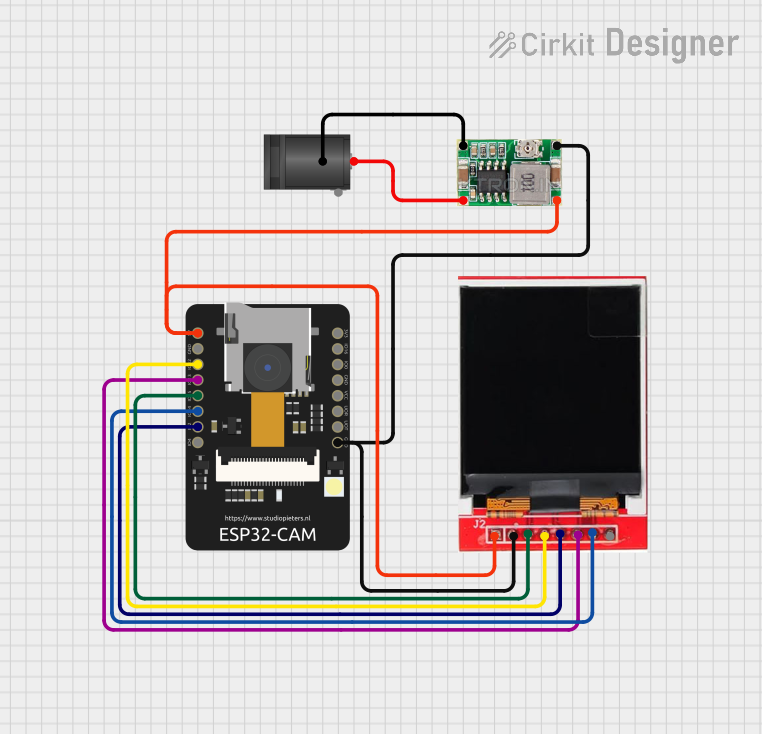
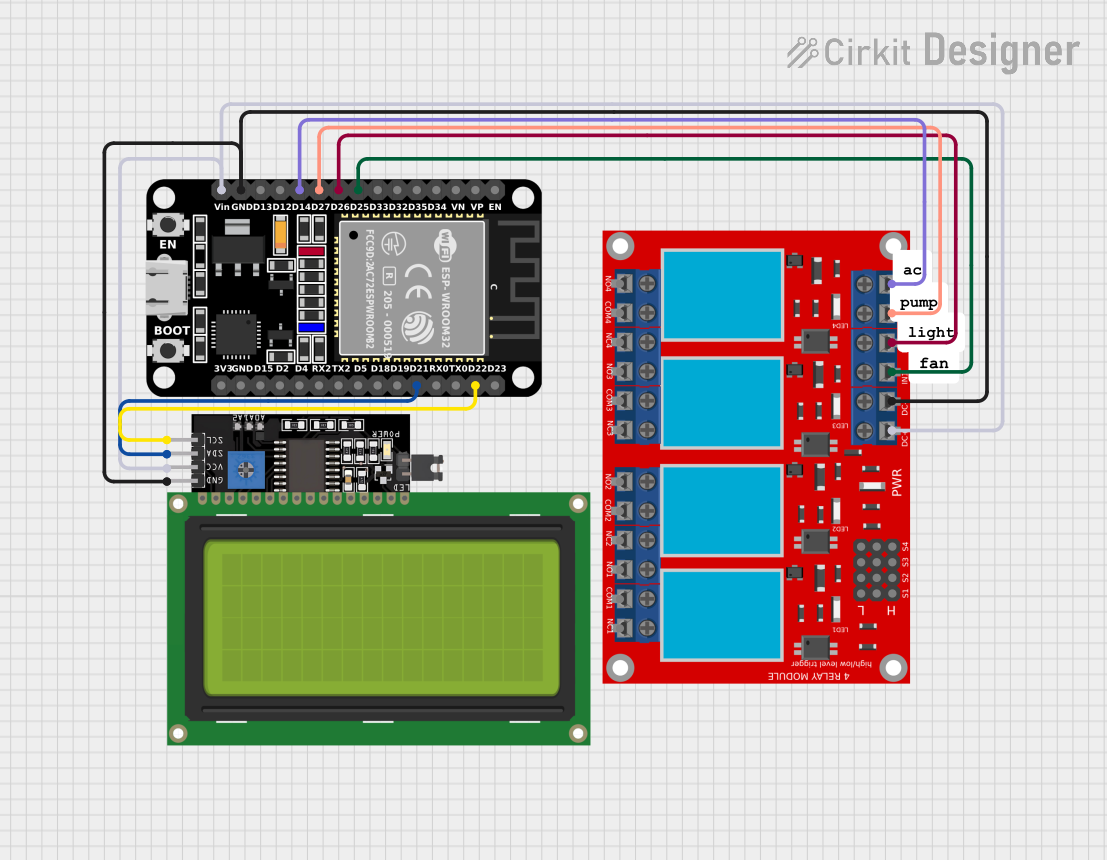
Explore Projects Built with CrowPanel ESP32 Display 4.3 inch
Common Applications and Use Cases
- Smart home control panels (e.g., lighting, HVAC, and security systems)
- Industrial automation and monitoring dashboards
- Portable IoT devices with graphical interfaces
- Educational projects and prototyping
- Interactive kiosks and vending machines
Technical Specifications
The CrowPanel ESP32 Display 4.3 inch combines a high-resolution touchscreen with the robust ESP32 microcontroller. Below are the key technical details:
General Specifications
| Parameter | Value |
|---|---|
| Display Size | 4.3 inches |
| Resolution | 480 x 272 pixels |
| Touchscreen Type | Capacitive |
| Microcontroller | ESP32 (dual-core, 240 MHz) |
| Flash Memory | 16 MB |
| RAM | 520 KB SRAM + 8 MB PSRAM |
| Connectivity | Wi-Fi 802.11 b/g/n, Bluetooth |
| Operating Voltage | 5V (via USB-C) |
| Power Consumption | ~200 mA (typical) |
| Interface | UART, SPI, I2C, GPIO |
Pin Configuration and Descriptions
The CrowPanel ESP32 Display features a USB-C port for power and programming, as well as a breakout header for additional connections. Below is the pin configuration:
| Pin Name | Type | Description |
|---|---|---|
| 5V | Power | 5V input for powering the display and ESP32 |
| GND | Ground | Ground connection |
| TX | UART TX | Transmit pin for serial communication |
| RX | UART RX | Receive pin for serial communication |
| GPIO0 | GPIO | General-purpose I/O pin |
| GPIO2 | GPIO | General-purpose I/O pin |
| SCL | I2C Clock | Clock line for I2C communication |
| SDA | I2C Data | Data line for I2C communication |
| MOSI | SPI Data | Master Out Slave In for SPI communication |
| MISO | SPI Data | Master In Slave Out for SPI communication |
| SCK | SPI Clock | Clock line for SPI communication |
| CS | SPI Select | Chip select for SPI communication |
Usage Instructions
The CrowPanel ESP32 Display is easy to integrate into your projects. Follow the steps below to get started:
Basic Setup
- Power the Display: Connect the USB-C port to a 5V power source or use the 5V and GND pins.
- Programming the ESP32: Use the USB-C port to upload code to the ESP32 using the Arduino IDE or other compatible platforms.
- Connect Peripherals: Use the GPIO, UART, I2C, or SPI pins to connect sensors, actuators, or other devices.
Example: Displaying Text with Arduino IDE
Below is an example of how to display text on the touchscreen using the Arduino IDE:
#include <TFT_eSPI.h> // Include the TFT library for ESP32

TFT_eSPI tft = TFT_eSPI(); // Create an instance of the TFT library

void setup() {
  tft.init(); // Initialize the display
  tft.setRotation(1); // Set display orientation (1 = landscape)
  tft.fillScreen(TFT_BLACK); // Clear the screen with black color

  tft.setTextColor(TFT_WHITE, TFT_BLACK); // Set text color (white on black)
  tft.setTextSize(2); // Set text size
  tft.setCursor(10, 10); // Set cursor position (x=10, y=10)
  tft.println("Hello, CrowPanel!"); // Display text on the screen
}

void loop() {
  // No actions in the loop for this example
}
Important Considerations and Best Practices
- Power Supply: Ensure a stable 5V power source to avoid display flickering or ESP32 resets.
- Touchscreen Calibration: Some applications may require touchscreen calibration for accurate input.
- Heat Management: The ESP32 may generate heat during operation. Ensure proper ventilation if used in enclosed spaces.
- Firmware Updates: Keep the ESP32 firmware updated for optimal performance and security.
Troubleshooting and FAQs
Common Issues and Solutions
Display Not Turning On
- Cause: Insufficient power supply.
- Solution: Verify the power source provides 5V and at least 500 mA.
Touchscreen Not Responding
- Cause: Incorrect library or calibration issue.
- Solution: Ensure the correct touchscreen library is installed and calibrated.
ESP32 Not Detected by Computer
- Cause: Missing USB driver or faulty cable.
- Solution: Install the appropriate USB driver for ESP32 and check the USB cable.
Wi-Fi or Bluetooth Not Working
- Cause: Incorrect configuration or interference.
- Solution: Double-check the Wi-Fi/Bluetooth settings in your code and ensure no nearby interference.
FAQs
Q: Can I use the CrowPanel with a battery?
A: Yes, you can use a 5V battery pack with a USB-C output or connect a regulated 5V source to the 5V and GND pins.
Q: What is the maximum distance for Wi-Fi connectivity?
A: The ESP32 typically supports Wi-Fi connections up to 30 meters indoors and 100 meters outdoors, depending on environmental factors.
Q: Is the CrowPanel compatible with other microcontrollers?
A: While the ESP32 is built-in, you can use the display with other microcontrollers via UART, SPI, or I2C interfaces.
Q: How do I update the firmware?
A: Use the Arduino IDE or ESP32 flashing tools to upload new firmware via the USB-C port.
This documentation provides a comprehensive guide to using the CrowPanel ESP32 Display 4.3 inch. For further assistance, refer to the official datasheet or community forums.