How to Use BATTERY 12V: Examples, Pinouts, and Specs
Introduction
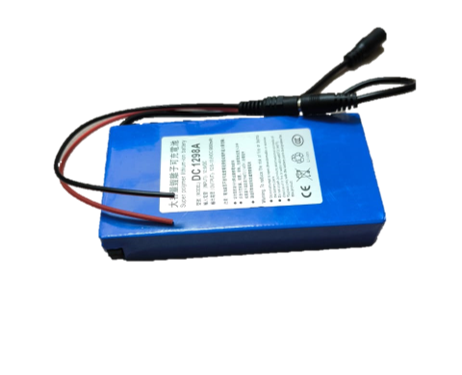
A 12-volt battery is a versatile power source commonly used in various electronic circuits and devices. It provides a stable voltage output, making it ideal for applications such as powering motors, sensors, microcontrollers, and other electronic components. This documentation will cover the technical specifications, usage instructions, and troubleshooting tips for a 12V battery.
Explore Projects Built with BATTERY 12V
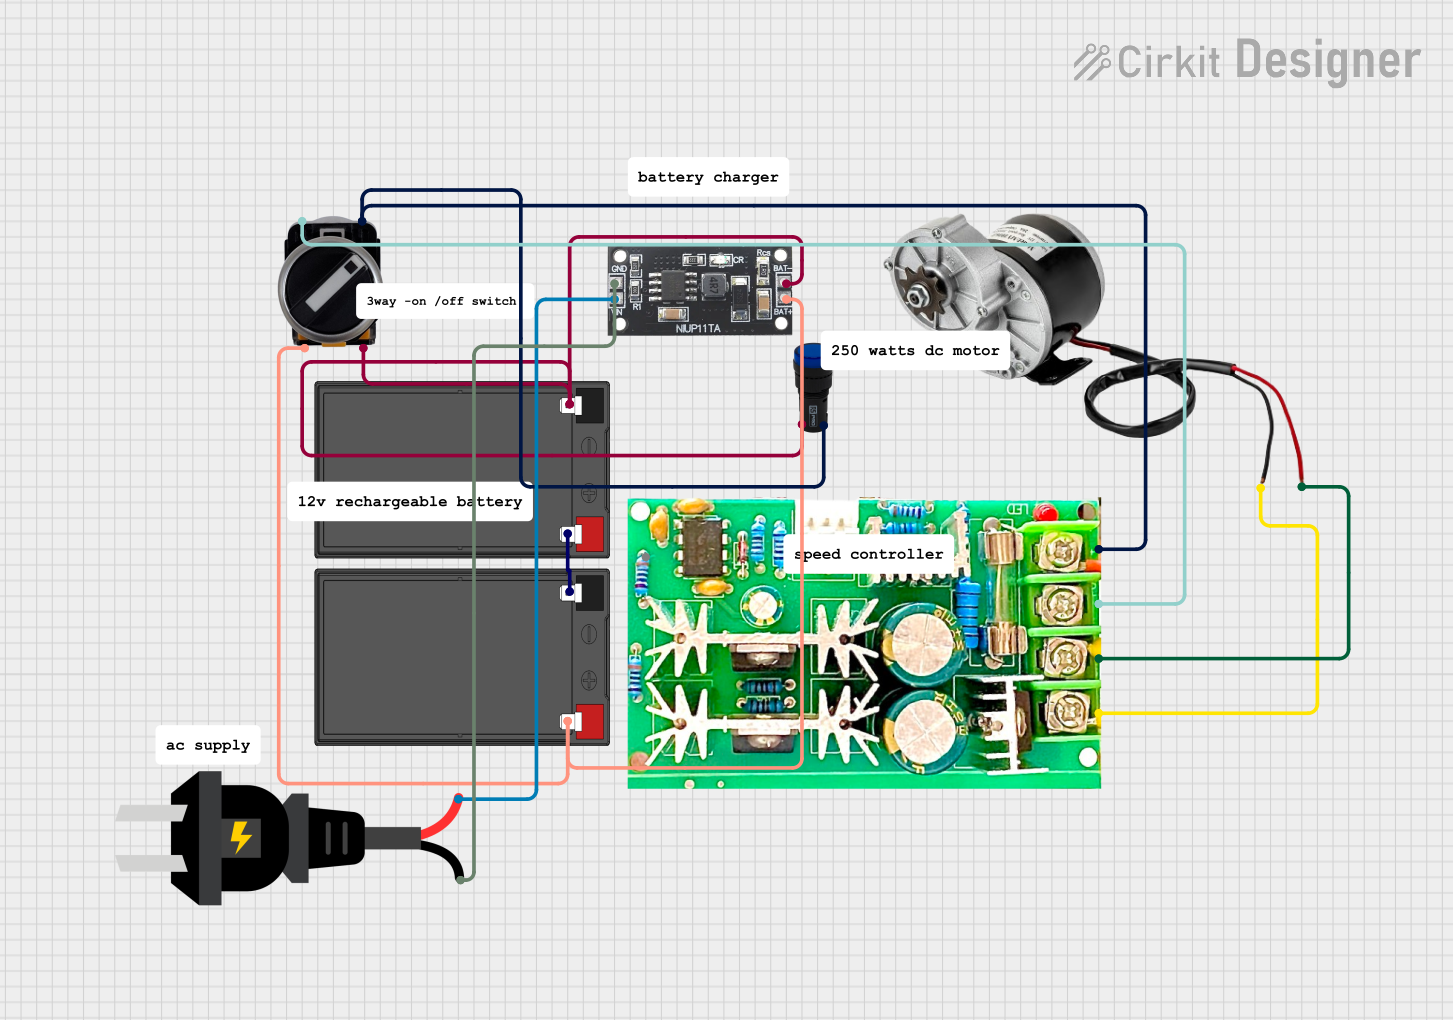


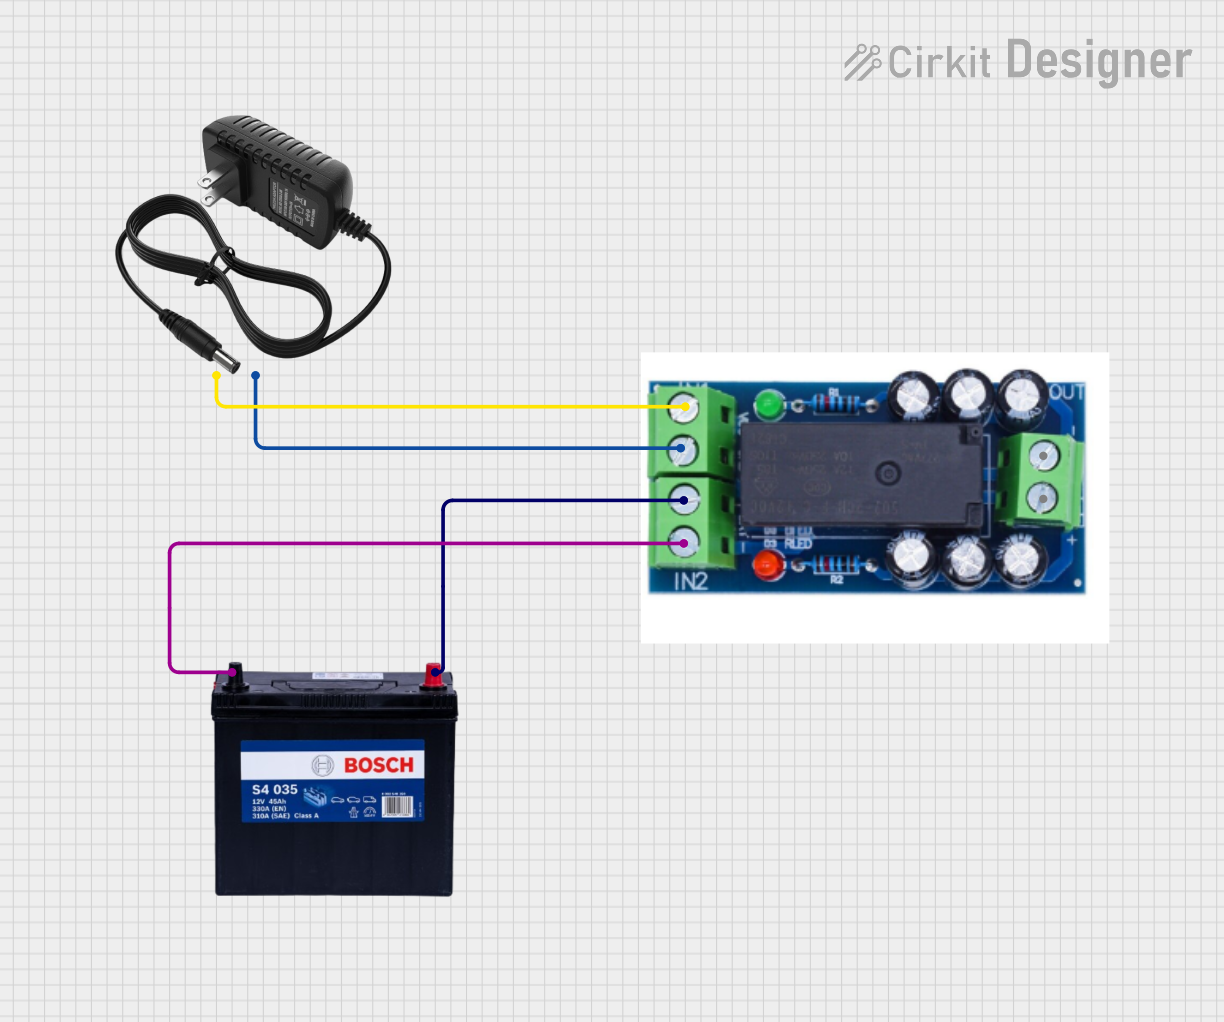
Explore Projects Built with BATTERY 12V
Technical Specifications
Key Technical Details
| Parameter | Value |
|---|---|
| Nominal Voltage | 12V |
| Capacity | Varies (e.g., 7Ah, 12Ah) |
| Chemistry | Lead-Acid, Lithium-Ion, etc. |
| Dimensions | Varies by model |
| Weight | Varies by model |
| Terminal Type | Varies (e.g., F1, F2, T1) |
| Operating Temperature | -20°C to 60°C |
Pin Configuration and Descriptions
| Pin | Description |
|---|---|
| + | Positive Terminal |
| - | Negative Terminal |
Usage Instructions
How to Use the Component in a Circuit
- Identify the Terminals: Locate the positive (+) and negative (-) terminals on the battery.
- Connect to Load: Connect the positive terminal to the positive input of your load (e.g., motor, microcontroller) and the negative terminal to the negative input.
- Use Proper Connectors: Ensure you use appropriate connectors or terminal lugs to secure the connections.
- Fuse Protection: It is recommended to use a fuse in series with the positive terminal to protect against short circuits.
- Charging: If using a rechargeable battery, follow the manufacturer's guidelines for charging. Use a compatible charger to avoid overcharging or damaging the battery.
Important Considerations and Best Practices
- Polarity: Always ensure correct polarity when connecting the battery to avoid damaging your circuit.
- Ventilation: Provide adequate ventilation if using lead-acid batteries to prevent the buildup of gases.
- Storage: Store the battery in a cool, dry place when not in use. Avoid extreme temperatures.
- Disposal: Follow local regulations for the disposal of batteries to prevent environmental harm.
Troubleshooting and FAQs
Common Issues Users Might Face
Battery Not Powering the Circuit
- Solution: Check the connections for proper polarity and secure attachment. Ensure the battery is charged.
Battery Drains Quickly
- Solution: Verify the load current and ensure it is within the battery's capacity. Check for any short circuits or excessive power consumption in the circuit.
Battery Overheats
- Solution: Ensure proper ventilation and avoid overloading the battery. Check for any faults in the circuit that may cause excessive current draw.
Solutions and Tips for Troubleshooting
- Multimeter Check: Use a multimeter to measure the battery voltage. A fully charged 12V battery should read around 12.6V to 13.8V.
- Load Test: Perform a load test to check the battery's performance under load conditions. This can help identify if the battery is weak or failing.
- Inspect Terminals: Ensure the terminals are clean and free from corrosion. Corroded terminals can cause poor connections and voltage drops.
Example: Connecting a 12V Battery to an Arduino UNO
To power an Arduino UNO using a 12V battery, you can connect the battery to the Arduino's VIN and GND pins. Here is a simple example:
/*
 * Example: Powering Arduino UNO with a 12V Battery
 * Connect the positive terminal of the 12V battery to the VIN pin
 * Connect the negative terminal of the 12V battery to the GND pin
 */

void setup() {
  // Initialize serial communication
  Serial.begin(9600);
  Serial.println("Arduino powered by 12V battery");
}

void loop() {
  // Your code here
}
Note: The Arduino UNO has an onboard voltage regulator that will step down the 12V to 5V required by the board. Ensure the battery voltage does not exceed the recommended input voltage range for the Arduino.
By following this documentation, users can effectively utilize a 12V battery in their electronic projects, ensuring safe and efficient operation.