How to Use EZO: Examples, Pinouts, and Specs
Introduction
The EZO is a digital pH sensor module designed to provide accurate and reliable pH measurements. It is highly versatile and can be easily integrated into a wide range of electronic projects, including environmental monitoring, aquaponics, hydroponics, and laboratory experiments. The EZO module simplifies pH measurement by offering a digital interface, making it suitable for both beginners and advanced users.
Common applications of the EZO include:
- Monitoring pH levels in water quality systems
- Controlling pH in hydroponic and aquaponic setups
- Laboratory experiments requiring precise pH readings
- Industrial processes involving pH monitoring and control
Explore Projects Built with EZO


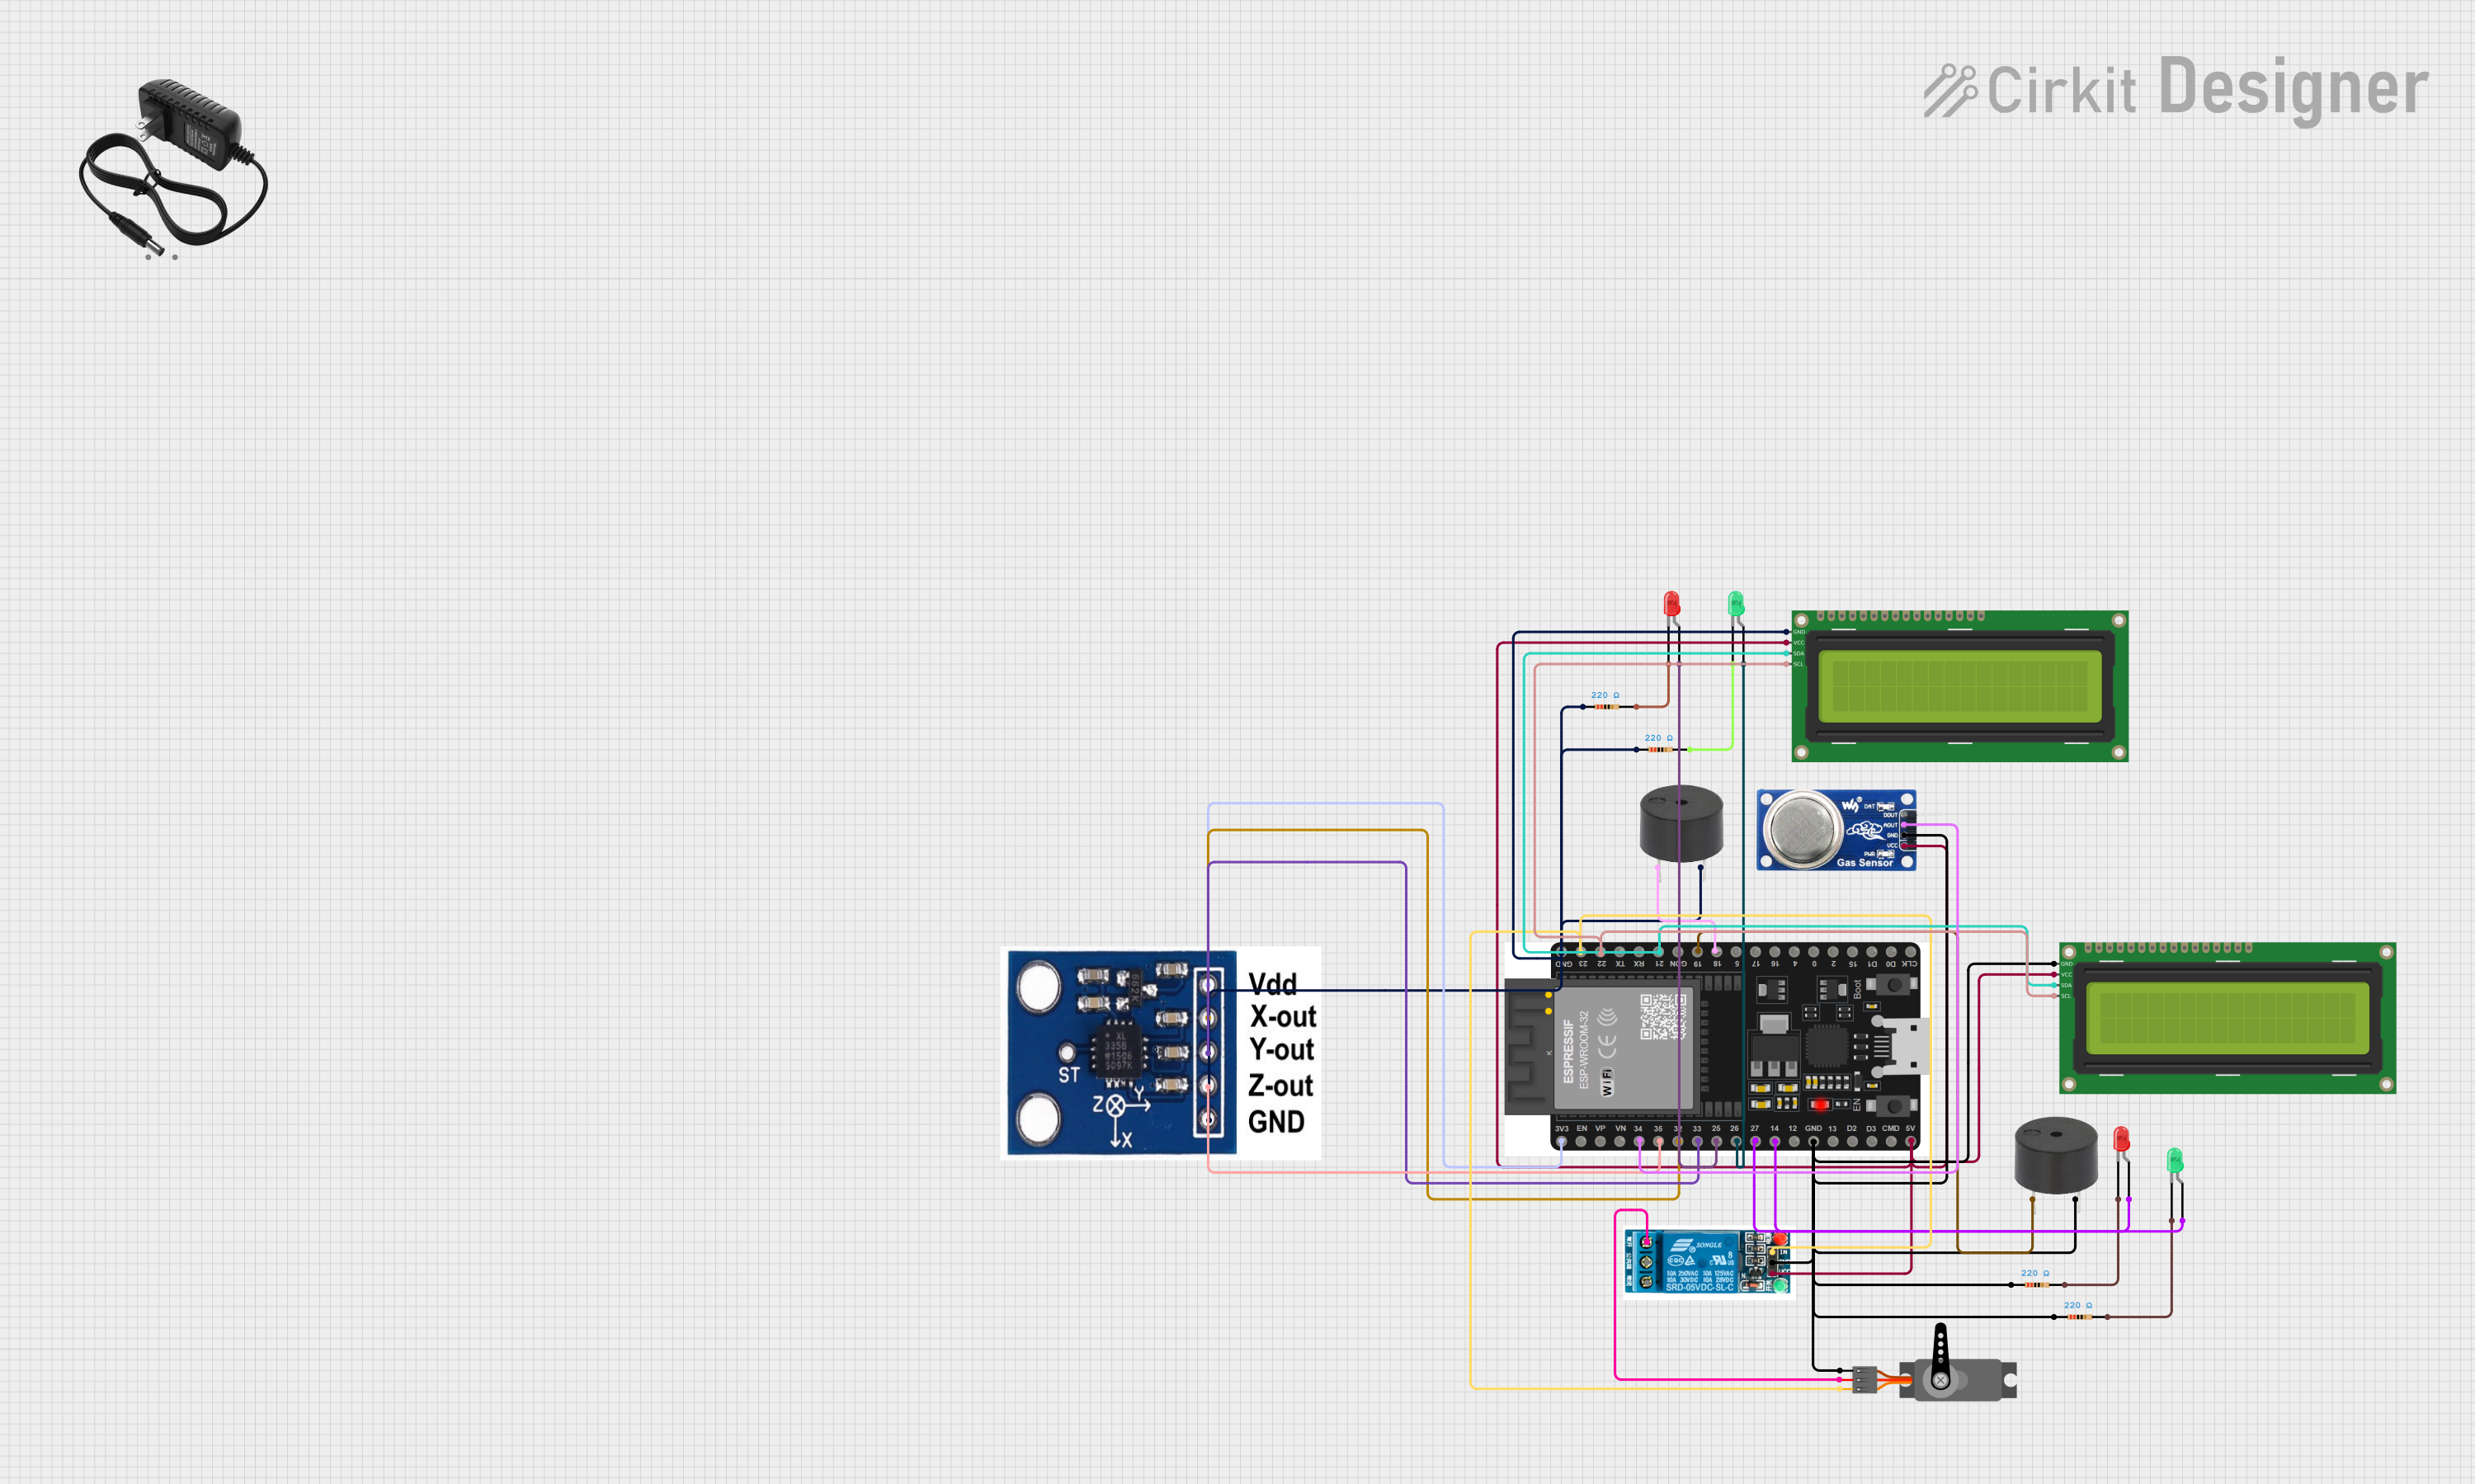
Explore Projects Built with EZO
Technical Specifications
The EZO pH sensor module is designed to deliver high accuracy and ease of use. Below are its key technical specifications:
| Parameter | Specification |
|---|---|
| Supply Voltage | 3.3V to 5.0V |
| Current Consumption | ~4mA (active), ~1.5mA (sleep mode) |
| pH Range | 0.00 to 14.00 |
| Accuracy | ±0.02 pH |
| Communication Protocol | UART (default) or I2C |
| Operating Temperature | 0°C to 50°C |
| Dimensions | 13.97mm x 20.32mm |
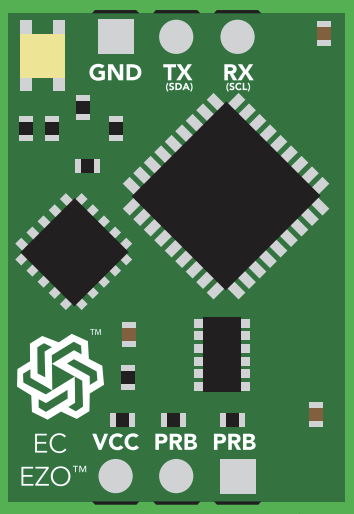
Pin Configuration
The EZO module has a simple pinout for easy integration. Below is the pin configuration:
| Pin | Name | Description |
|---|---|---|
| 1 | VCC | Power supply input (3.3V to 5.0V) |
| 2 | GND | Ground connection |
| 3 | TX | UART Transmit pin (sends data to the microcontroller) |
| 4 | RX | UART Receive pin (receives data from the microcontroller) |
| 5 | SDA | I2C Data line (used in I2C mode) |
| 6 | SCL | I2C Clock line (used in I2C mode) |
Usage Instructions
Connecting the EZO to a Microcontroller
- Power the Module: Connect the
VCCpin to a 3.3V or 5.0V power source and theGNDpin to ground. - Choose Communication Protocol:
- For UART: Connect the
TXpin of the EZO to the RX pin of the microcontroller, and theRXpin of the EZO to the TX pin of the microcontroller. - For I2C: Connect the
SDAandSCLpins to the corresponding I2C pins on the microcontroller.
- For UART: Connect the
- Calibrate the Sensor: Use the provided calibration commands to ensure accurate readings. Calibration typically involves using standard pH solutions (e.g., pH 4.0, 7.0, and 10.0).
Example: Using EZO with Arduino UNO (UART Mode)
Below is an example of how to connect and use the EZO module with an Arduino UNO in UART mode:
Wiring
VCC→ 5V on ArduinoGND→ GND on ArduinoTX→ Pin 10 on Arduino (SoftwareSerial RX)RX→ Pin 11 on Arduino (SoftwareSerial TX)
Code
#include <SoftwareSerial.h>

// Define SoftwareSerial pins for EZO communication
SoftwareSerial ezoSerial(10, 11); // RX, TX

void setup() {
  Serial.begin(9600); // Start Serial Monitor
  ezoSerial.begin(9600); // Start communication with EZO module

  Serial.println("EZO pH Sensor Example");
  delay(1000); // Allow time for the sensor to initialize
}

void loop() {
  // Send a command to the EZO module
  ezoSerial.println("R"); // "R" command requests a pH reading
  delay(1000); // Wait for the sensor to process the command

  // Check if data is available from the EZO module
  if (ezoSerial.available()) {
    String pHReading = ezoSerial.readStringUntil('\r'); // Read pH value
    Serial.print("pH: ");
    Serial.println(pHReading); // Print pH value to Serial Monitor
  }
}
Best Practices
- Always calibrate the sensor before use to ensure accurate readings.
- Avoid exposing the sensor to extreme temperatures or harsh chemicals.
- Use proper shielding and grounding to minimize electrical noise in the circuit.
- If using I2C mode, ensure the I2C address of the EZO module does not conflict with other devices on the bus.
Troubleshooting and FAQs
Common Issues
No Response from the Sensor:
- Ensure the module is powered correctly (check
VCCandGNDconnections). - Verify the communication protocol (UART or I2C) and wiring.
- Ensure the module is powered correctly (check
Inaccurate pH Readings:
- Perform a full calibration using standard pH solutions.
- Check for contamination or damage to the pH probe.
Intermittent Data Loss:
- Ensure proper grounding and minimize electrical noise.
- Use shorter wires or shielded cables for communication lines.
FAQs
Q: How often should I calibrate the EZO sensor?
A: Calibration frequency depends on usage. For critical applications, calibrate before each use. For general use, calibrate weekly or as needed.
Q: Can I use the EZO module with a Raspberry Pi?
A: Yes, the EZO module can be used with a Raspberry Pi via UART or I2C. Ensure proper voltage levels and connections.
Q: What is the default I2C address of the EZO module?
A: The default I2C address is 0x63. You can change it using the appropriate command.
Q: Can the EZO module be submerged in water?
A: No, the EZO module itself is not waterproof. Only the pH probe should be submerged.
By following this documentation, you can effectively integrate and use the EZO pH sensor module in your projects.