How to Use Probe EC Sensor: Examples, Pinouts, and Specs
Introduction
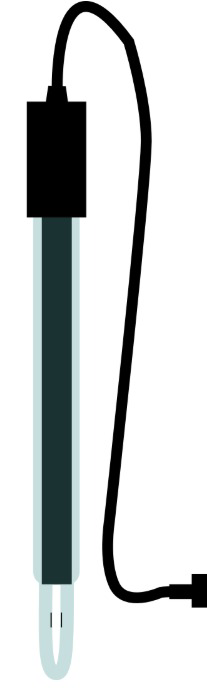
The Probe EC Sensor is a device designed to measure the electrical conductivity (EC) of a solution. Electrical conductivity is a key parameter in assessing the quality of water and is widely used in applications such as hydroponics, aquaponics, and general water quality testing. By measuring the EC, users can determine the concentration of dissolved salts and other conductive substances in the solution, which is crucial for maintaining optimal conditions in various environments.
Explore Projects Built with Probe EC Sensor
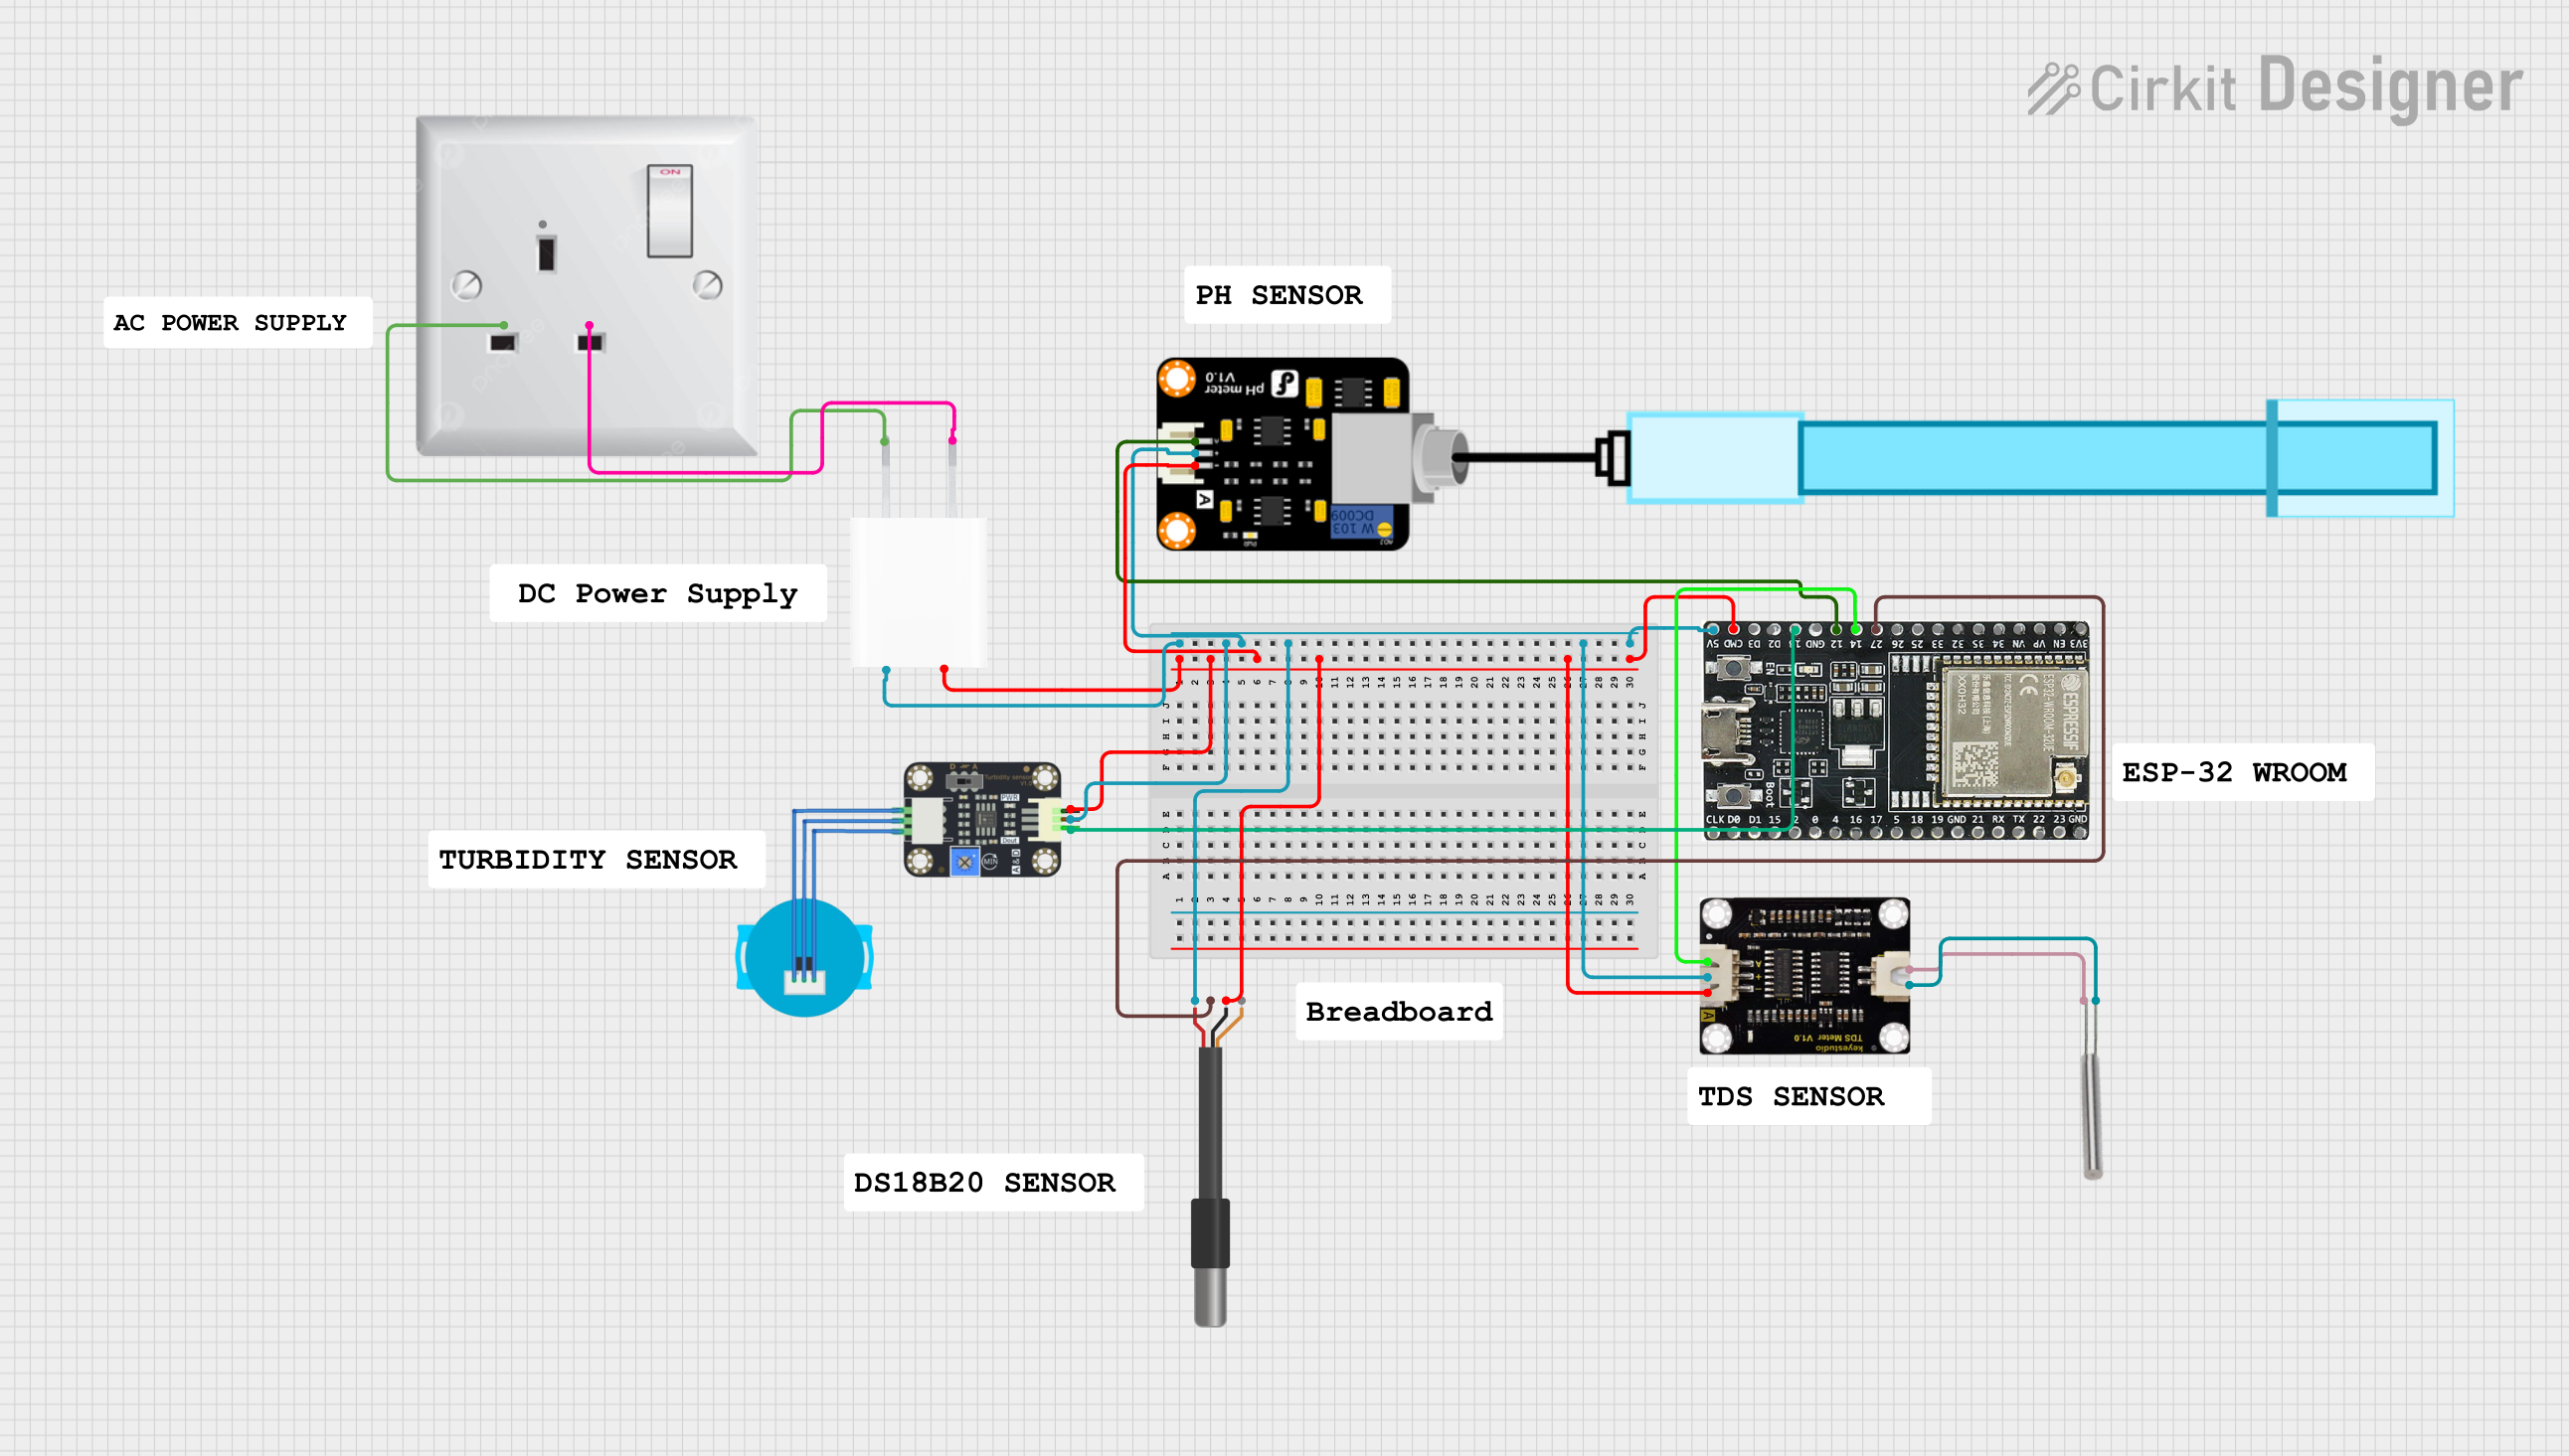
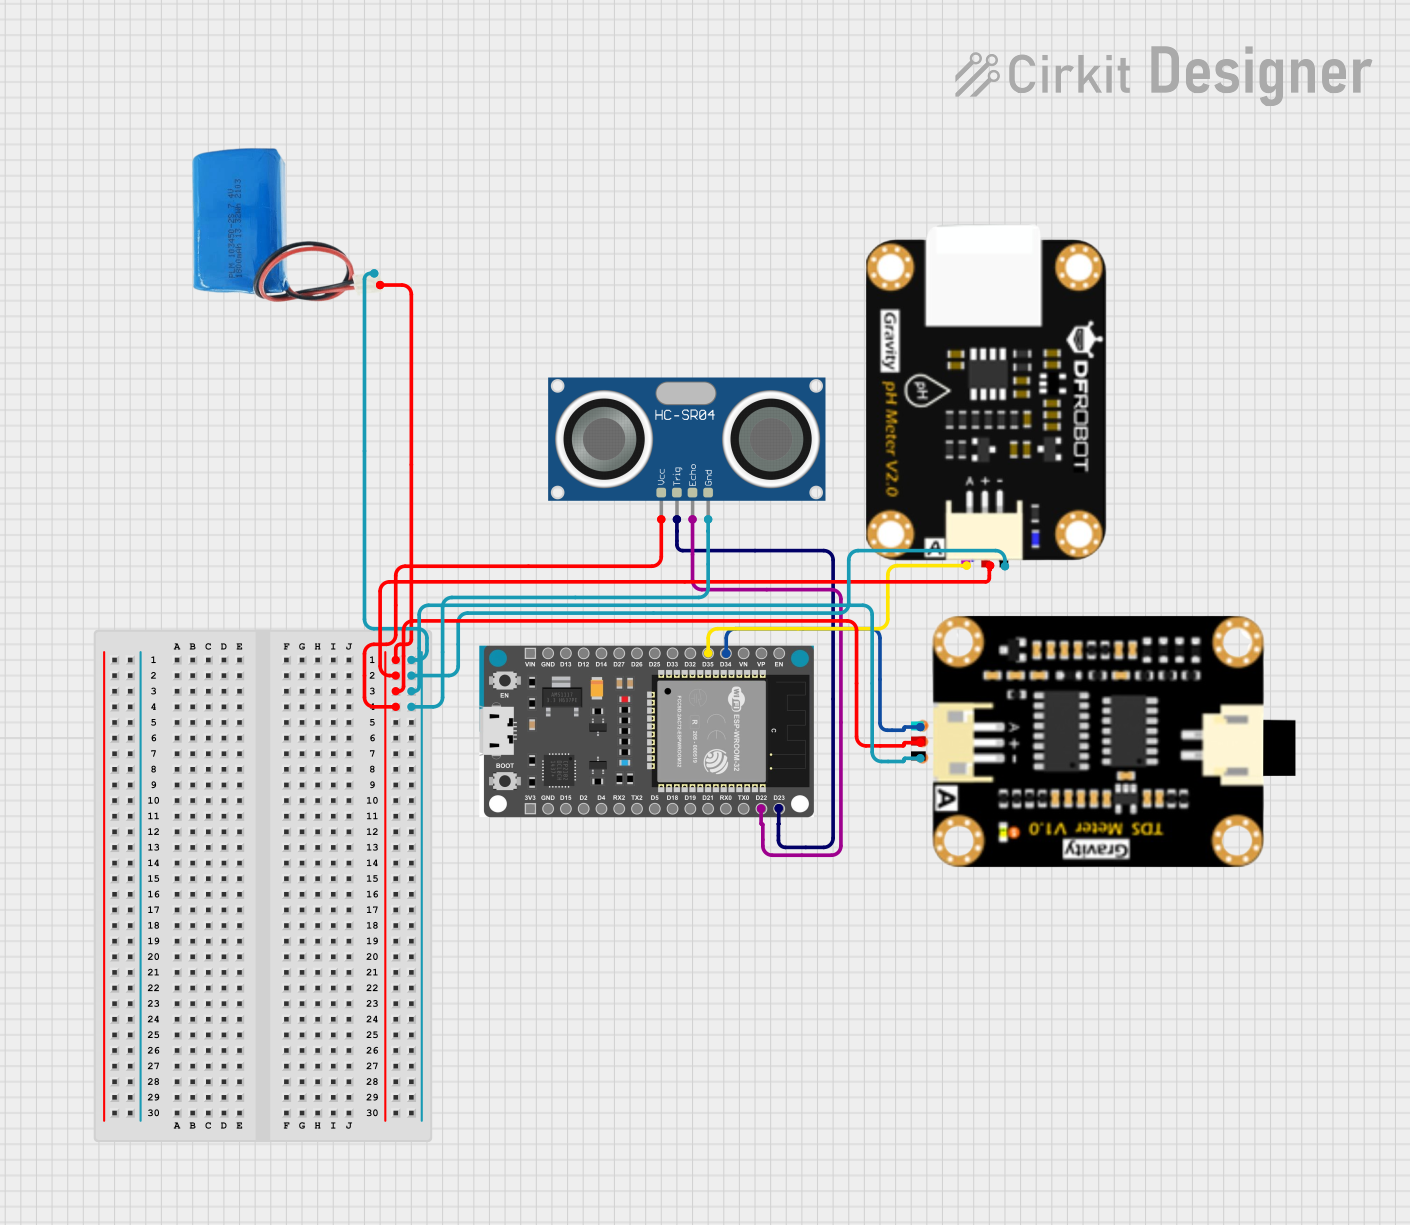
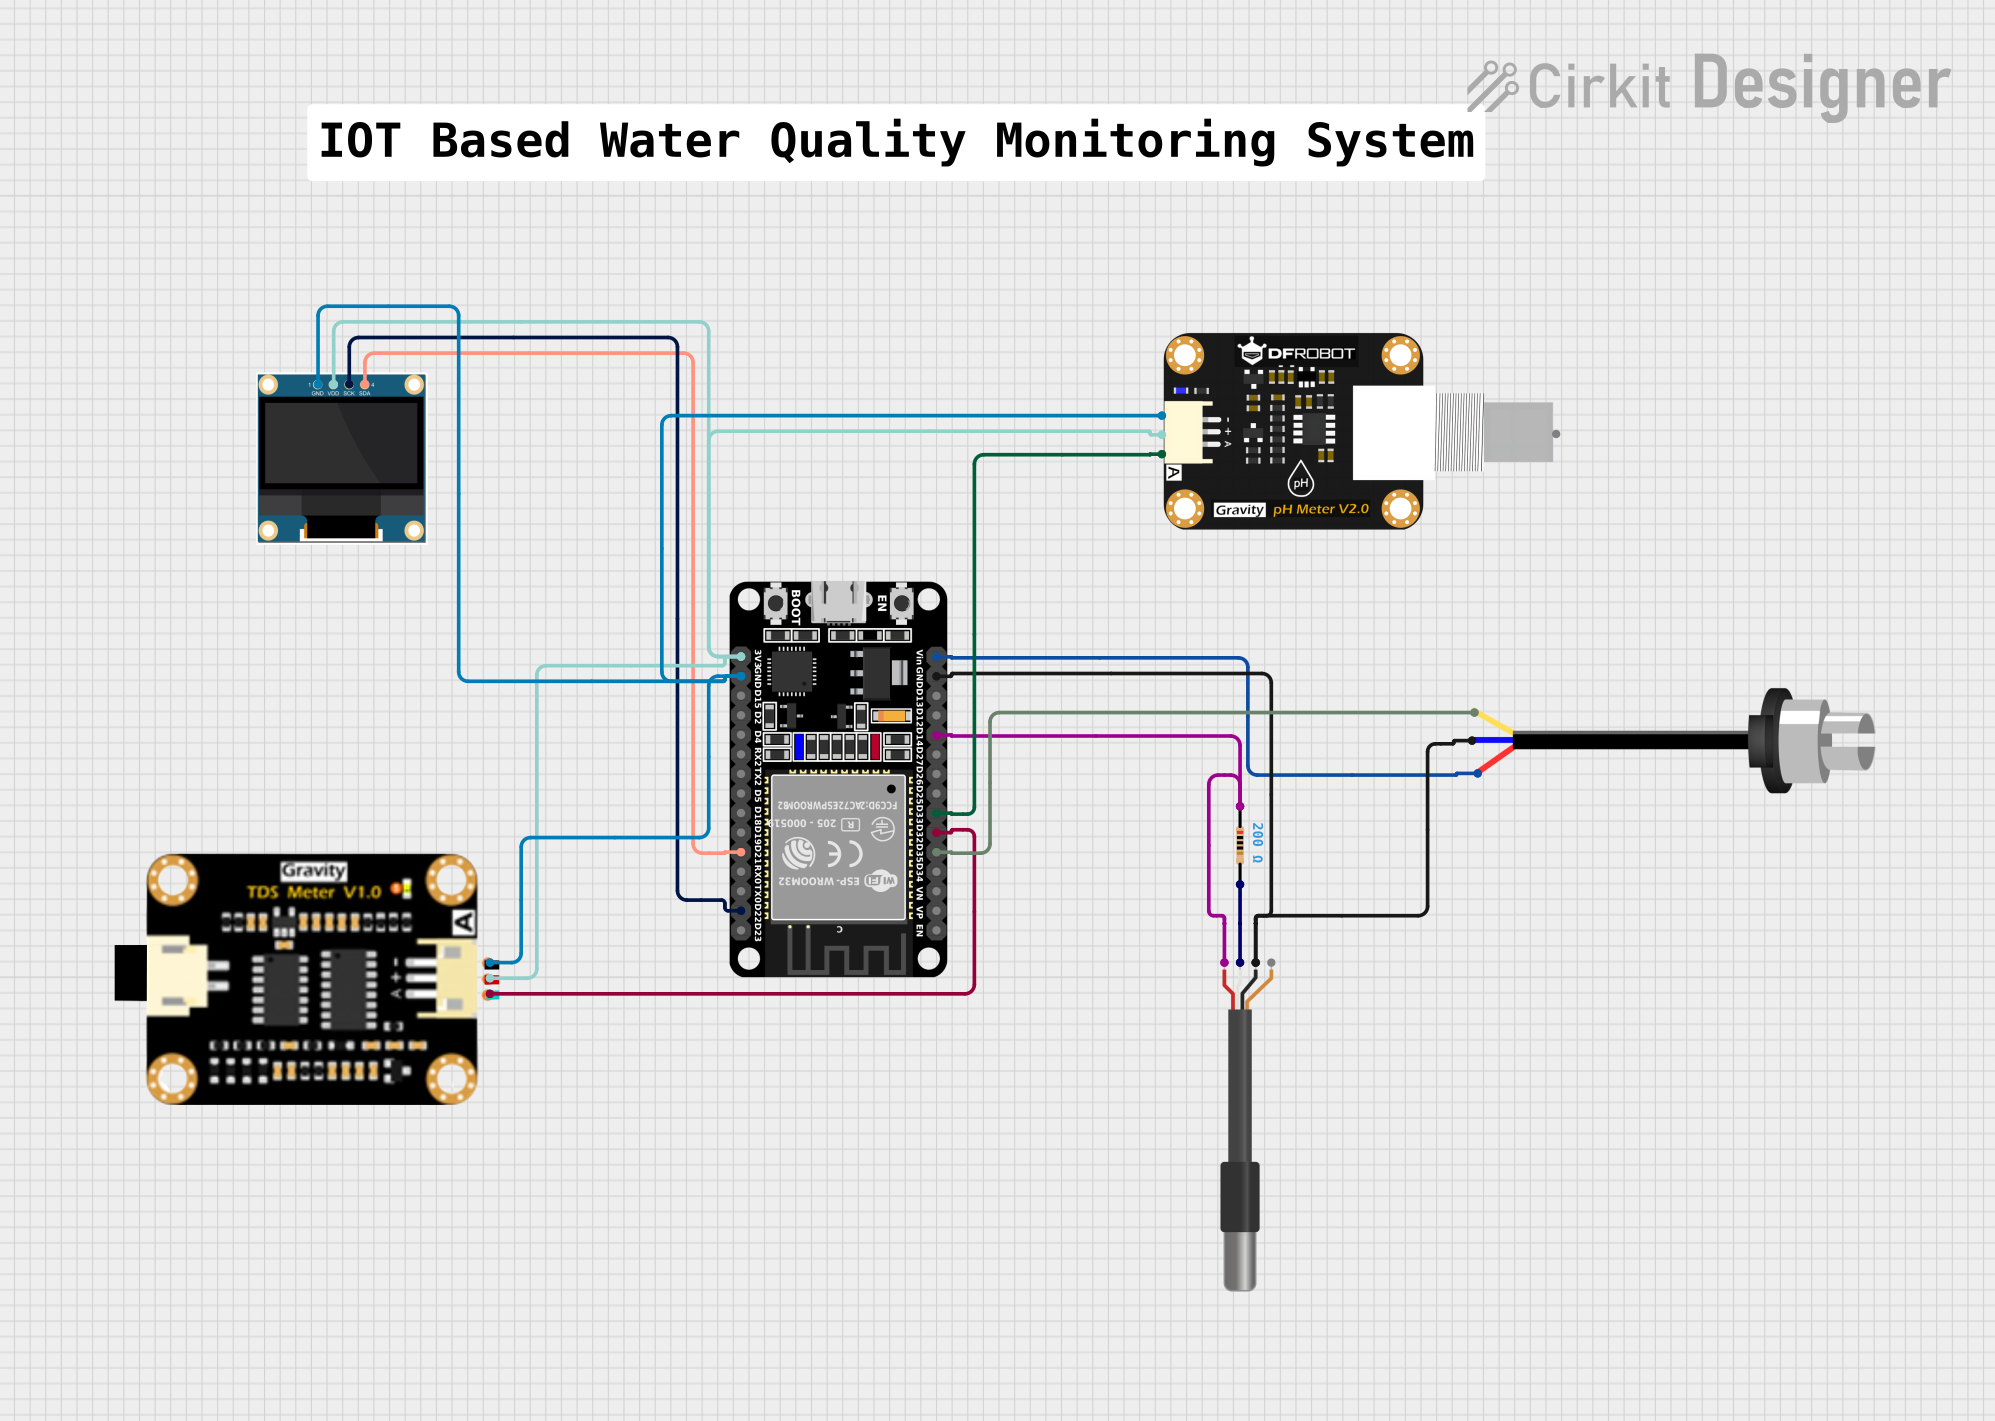
Explore Projects Built with Probe EC Sensor
Technical Specifications
Key Technical Details
| Parameter | Value |
|---|---|
| Operating Voltage | 3.3V - 5V |
| Operating Current | < 10mA |
| Measurement Range | 0 - 20 mS/cm |
| Accuracy | ± 2% |
| Temperature Range | 0°C - 60°C |
| Output Type | Analog |
Pin Configuration and Descriptions
| Pin Number | Pin Name | Description |
|---|---|---|
| 1 | VCC | Power supply (3.3V - 5V) |
| 2 | GND | Ground |
| 3 | AOUT | Analog output signal proportional to EC value |
| 4 | TEMP | Temperature sensor output (optional) |
Usage Instructions
How to Use the Component in a Circuit
- Power Supply: Connect the VCC pin to a 3.3V or 5V power supply and the GND pin to the ground of your circuit.
- Analog Output: Connect the AOUT pin to an analog input pin on your microcontroller (e.g., Arduino UNO).
- Temperature Sensor (Optional): If your sensor includes a temperature output, connect the TEMP pin to another analog input pin on your microcontroller.
Example Circuit Diagram
  VCC (Sensor)  ---->  5V (Arduino)
  GND (Sensor)  ---->  GND (Arduino)
  AOUT (Sensor) ---->  A0 (Arduino)
  TEMP (Sensor) ---->  A1 (Arduino) (if applicable)
Important Considerations and Best Practices
- Calibration: Regularly calibrate the sensor using standard EC solutions to ensure accurate readings.
- Temperature Compensation: EC readings can be affected by temperature. Use the temperature output (if available) to compensate for temperature variations.
- Cleaning: Keep the sensor clean and free from deposits to maintain accuracy. Rinse with distilled water after each use.
- Avoid Air Bubbles: Ensure the sensor is fully submerged in the solution without air bubbles around the probe.
Sample Arduino Code
// Sample code to read EC values from the Probe EC Sensor
const int ecPin = A0; // Analog pin connected to AOUT
const int tempPin = A1; // Analog pin connected to TEMP (if applicable)

void setup() {
  Serial.begin(9600); // Initialize serial communication
}

void loop() {
  int ecValue = analogRead(ecPin); // Read the analog value from the EC sensor
  float voltage = ecValue * (5.0 / 1023.0); // Convert the analog value to voltage
  float ec = voltage * 1000; // Convert voltage to EC value (example conversion)

  Serial.print("EC Value: ");
  Serial.print(ec);
  Serial.println(" mS/cm");

  // If temperature compensation is needed
  int tempValue = analogRead(tempPin); // Read the analog value from the TEMP sensor
  float temperature = tempValue * (5.0 / 1023.0) * 100; // Convert to temperature

  Serial.print("Temperature: ");
  Serial.print(temperature);
  Serial.println(" °C");

  delay(1000); // Wait for 1 second before the next reading
}
Troubleshooting and FAQs
Common Issues Users Might Face
Inaccurate Readings:
- Solution: Ensure the sensor is properly calibrated using standard EC solutions. Check for any deposits or contaminants on the probe and clean it if necessary.
No Output Signal:
- Solution: Verify the power supply connections. Ensure the VCC and GND pins are correctly connected to the power source.
Fluctuating Readings:
- Solution: Ensure the sensor is fully submerged in the solution without air bubbles. Stabilize the solution to avoid turbulence.
Temperature Compensation Not Working:
- Solution: Check the connection of the TEMP pin. Ensure the temperature sensor is functioning correctly and the code is properly reading the temperature values.
FAQs
Q: How often should I calibrate the EC sensor?
- A: It is recommended to calibrate the sensor before each use or at least once a week for consistent accuracy.
Q: Can I use the EC sensor in high-temperature solutions?
- A: The sensor is designed to operate within a temperature range of 0°C to 60°C. Using it outside this range may result in inaccurate readings or damage to the sensor.
Q: How do I clean the EC sensor?
- A: Rinse the sensor with distilled water after each use. For more thorough cleaning, use a soft brush and mild detergent, then rinse with distilled water.
By following this documentation, users can effectively utilize the Probe EC Sensor in their projects, ensuring accurate and reliable measurements of electrical conductivity in various solutions.