How to Use Adafruit BMP280: Examples, Pinouts, and Specs
Introduction
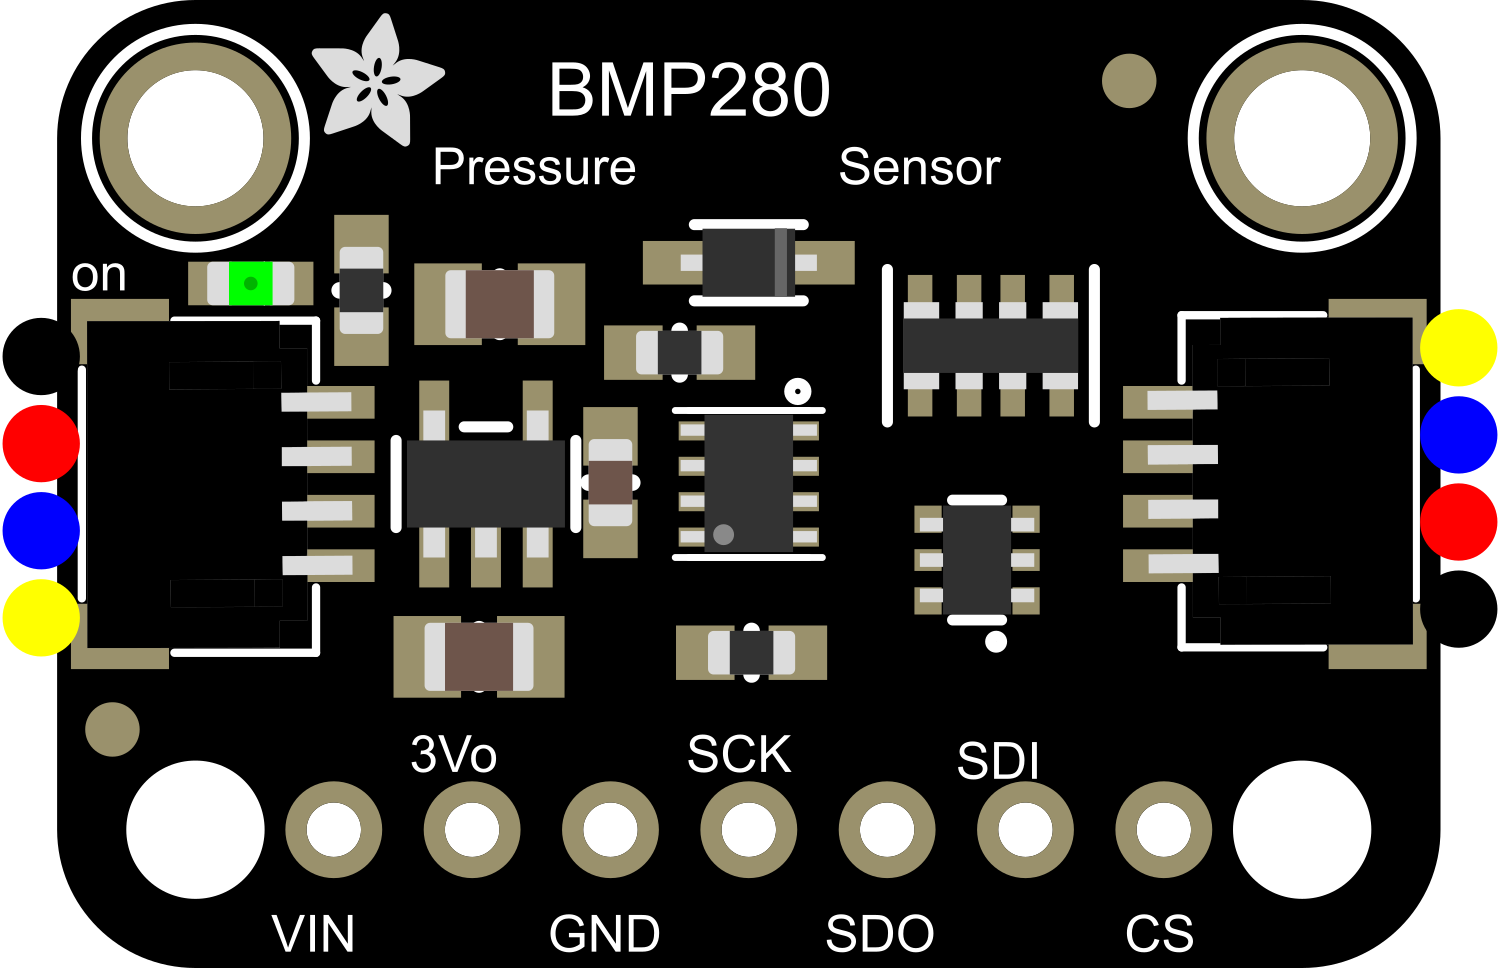
The Adafruit BMP280 breakout board is a compact and versatile sensor module that features the BMP280 sensor. This sensor is capable of measuring barometric pressure and temperature with high accuracy, which makes it suitable for a wide range of applications including weather monitoring, altitude sensing, and environmental data logging.
Explore Projects Built with Adafruit BMP280
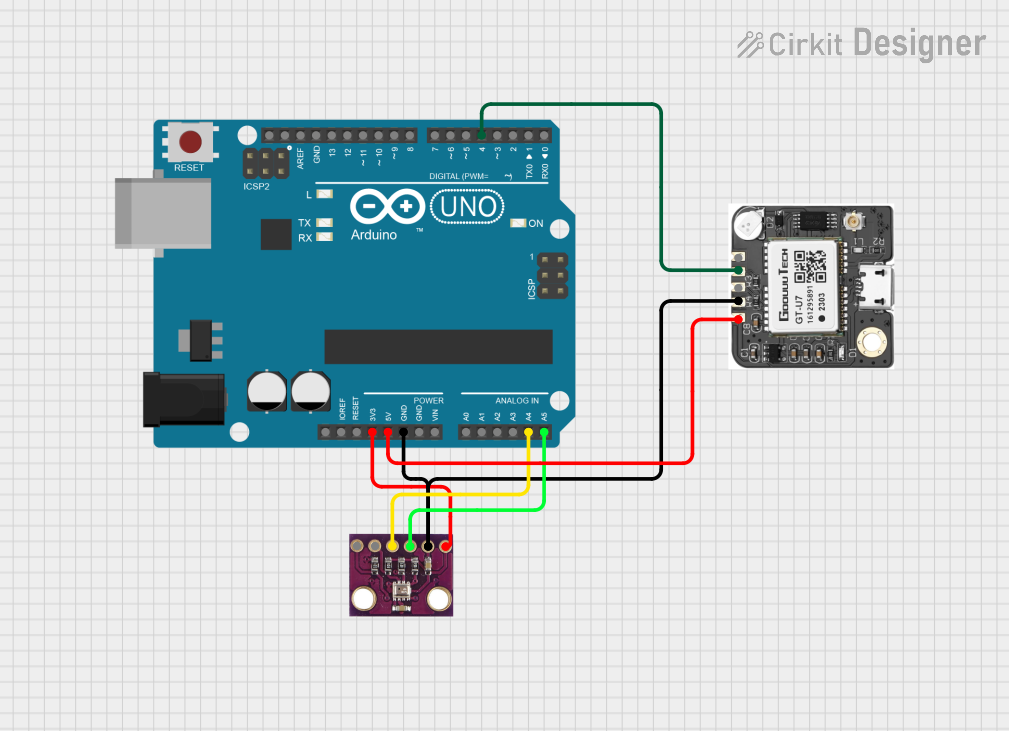
Explore Projects Built with Adafruit BMP280
Common Applications and Use Cases
- Weather stations
- Altitude measurement for drones and RC aircraft
- Indoor navigation (floor detection in buildings)
- Environmental monitoring
- IoT applications
Technical Specifications
Key Technical Details
- Pressure Sensing Range: 300 to 1100 hPa (hectopascals)
- Relative Accuracy: ±0.12 hPa, equivalent to ±1 m (3.3 feet) of altitude
- Absolute Accuracy: ±1 hPa
- Temperature Range: -40 to +85°C
- Temperature Accuracy: ±1.0°C
- Operating Voltage: 1.71 to 3.6V
- Interface: I2C (up to 3.4 MHz) and SPI (up to 10 MHz)
- Current Consumption: 2.7 µA at 1 Hz sampling rate
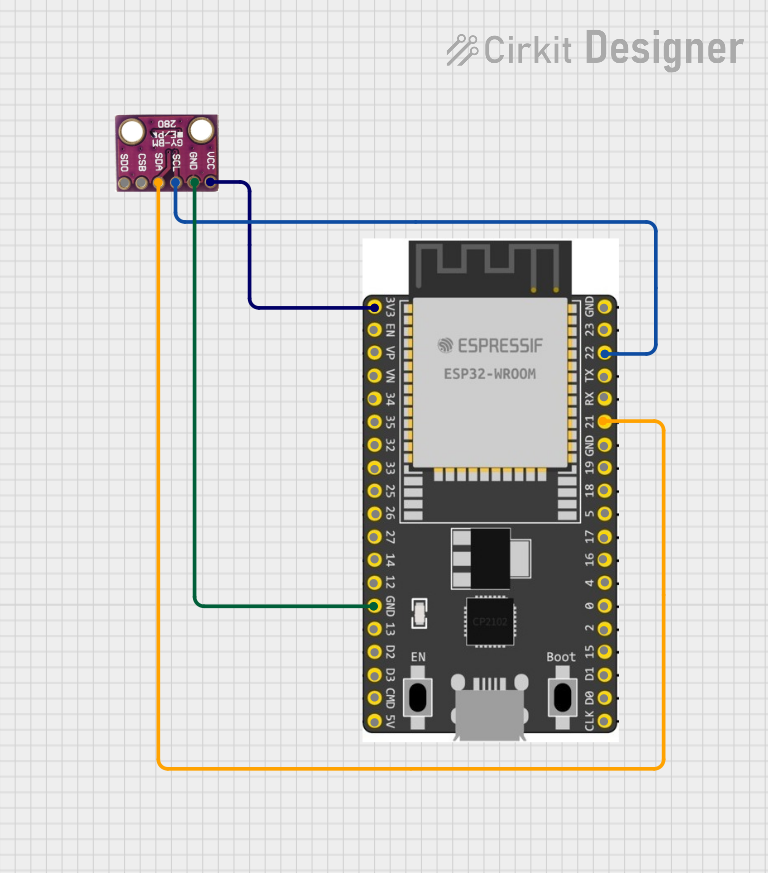
Pin Configuration and Descriptions
| Pin Number | Pin Name | Description |
|---|---|---|
| 1 | VIN | Supply voltage (1.71V to 3.6V) |
| 2 | GND | Ground |
| 3 | SCK | Serial Clock (also used for SPI) |
| 4 | SDI | Serial Data In (also MOSI for SPI) |
| 5 | SDO | Serial Data Out (also MISO for SPI) |
| 6 | CS | Chip Select (active low, used for SPI) |
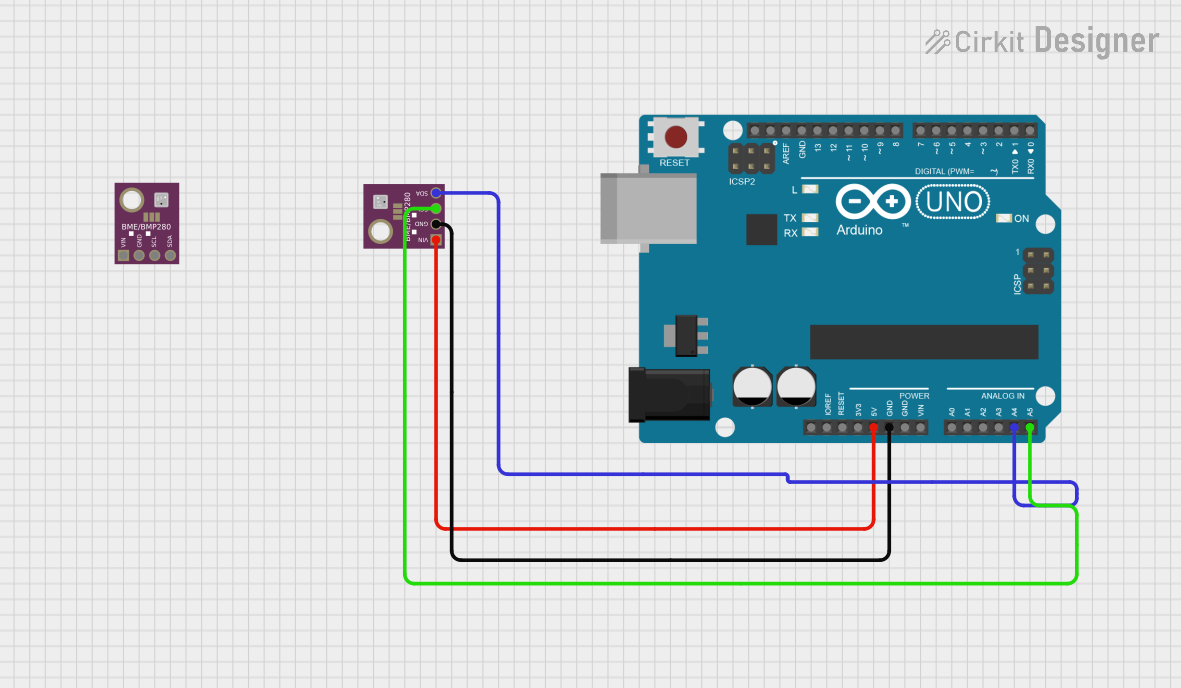
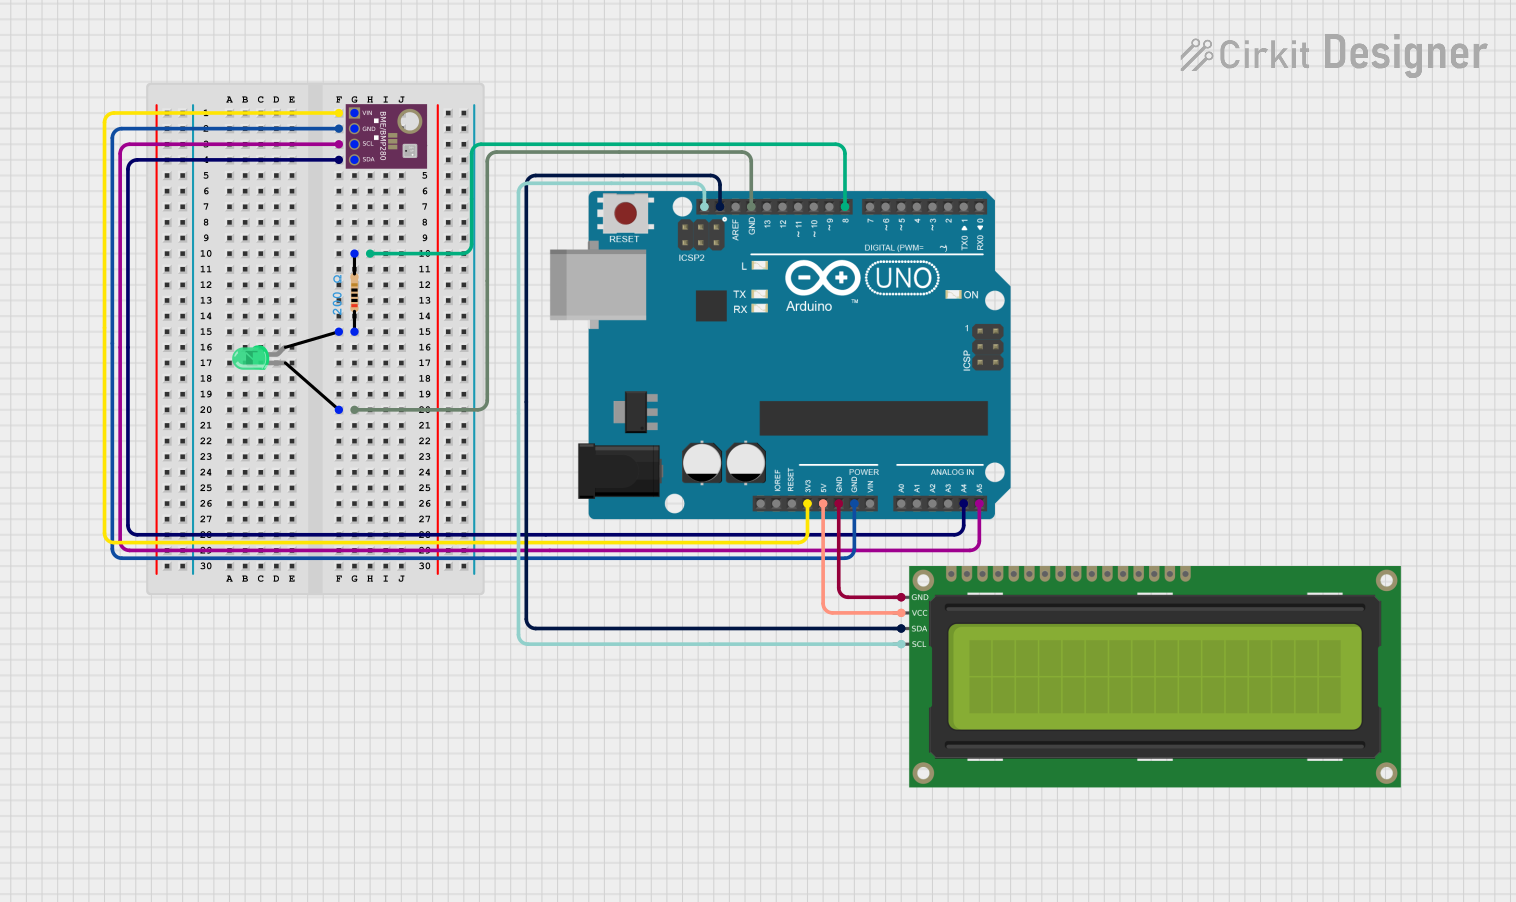
Usage Instructions
How to Use the Component in a Circuit
- Powering the Sensor: Connect the VIN pin to a 1.71V to 3.6V power supply and the GND pin to the ground.
- I2C Communication: Connect the SCK pin to the I2C clock (SCL) and the SDI pin to the I2C data (SDA) line. If using with an Arduino, these will typically connect to A5 (SCL) and A4 (SDA) respectively.
- SPI Communication: For SPI, connect SCK to the SPI clock, SDI to MOSI, SDO to MISO, and CS to a digital pin for chip select.
- Addressing: The BMP280 has one I2C address, 0x77 or 0x76, depending on the connection of the SDO pin. Connect SDO to GND for 0x76 or leave it floating for 0x77.
Important Considerations and Best Practices
- Ensure that the power supply voltage does not exceed 3.6V to prevent damage.
- Use pull-up resistors on the I2C lines if they are not already present on the breakout board.
- For accurate temperature readings, avoid placing the sensor near heat-generating components.
- When using SPI, ensure that the CS pin is driven high to low before and after communication to enable and disable the device.
Example Code for Arduino UNO
#include <Wire.h>
#include <Adafruit_Sensor.h>
#include <Adafruit_BMP280.h>

Adafruit_BMP280 bmp; // I2C Interface

void setup() {
  Serial.begin(9600);
  if (!bmp.begin(0x76)) {   // Change to 0x77 depending on your wiring
    Serial.println(F("Could not find a valid BMP280 sensor, check wiring!"));
    while (1);
  }
}

void loop() {
    Serial.print(F("Temperature = "));
    Serial.print(bmp.readTemperature());
    Serial.println(" *C");

    Serial.print(F("Pressure = "));
    Serial.print(bmp.readPressure());
    Serial.println(" Pa");

    Serial.print(F("Approx altitude = "));
    Serial.print(bmp.readAltitude(1013.25)); // Standard atmospheric pressure
    Serial.println(" m");

    delay(2000);
}
Troubleshooting and FAQs
Common Issues Users Might Face
- Sensor Not Detected: Ensure that the wiring is correct and that the sensor is properly powered. Check the I2C address used in the code.
- Inaccurate Readings: Verify that the sensor is not exposed to sudden temperature changes or close to heat sources.
- Noisy Data: Use averaging or a low-pass filter in your code to smooth out the data.
Solutions and Tips for Troubleshooting
- Double-check the connections and solder joints.
- Use a multimeter to verify the voltage at the VIN pin.
- If using I2C, scan the bus to ensure the sensor is detected.
- For SPI communication, ensure that the CS pin is being used correctly.
FAQs
Q: Can the BMP280 measure humidity? A: No, the BMP280 is designed to measure pressure and temperature only.
Q: What is the default I2C address of the BMP280? A: The default I2C address is 0x77, but it can be changed to 0x76 by connecting the SDO pin to ground.
Q: How can I calibrate the altitude reading? A: Use a known reference sea-level pressure in your location to calibrate the altitude reading.
Q: Is the BMP280 waterproof? A: No, the BMP280 is not waterproof and should be protected from moisture and water exposure.
For further assistance, consult the Adafruit BMP280 datasheet and the community forums for additional support and resources.