
How to Use LCD 16x2 I2C Display: Examples, Pinouts, and Specs
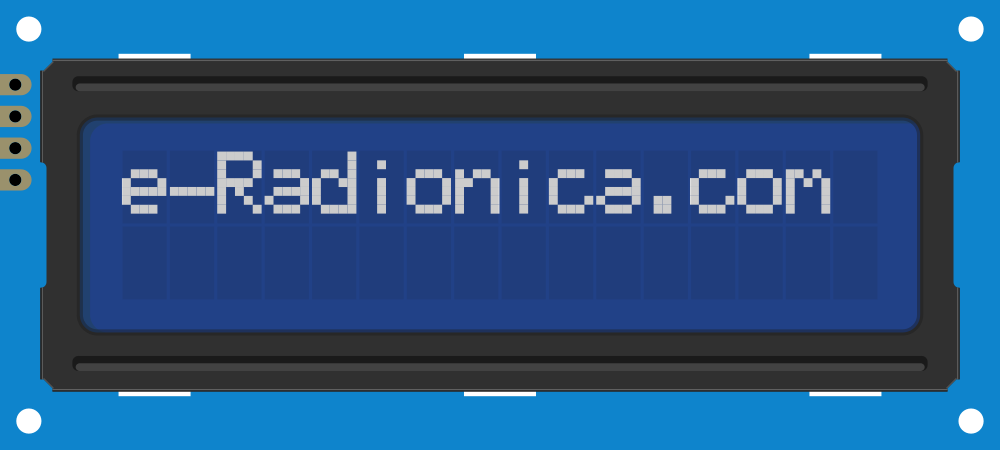
 Design with LCD 16x2 I2C Display in Cirkit Designer
Introduction
The LCD 16x2 I2C Display is a liquid crystal display module capable of showing 16 characters per line across 2 lines. It features an I2C (Inter-Integrated Circuit) interface, which significantly reduces the number of pins required for connection, making it ideal for microcontroller-based projects. This display is widely used in electronics projects for visual output, such as displaying sensor readings, system status, or user interfaces.
Explore Projects Built with LCD 16x2 I2C Display
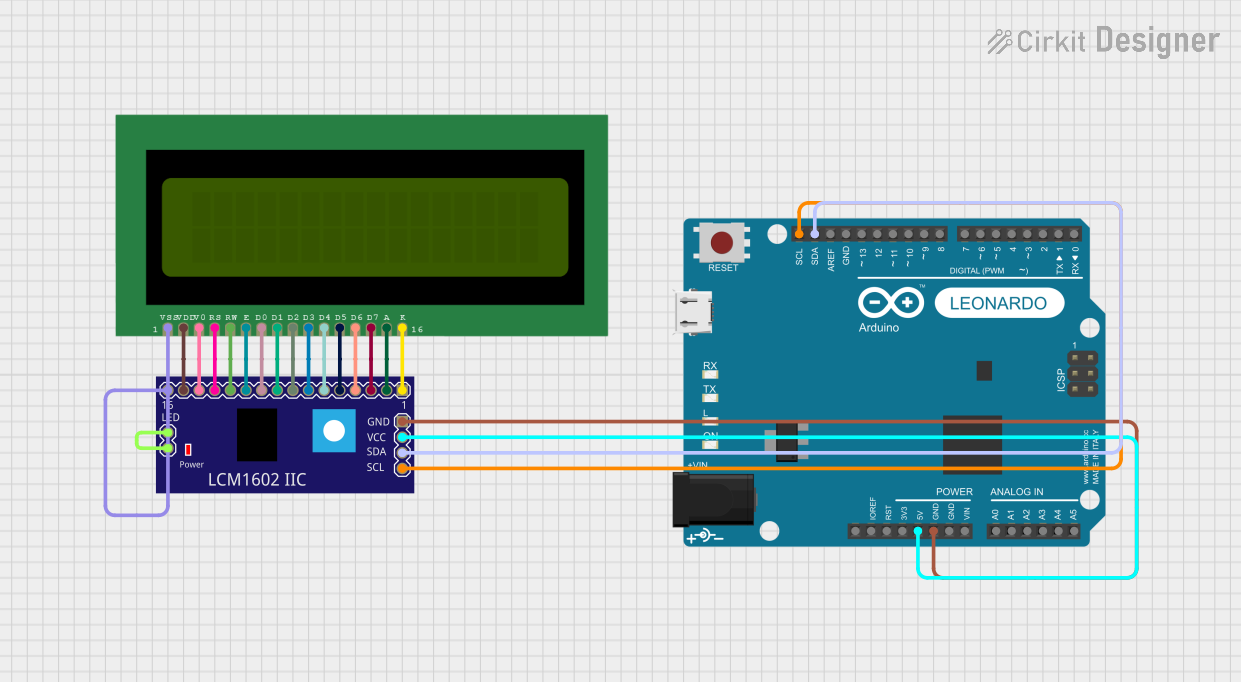 Open Project in Cirkit Designer
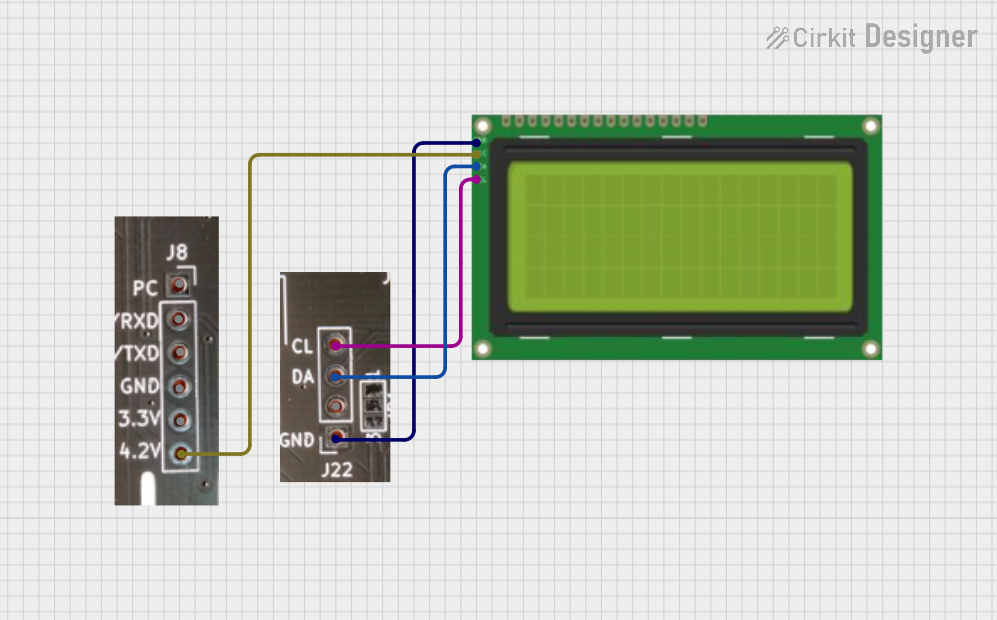 Open Project in Cirkit Designer
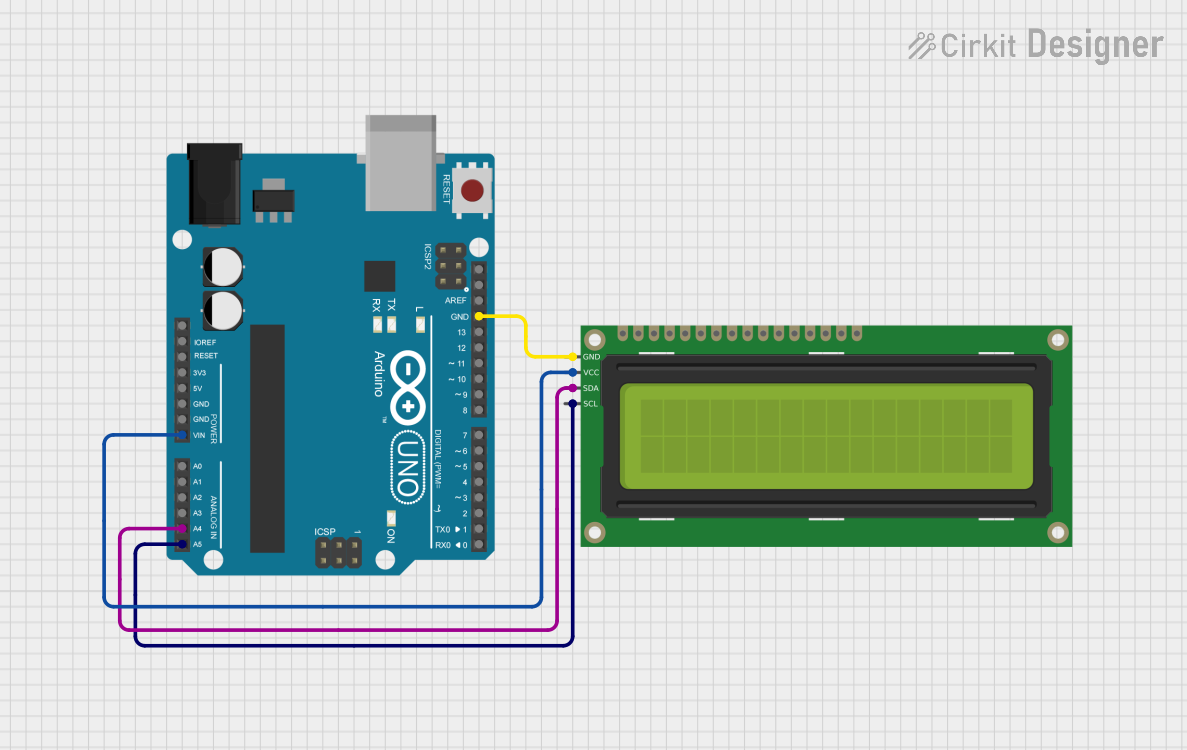 Open Project in Cirkit Designer
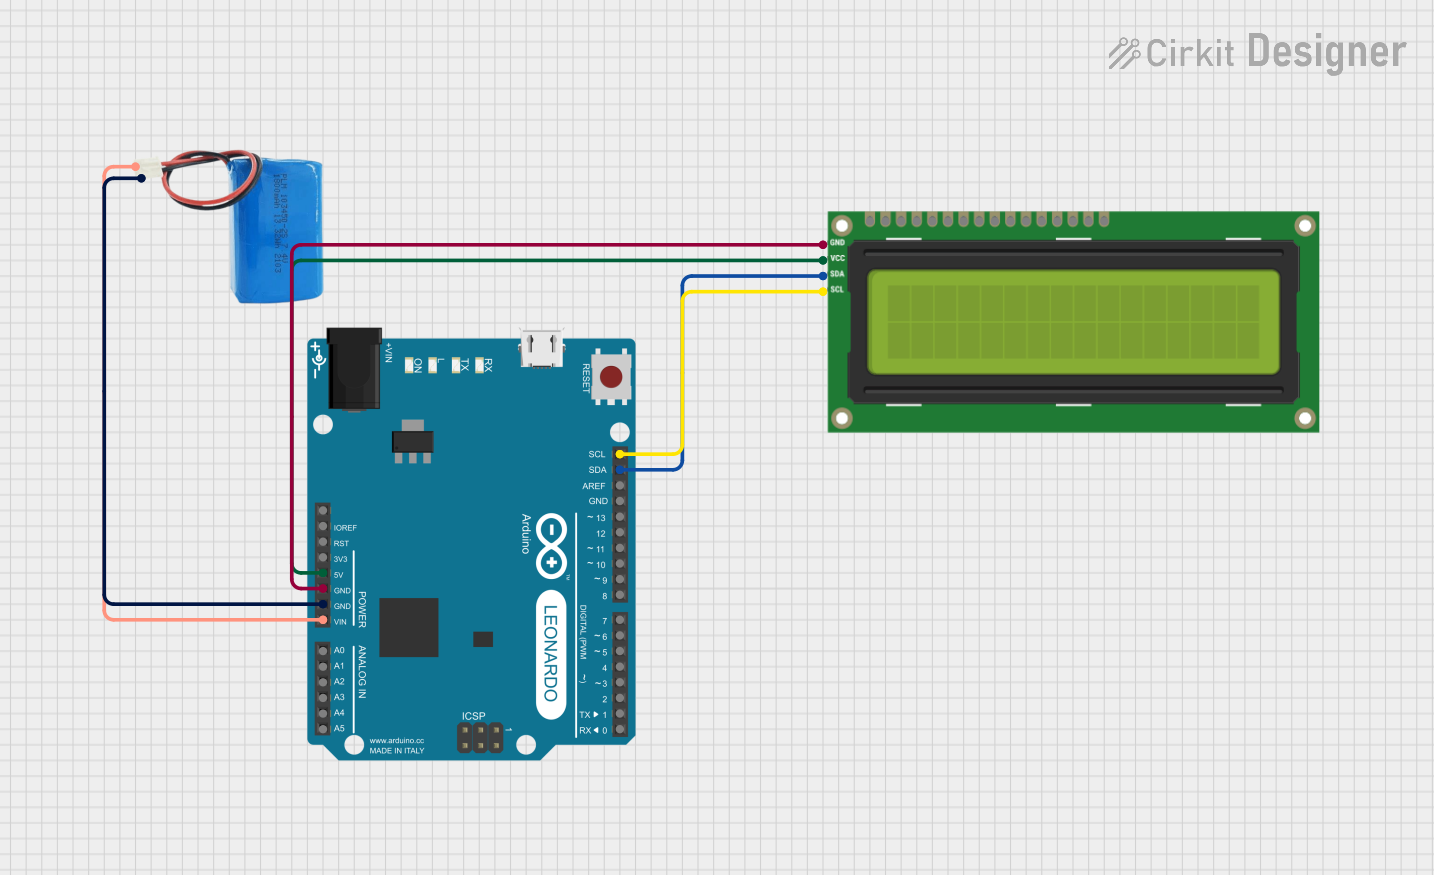 Open Project in Cirkit Designer
Explore Projects Built with LCD 16x2 I2C Display
Open Project in Cirkit DesignerOpen Project in Cirkit DesignerOpen Project in Cirkit DesignerOpen Project in Cirkit DesignerCommon Applications and Use Cases
- Embedded systems and microcontroller projects
- Home automation displays
- Sensor data visualization
- Menu-based user interfaces
- Educational and prototyping purposes
Technical Specifications
Key Technical Details
- Display Type: 16x2 character LCD
- Interface: I2C (requires only 2 data pins: SDA and SCL)
- Operating Voltage: 5V DC
- Backlight: LED backlight with adjustable brightness
- Character Size: 5x8 dot matrix per character
- I2C Address: Typically
0x27or0x3F(configurable via solder jumpers) - Dimensions: 80mm x 36mm x 12mm (approx.)
- Operating Temperature: -20°C to 70°C
Pin Configuration and Descriptions
The LCD 16x2 I2C Display has a 4-pin interface for connection:
| Pin Name | Description | Notes |
|---|---|---|
| GND | Ground | Connect to the ground of the system. |
| VCC | Power Supply | Connect to 5V DC. |
| SDA | Serial Data Line | Connect to the microcontroller's SDA pin. |
| SCL | Serial Clock Line | Connect to the microcontroller's SCL pin. |
Usage Instructions
How to Use the Component in a Circuit
Wiring the Display:
- Connect the
GNDpin of the display to the ground of your microcontroller. - Connect the
VCCpin to the 5V power supply of your microcontroller. - Connect the
SDApin to the SDA pin of your microcontroller (e.g., A4 on Arduino UNO). - Connect the
SCLpin to the SCL pin of your microcontroller (e.g., A5 on Arduino UNO).
- Connect the
Install Required Libraries:
- For Arduino, install the
LiquidCrystal_I2Clibrary via the Library Manager:- Open the Arduino IDE.
- Go to Sketch > Include Library > Manage Libraries.
- Search for
LiquidCrystal_I2Cand install it.
- For Arduino, install the
Basic Arduino Code Example: Below is an example code to display "Hello, World!" on the LCD:
// Include the LiquidCrystal_I2C library
#include <Wire.h>
#include <LiquidCrystal_I2C.h>

// Initialize the LCD with I2C address 0x27 and 16x2 dimensions
LiquidCrystal_I2C lcd(0x27, 16, 2);

void setup() {
  lcd.begin(); // Initialize the LCD
  lcd.backlight(); // Turn on the backlight
  lcd.setCursor(0, 0); // Set cursor to the first column, first row
  lcd.print("Hello, World!"); // Print text to the LCD
}

void loop() {
  // Nothing to do here
}
Important Considerations and Best Practices
- I2C Address: Ensure the correct I2C address (
0x27or0x3F) is used in your code. If unsure, use an I2C scanner sketch to detect the address. - Power Supply: Use a stable 5V power source to avoid flickering or malfunction.
- Contrast Adjustment: Some modules have a potentiometer for adjusting the contrast. Turn it to achieve optimal text visibility.
- Pull-Up Resistors: If your microcontroller does not have built-in pull-up resistors on the I2C lines, you may need to add external resistors (typically 4.7kΩ) between SDA/SCL and VCC.
Troubleshooting and FAQs
Common Issues and Solutions
No Display or Backlight:
- Verify the wiring connections, especially
VCCandGND. - Ensure the power supply is 5V and stable.
- Verify the wiring connections, especially
Incorrect or No Text Displayed:
- Check the I2C address in your code. Use an I2C scanner sketch to confirm the address.
- Ensure the
LiquidCrystal_I2Clibrary is installed and correctly included in your code.
Flickering or Dim Backlight:
- Check the power supply for sufficient current.
- Ensure proper soldering and connections on the module.
Text Not Visible or Faint:
- Adjust the contrast potentiometer on the module.
FAQs
Q: How do I find the I2C address of my LCD module?
A: Use an I2C scanner sketch to detect the address. Upload the sketch to your microcontroller, and it will print the detected address in the Serial Monitor.
Q: Can I use this display with a 3.3V microcontroller?
A: Yes, but you may need a logic level shifter for the I2C lines if the module does not support 3.3V logic.
Q: Can I connect multiple I2C devices to the same microcontroller?
A: Yes, as long as each device has a unique I2C address. If there is an address conflict, you may need to modify the address of one device (if supported).
Q: Why is my text mirrored or garbled?
A: This could be due to an incorrect I2C address or a faulty module. Double-check the address and connections.
By following this documentation, you should be able to successfully integrate and use the LCD 16x2 I2C Display in your projects!