How to Use LM2577: Examples, Pinouts, and Specs

Introduction
The LM2577 is a step-up (boost) voltage regulator designed to efficiently convert a lower input voltage to a higher output voltage. It is widely used in applications requiring a stable and regulated output voltage from a battery or other low-voltage sources. The LM2577 is a versatile and reliable component, making it ideal for powering devices such as portable electronics, LED drivers, and small motor controllers.
Explore Projects Built with LM2577
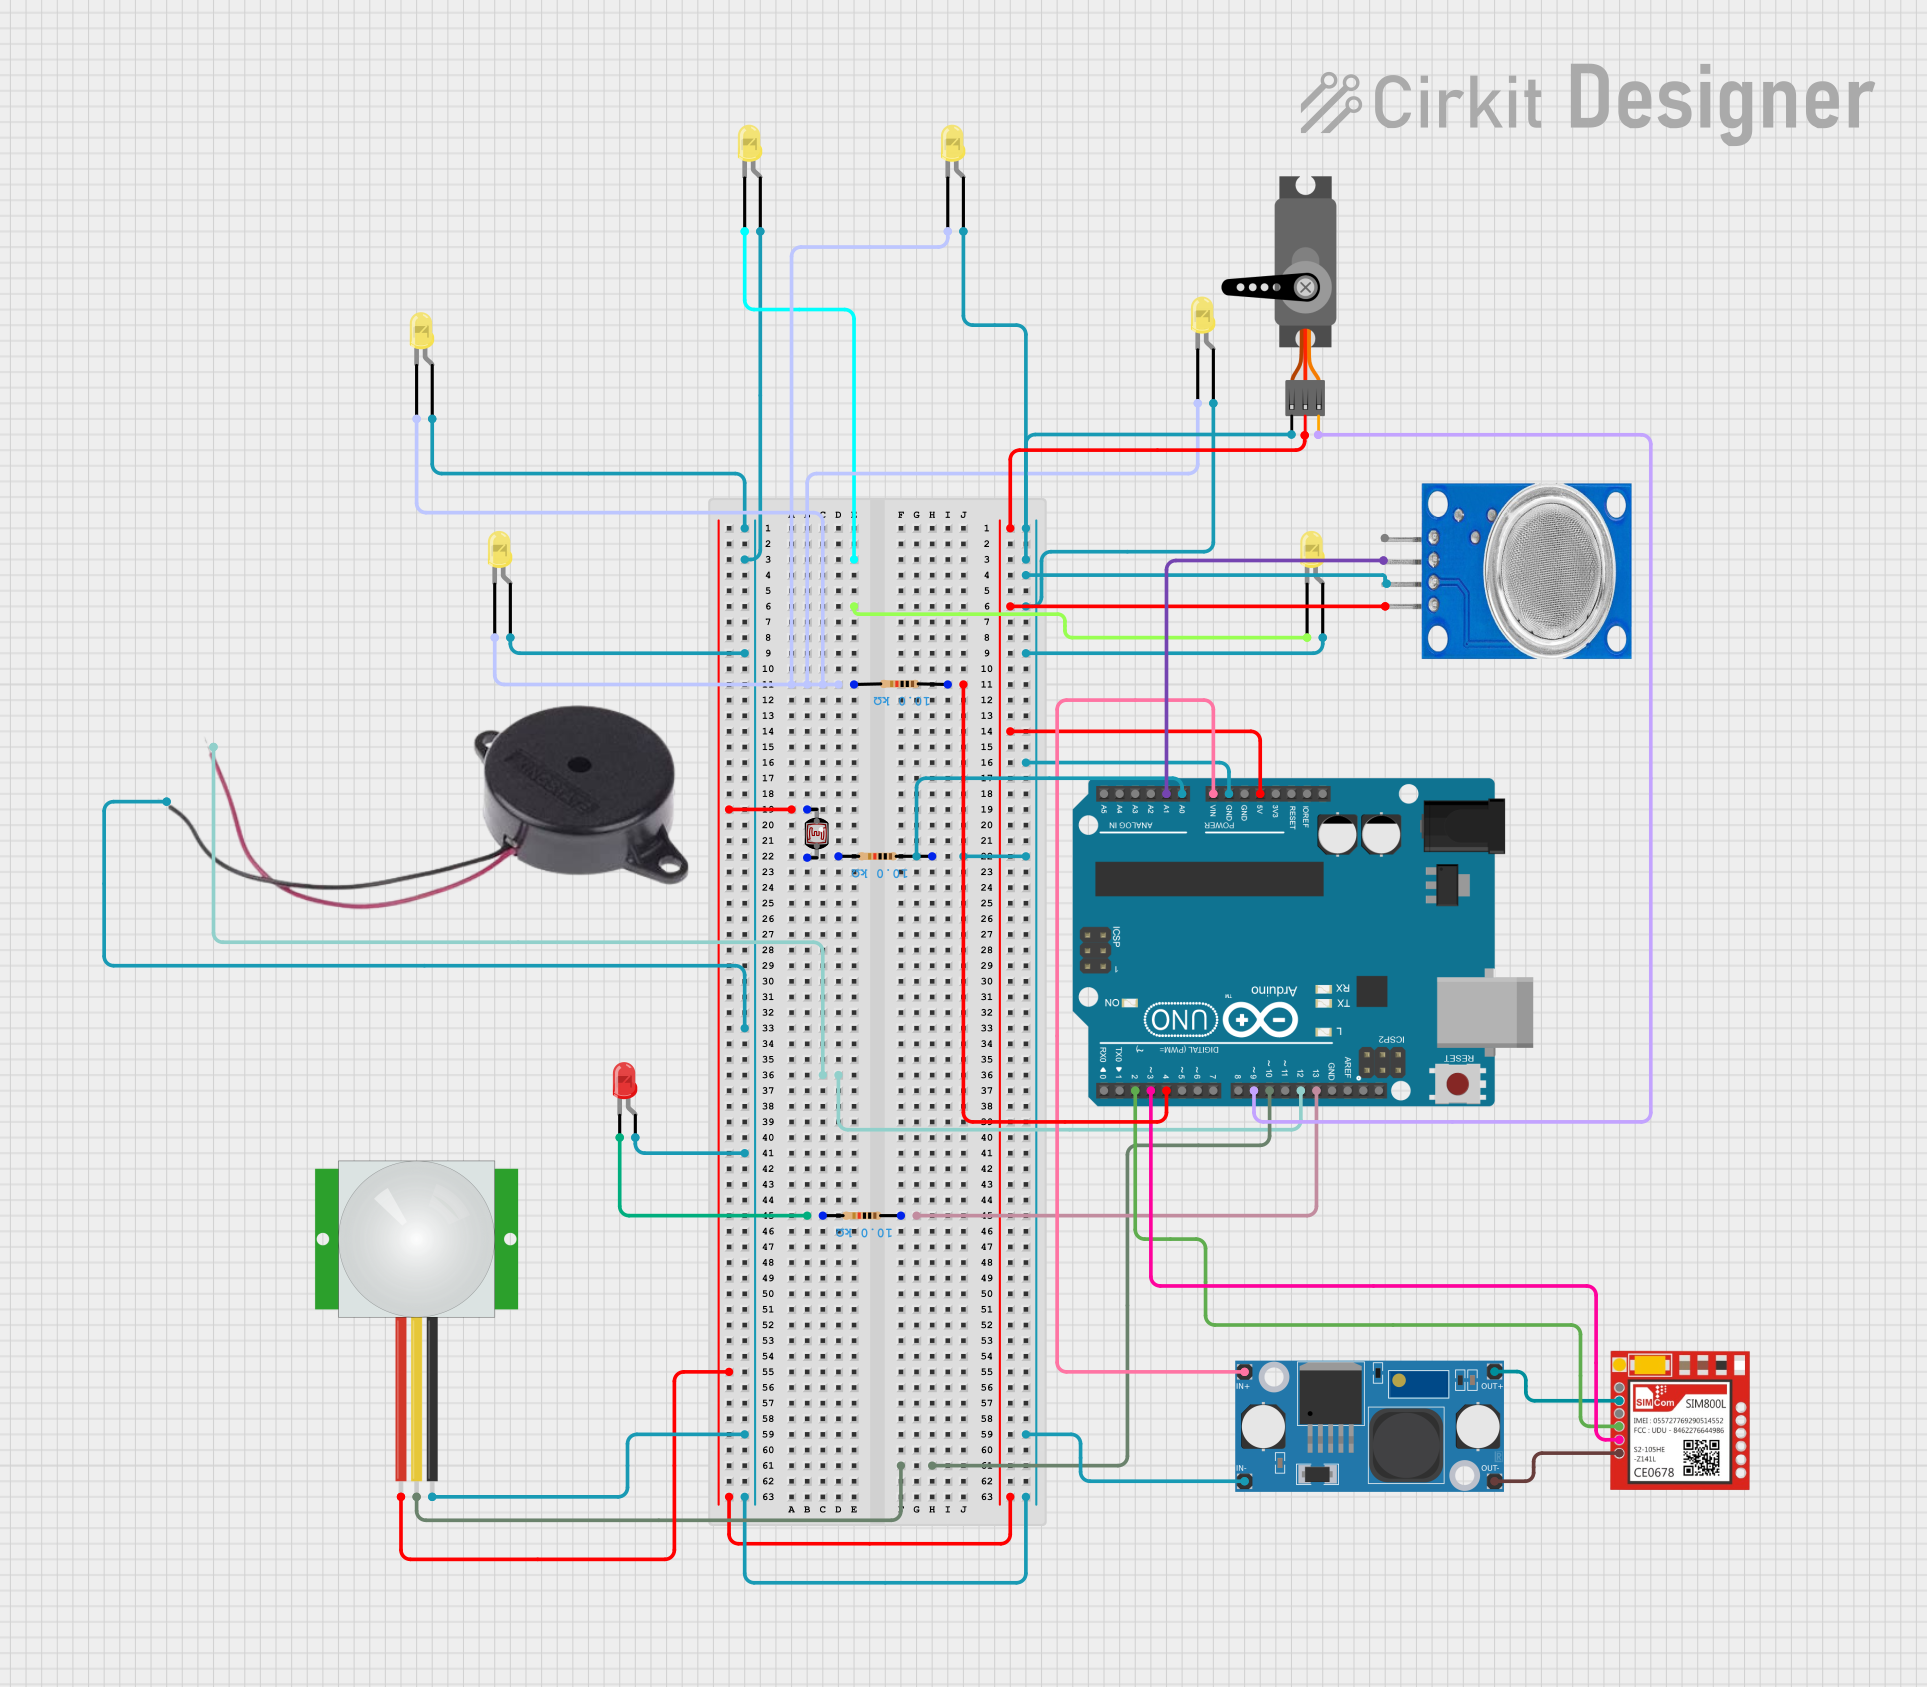
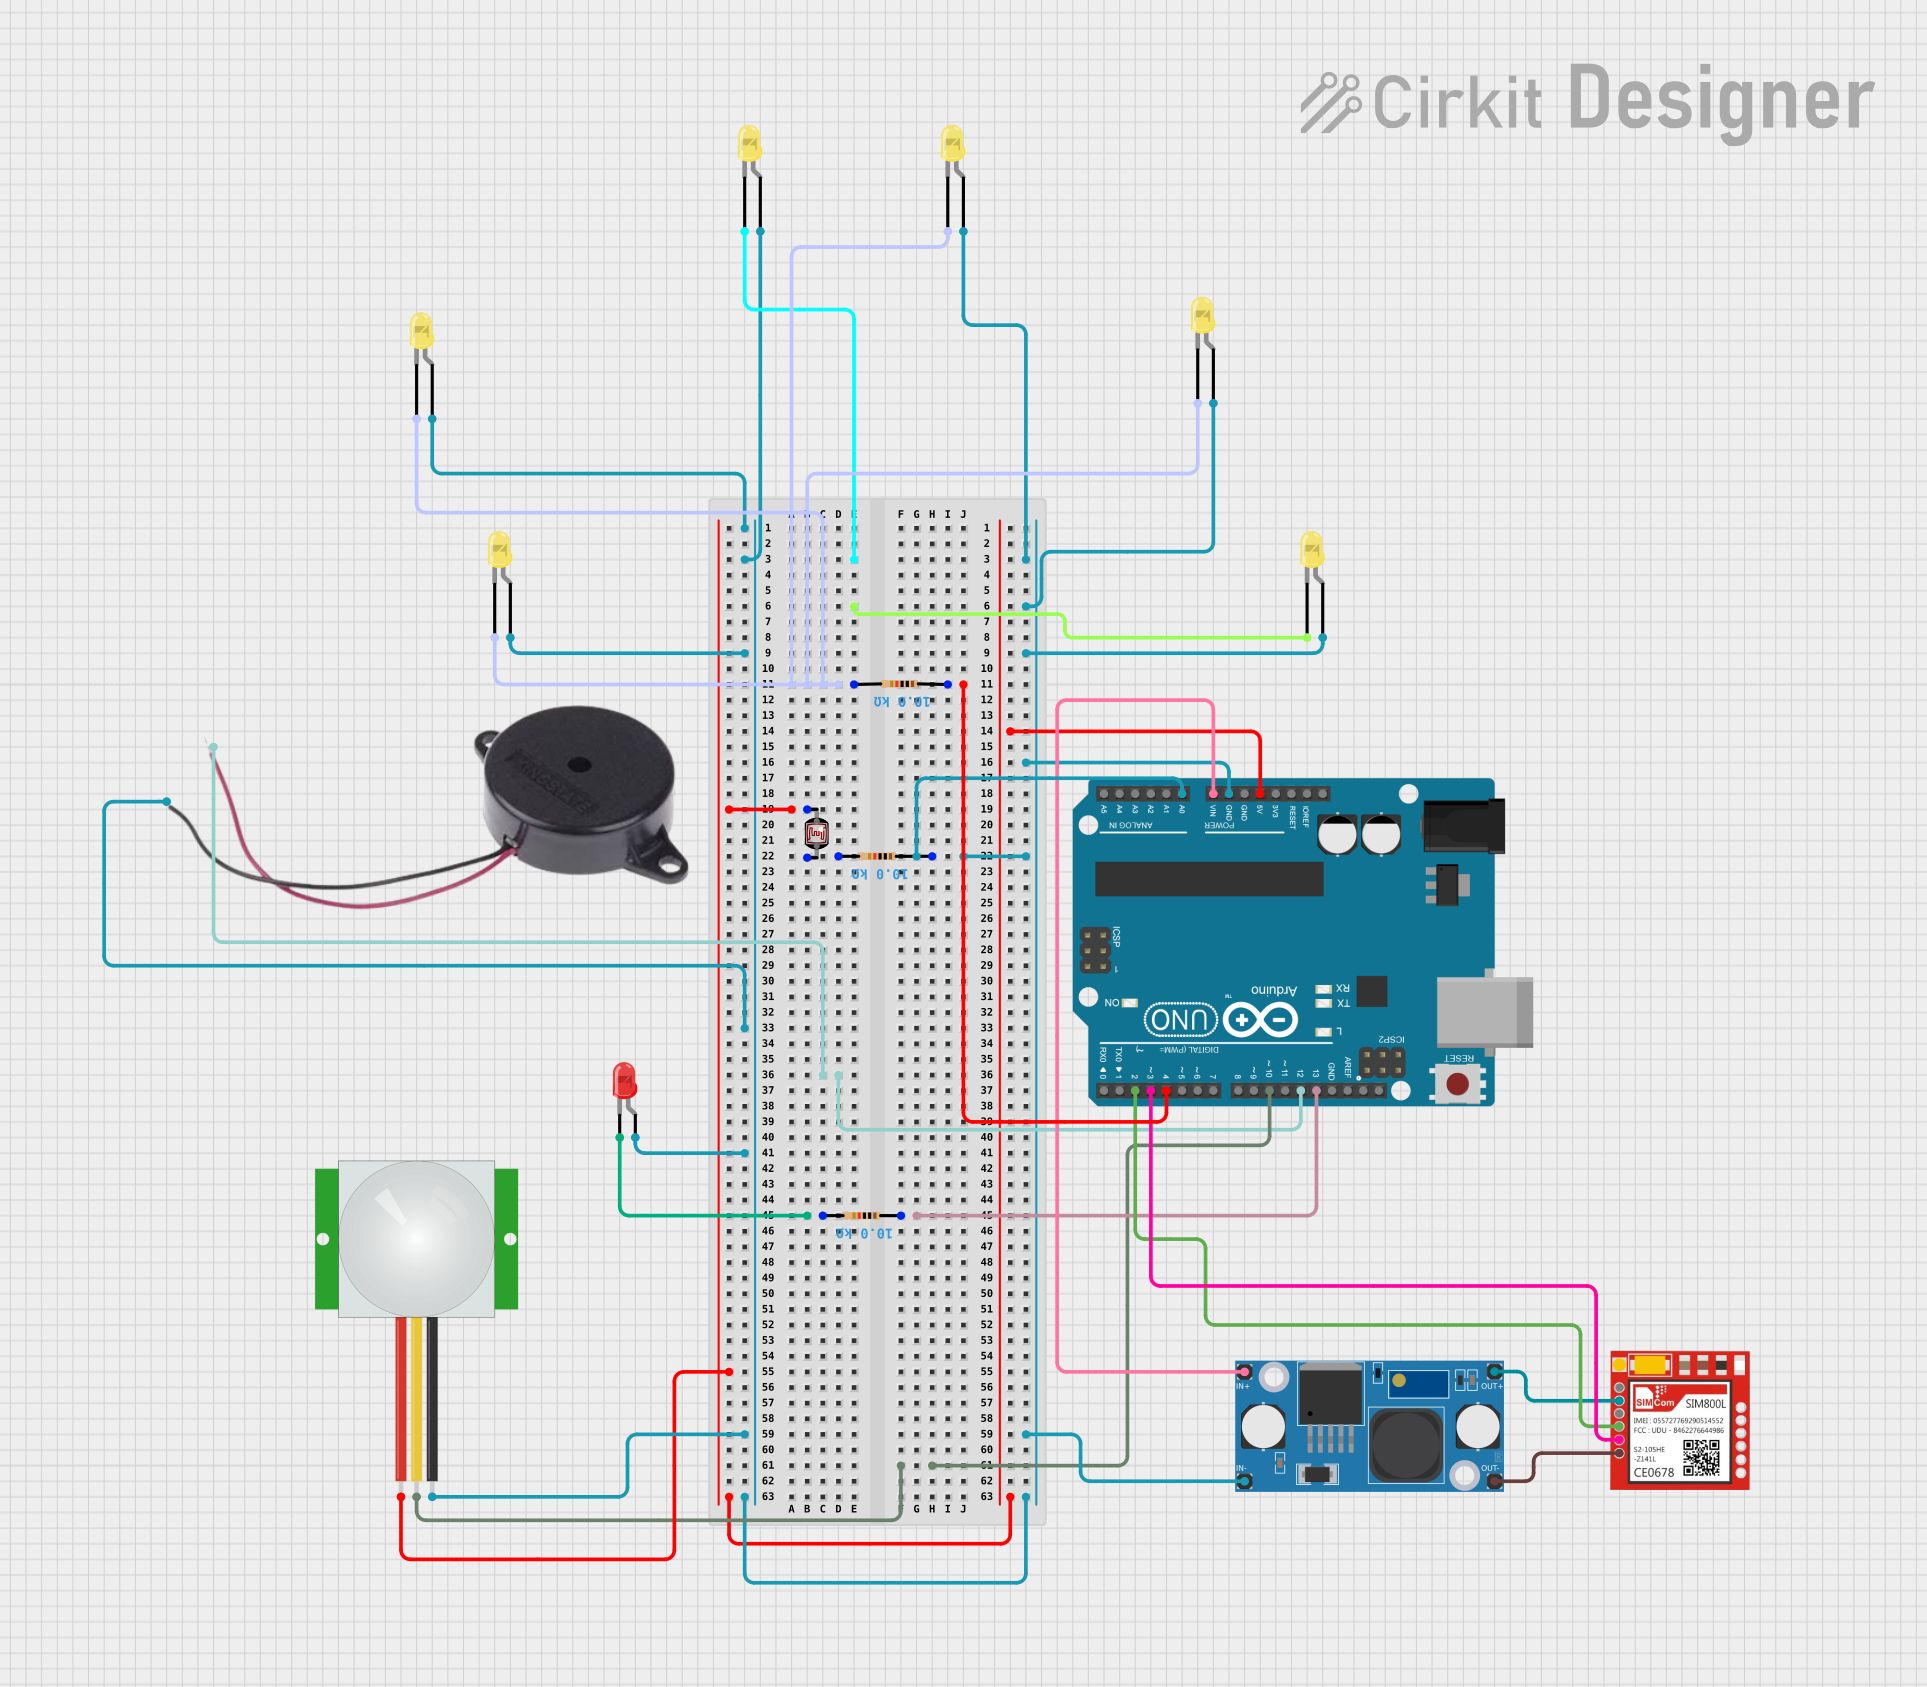

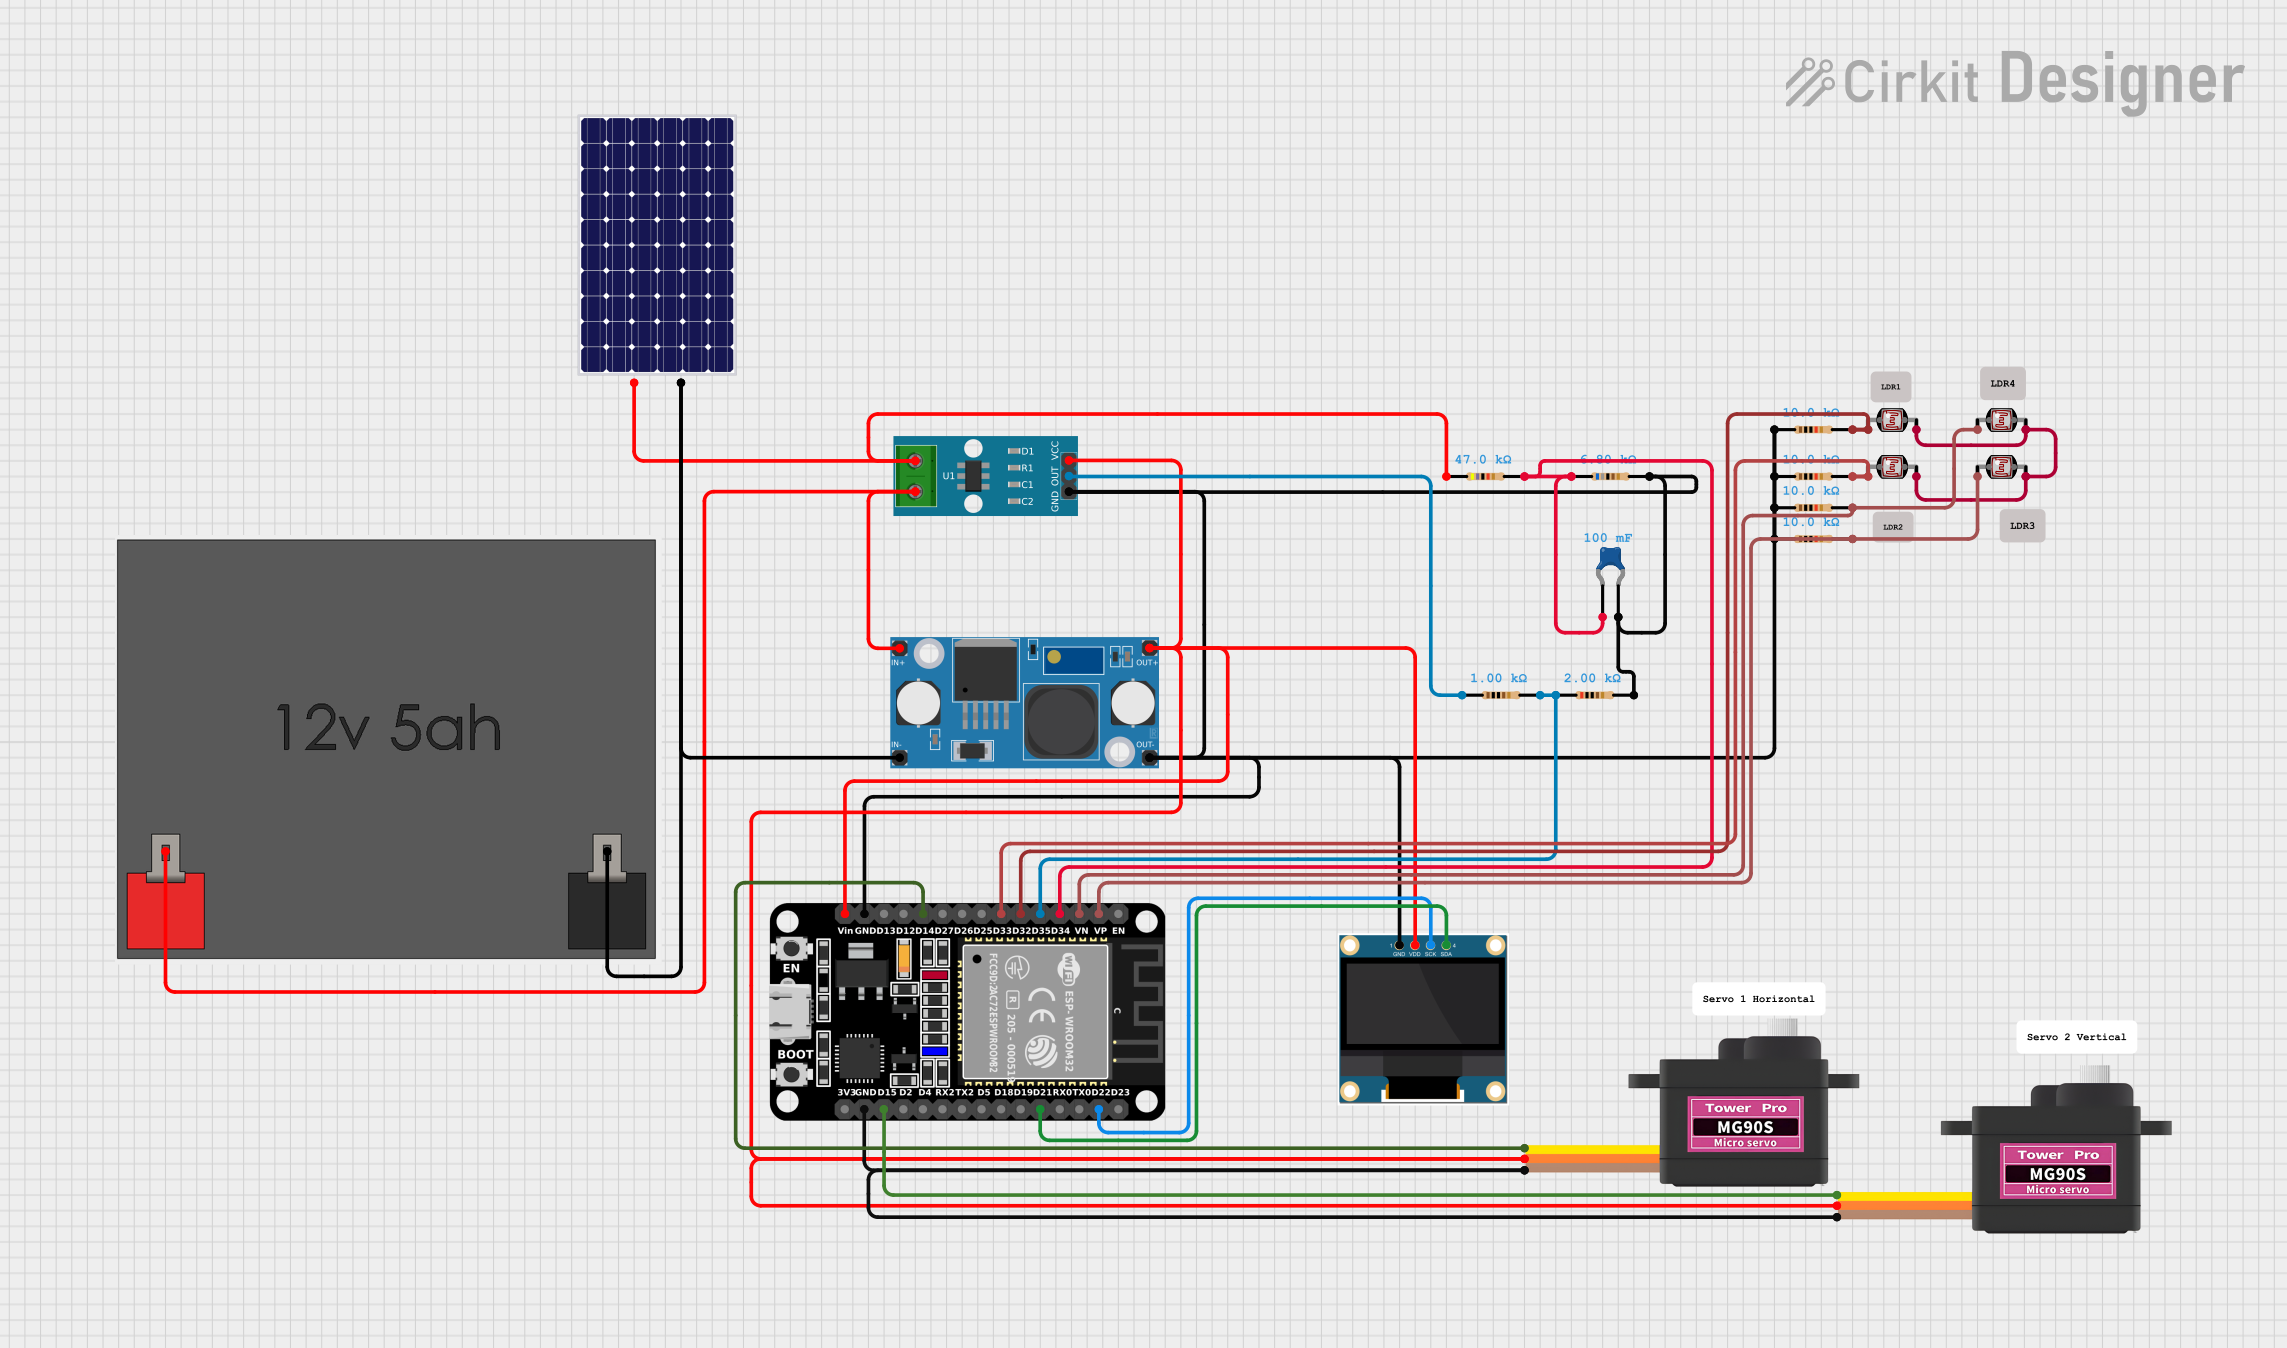
Explore Projects Built with LM2577
Common Applications
- Battery-powered devices requiring higher voltage
- LED lighting systems
- DC-DC converters for portable electronics
- Solar-powered systems
- Motor drivers and robotics
Technical Specifications
The LM2577 is a monolithic integrated circuit that provides all the active functions for a step-up (boost) switching regulator. Below are its key technical details:
Key Specifications
- Input Voltage Range: 3.5V to 40V
- Output Voltage Range: Adjustable up to 60V
- Output Current: Up to 3A (depending on external components)
- Switching Frequency: 52 kHz (fixed)
- Efficiency: Up to 90% (depending on load and configuration)
- Operating Temperature Range: -40°C to +125°C
- Package Types: TO-220, TO-263 (surface mount)
Pin Configuration and Descriptions
The LM2577 is typically available in a 5-pin TO-220 or TO-263 package. Below is the pinout description:
| Pin Number | Pin Name | Description |
|---|---|---|
| 1 | VIN | Input voltage pin. Connect to the input power source (3.5V to 40V). |
| 2 | VSW | Switch output pin. Connect to the inductor and diode in the boost circuit. |
| 3 | GND | Ground pin. Connect to the circuit ground. |
| 4 | FB | Feedback pin. Used to set the output voltage via a resistor divider network. |
| 5 | ON/OFF | Enable pin. Logic high enables the regulator; logic low disables it. |
Usage Instructions
How to Use the LM2577 in a Circuit
To use the LM2577 as a step-up voltage regulator, follow these steps:
- Input Voltage: Connect the input voltage source (e.g., a battery) to the VIN pin. Ensure the input voltage is within the 3.5V to 40V range.
- Inductor Selection: Choose an appropriate inductor value based on the desired output voltage and current. Typical values range from 33 µH to 100 µH.
- Output Voltage Setting: Use a resistor divider network connected to the FB pin to set the desired output voltage. The formula for the output voltage is: [ V_{OUT} = V_{REF} \times \left(1 + \frac{R1}{R2}\right) ] where ( V_{REF} ) is typically 1.23V.
- Diode Selection: Use a fast-recovery or Schottky diode rated for the output voltage and current.
- Capacitors: Add input and output capacitors to stabilize the circuit. Typical values are 100 µF for input and 220 µF for output.
- Enable Pin: Connect the ON/OFF pin to logic high (or leave it floating) to enable the regulator.
Example Circuit
Below is a basic circuit diagram for the LM2577:
   VIN ----+---- Inductor ----+---- VSW
           |                 |
          GND               Diode
           |                 |
          GND              VOUT
Arduino Example Code
The LM2577 can be used with an Arduino UNO to power devices requiring a higher voltage. Below is an example code to control the ON/OFF pin of the LM2577:
// LM2577 ON/OFF Pin Control Example
// This code demonstrates how to enable and disable the LM2577 regulator
// using an Arduino UNO digital pin.

const int enablePin = 7; // Connect the ON/OFF pin of LM2577 to Arduino pin 7

void setup() {
  pinMode(enablePin, OUTPUT); // Set the enable pin as an output
  digitalWrite(enablePin, HIGH); // Enable the LM2577 regulator
}

void loop() {
  // Keep the regulator enabled for 5 seconds
  digitalWrite(enablePin, HIGH);
  delay(5000);

  // Disable the regulator for 5 seconds
  digitalWrite(enablePin, LOW);
  delay(5000);
}
Important Considerations
- Ensure the input voltage is always lower than the desired output voltage.
- Use appropriate heat sinks if the LM2577 operates at high currents to prevent overheating.
- Select components (inductor, diode, capacitors) rated for the desired output voltage and current.
Troubleshooting and FAQs
Common Issues and Solutions
Output Voltage is Incorrect
- Cause: Incorrect resistor divider values.
- Solution: Recalculate the resistor values using the formula for ( V_{OUT} ).
Regulator Overheats
- Cause: Excessive current draw or insufficient heat dissipation.
- Solution: Use a heat sink or reduce the load current.
No Output Voltage
- Cause: ON/OFF pin is not connected or is set to logic low.
- Solution: Ensure the ON/OFF pin is connected to logic high or left floating.
High Output Ripple
- Cause: Insufficient output capacitance or poor layout.
- Solution: Increase the output capacitor value and minimize trace lengths.
FAQs
Can the LM2577 be used for step-down (buck) conversion? No, the LM2577 is specifically designed for step-up (boost) conversion.
What is the maximum output voltage of the LM2577? The LM2577 can output up to 60V, depending on the input voltage and external components.
Can I leave the ON/OFF pin floating? Yes, the ON/OFF pin can be left floating to enable the regulator by default.
What type of diode should I use with the LM2577? Use a fast-recovery or Schottky diode rated for the output voltage and current.
By following this documentation, you can effectively use the LM2577 in your projects to achieve efficient step-up voltage regulation.