How to Use Adafruit LED Sequin - Warm White: Examples, Pinouts, and Specs
Introduction
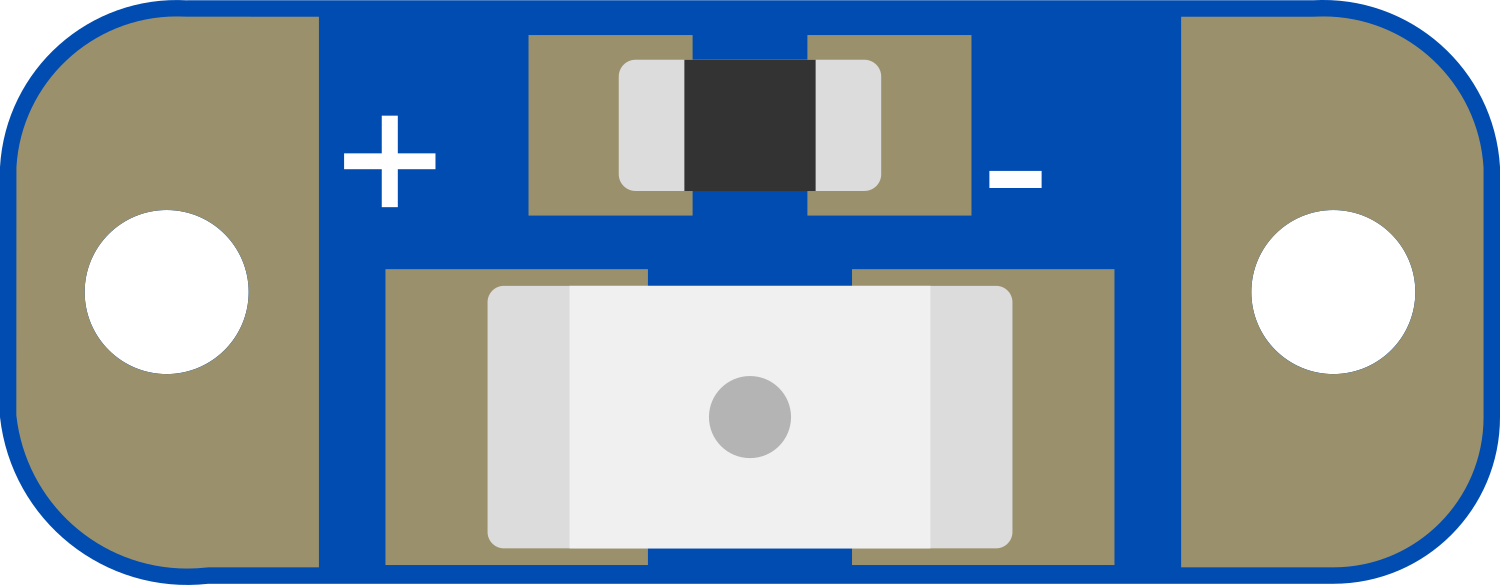
The Adafruit LED Sequin is a compact, sewable electronics component that brings a touch of light to wearable projects. It features a single warm white LED that is designed for integration into textiles and wearable accessories. This versatile component can be used to add lighting effects to costumes, clothing, soft toys, and other fabric-based projects.
Explore Projects Built with Adafruit LED Sequin - Warm White

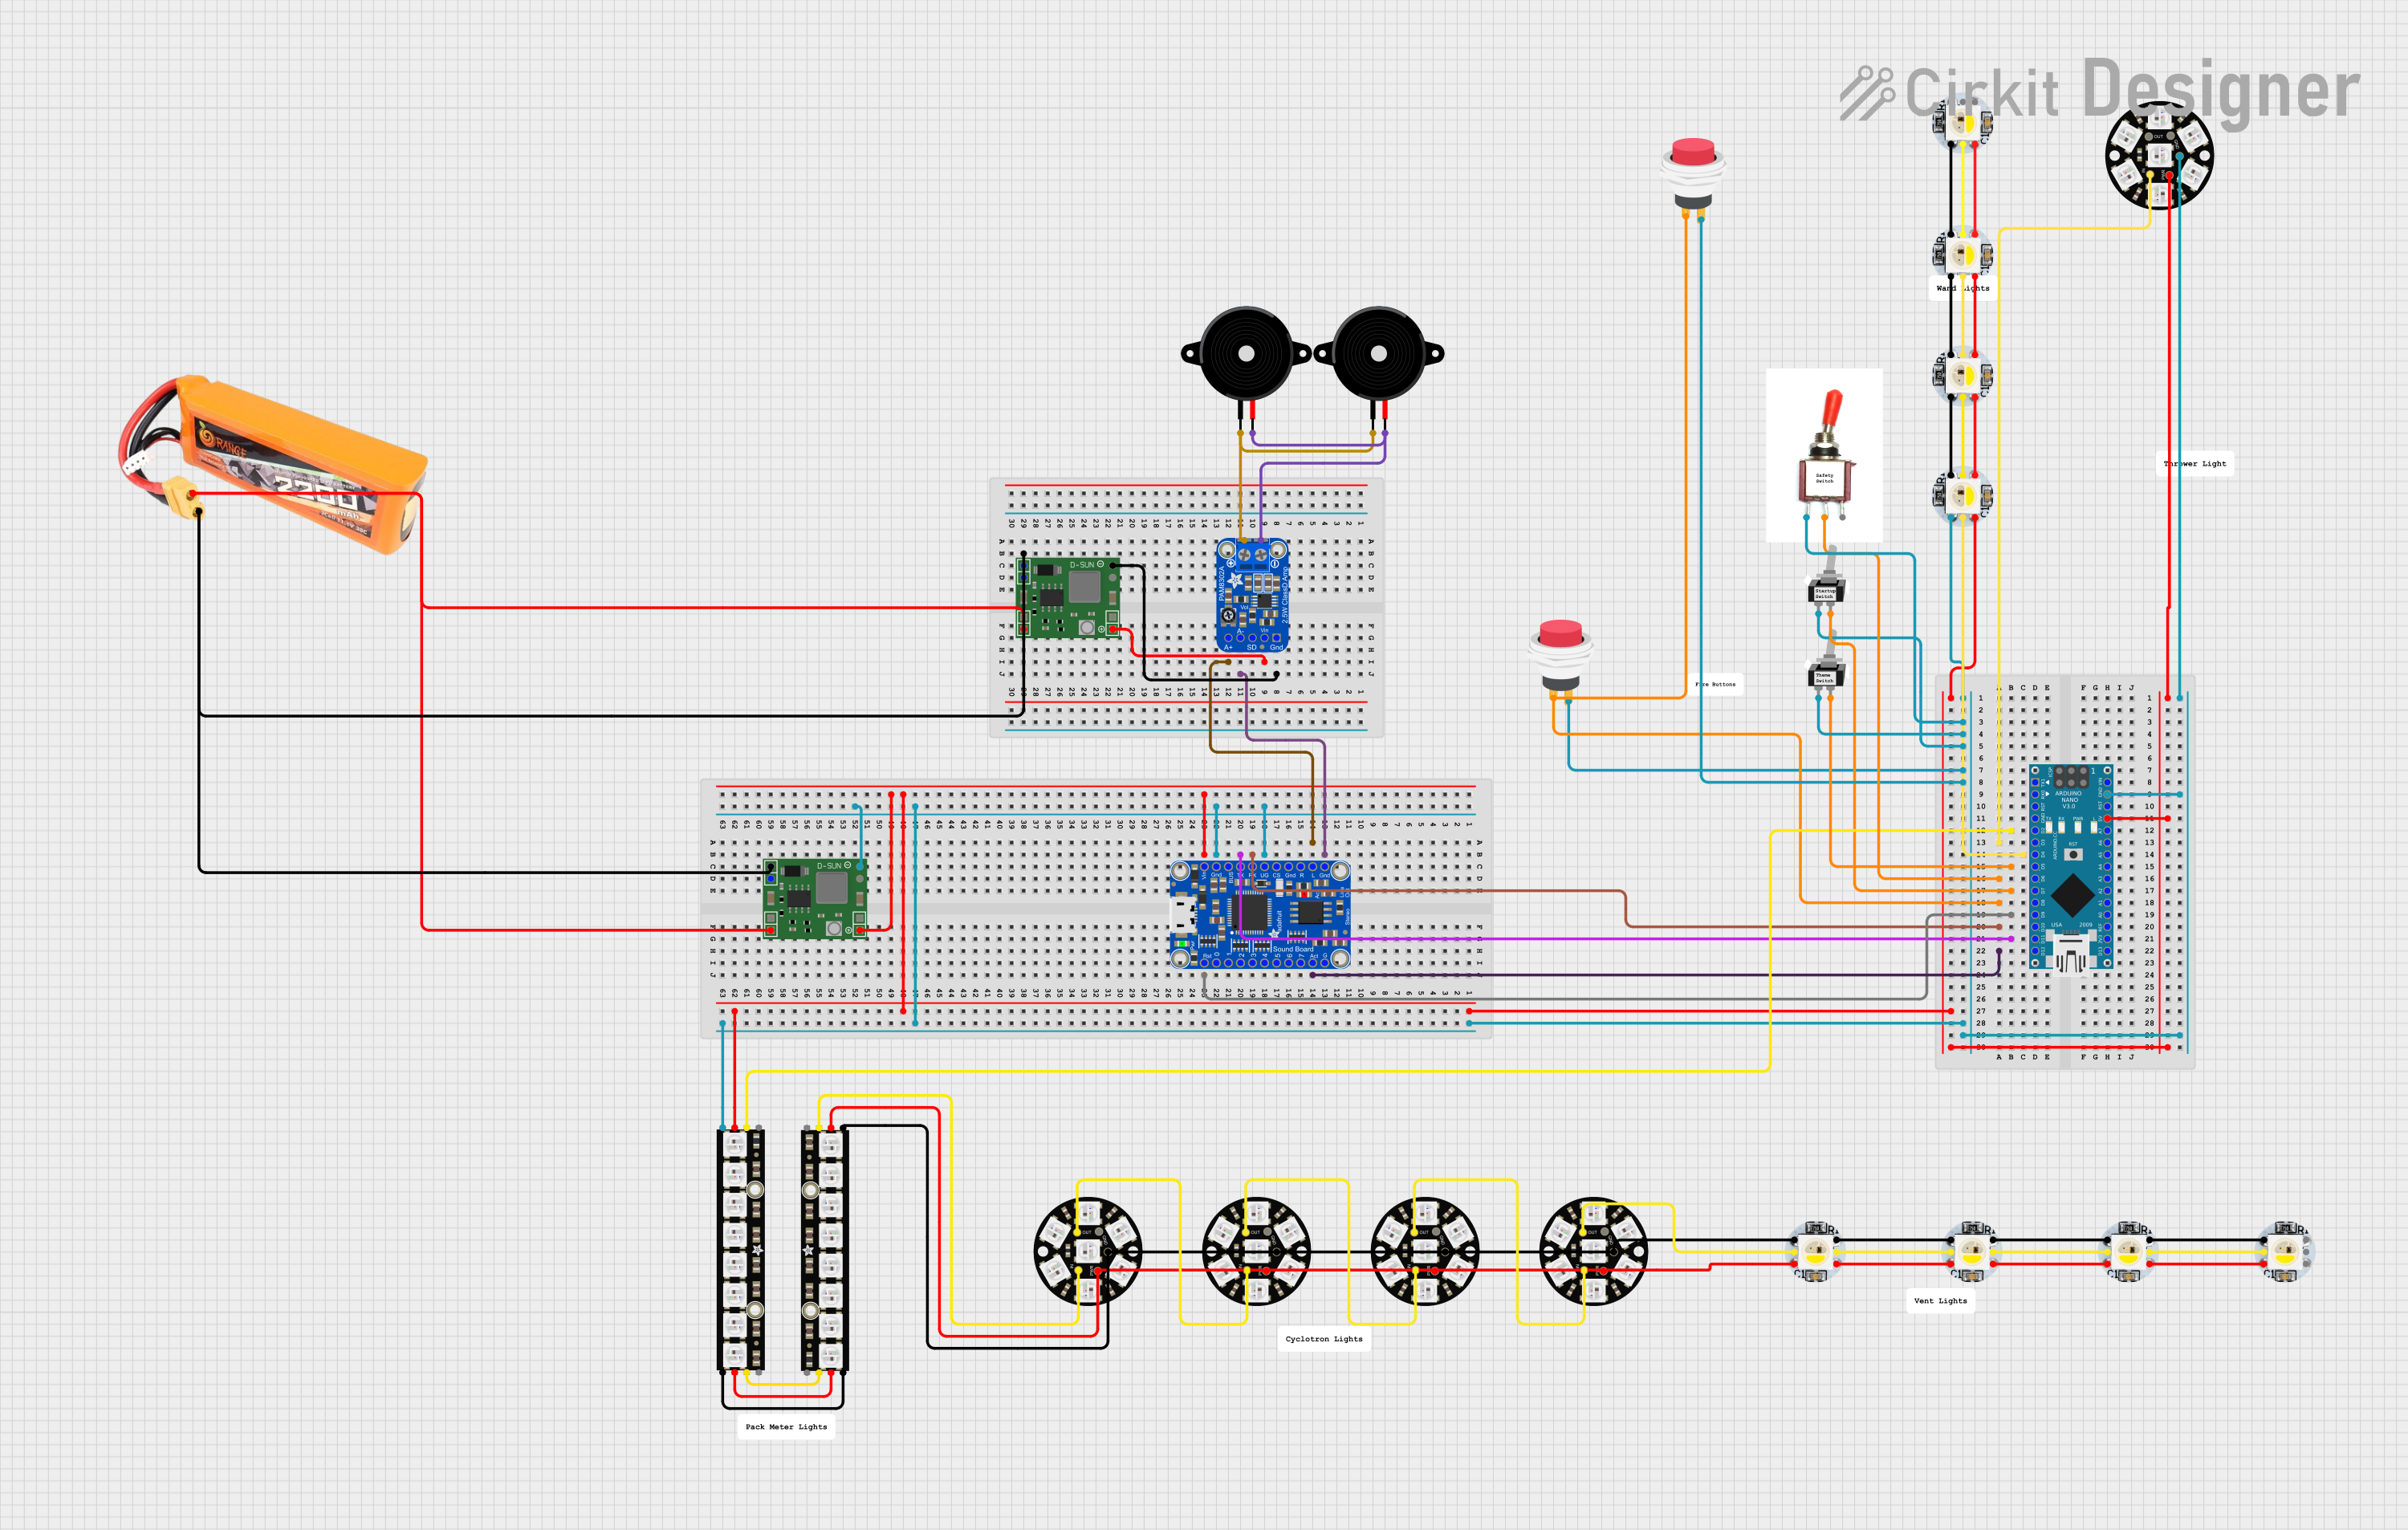
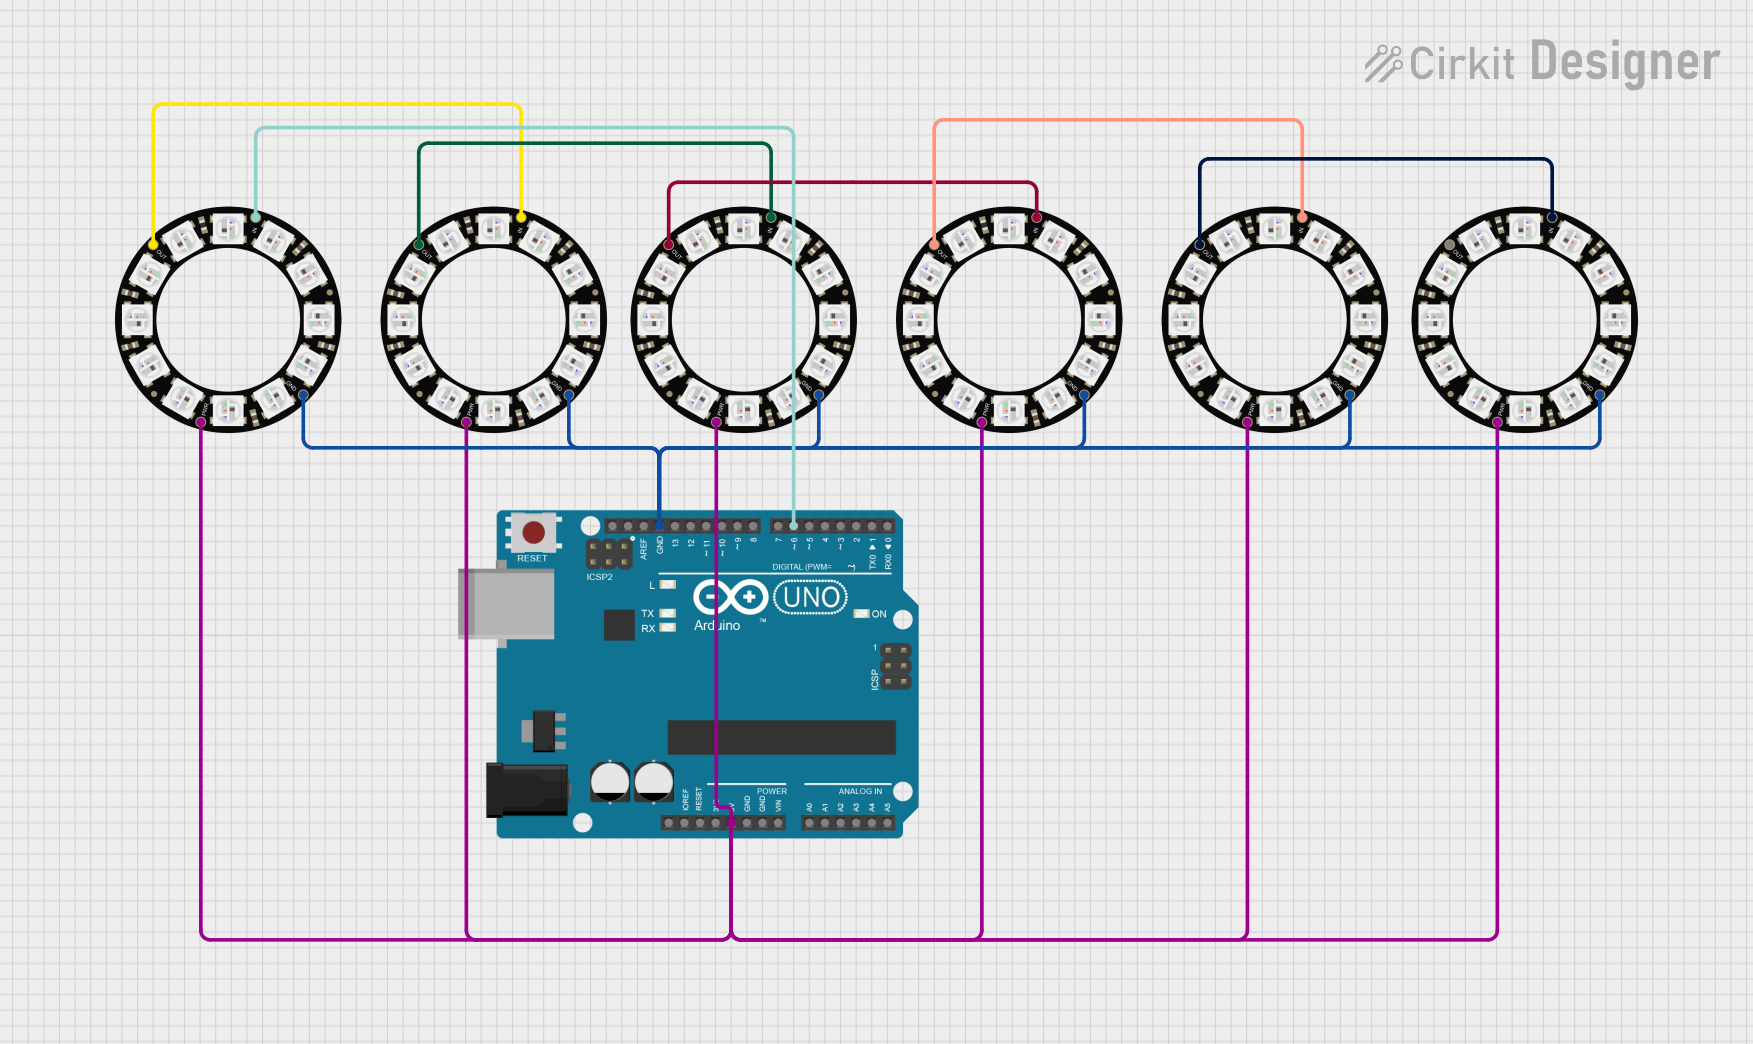
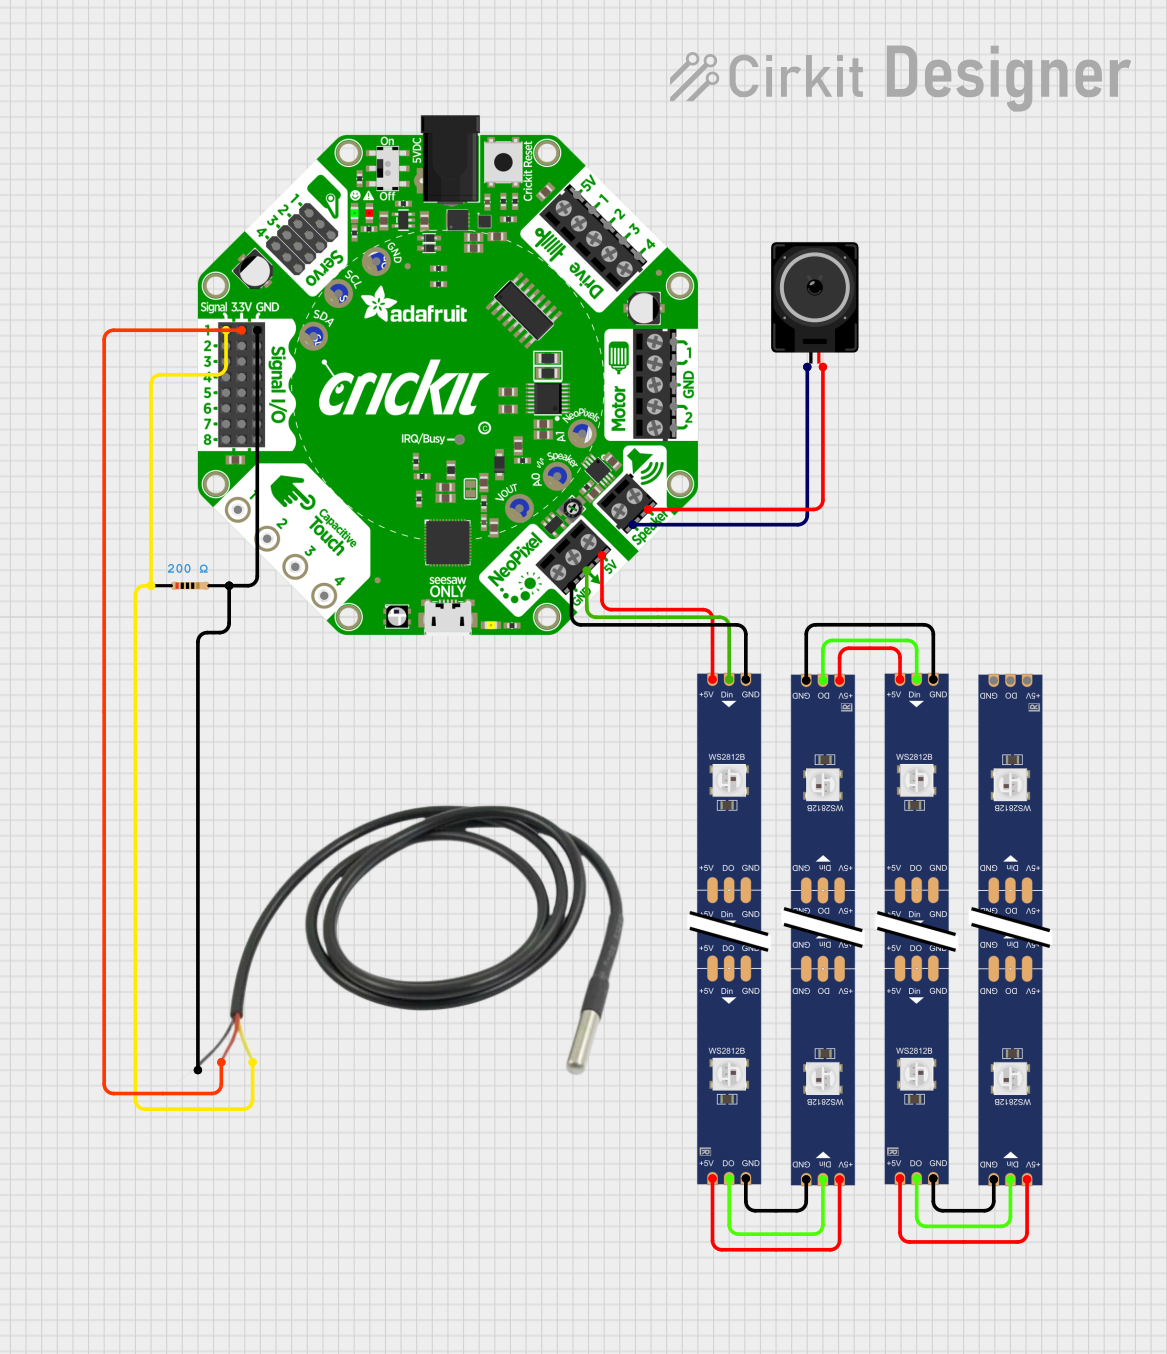
Explore Projects Built with Adafruit LED Sequin - Warm White
Common Applications and Use Cases
- Wearable electronics (e.g., smart clothing, interactive costumes)
- Decorative lighting for accessories (e.g., hats, bags, scarves)
- Educational projects to teach sewing and electronics
- Prototyping for fashion technology
Technical Specifications
Key Technical Details
- LED Color: Warm White
- Operating Voltage: 3V to 6V
- Current Draw: 5mA (typical at 3.3V)
- Brightness: Varies with voltage and current
- Dimensions: 12.5mm x 7.4mm x 3.2mm
- Weight: 0.6 grams
Pin Configuration and Descriptions
| Pin Name | Description |
|---|---|
| + | Positive power supply (Anode) |
| - | Ground (Cathode) |
Usage Instructions
How to Use the Component in a Circuit
- Power Supply: Connect the '+' pin to a power supply between 3V and 6V. Ensure that the power does not exceed the maximum voltage rating to prevent damage to the LED.
- Ground Connection: Connect the '-' pin to the ground of your power supply or microcontroller board.
- Current Limiting: It is recommended to use a current-limiting resistor to prevent excessive current through the LED. A resistor value of 150Ω to 220Ω is suitable for most applications.
- Sewing: Use conductive thread to sew the LED Sequin onto fabric. Ensure that the conductive thread does not create shorts between the '+' and '-' pins.
Important Considerations and Best Practices
- Avoid pulling or stressing the connections, as this can damage the LED Sequin.
- Test the LED Sequin with a multimeter before sewing to ensure it is functioning correctly.
- When sewing multiple LED Sequins in parallel, ensure each has its own current-limiting resistor.
- Keep the polarity consistent throughout your project to avoid reverse biasing the LEDs.
Example Code for Arduino UNO
// Define the pin connected to the LED Sequin
const int ledPin = 9; // PWM pin for brightness control

void setup() {
  pinMode(ledPin, OUTPUT); // Set the LED pin as an output
}

void loop() {
  analogWrite(ledPin, 127); // Set the brightness to 50%
  delay(1000);              // Wait for 1 second
  analogWrite(ledPin, 255); // Set the brightness to 100%
  delay(1000);              // Wait for 1 second
}
Troubleshooting and FAQs
Common Issues
- LED Not Lighting Up: Check the polarity of the connections. Ensure that the '+' pin is connected to the positive power supply and the '-' pin to the ground.
- Dim LED: Ensure that the power supply is within the recommended voltage range. If using a resistor, check that its value is not too high.
- Flickering LED: Check for loose connections or intermittent contact with the conductive thread.
Solutions and Tips for Troubleshooting
- Use a multimeter to verify the continuity of the conductive thread and the presence of voltage at the LED Sequin.
- If the LED is too dim, try lowering the resistance slightly, but do not go below the recommended current-limiting resistor value.
- For flickering issues, reinforce the stitching or soldering points to ensure a stable connection.
FAQs
Q: Can I wash garments with LED Sequins attached? A: Yes, but hand washing is recommended. Ensure the power supply is removed, and the garment is completely dry before reapplying power.
Q: How many LED Sequins can I connect to a single power source? A: This depends on the power source's capacity. Calculate the total current draw and ensure it does not exceed the power source's maximum current rating.
Q: Can I control the brightness of the LED Sequin? A: Yes, you can use a PWM-capable pin on a microcontroller like the Arduino UNO to control the brightness with analogWrite() as shown in the example code.
Remember to always follow safety guidelines when working with electronics and to consult an expert if you are unsure about any aspect of your project.