How to Use Capacitive Soil Moisture Sensor v1.2: Examples, Pinouts, and Specs
Introduction
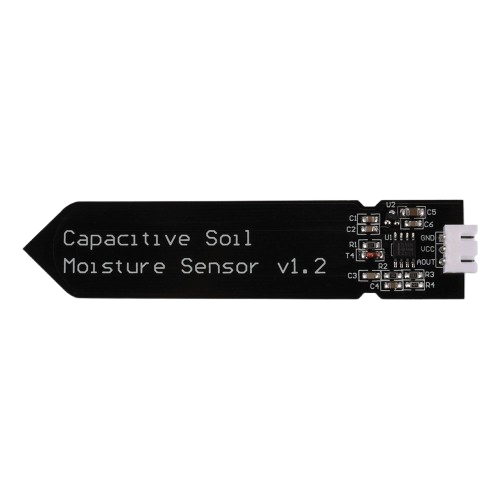
The Capacitive Soil Moisture Sensor v1.2 is a reliable and durable sensor designed to measure the moisture level in soil using capacitive sensing technology. Unlike traditional resistive sensors, this sensor does not rely on direct contact with the soil, which significantly reduces corrosion and extends its lifespan. It is ideal for applications where long-term durability and accuracy are critical.
Explore Projects Built with Capacitive Soil Moisture Sensor v1.2
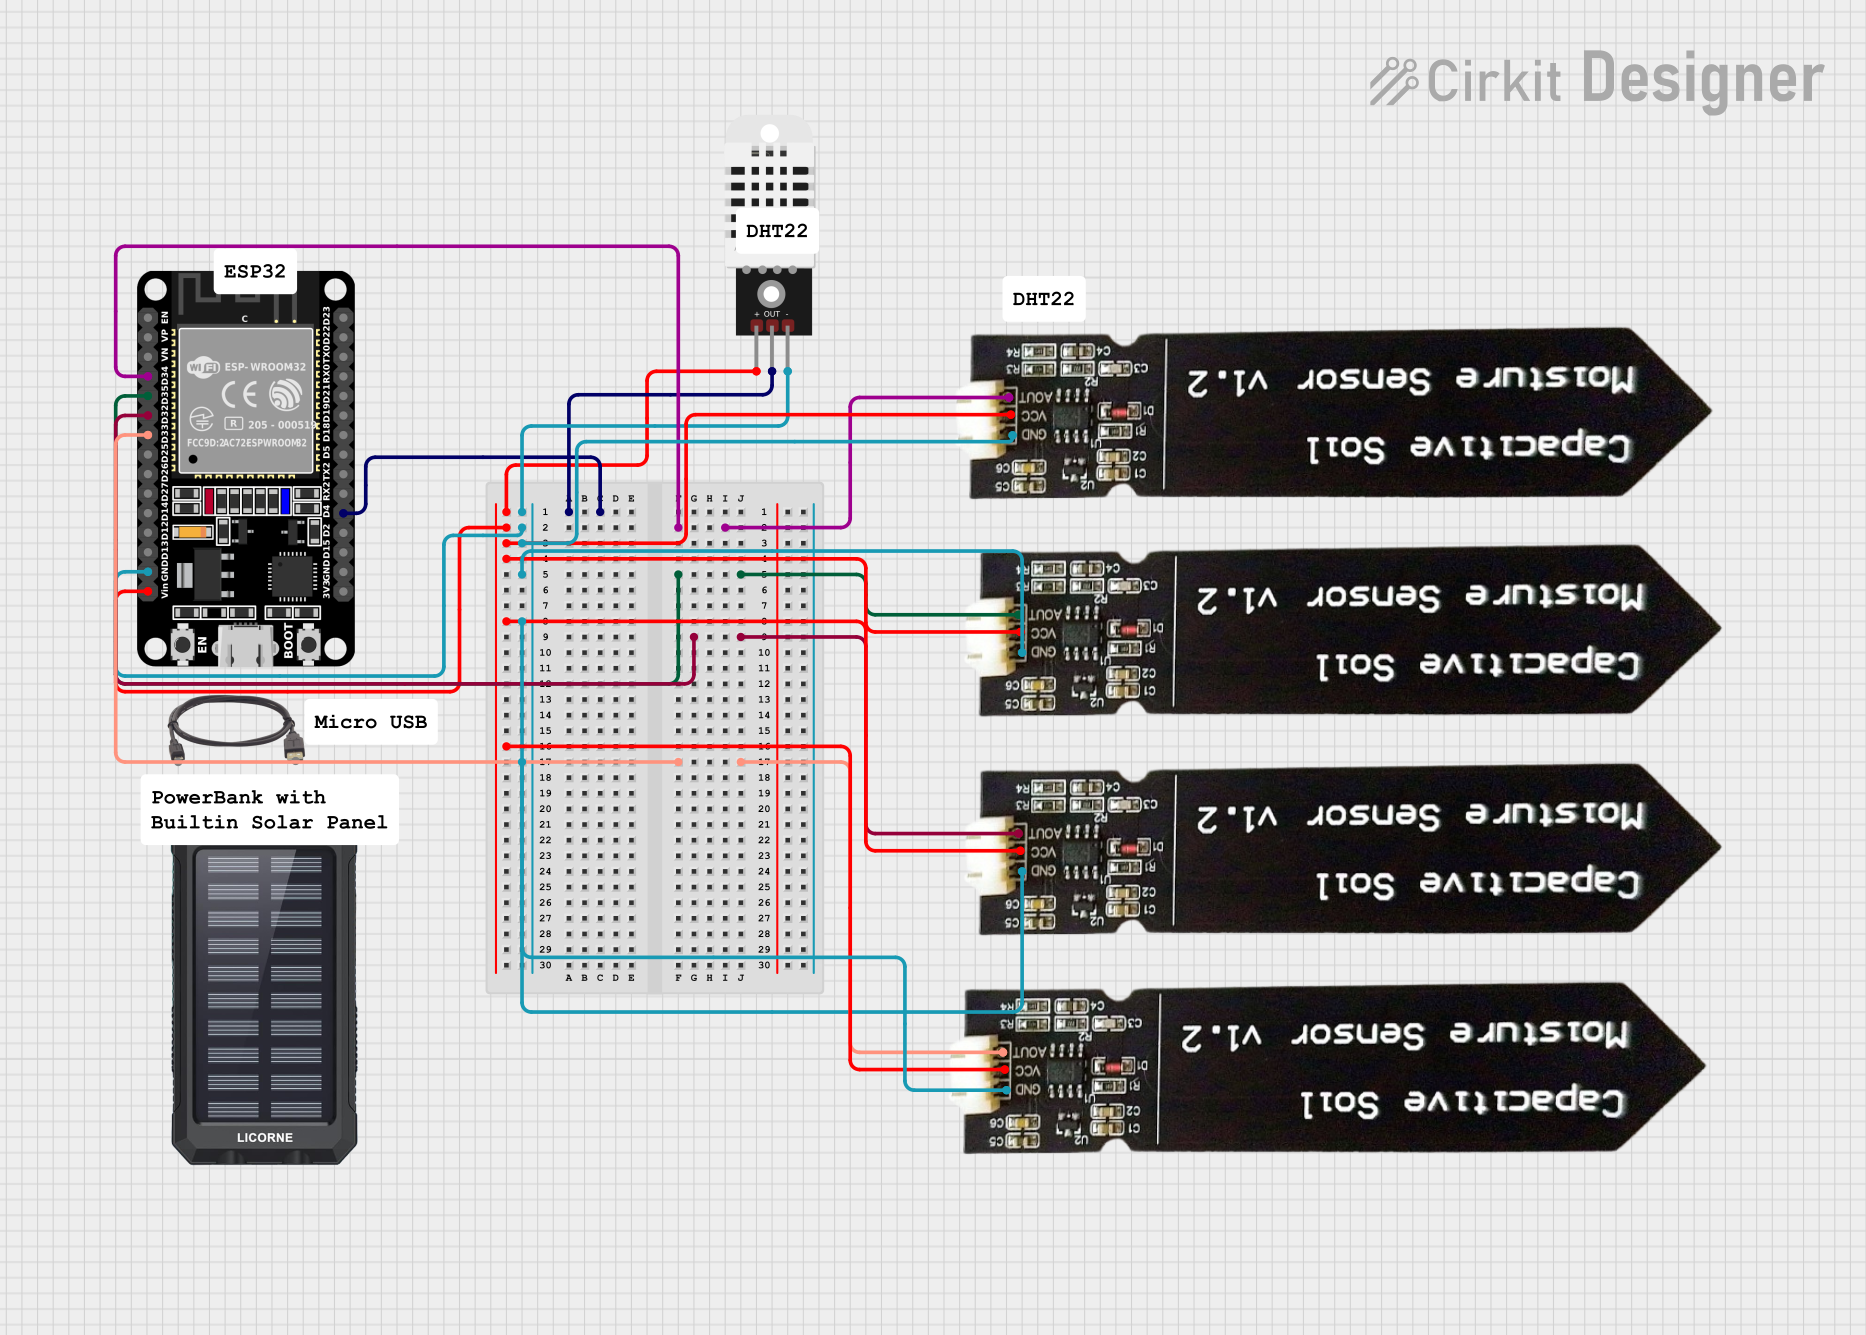
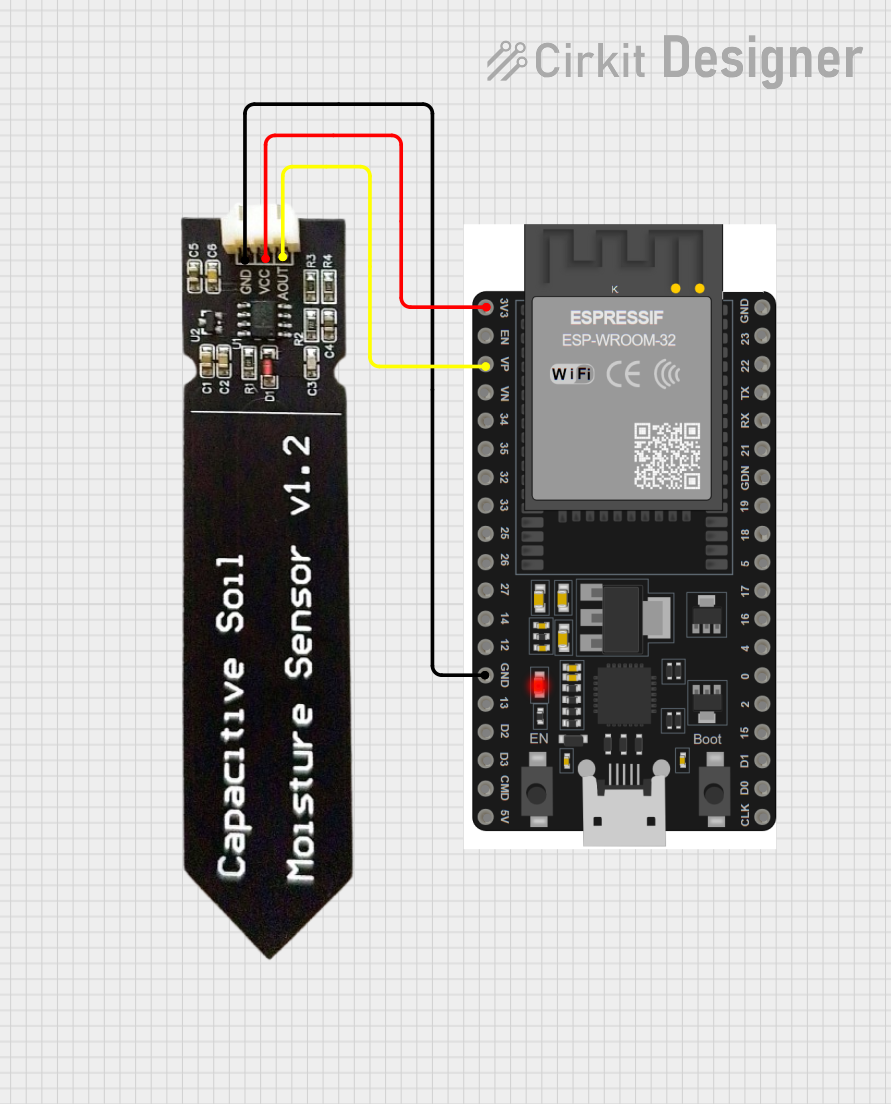
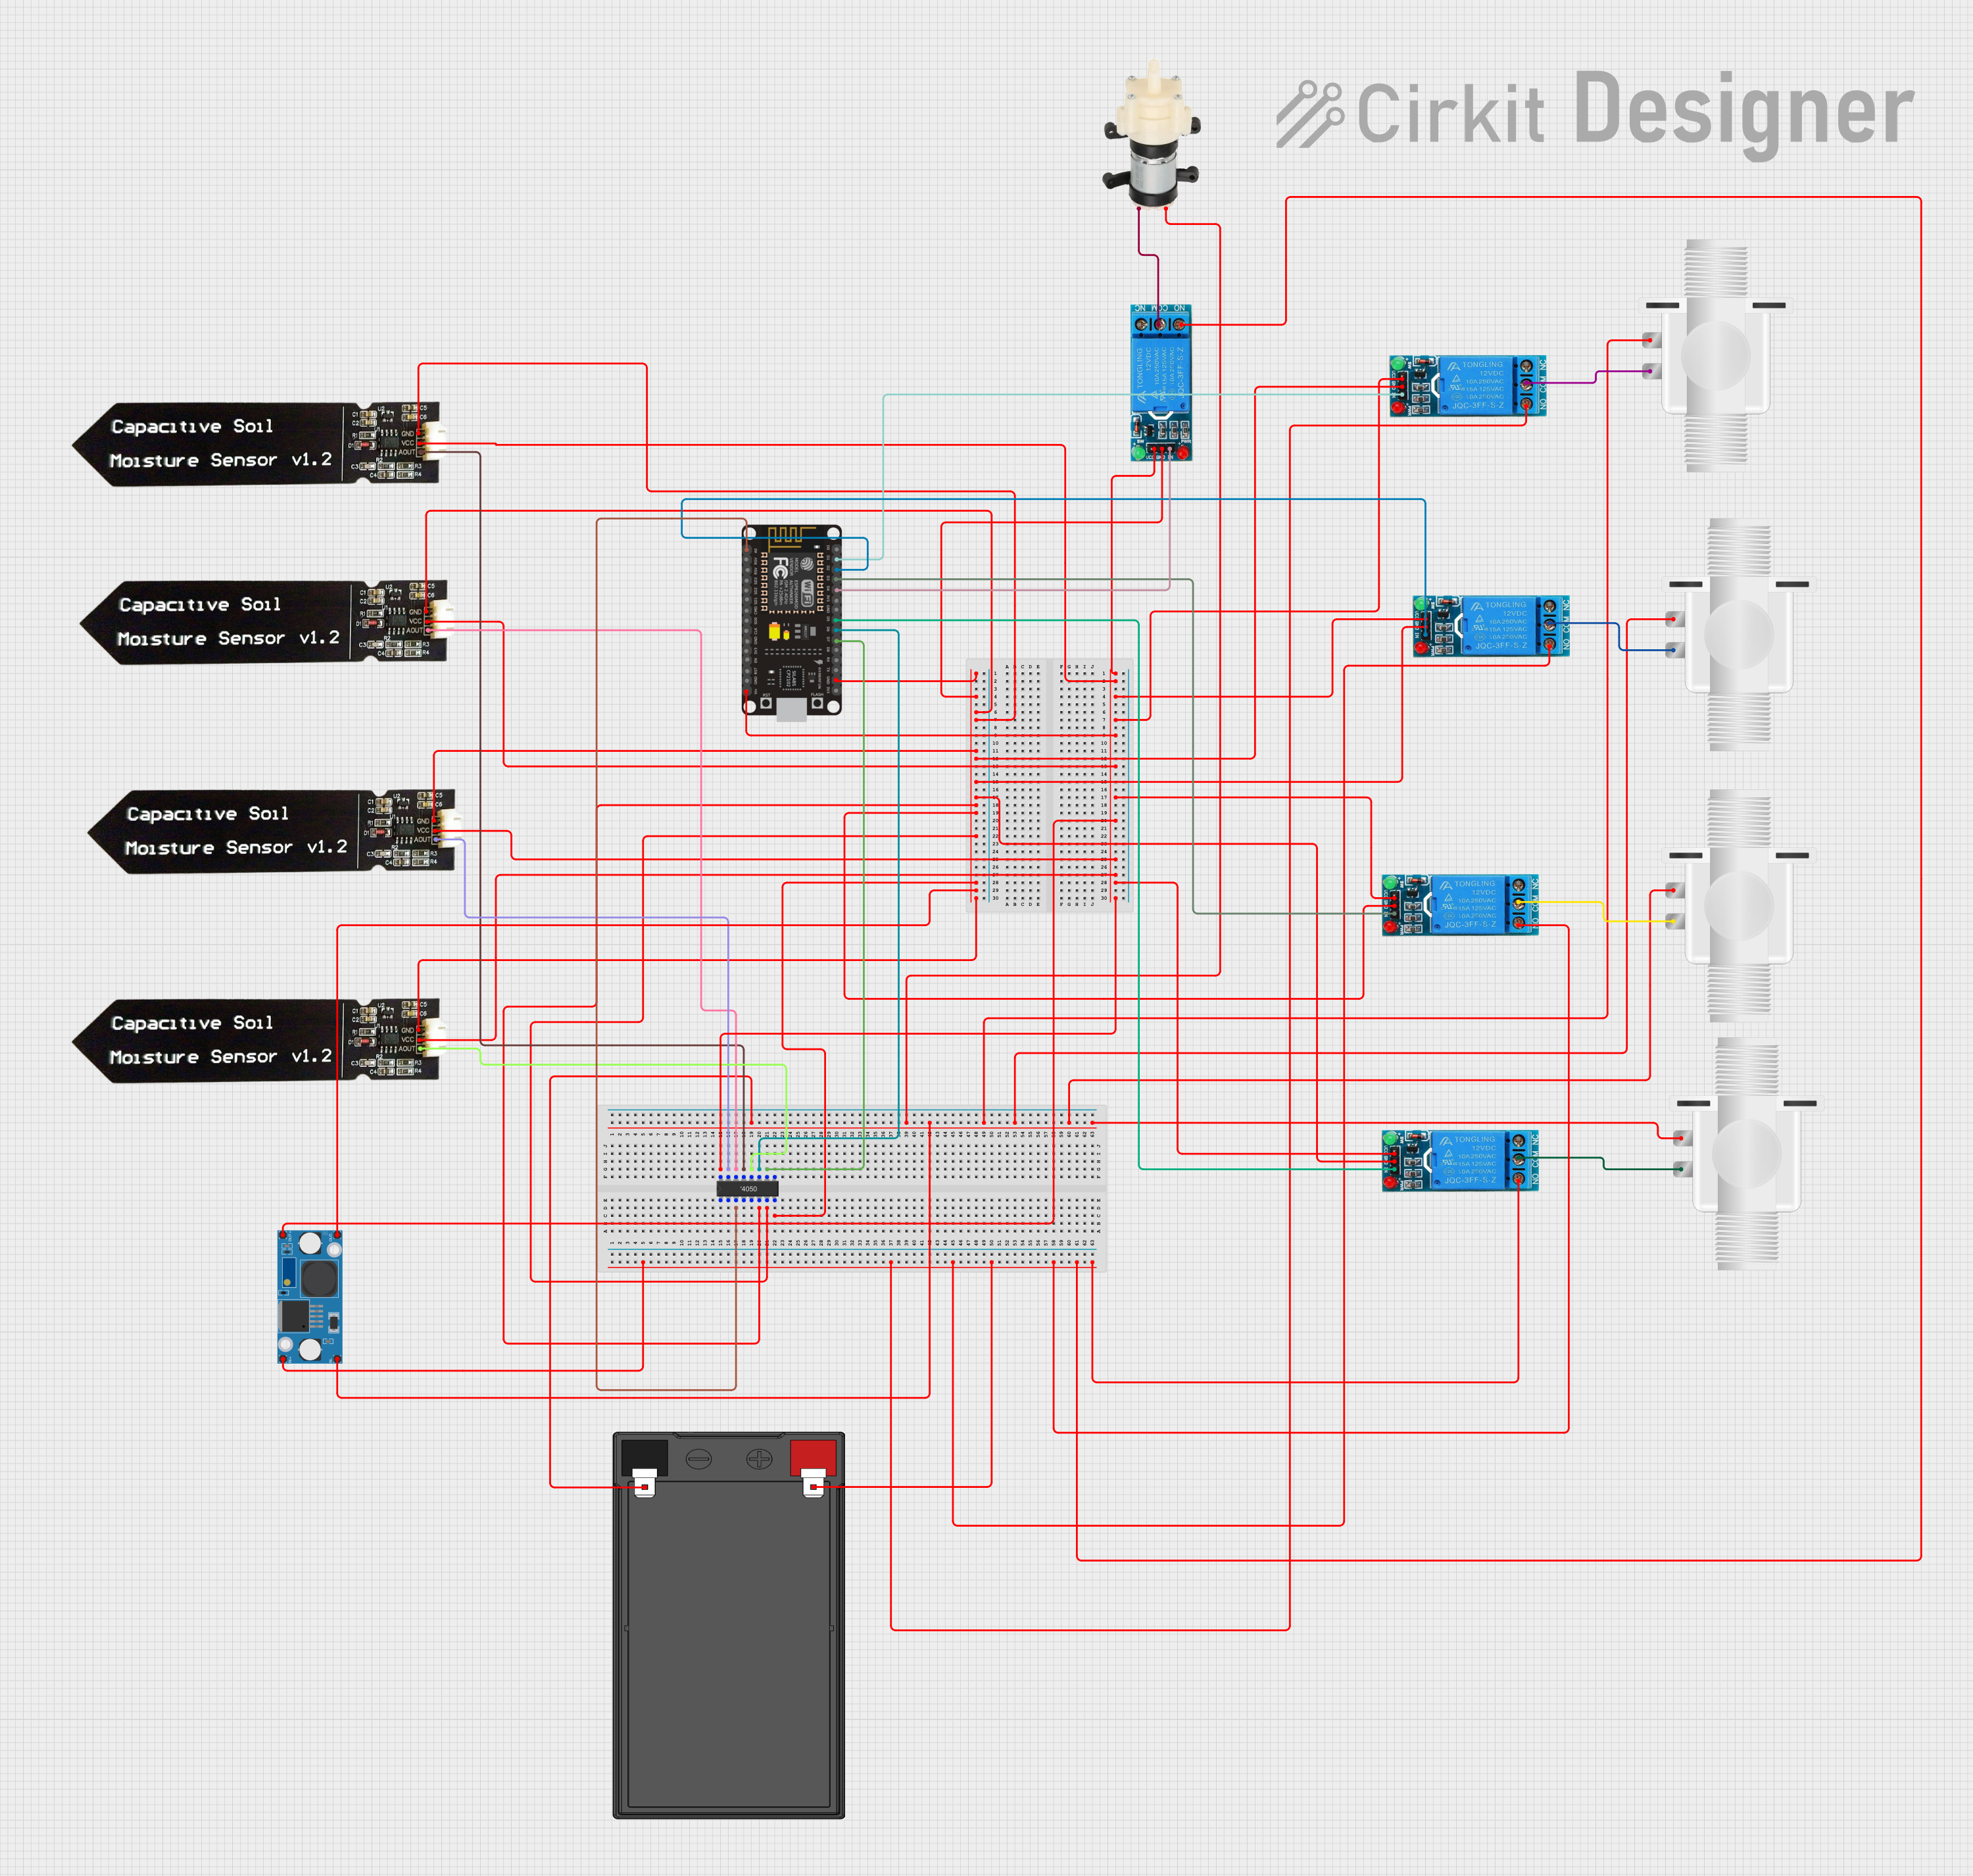
Explore Projects Built with Capacitive Soil Moisture Sensor v1.2
Common Applications and Use Cases
- Smart gardening and automated irrigation systems
- Agricultural monitoring and precision farming
- Indoor and outdoor plant care
- Environmental monitoring projects
- Educational and DIY electronics projects
Technical Specifications
The Capacitive Soil Moisture Sensor v1.2 is designed for ease of use and compatibility with microcontrollers like Arduino and Raspberry Pi. Below are its key technical details:
Key Technical Details
| Parameter | Specification |
|---|---|
| Operating Voltage | 3.3V - 5.5V |
| Output Signal | Analog Voltage (0-3.0V typical) |
| Current Consumption | < 20mA |
| Measurement Range | 0% (dry) to 100% (wet) |
| Interface Type | Analog |
| Dimensions | 98mm x 23mm x 3mm |
| Weight | ~5g |
Pin Configuration and Descriptions
| Pin Name | Pin Type | Description |
|---|---|---|
| VCC | Power | Connect to 3.3V or 5V power supply. |
| GND | Ground | Connect to the ground of the power supply. |
| AOUT | Analog Out | Outputs an analog voltage proportional to the soil moisture level. |
Usage Instructions
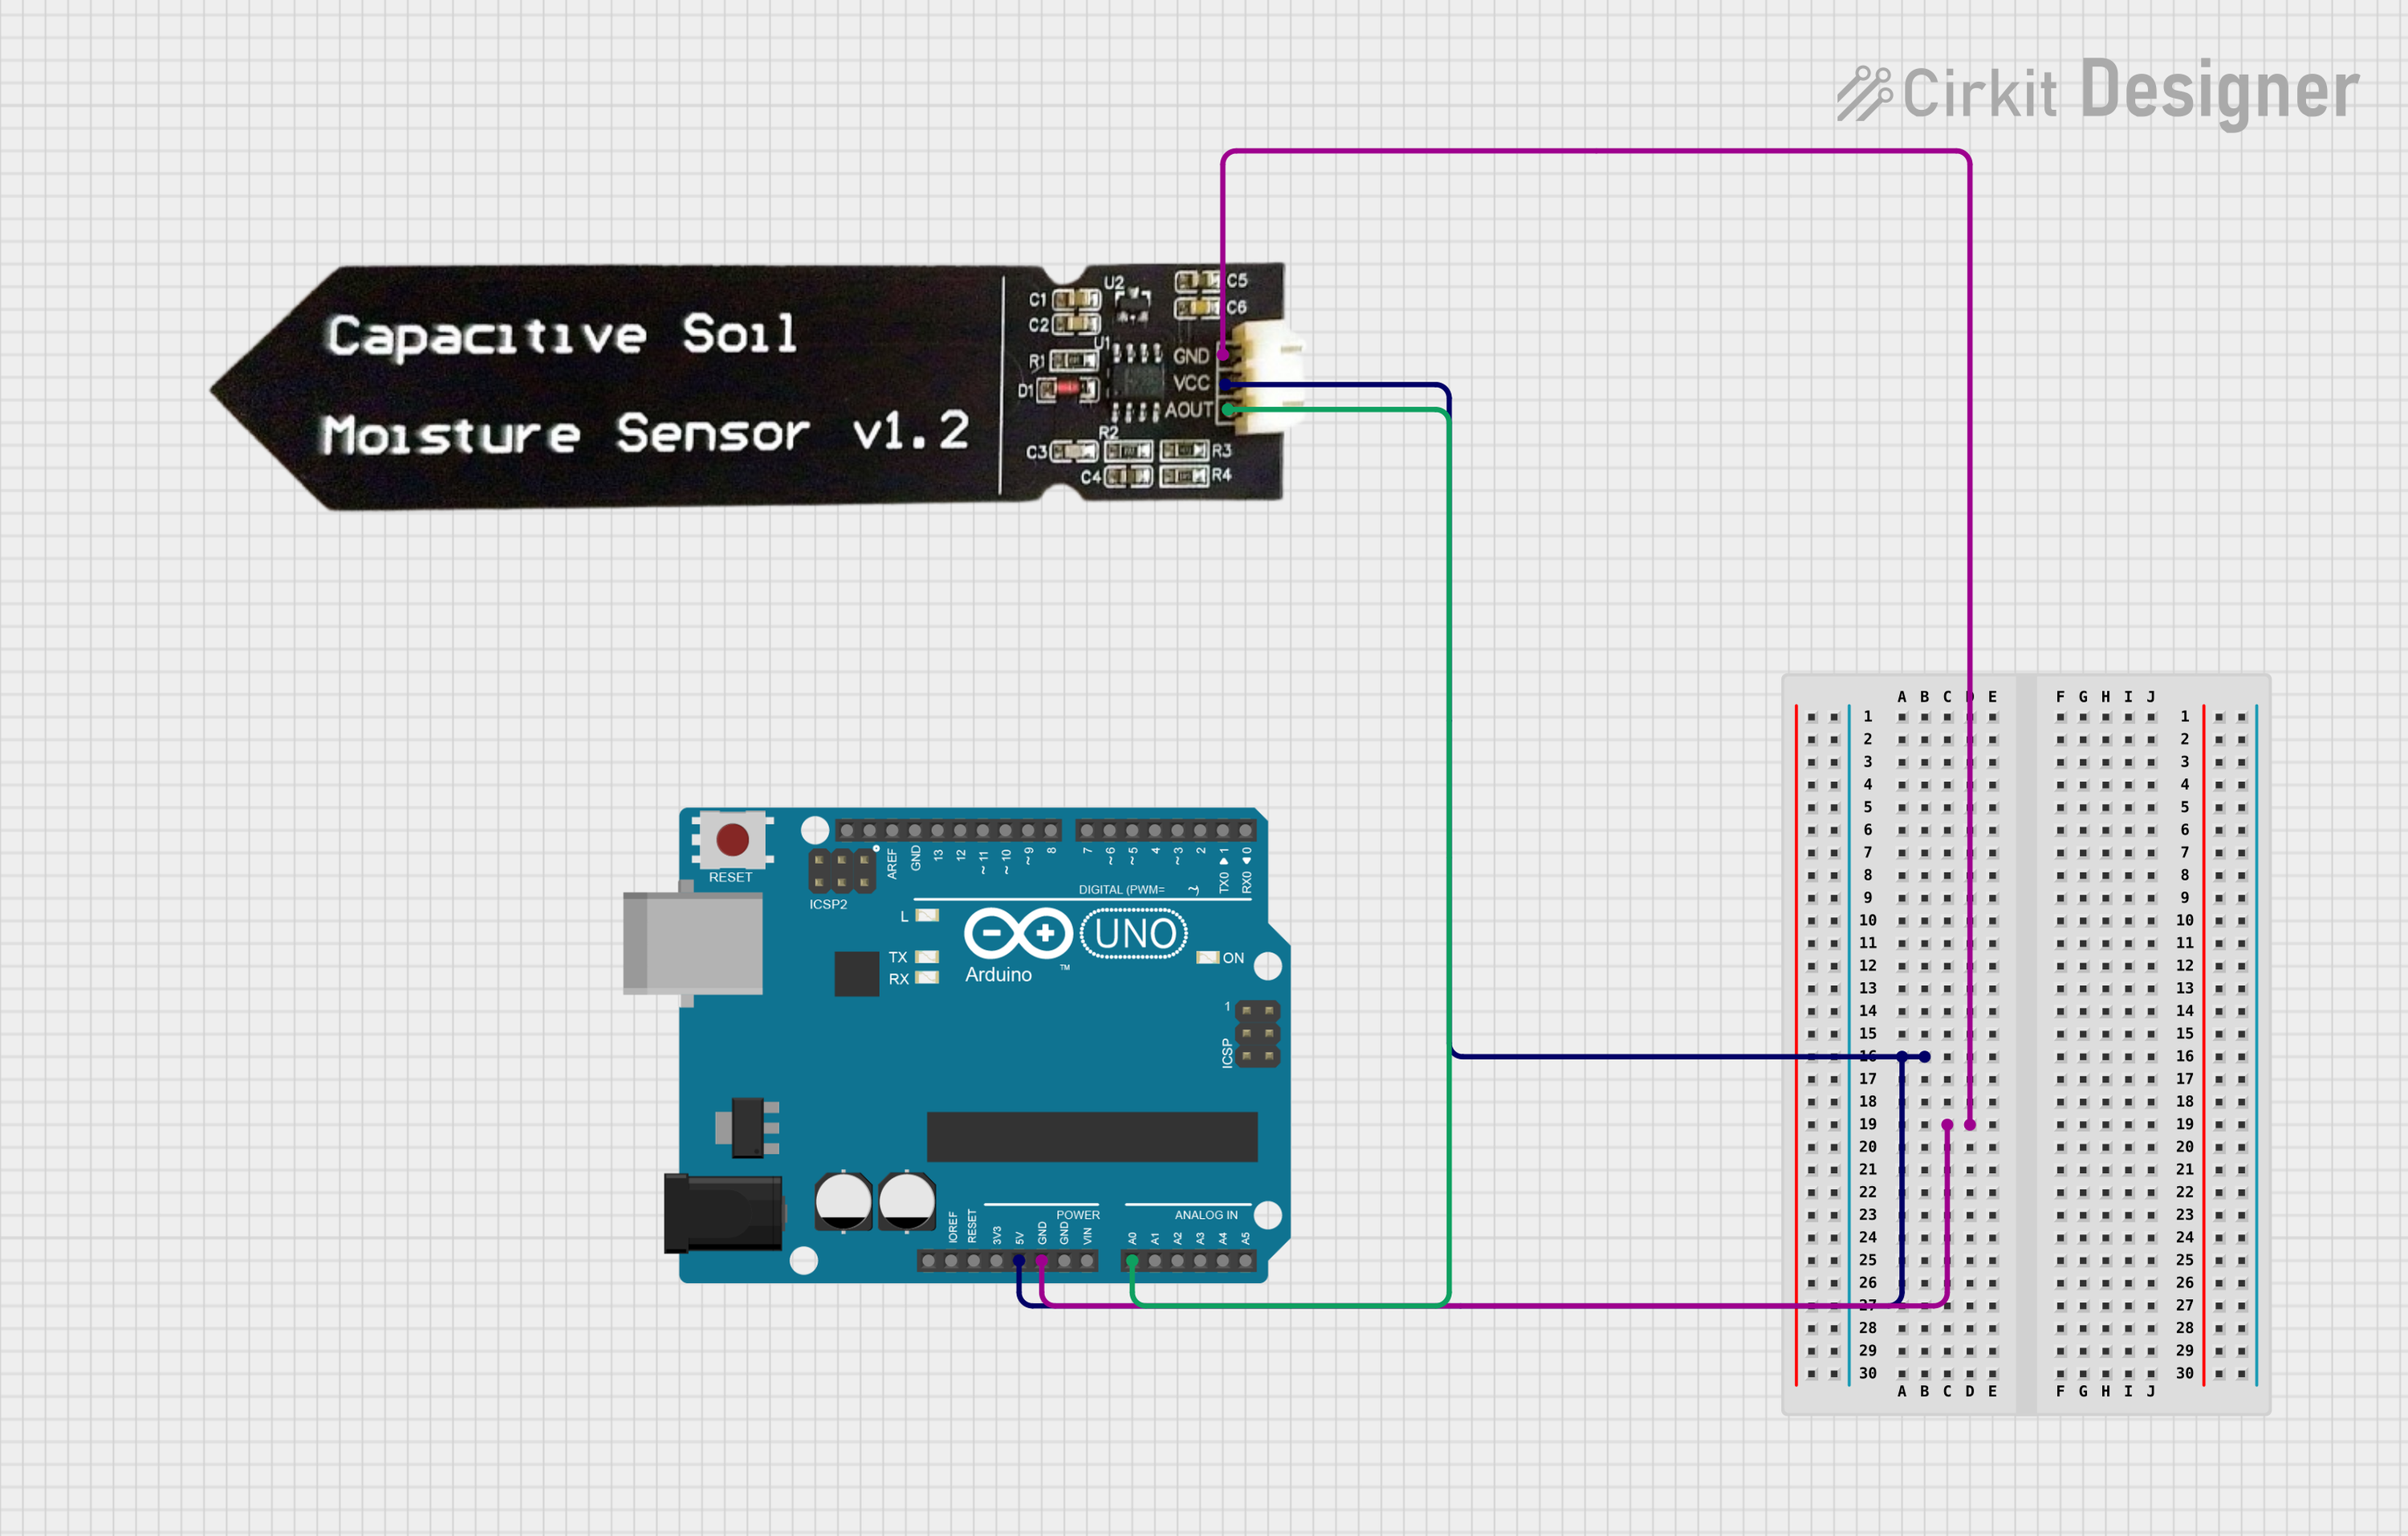
How to Use the Sensor in a Circuit
Connect the Sensor to a Microcontroller:
- Connect the
VCCpin to the 3.3V or 5V power supply pin of your microcontroller. - Connect the
GNDpin to the ground pin of your microcontroller. - Connect the
AOUTpin to an analog input pin on your microcontroller (e.g., A0 on an Arduino UNO).
- Connect the
Insert the Sensor into the Soil:
- Place the sensor into the soil you want to monitor. Ensure the sensor is inserted at an appropriate depth for accurate readings.
Read the Analog Output:
- The sensor outputs an analog voltage that corresponds to the soil moisture level. A higher voltage indicates wetter soil, while a lower voltage indicates drier soil.
Important Considerations and Best Practices
- Avoid exposing the sensor to water beyond the marked safe zone to prevent damage.
- Calibrate the sensor for your specific soil type to improve accuracy.
- Use a pull-down resistor on the analog input pin if you experience unstable readings.
- Protect the sensor from prolonged exposure to direct sunlight or extreme temperatures.
Example Code for Arduino UNO
Below is an example Arduino sketch to read and display the soil moisture level using the Capacitive Soil Moisture Sensor v1.2:
// Define the analog pin connected to the sensor
const int sensorPin = A0;

void setup() {
  Serial.begin(9600); // Initialize serial communication at 9600 baud
  pinMode(sensorPin, INPUT); // Set the sensor pin as an input
}

void loop() {
  int sensorValue = analogRead(sensorPin); // Read the analog value from the sensor
  float voltage = sensorValue * (5.0 / 1023.0); // Convert the value to voltage

  // Map the voltage to a percentage (0% = dry, 100% = wet)
  int moistureLevel = map(sensorValue, 0, 1023, 0, 100);

  // Print the readings to the Serial Monitor
  Serial.print("Moisture Level: ");
  Serial.print(moistureLevel);
  Serial.println("%");

  Serial.print("Voltage: ");
  Serial.print(voltage);
  Serial.println("V");

  delay(1000); // Wait for 1 second before taking the next reading
}
Troubleshooting and FAQs
Common Issues and Solutions
Unstable or Fluctuating Readings:
- Ensure all connections are secure and free of loose wires.
- Use a pull-down resistor on the analog input pin to stabilize the signal.
No Output or Incorrect Readings:
- Verify that the sensor is powered correctly (3.3V or 5V).
- Check the soil moisture level; extremely dry soil may produce very low readings.
Sensor Corrosion or Damage:
- Ensure the sensor is not submerged beyond the safe zone.
- Avoid prolonged exposure to water or harsh environmental conditions.
Inconsistent Results Across Different Soils:
- Calibrate the sensor for the specific soil type by taking reference readings for dry and wet conditions.
FAQs
Q: Can this sensor be used with a Raspberry Pi?
A: Yes, but since the Raspberry Pi lacks analog input pins, you will need an ADC (Analog-to-Digital Converter) module to read the sensor's output.
Q: How do I calibrate the sensor?
A: Take readings in completely dry soil and fully saturated soil. Use these values to map the sensor's output to a percentage scale.
Q: Is the sensor waterproof?
A: The sensor is water-resistant but not fully waterproof. Avoid submerging it beyond the marked safe zone.
Q: Can I use this sensor for hydroponics?
A: Yes, but ensure the sensor is not submerged in water for extended periods, as it is designed for soil-based applications.