
How to Use Arcade Button (white): Examples, Pinouts, and Specs
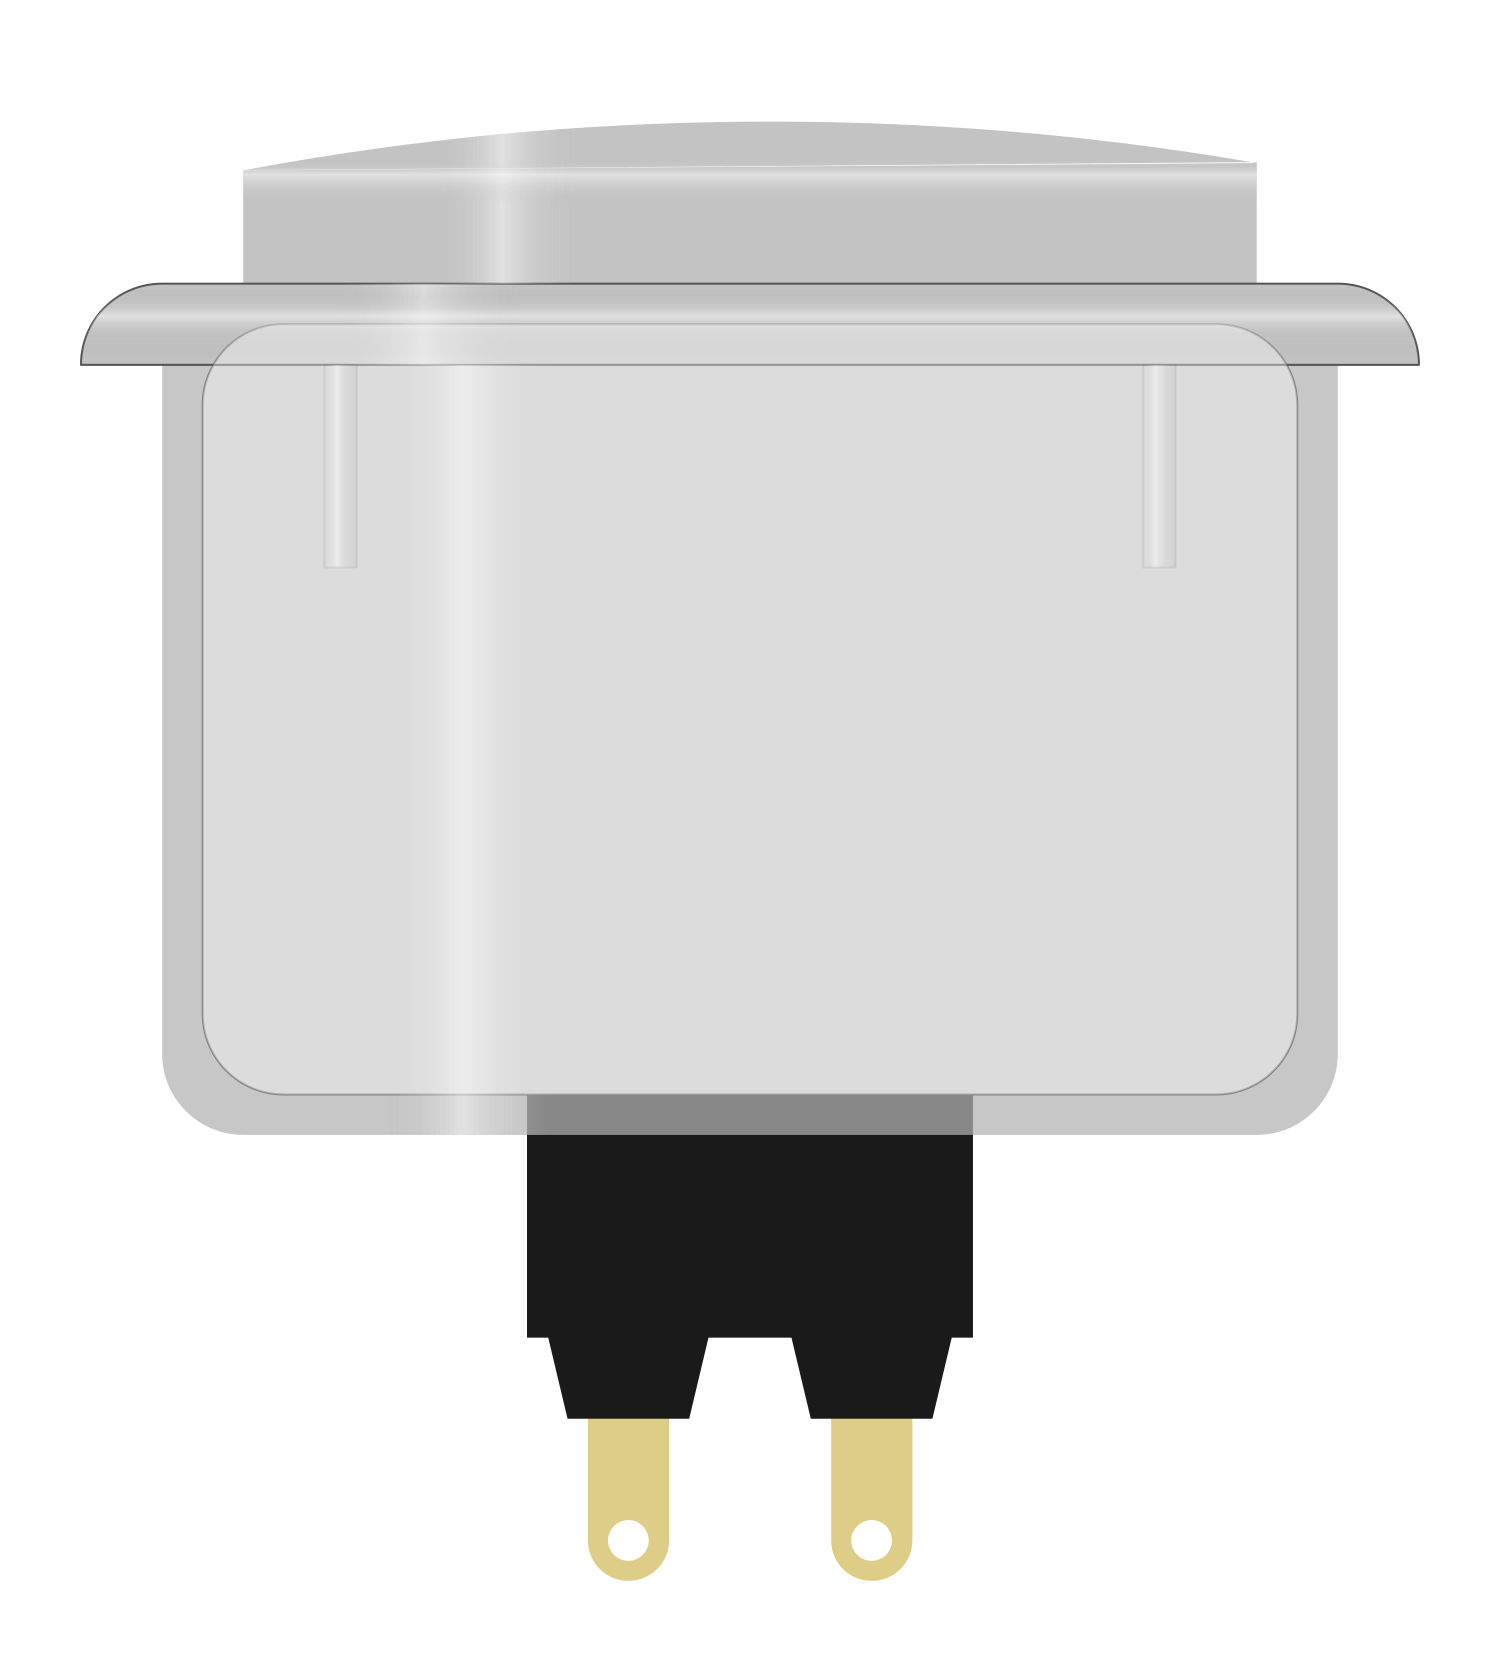
 Design with Arcade Button (white) in Cirkit Designer
Introduction
The Arcade Button (White) is a durable push-button switch designed for high-frequency use in arcade machines, gaming consoles, and DIY electronics projects. Its robust construction ensures long-lasting performance, while the white color provides excellent visibility. The button offers satisfying tactile feedback, making it ideal for interactive applications where user input is critical.
Explore Projects Built with Arcade Button (white)
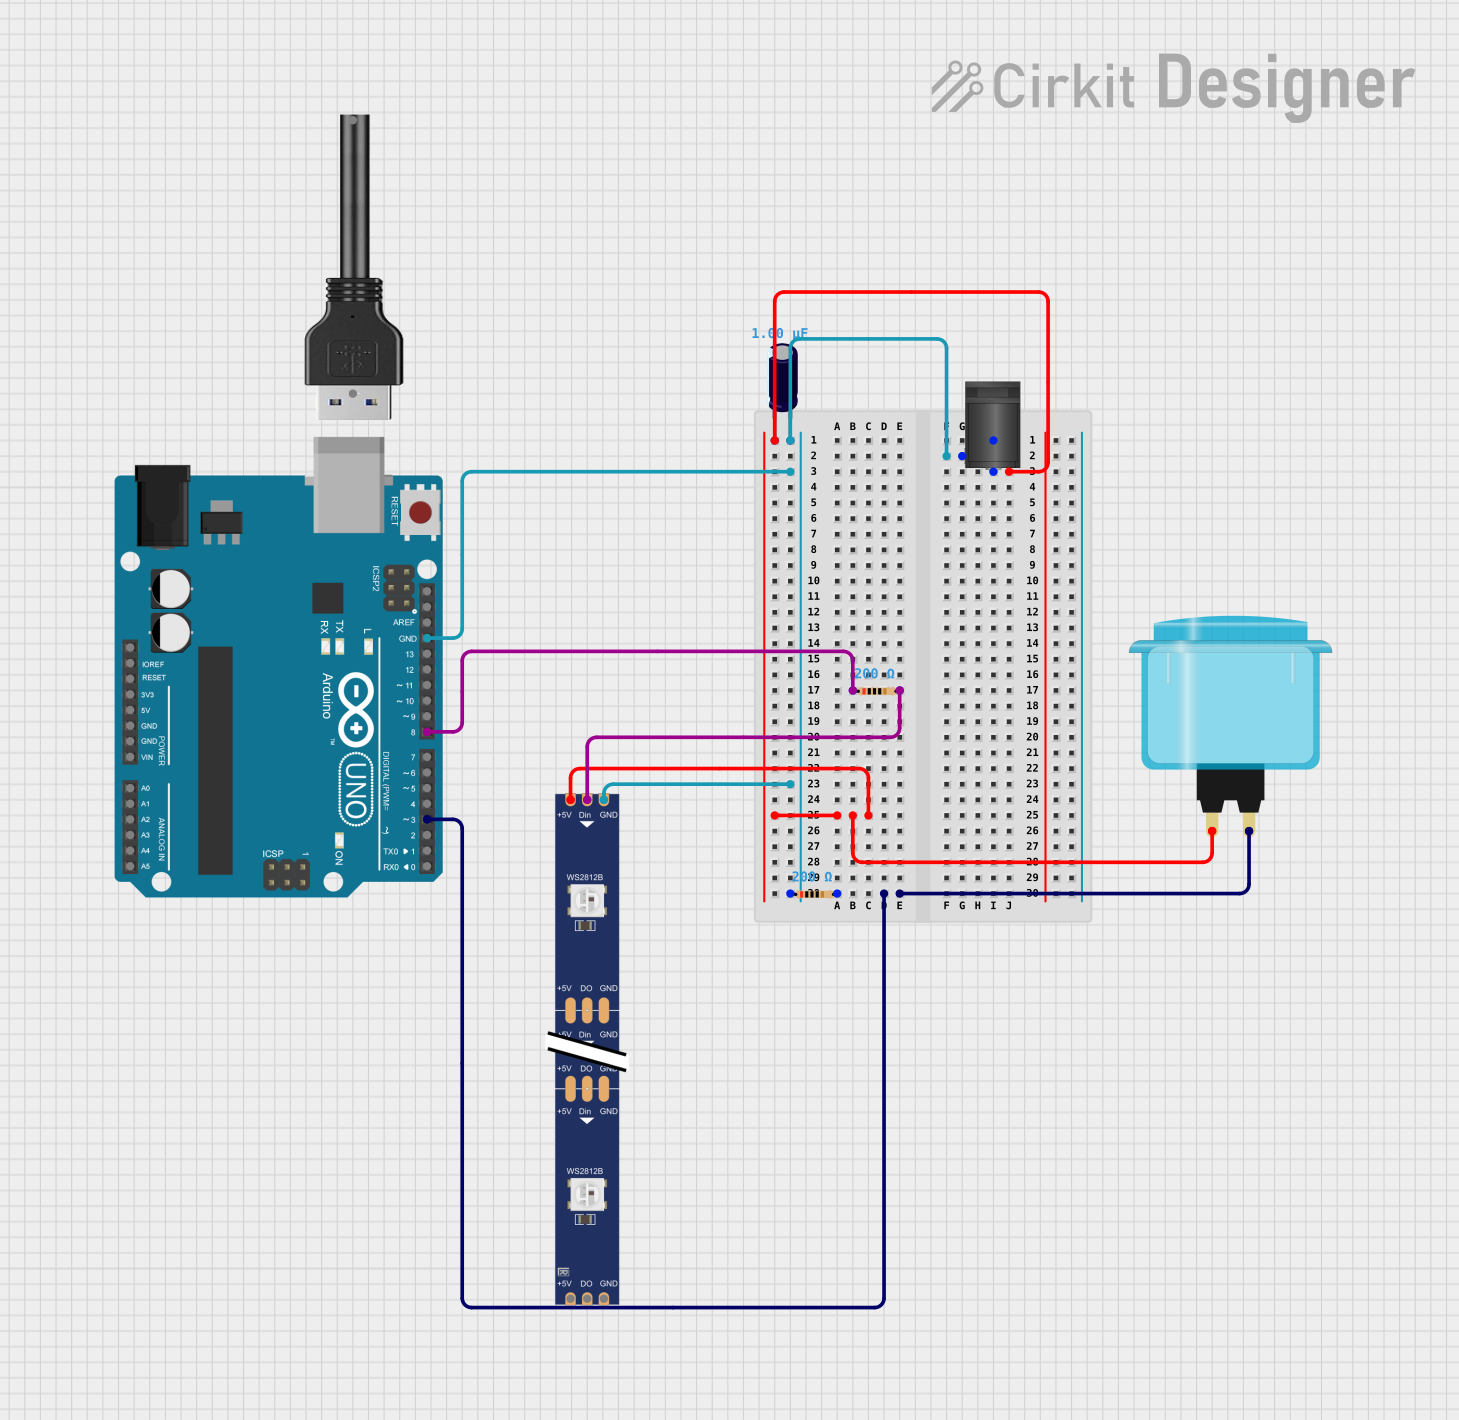 Open Project in Cirkit Designer
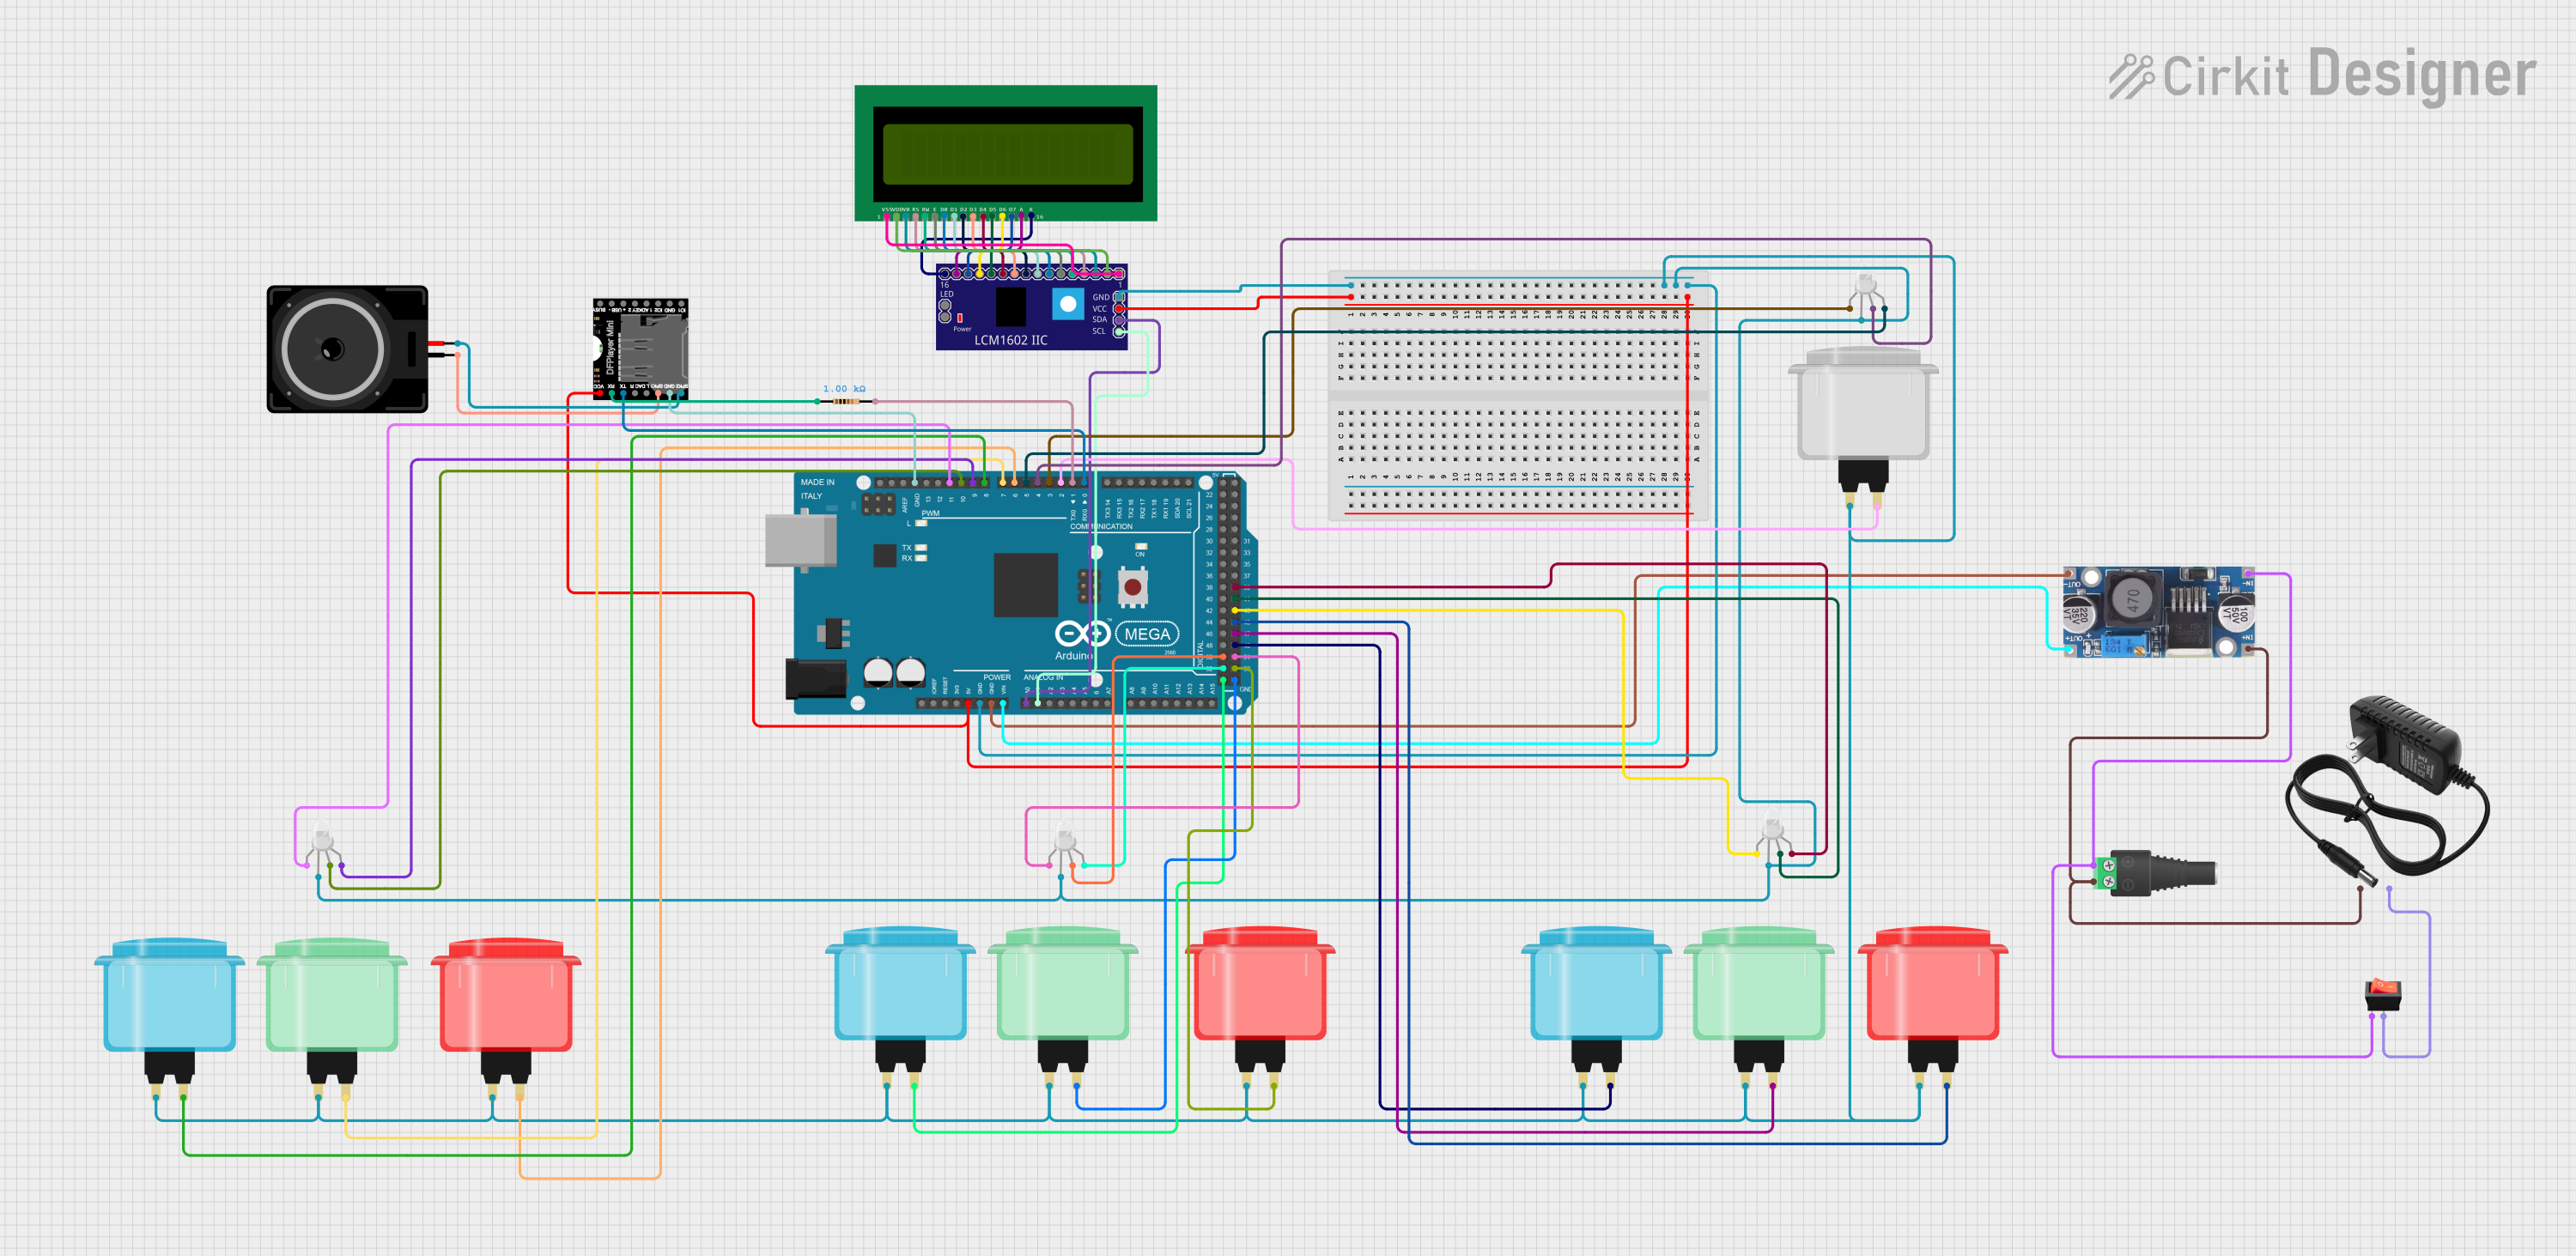 Open Project in Cirkit Designer
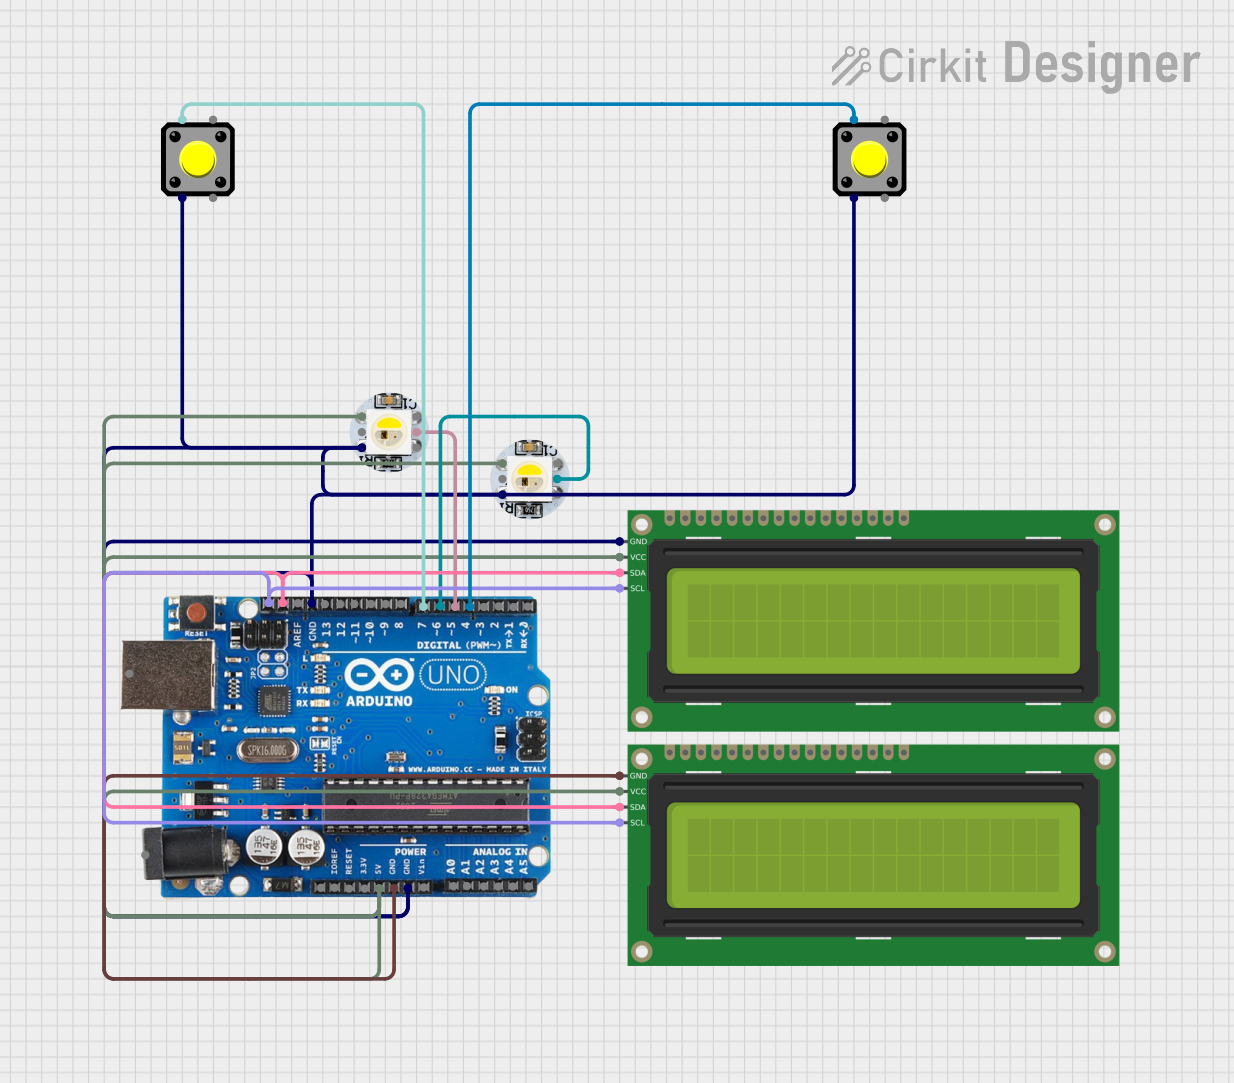 Open Project in Cirkit Designer
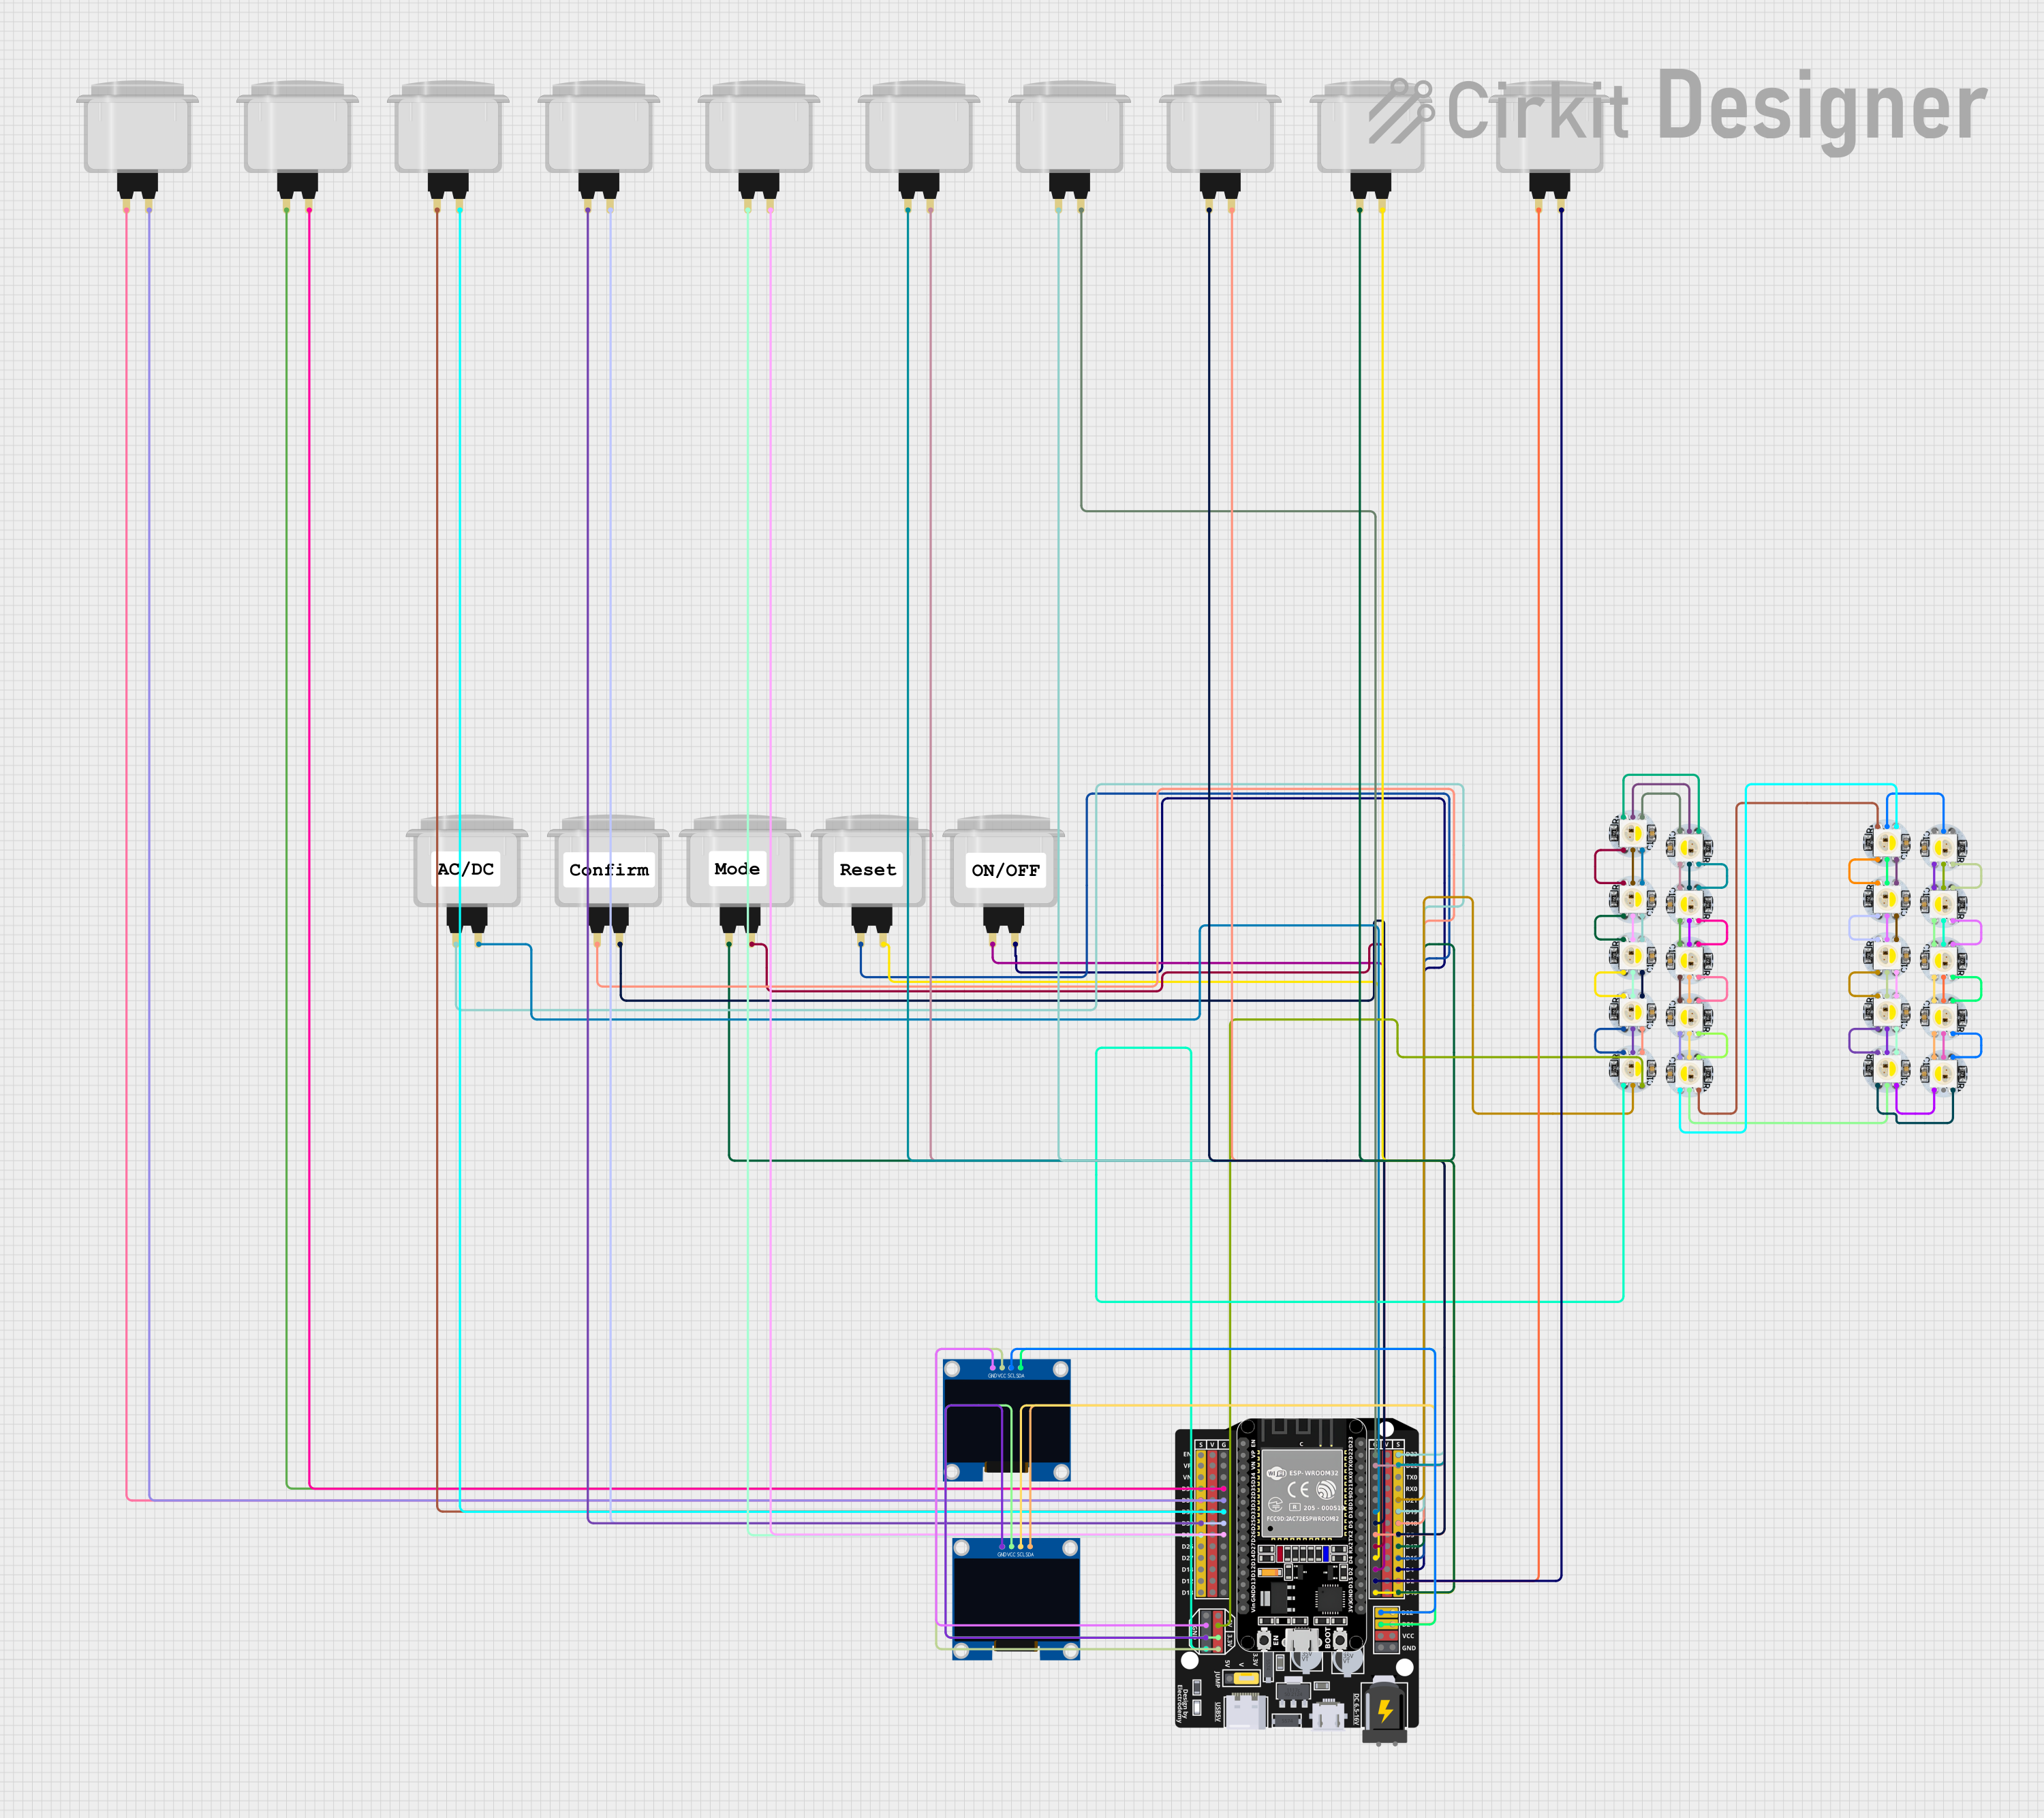 Open Project in Cirkit Designer
Explore Projects Built with Arcade Button (white)
Open Project in Cirkit DesignerOpen Project in Cirkit DesignerOpen Project in Cirkit DesignerOpen Project in Cirkit DesignerCommon Applications
- Arcade gaming machines
- DIY gaming controllers
- Interactive kiosks
- Custom electronics projects
- Educational prototyping
Technical Specifications
Key Specifications
| Parameter | Value |
|---|---|
| Button Type | Momentary push-button |
| Color | White |
| Material | ABS plastic (housing), metal contacts |
| Operating Voltage | 3.3V to 12V |
| Maximum Current Rating | 5A |
| Contact Resistance | ≤ 50 mΩ |
| Insulation Resistance | ≥ 100 MΩ |
| Mechanical Lifespan | ≥ 1,000,000 cycles |
| Mounting Hole Diameter | 28mm |
| Dimensions | 33mm (diameter) x 50mm (height) |
| Weight | ~15g |
Pin Configuration and Descriptions
The Arcade Button (White) typically has two terminals for electrical connections:
| Pin Name | Description |
|---|---|
| NO | Normally Open terminal; connects when pressed |
| COM | Common terminal; connects to the circuit ground or power source |
Usage Instructions
How to Use the Arcade Button in a Circuit
Mounting the Button:
- Drill a 28mm hole in your panel or enclosure.
- Insert the button into the hole and secure it using the included mounting nut.
Wiring the Button:
- Connect the
COMterminal to the ground or power source, depending on your circuit design. - Connect the
NOterminal to the input pin of your microcontroller or the load you wish to control.
- Connect the
Testing the Button:
- Apply power to your circuit.
- Press the button to ensure it completes the circuit and triggers the desired action.
Important Considerations
- Debouncing: Mechanical buttons like this one may produce noise or multiple signals when pressed. Use a hardware or software debounce mechanism to ensure reliable operation.
- Voltage and Current Ratings: Do not exceed the specified voltage (12V) or current (5A) to avoid damaging the button.
- Mounting: Ensure the button is securely mounted to prevent accidental disconnections during use.
Example: Connecting to an Arduino UNO
Below is an example of how to connect the Arcade Button (White) to an Arduino UNO and read its state.
Circuit Setup
- Connect the
COMterminal of the button to the Arduino's GND pin. - Connect the
NOterminal of the button to digital pin 2 on the Arduino.
Arduino Code
// Arcade Button Example with Arduino UNO
// This code reads the state of the button and turns on an LED when pressed.

const int buttonPin = 2;  // Pin connected to the NO terminal of the button
const int ledPin = 13;    // Built-in LED on Arduino UNO

void setup() {
  pinMode(buttonPin, INPUT_PULLUP); // Set button pin as input with pull-up resistor
  pinMode(ledPin, OUTPUT);         // Set LED pin as output
}

void loop() {
  int buttonState = digitalRead(buttonPin); // Read the button state

  if (buttonState == LOW) { // Button is pressed (LOW due to pull-up resistor)
    digitalWrite(ledPin, HIGH); // Turn on the LED
  } else {
    digitalWrite(ledPin, LOW);  // Turn off the LED
  }
}
Notes:
- The
INPUT_PULLUPmode is used to simplify wiring by enabling the internal pull-up resistor. - When the button is pressed, the circuit is completed, and the pin reads
LOW.
Troubleshooting and FAQs
Common Issues
Button Not Responding:
- Cause: Loose or incorrect wiring.
- Solution: Double-check the connections to the
COMandNOterminals.
Button Produces Erratic Behavior:
- Cause: Signal bouncing due to mechanical contacts.
- Solution: Implement a debounce circuit or software debounce logic.
Button Feels Stiff or Unresponsive:
- Cause: Dirt or debris inside the button mechanism.
- Solution: Clean the button with compressed air or a soft brush.
Button Does Not Fit in Mounting Hole:
- Cause: Incorrect hole size.
- Solution: Ensure the mounting hole is exactly 28mm in diameter.
FAQs
Q: Can this button handle AC voltage?
- A: No, this button is designed for low-voltage DC applications only.
Q: Is the button waterproof?
- A: No, the button is not waterproof. Avoid using it in wet or humid environments.
Q: Can I use this button with a Raspberry Pi?
- A: Yes, the button can be used with a Raspberry Pi. Connect it to a GPIO pin and use a pull-up or pull-down resistor as needed.
Q: How do I debounce the button in software?
- A: Use a delay or a state-change detection algorithm in your code to filter out noise from the button press.
This documentation provides all the necessary details to effectively use the Arcade Button (White) in your projects.