How to Use Si2302: Examples, Pinouts, and Specs
Introduction
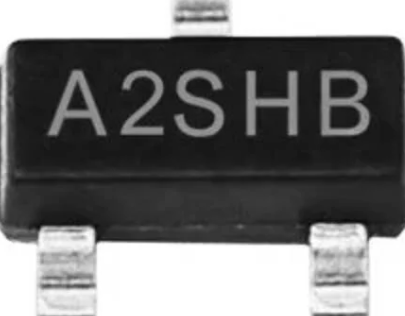
The Si2302 is a P-channel enhancement-mode field-effect transistor (FET) designed for low-power applications. It is widely used in power management circuits, load switches, and as a switch for various signals due to its high efficiency and low on-resistance. Its small form factor makes it suitable for portable electronics, where space and power consumption are critical.
Explore Projects Built with Si2302


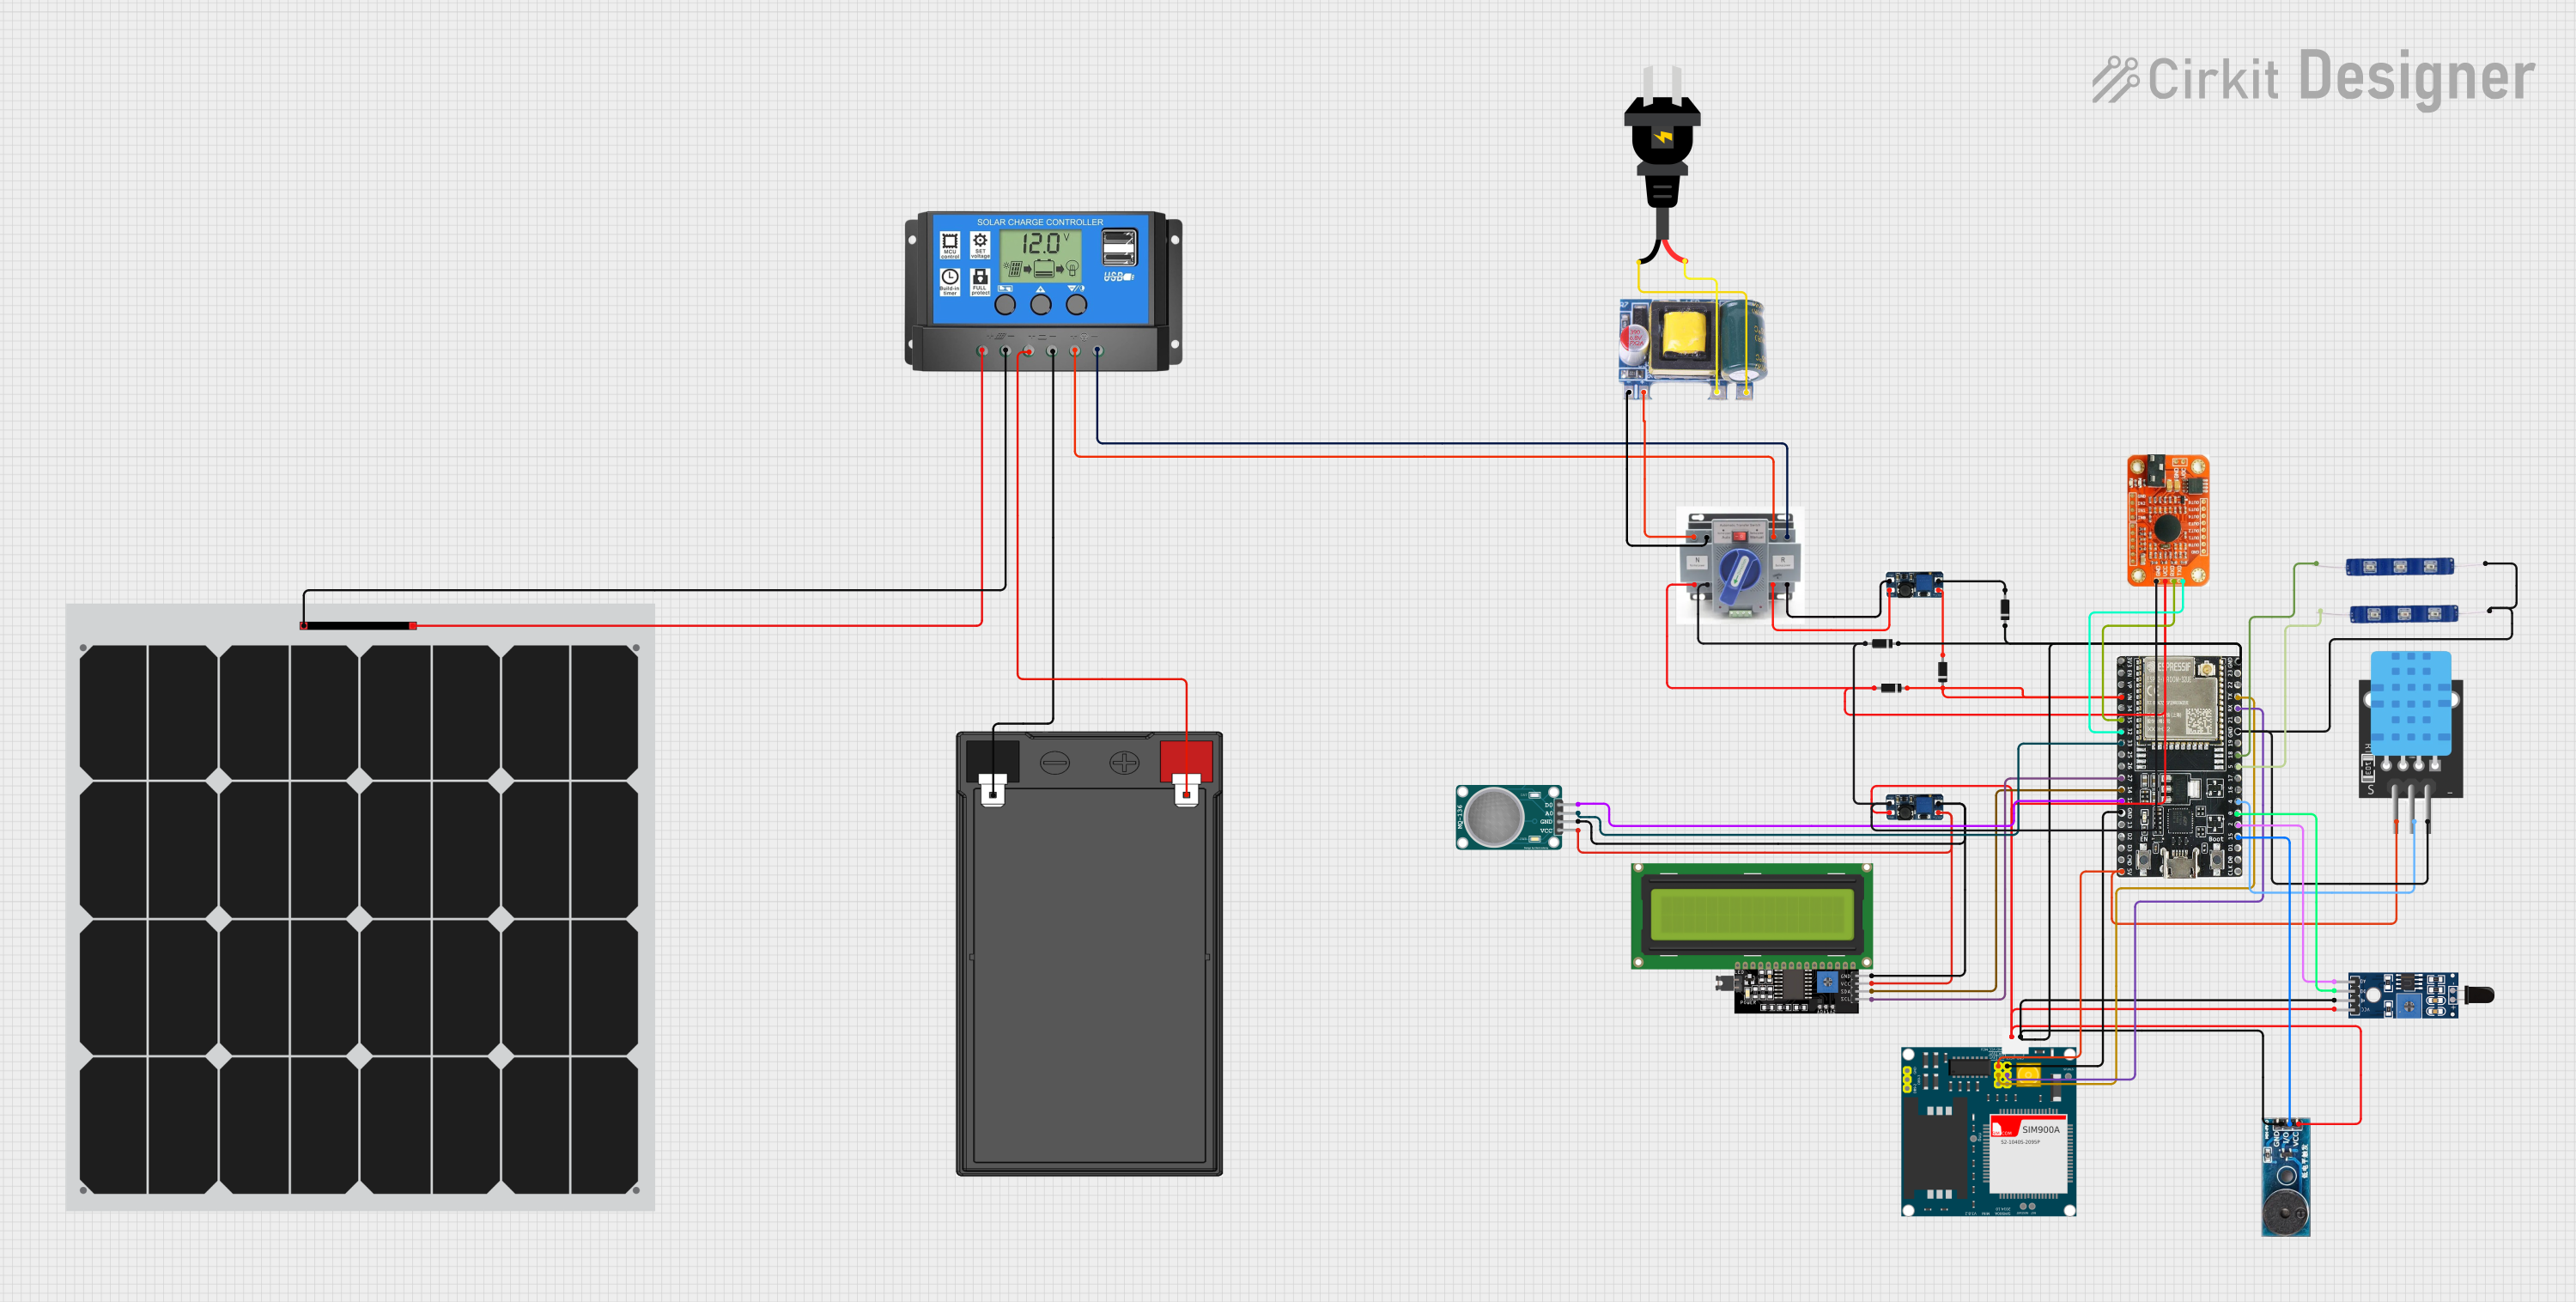

Explore Projects Built with Si2302
Technical Specifications
Key Technical Details
- Type: P-Channel MOSFET
- Drain-Source Voltage (Vds): -20V
- Gate-Source Voltage (Vgs): ±8V
- Continuous Drain Current (Id): -3.1A
- Pulsed Drain Current (Idm): -12A
- Power Dissipation (Pd): 1.25W
- Rds(on): 65mΩ at Vgs = -4.5V
- Operating Temperature Range: -55°C to 150°C
Pin Configuration and Descriptions
| Pin Number | Name | Description |
|---|---|---|
| 1 | G | Gate |
| 2 | S | Source |
| 3 | D | Drain |
Usage Instructions
How to Use the Si2302 in a Circuit
Biasing the Gate: To turn on the Si2302, apply a negative voltage to the gate relative to the source. Ensure that this voltage does not exceed the maximum Vgs rating.
Load Connection: Connect the load to the drain of the Si2302. The source should be connected to the higher potential side of the power supply, which is typically ground in P-channel MOSFET applications.
Gate Protection: It is advisable to use a gate resistor (typically 10kΩ to 100kΩ) to limit the inrush current and a gate-to-source resistor to ensure the MOSFET remains off when not explicitly driven.
Heat Management: If the Si2302 is expected to dissipate significant power, ensure adequate heat sinking to maintain the junction temperature below the maximum operating temperature.
Best Practices
- Avoid exposing the Si2302 to voltages beyond its maximum ratings to prevent damage.
- Implement proper ESD precautions when handling the Si2302 to avoid gate oxide breakdown.
- Use a pull-down resistor on the gate to ensure the MOSFET remains off when the gate drive signal is not present.
Troubleshooting and FAQs
Common Issues
- MOSFET Does Not Turn On: Check the gate-source voltage to ensure it is within the threshold voltage range. Also, verify the gate drive circuitry is functioning correctly.
- Overheating: Ensure that the current through the Si2302 does not exceed the rated continuous drain current and that adequate heat sinking is provided.
Solutions and Tips
- Gate Voltage Issues: If the MOSFET does not turn on, increase the gate drive strength or check for any open circuits in the gate drive path.
- Thermal Management: If overheating occurs, improve heat dissipation by using a larger heat sink or improving airflow around the component.
FAQs
Q: Can the Si2302 be driven directly from a microcontroller? A: Yes, but ensure that the microcontroller can provide a sufficient negative voltage to fully turn on the MOSFET.
Q: What is the purpose of the gate resistor? A: The gate resistor limits inrush current and helps to dampen oscillations that can occur during switching.
Q: Is the Si2302 suitable for high-frequency applications? A: The Si2302 can be used in high-frequency applications, but its performance will depend on the specific requirements of the circuit, such as switching speed and power dissipation.
Example Code for Arduino UNO
The following example demonstrates how to control the Si2302 using an Arduino UNO to switch a load on and off.
const int mosfetGatePin = 3; // Connect to the gate of the Si2302

void setup() {
  pinMode(mosfetGatePin, OUTPUT);
  digitalWrite(mosfetGatePin, HIGH); // Set to HIGH to turn off the MOSFET
}

void loop() {
  // Turn on the MOSFET by setting the gate LOW
  digitalWrite(mosfetGatePin, LOW);
  delay(1000); // Wait for 1 second

  // Turn off the MOSFET by setting the gate HIGH
  digitalWrite(mosfetGatePin, HIGH);
  delay(1000); // Wait for 1 second
}
Note: In this example, the Arduino pin is set to HIGH to turn off the MOSFET because the Si2302 is a P-channel MOSFET, and it requires a negative voltage (relative to the source) to turn on. Ensure that the load connected to the Si2302 does not exceed the current and power ratings of the MOSFET.