
How to Use KY-028: Examples, Pinouts, and Specs
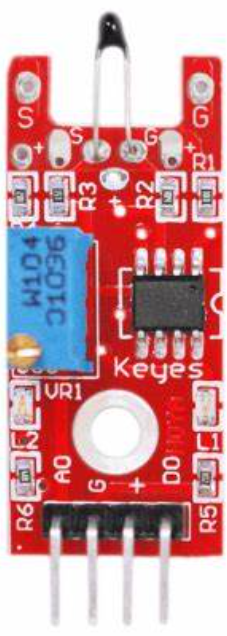
 Design with KY-028 in Cirkit Designer
Introduction
The KY-028 is a temperature sensor module designed for temperature monitoring applications. It features the LM35 temperature sensor, which provides an analog output directly proportional to the temperature in degrees Celsius. The module also includes a digital output that can be triggered when the temperature exceeds a user-defined threshold, making it versatile for a wide range of projects.
Explore Projects Built with KY-028
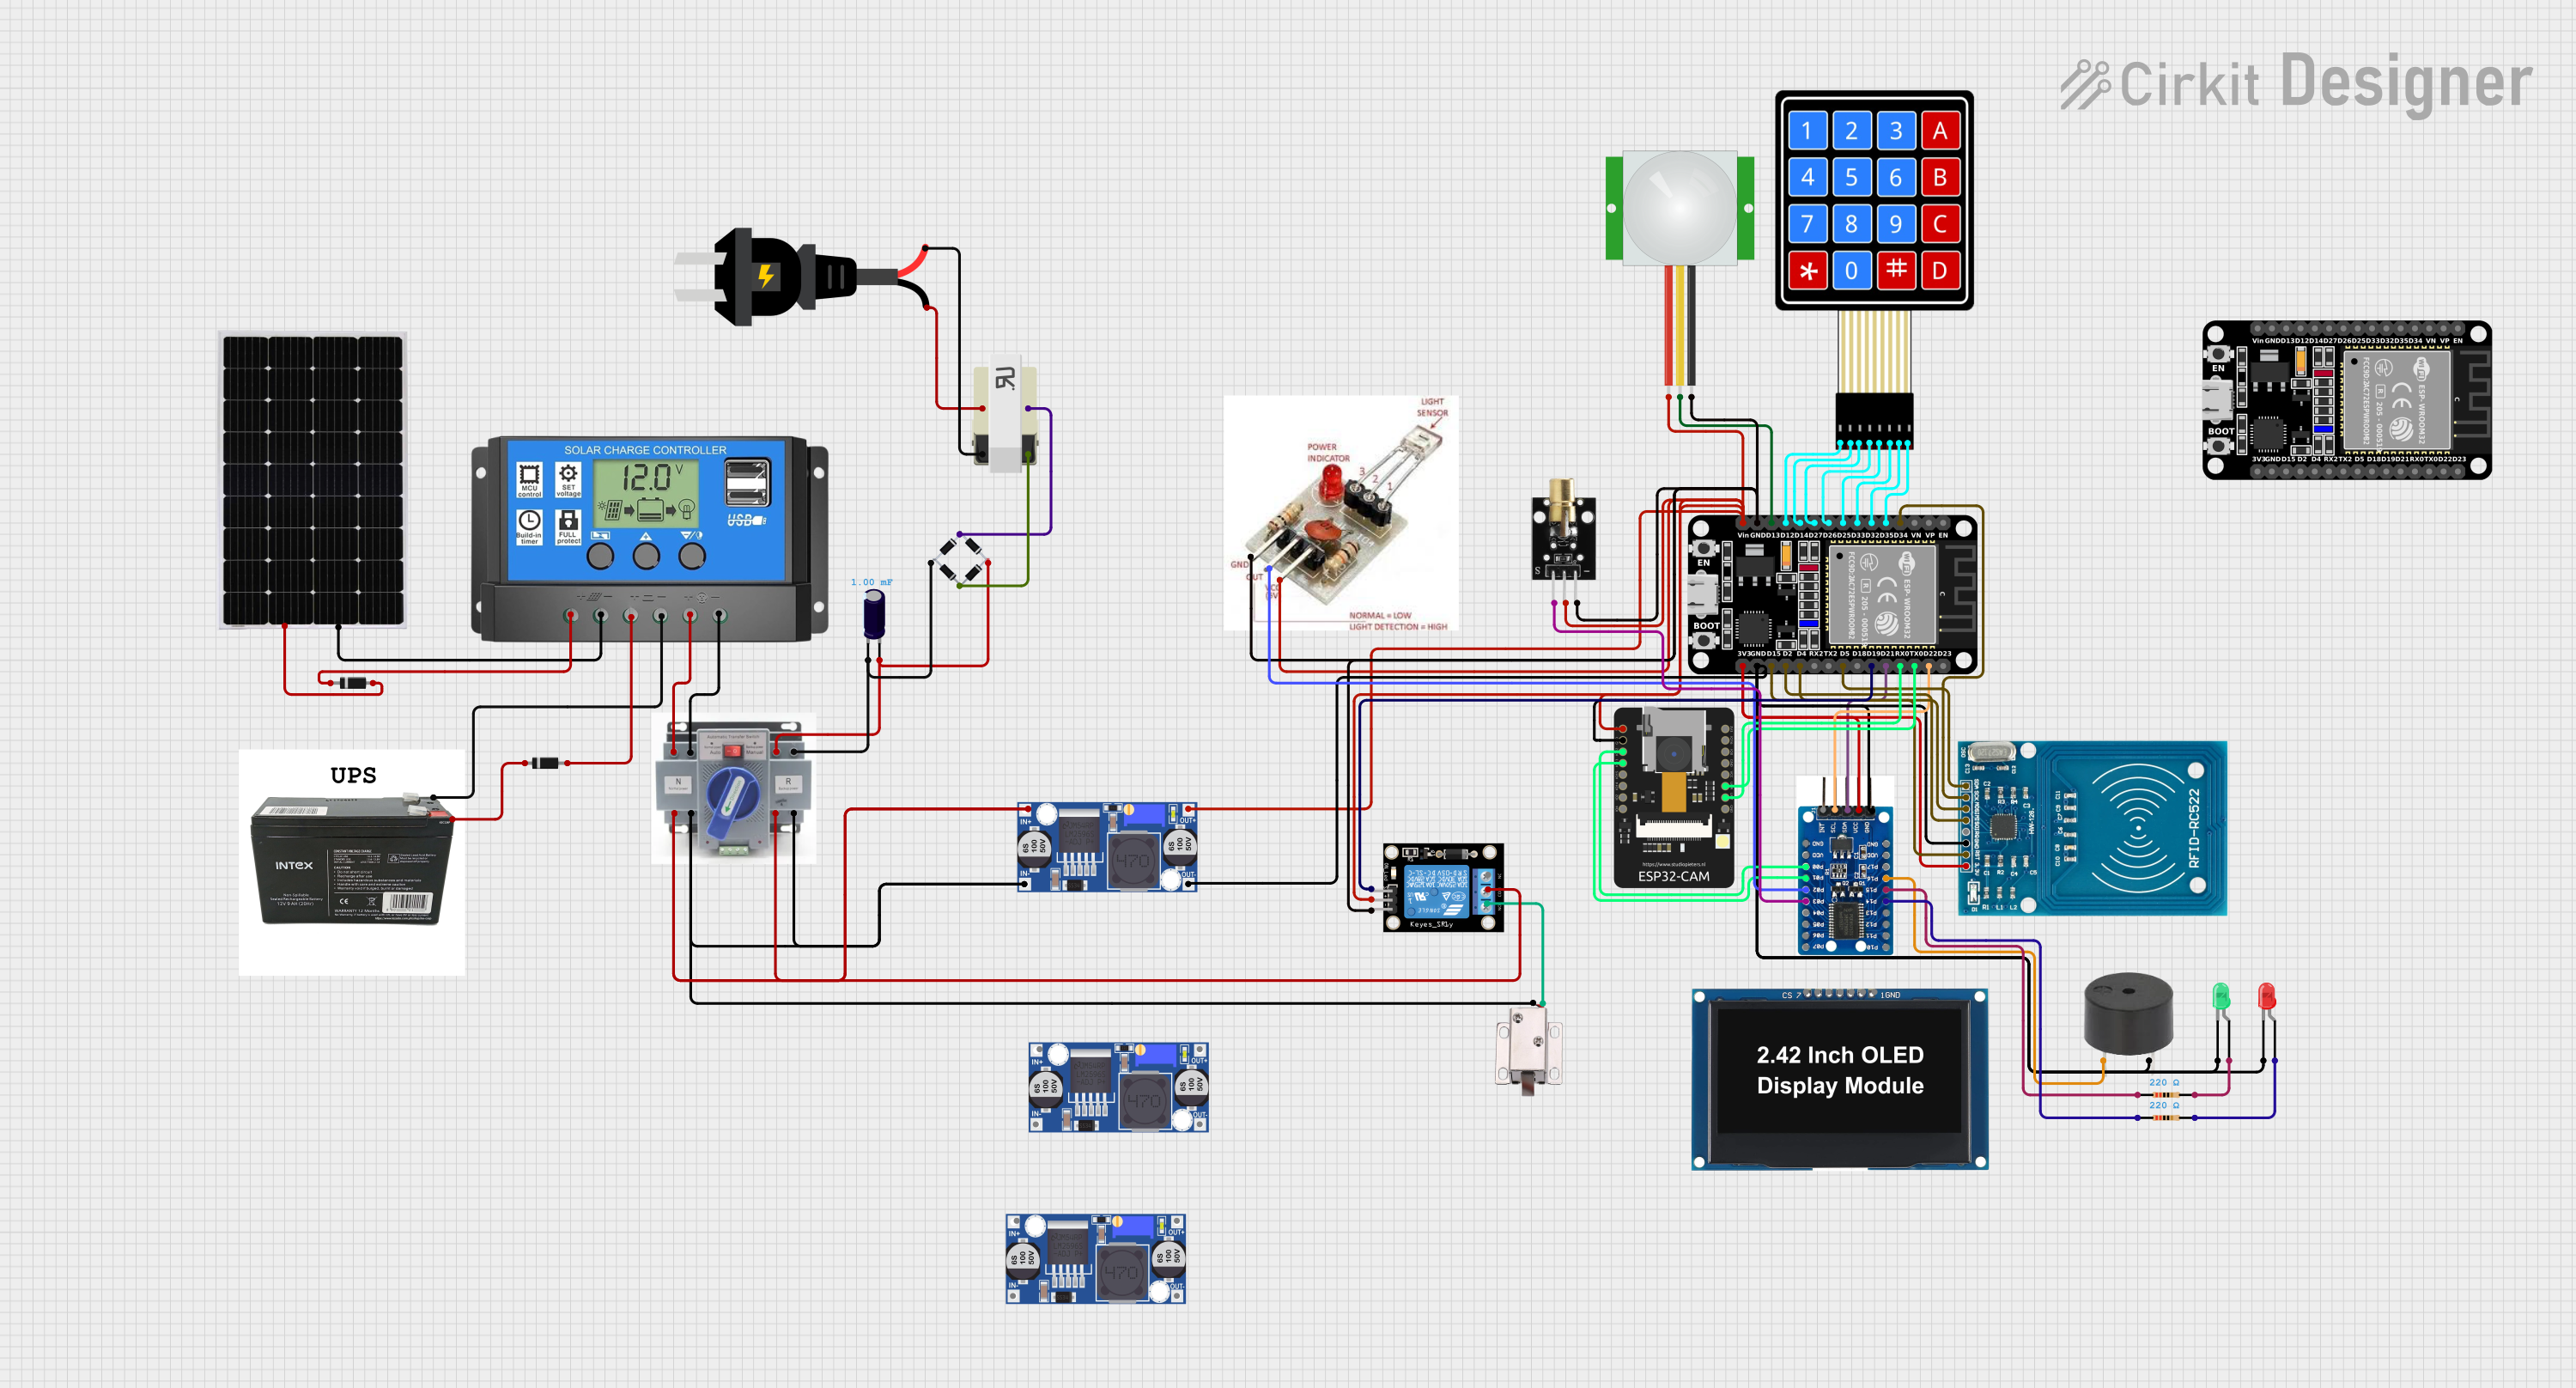
 Open Project in Cirkit Designer
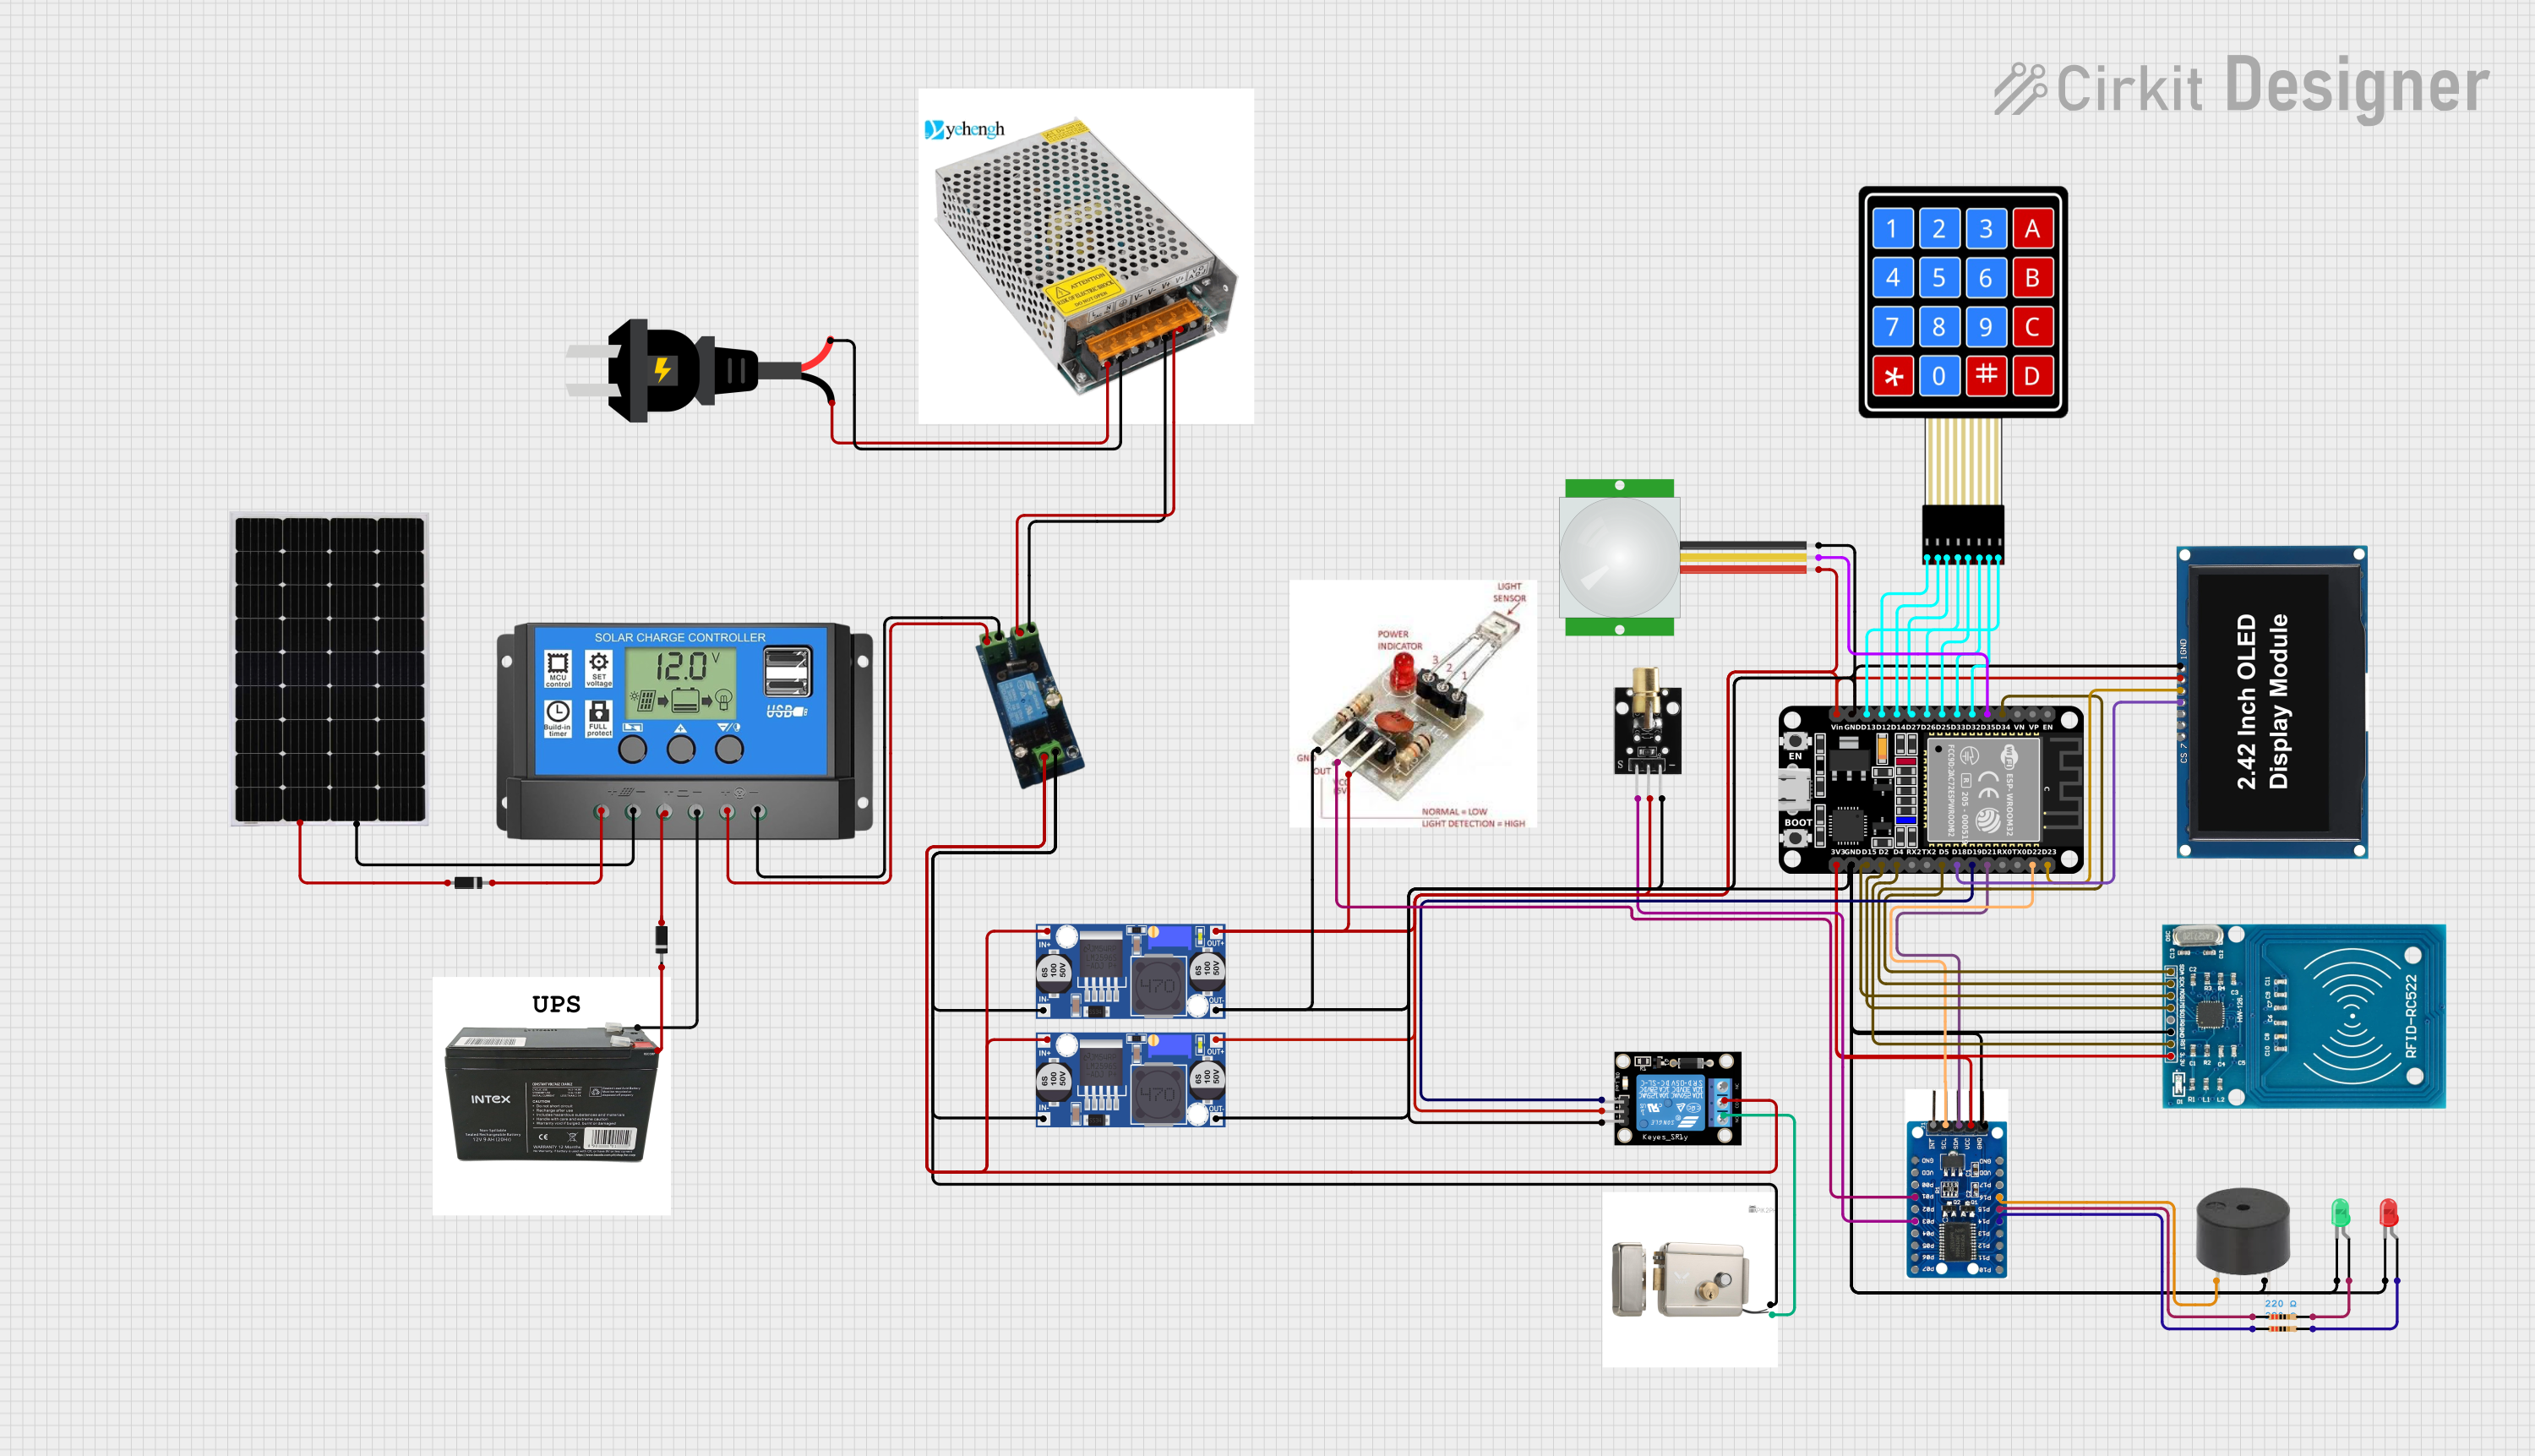
 Open Project in Cirkit Designer
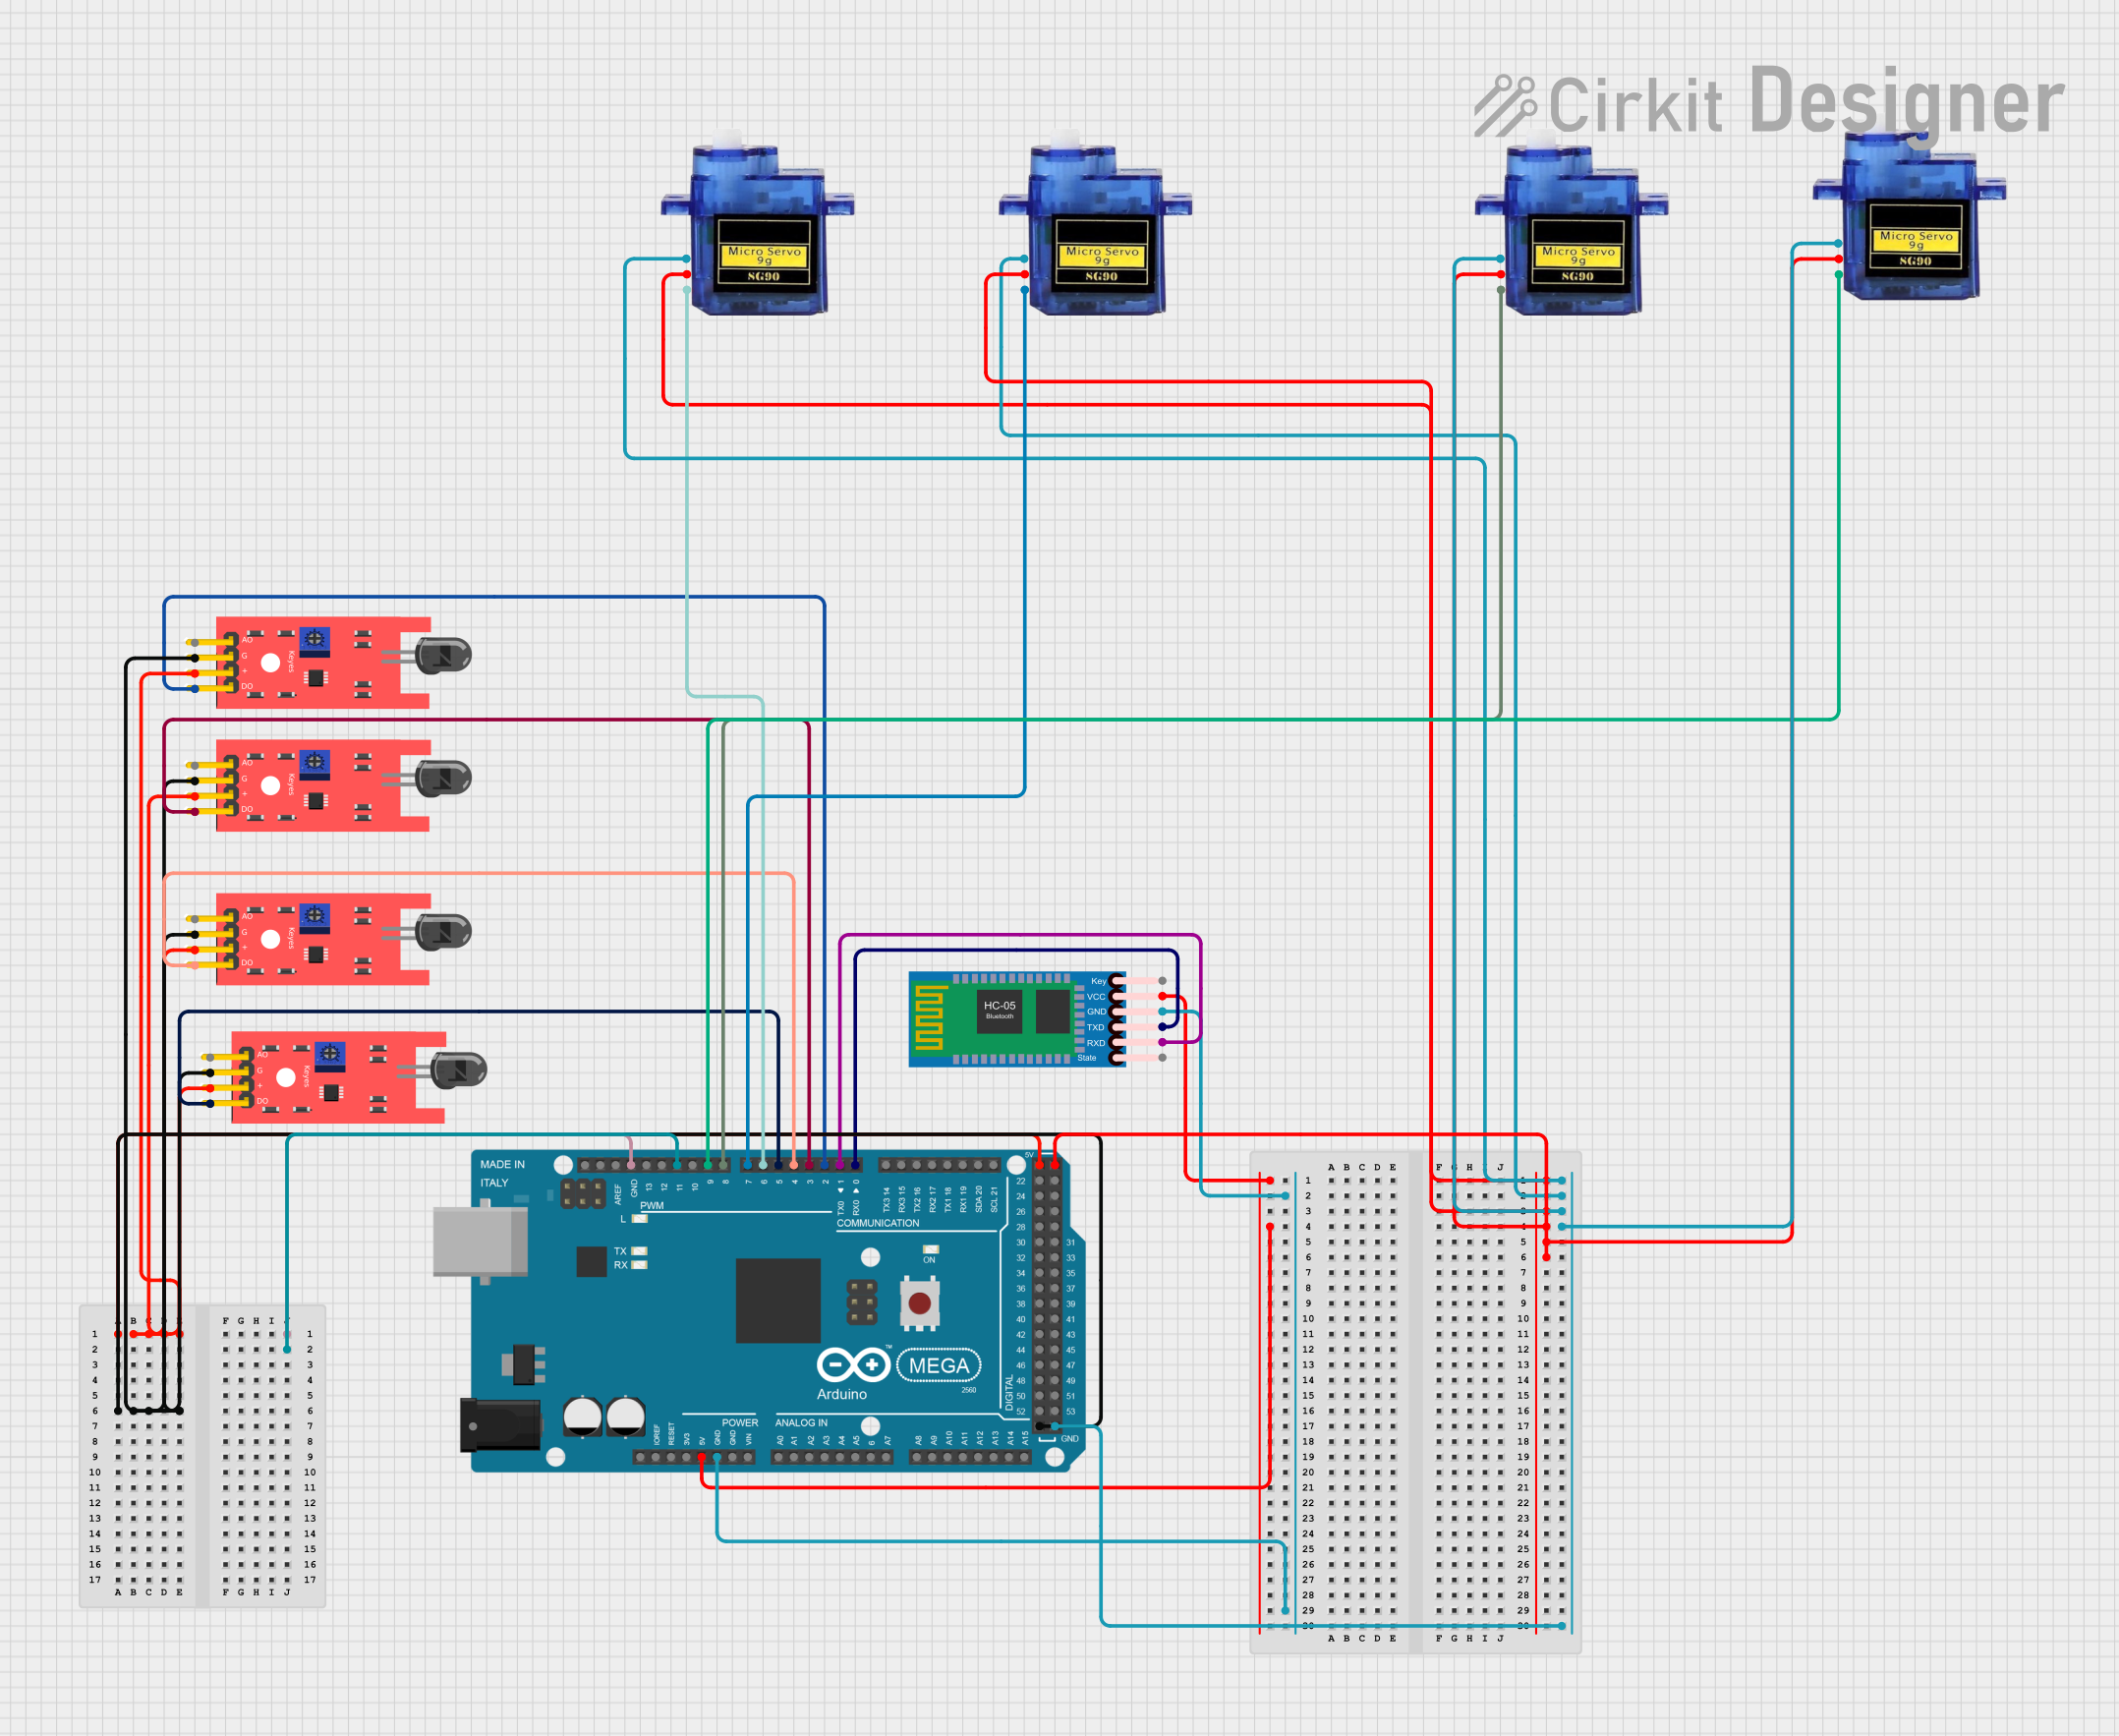
 Open Project in Cirkit Designer
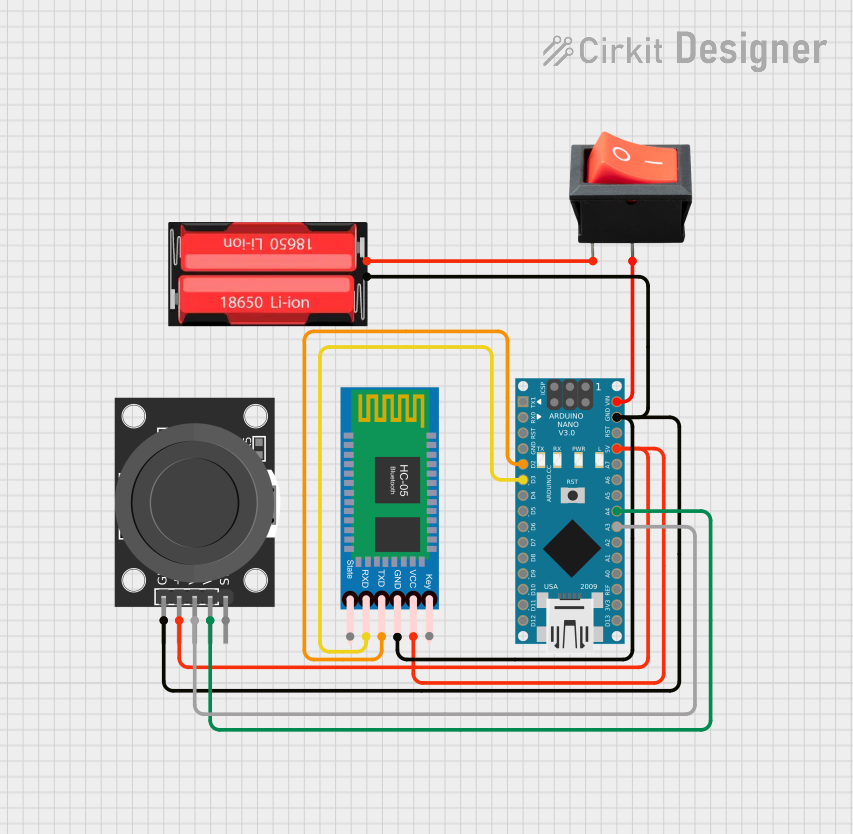
 Open Project in Cirkit Designer
Explore Projects Built with KY-028

 Open Project in Cirkit Designer
 Open Project in Cirkit Designer
 Open Project in Cirkit Designer
 Open Project in Cirkit Designer
Common Applications and Use Cases
- Environmental temperature monitoring
- Home automation systems
- Industrial temperature control
- Educational projects and prototyping
- Arduino and microcontroller-based projects
Technical Specifications
The KY-028 module is built around the LM35 temperature sensor and includes additional circuitry for digital threshold adjustment. Below are the key technical details:
| Parameter | Value |
|---|---|
| Operating Voltage | 3.3V - 5V |
| Analog Output Voltage | 10mV/°C (from LM35 sensor) |
| Digital Output | High/Low (based on threshold) |
| Temperature Range | -55°C to +150°C |
| Accuracy | ±0.5°C (at 25°C) |
| Dimensions | 32mm x 14mm x 8mm |
Pin Configuration and Descriptions
The KY-028 module has four pins, as described in the table below:
| Pin | Name | Description |
|---|---|---|
| 1 | VCC | Power supply pin (3.3V to 5V) |
| 2 | GND | Ground pin |
| 3 | DO (Digital Out) | Digital output pin, goes HIGH when temperature exceeds the set threshold |
| 4 | AO (Analog Out) | Analog output pin, provides a voltage proportional to the measured temperature |
Usage Instructions
The KY-028 module is easy to use and can be connected to microcontrollers like the Arduino UNO for temperature monitoring. Below are the steps to use the module:
Connecting the KY-028 to an Arduino UNO
- Power the Module: Connect the
VCCpin to the 5V pin on the Arduino and theGNDpin to the Arduino's GND. - Read Analog Temperature: Connect the
AOpin to an analog input pin on the Arduino (e.g., A0). - Set Digital Threshold: Use the onboard potentiometer to adjust the temperature threshold. The
DOpin will output HIGH when the temperature exceeds this threshold. ConnectDOto a digital input pin on the Arduino (e.g., D2).
Sample Arduino Code
The following code demonstrates how to read the analog temperature value from the KY-028 and display it in the Serial Monitor:
// KY-028 Temperature Sensor Example
// Reads analog temperature data and displays it in the Serial Monitor

const int analogPin = A0; // Pin connected to AO (Analog Out)
float voltage;            // Variable to store the sensor voltage
float temperature;        // Variable to store the calculated temperature

void setup() {
  Serial.begin(9600); // Initialize Serial Monitor at 9600 baud
}

void loop() {
  int sensorValue = analogRead(analogPin); // Read analog value from AO pin
  voltage = sensorValue * (5.0 / 1023.0);  // Convert to voltage (5V reference)
  temperature = voltage * 100.0;          // Convert voltage to temperature (10mV/°C)

  // Print temperature to Serial Monitor
  Serial.print("Temperature: ");
  Serial.print(temperature);
  Serial.println(" °C");

  delay(1000); // Wait 1 second before next reading
}
Important Considerations and Best Practices
- Power Supply: Ensure the module is powered within its operating voltage range (3.3V to 5V).
- Threshold Adjustment: Use the onboard potentiometer to set the desired temperature threshold for the digital output.
- Analog Accuracy: For precise temperature readings, use the analog output and calibrate the sensor if necessary.
- Environmental Factors: Avoid placing the module in environments with high humidity or direct exposure to liquids.
Troubleshooting and FAQs
Common Issues and Solutions
No Output from the Module
- Ensure the module is powered correctly (check VCC and GND connections).
- Verify that the Arduino or microcontroller is reading the correct pins.
Incorrect Temperature Readings
- Check the reference voltage used in the Arduino code (default is 5V).
- Ensure the sensor is not exposed to extreme environmental conditions.
Digital Output Not Triggering
- Adjust the potentiometer to set the correct temperature threshold.
- Verify the
DOpin connection to the microcontroller.
Fluctuating Analog Readings
- Use a capacitor (e.g., 0.1µF) between the
AOpin and GND to stabilize the signal.
- Use a capacitor (e.g., 0.1µF) between the
FAQs
Q: Can the KY-028 measure negative temperatures?
A: Yes, the LM35 sensor on the KY-028 can measure temperatures as low as -55°C. However, the analog output voltage will be negative for temperatures below 0°C, which may require additional circuitry to read correctly.
Q: How do I calibrate the KY-028 for accurate readings?
A: Compare the sensor's output with a known accurate thermometer and adjust the calculations in your code accordingly.
Q: Can I use the KY-028 with a 3.3V microcontroller?
A: Yes, the KY-028 can operate at 3.3V. However, ensure that the analog reference voltage in your code matches the supply voltage for accurate readings.