
How to Use Battery Indicator: Examples, Pinouts, and Specs
 Design with Battery Indicator in Cirkit Designer
Introduction
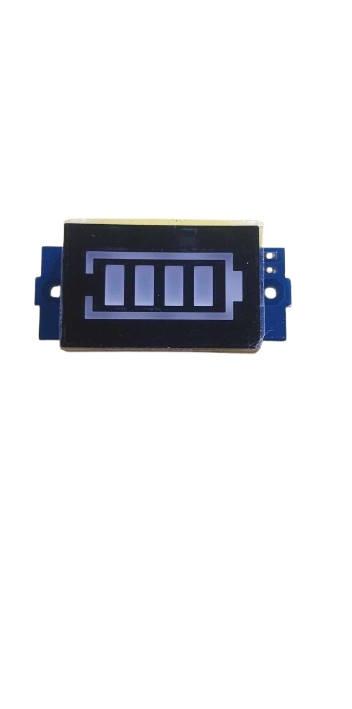
A battery indicator is an essential device that provides a visual representation of a battery's charge level. It is commonly used in portable electronics, electric vehicles, and power storage systems to monitor the state of charge, ensuring that users are aware of when a battery needs recharging. This documentation outlines the key aspects of a typical battery indicator used in conjunction with common electronics such as an Arduino UNO.
Explore Projects Built with Battery Indicator
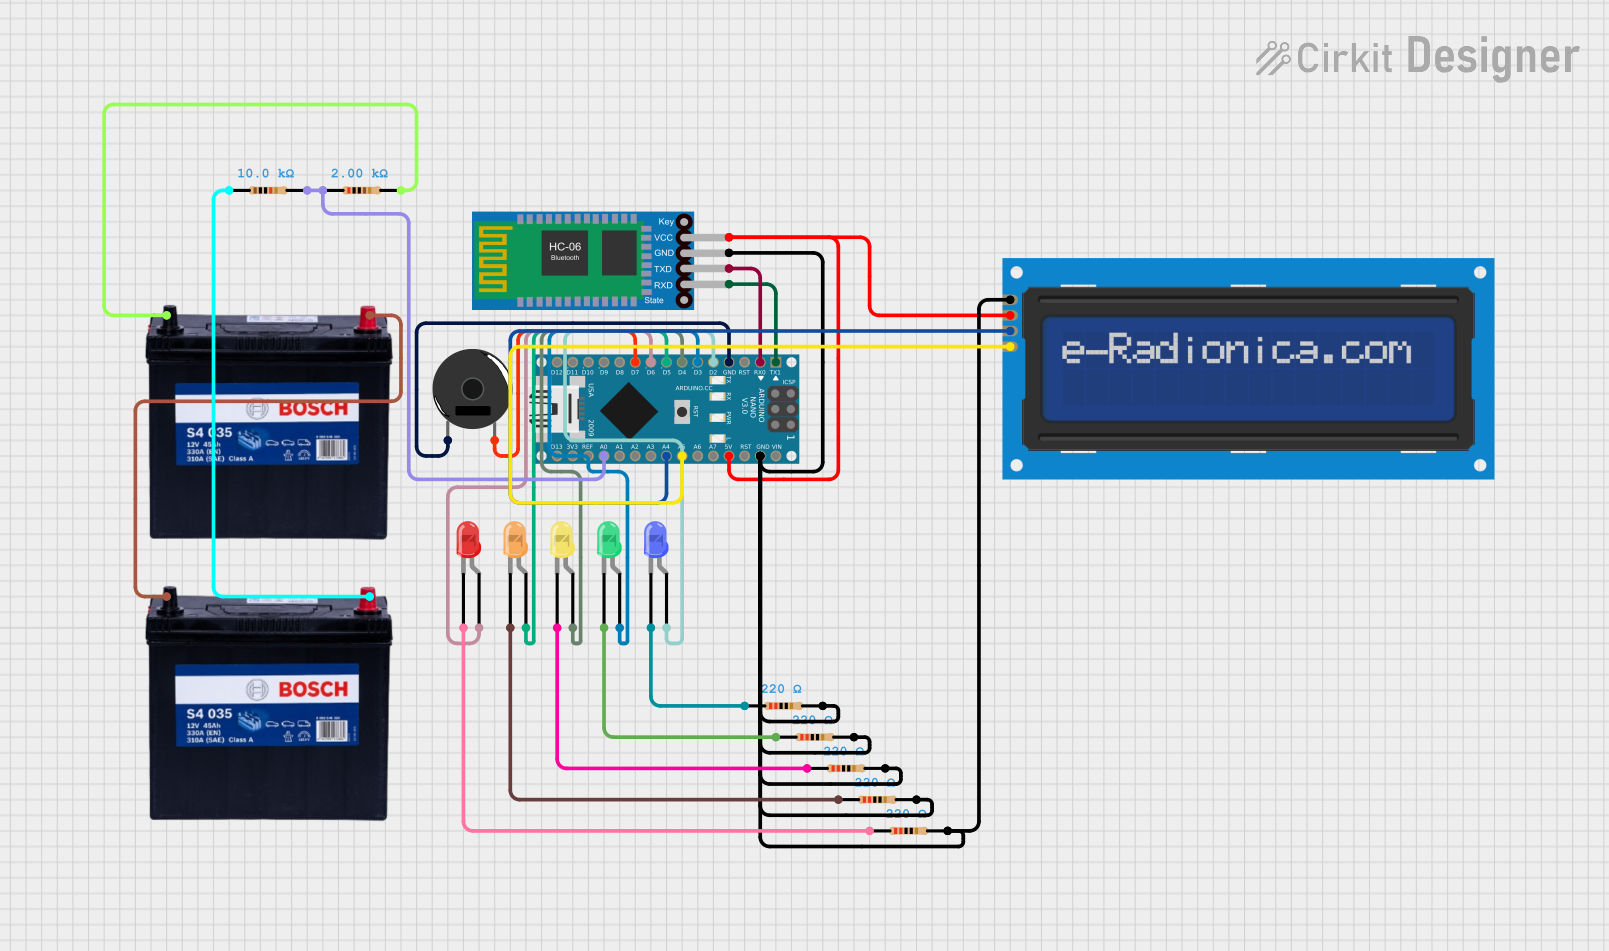
 Open Project in Cirkit Designer
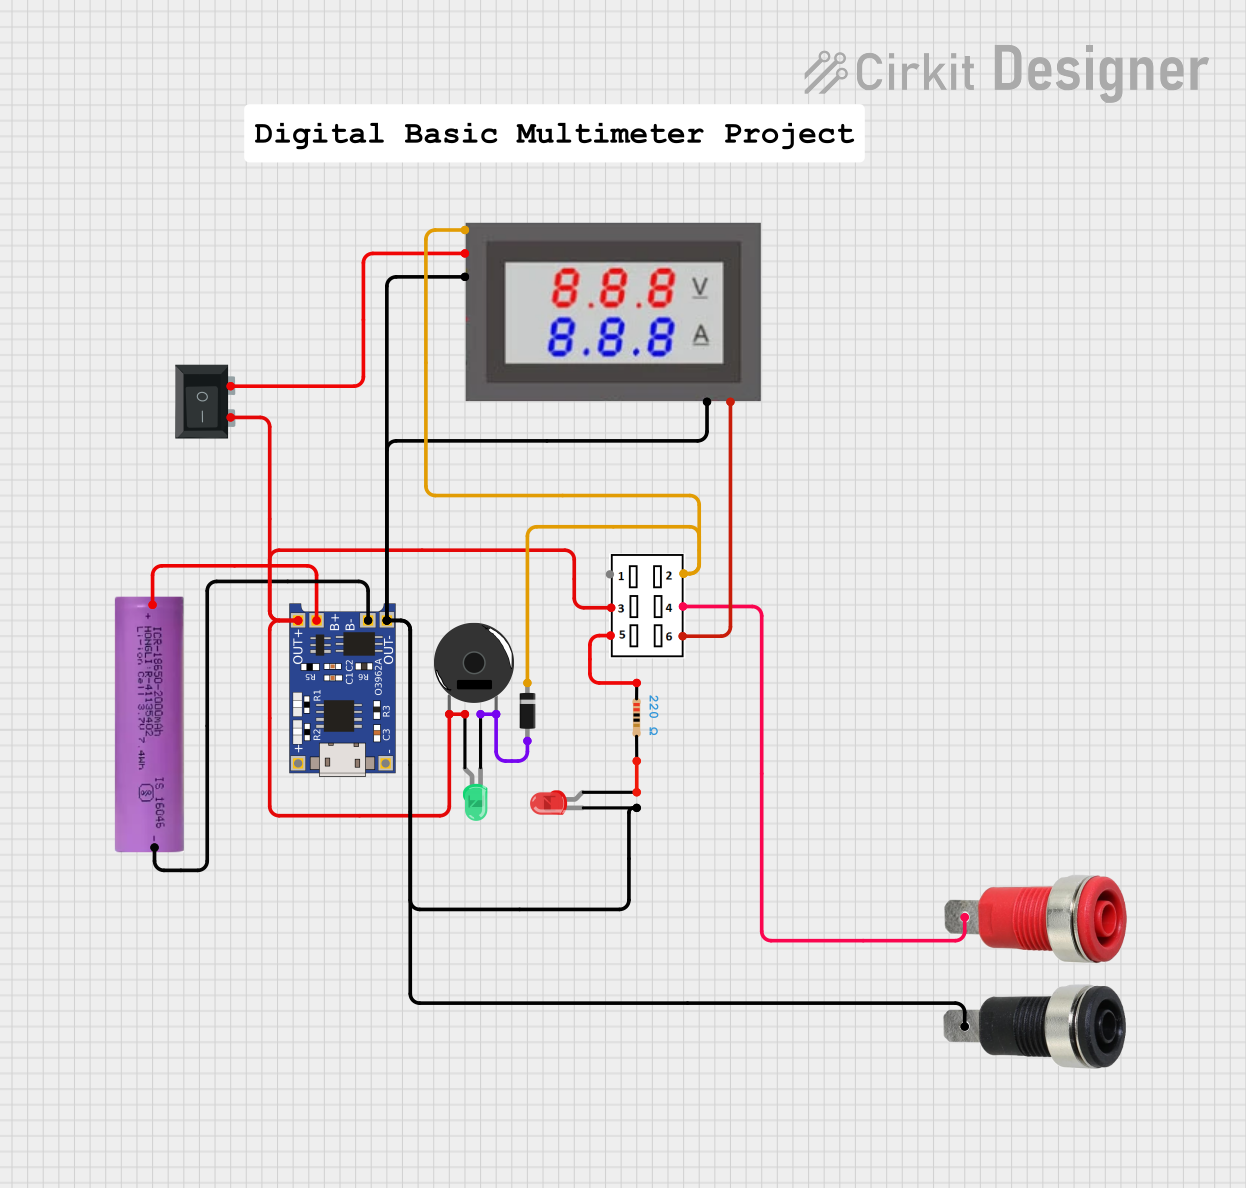
 Open Project in Cirkit Designer
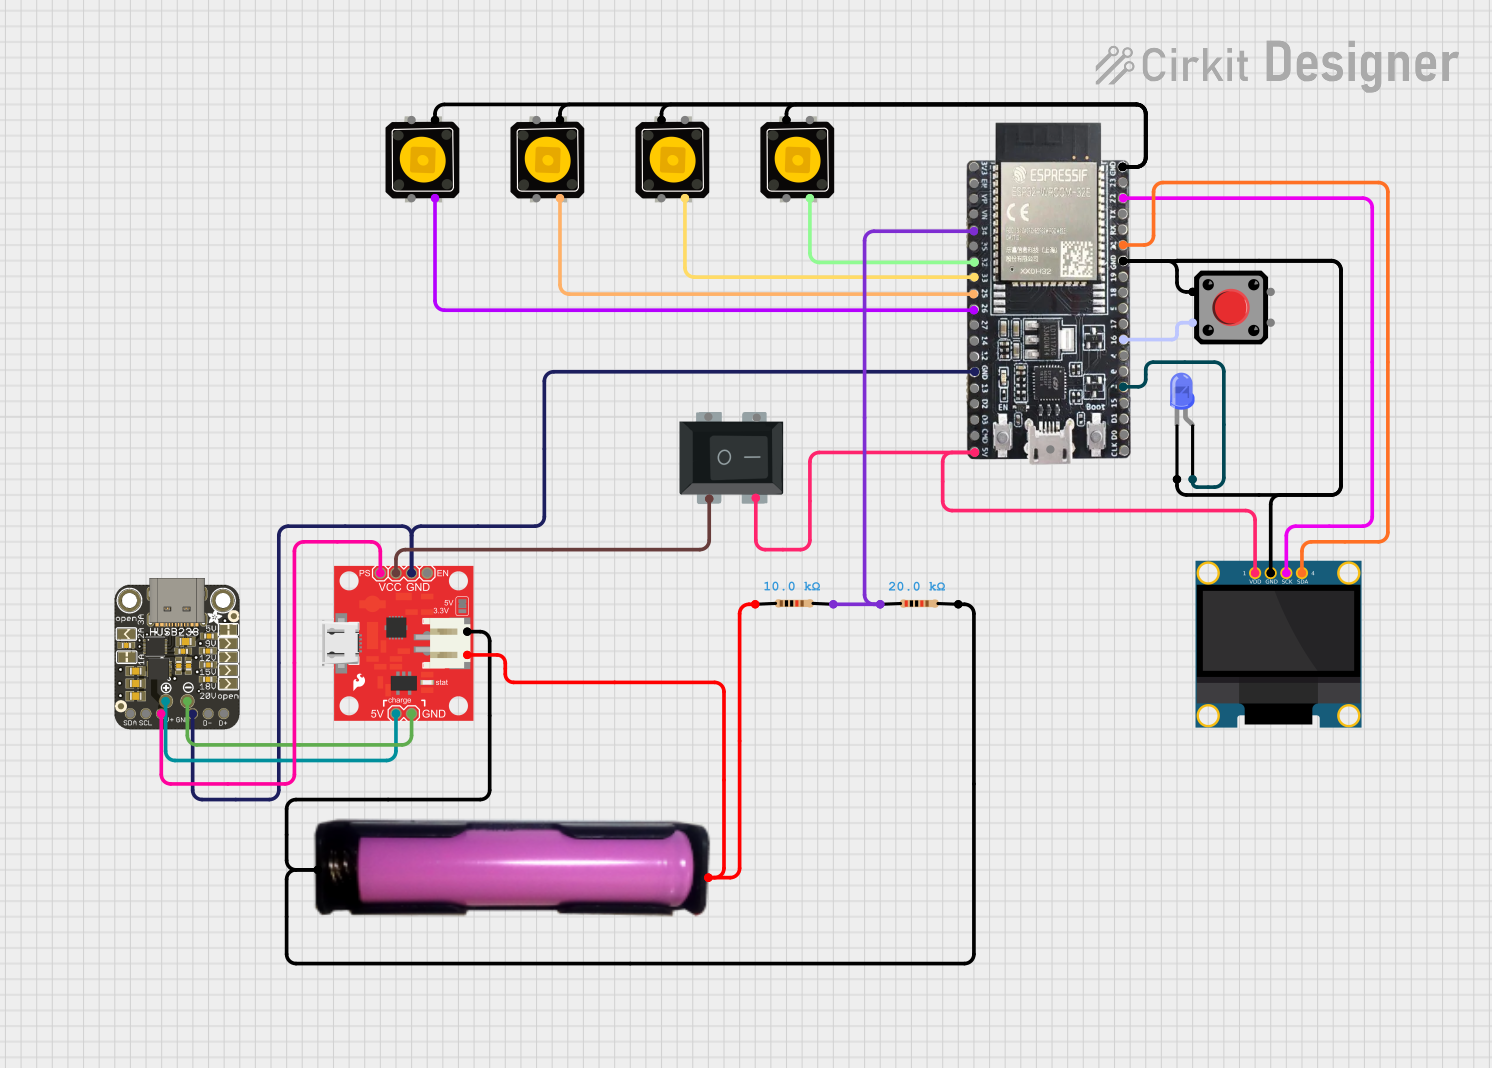
 Open Project in Cirkit Designer
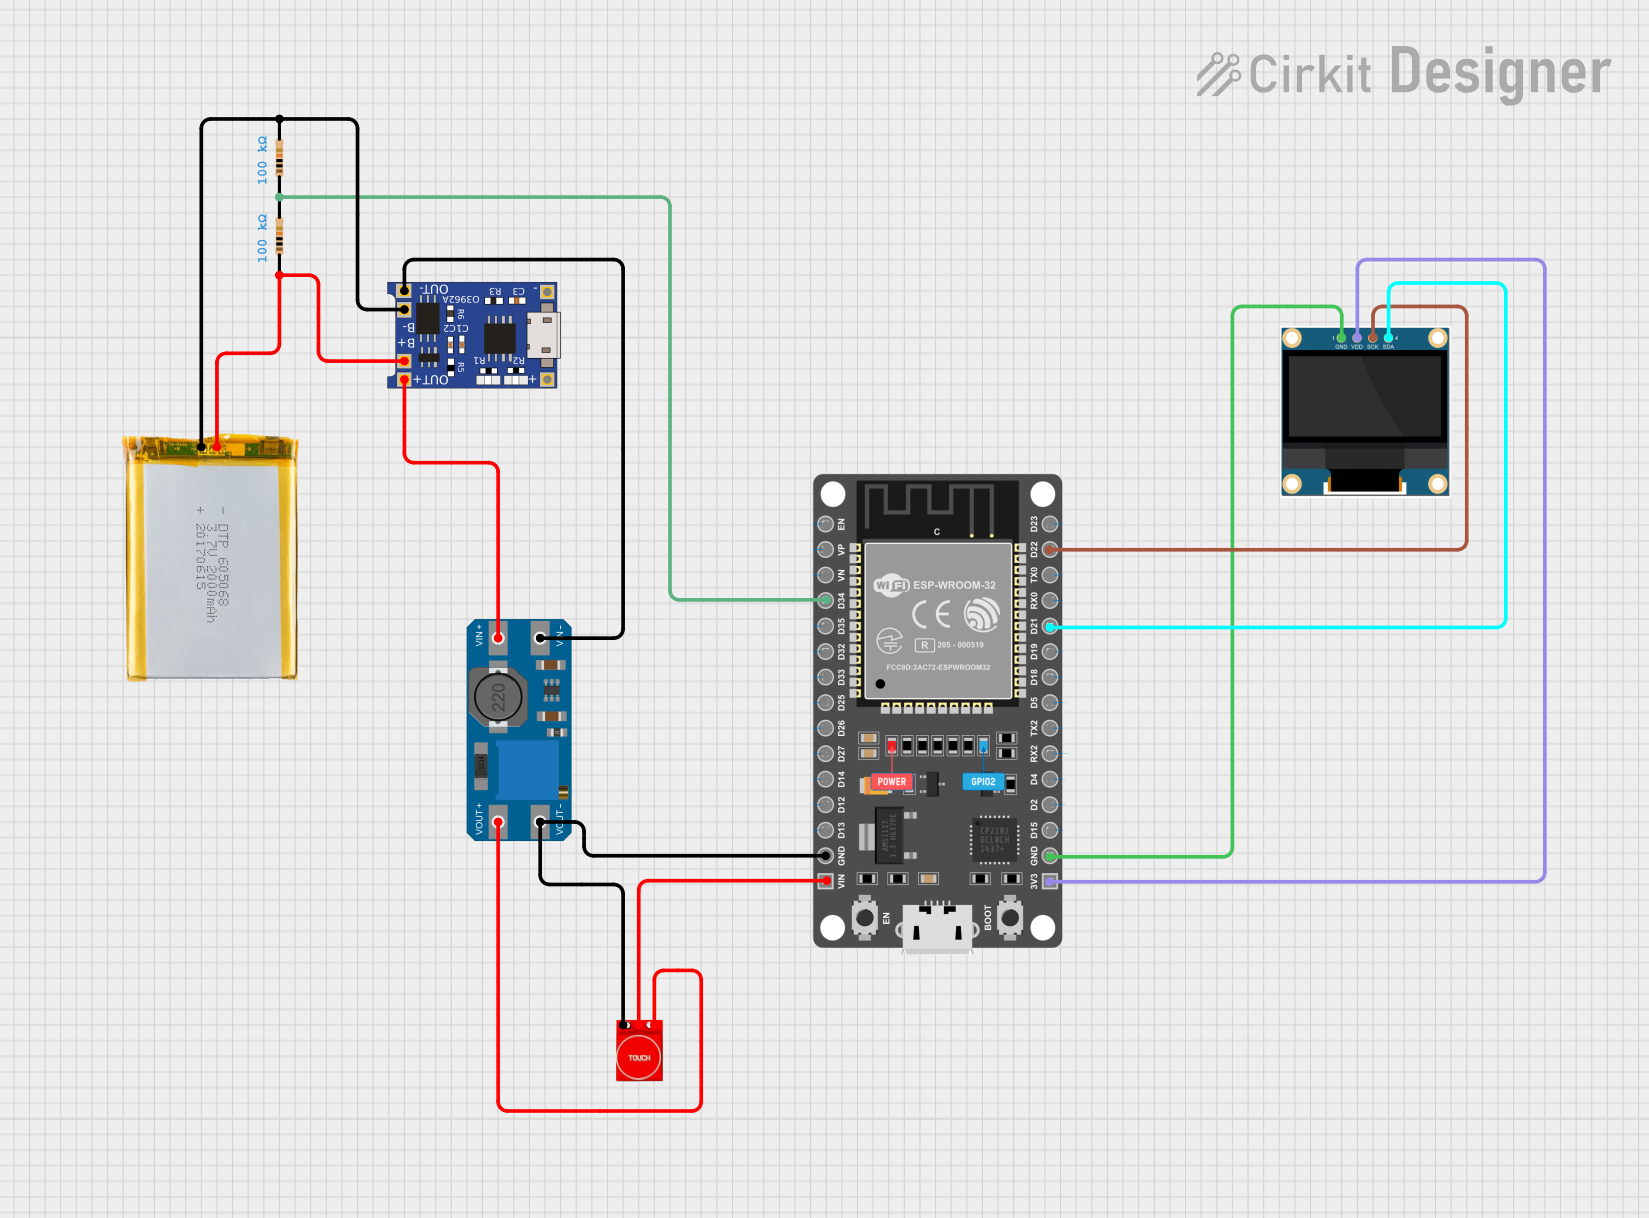
 Open Project in Cirkit Designer
Explore Projects Built with Battery Indicator

 Open Project in Cirkit Designer
 Open Project in Cirkit Designer
 Open Project in Cirkit Designer
 Open Project in Cirkit Designer
Technical Specifications
Key Technical Details
- Voltage Range: Typically 2.4V to 12V (may vary based on model)
- Current Consumption: Minimal, varies with model and display type
- Display Type: LED, LCD, or analog gauge
- Accuracy: Varies, often ±1% of full scale
- Operating Temperature: -10°C to +50°C (may vary based on model)
Pin Configuration and Descriptions
| Pin Number | Description | Notes |
|---|---|---|
| 1 | Positive Voltage (V+) | Connect to positive battery terminal |
| 2 | Ground (GND) | Connect to negative battery terminal |
| 3 | Signal Output (S) | Analog output to microcontroller (if available) |
| 4 | Backlight (BL) | Powers backlight (for LCD models) |
Usage Instructions
Connecting to a Circuit
- Power Connections: Connect the positive and negative terminals of the battery to the V+ and GND pins of the battery indicator, respectively.
- Signal Output (if available): If the battery indicator provides an analog signal output, connect the S pin to an analog input pin on your microcontroller.
- Backlight (if applicable): For LCD models with a backlight, connect the BL pin to a digital pin on your microcontroller if you wish to control the backlight.
Important Considerations and Best Practices
- Voltage Compatibility: Ensure that the battery indicator is compatible with the voltage of the battery being monitored.
- Isolation: If the battery indicator is used in a system with sensitive electronics, consider electrical isolation to protect against voltage spikes.
- Calibration: Some battery indicators may require calibration to ensure accurate readings. Follow the manufacturer's instructions for calibration procedures.
- Mounting: Securely mount the battery indicator to prevent vibrations or other mechanical stresses from affecting its performance.
Example Code for Arduino UNO
// Example code to read the analog output from a battery indicator
int batteryPin = A0; // Connect the Signal Output (S) to A0 on Arduino UNO

void setup() {
  Serial.begin(9600); // Start serial communication at 9600 baud rate
}

void loop() {
  int sensorValue = analogRead(batteryPin); // Read the analog value
  float batteryVoltage = sensorValue * (5.0 / 1023.0); // Convert to voltage
  Serial.print("Battery Voltage: ");
  Serial.println(batteryVoltage); // Print the battery voltage
  delay(1000); // Wait for 1 second before the next read
}
Troubleshooting and FAQs
Common Issues
- Inaccurate Readings: If the battery indicator provides inconsistent or inaccurate readings, check for proper calibration and ensure that the voltage range is suitable for the battery in use.
- No Display: Ensure that the battery indicator is properly powered and that all connections are secure. Check the backlight connection for LCD models.
- Fluctuating Display: Fluctuations in the display may indicate loose connections or a failing battery. Secure all connections and test the battery under load.
Solutions and Tips
- Calibration: Follow the manufacturer's instructions to calibrate the battery indicator for accurate readings.
- Connection Check: Periodically check all connections for corrosion or wear and ensure they are tight and secure.
- Battery Health: Regularly test the battery's health under load conditions to verify the accuracy of the battery indicator.
FAQs
Q: Can I use the battery indicator for any type of battery? A: Battery indicators are typically designed for specific battery chemistries and voltage ranges. Ensure compatibility before use.
Q: How do I know if my battery indicator requires calibration? A: Refer to the manufacturer's documentation. Some indicators have a calibration feature, while others are pre-calibrated.
Q: Is it possible to power the Arduino UNO using the same battery being monitored? A: Yes, as long as the battery voltage is within the operating range of the Arduino UNO (7-12V for VIN or 5V if using the USB or 5V pin).
Remember to always consult the specific datasheet for your battery indicator model for the most accurate and detailed information.