Cirkit Designer Logo
Cirkit Designer
Your all-in-one circuit design IDE
Home / 
Component Documentation

How to Use 3D DEPTH CAMERA: Examples, Pinouts, and Specs
Image of 3D DEPTH CAMERA
Cirkit Designer LogoDesign with 3D DEPTH CAMERA in Cirkit Designer

Introduction

The Raspberry Pi 3D Depth Camera is an advanced imaging device capable of capturing spatial information to perceive depth and create three-dimensional representations of the environment. This camera is particularly useful in applications such as robotics, gesture recognition, 3D scanning, and augmented reality.

Explore Projects Built with 3D DEPTH CAMERA
Use Cirkit Designer to design, explore, and prototype these projects online. Some projects support real-time simulation. Click "Open Project" to start designing instantly!
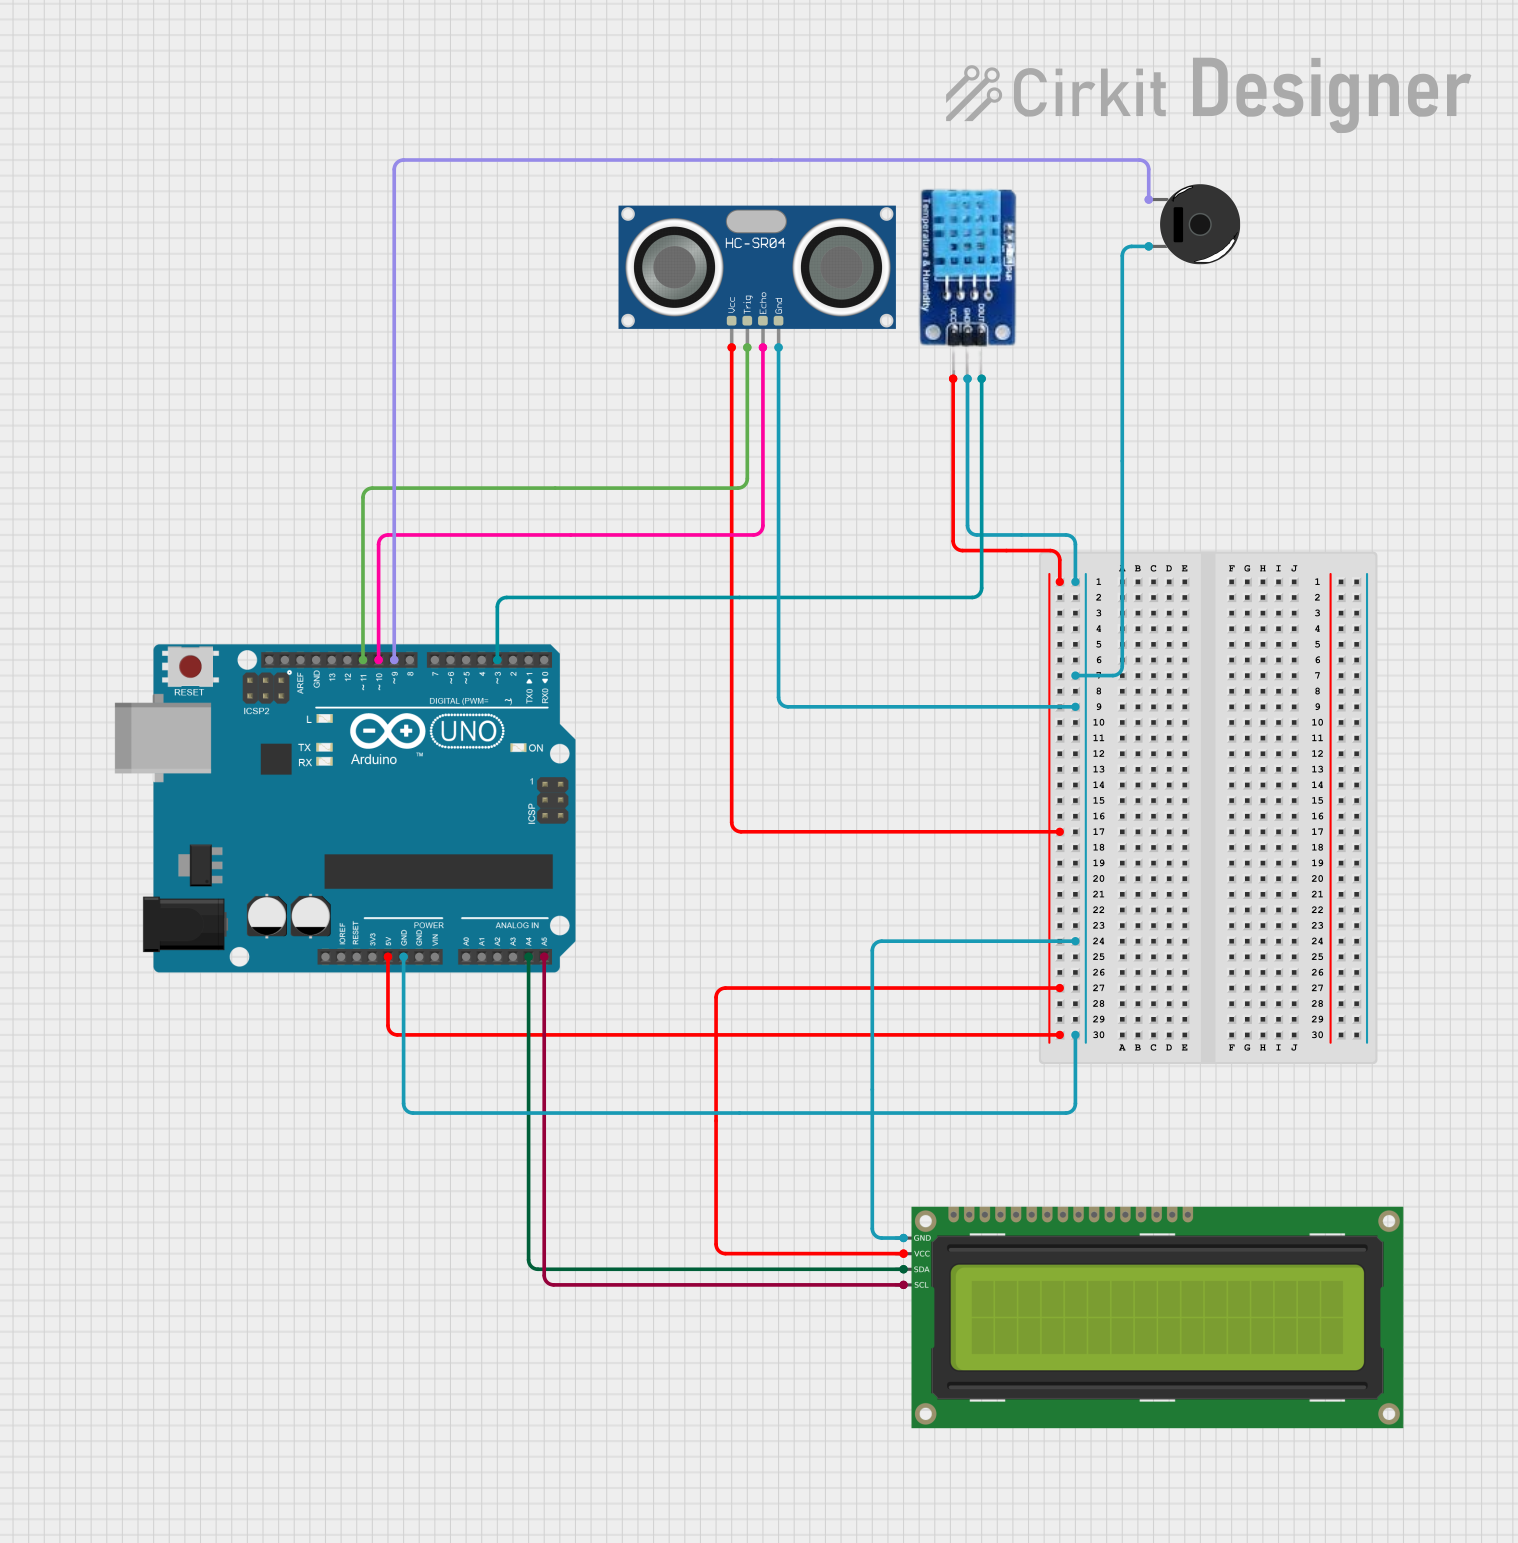
Arduino-Based Depth and Environmental Monitor with LCD Display and Buzzer Alert
Image of flood management system: A project utilizing 3D DEPTH CAMERA in a practical application
This circuit uses an Arduino UNO to measure depth, humidity, and temperature using an HC-SR04 ultrasonic sensor and a DHT11 sensor. The measurements are displayed on a 16x2 I2C LCD, and a piezo buzzer is activated if the depth is less than 5 cm.
Cirkit Designer LogoOpen Project in Cirkit Designer
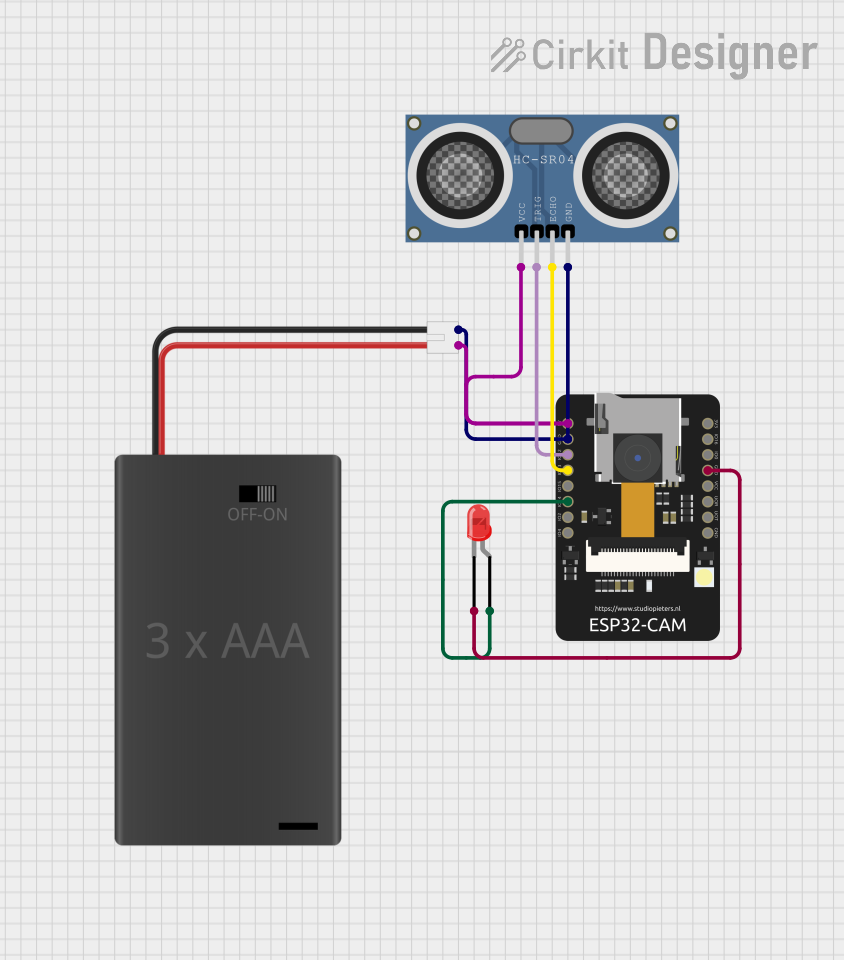
ESP32-CAM Ultrasonic Distance Sensor with QR Code Reader and LED Indicator
Image of esp-cam: A project utilizing 3D DEPTH CAMERA in a practical application
This circuit features an ESP32-CAM module connected to an HC-SR04 ultrasonic distance sensor and a red LED, powered by a 3xAAA battery pack. The ESP32-CAM reads QR codes and controls the LED based on the distance measured by the ultrasonic sensor, turning the LED on if an object is detected within 10 cm.
Cirkit Designer LogoOpen Project in Cirkit Designer
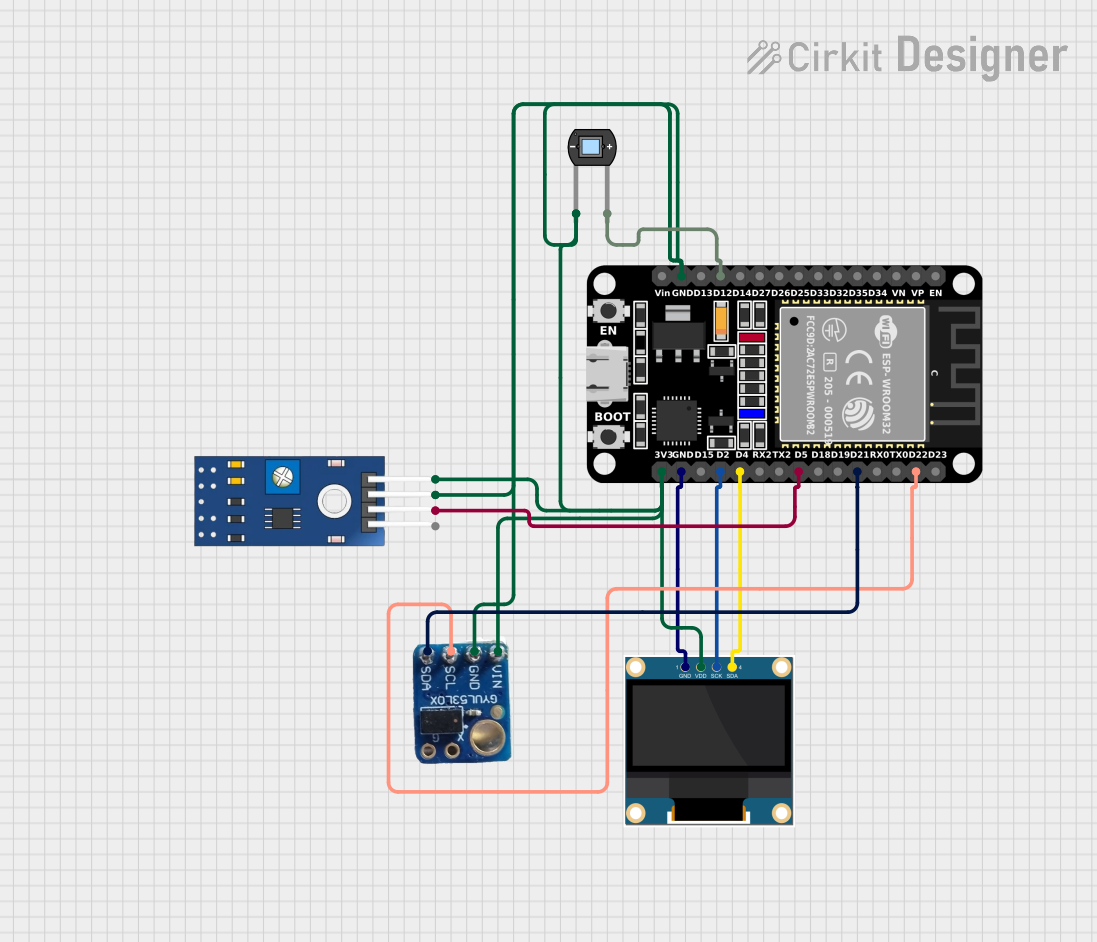
ESP32-Based Eye Pressure Monitor with OLED Display and Multiple Sensors
Image of test4: A project utilizing 3D DEPTH CAMERA in a practical application
This circuit is designed to monitor eye pressure and deformation using a photodiode, a TCRT 5000 IR sensor, and a VL53L0X time-of-flight distance sensor. The ESP32 microcontroller reads sensor data, processes it to determine eye pressure status, and displays the results on a 0.96" OLED screen. It includes safety features, sensor calibration, and the ability to display sensor values and eye pressure status in real-time.
Cirkit Designer LogoOpen Project in Cirkit Designer
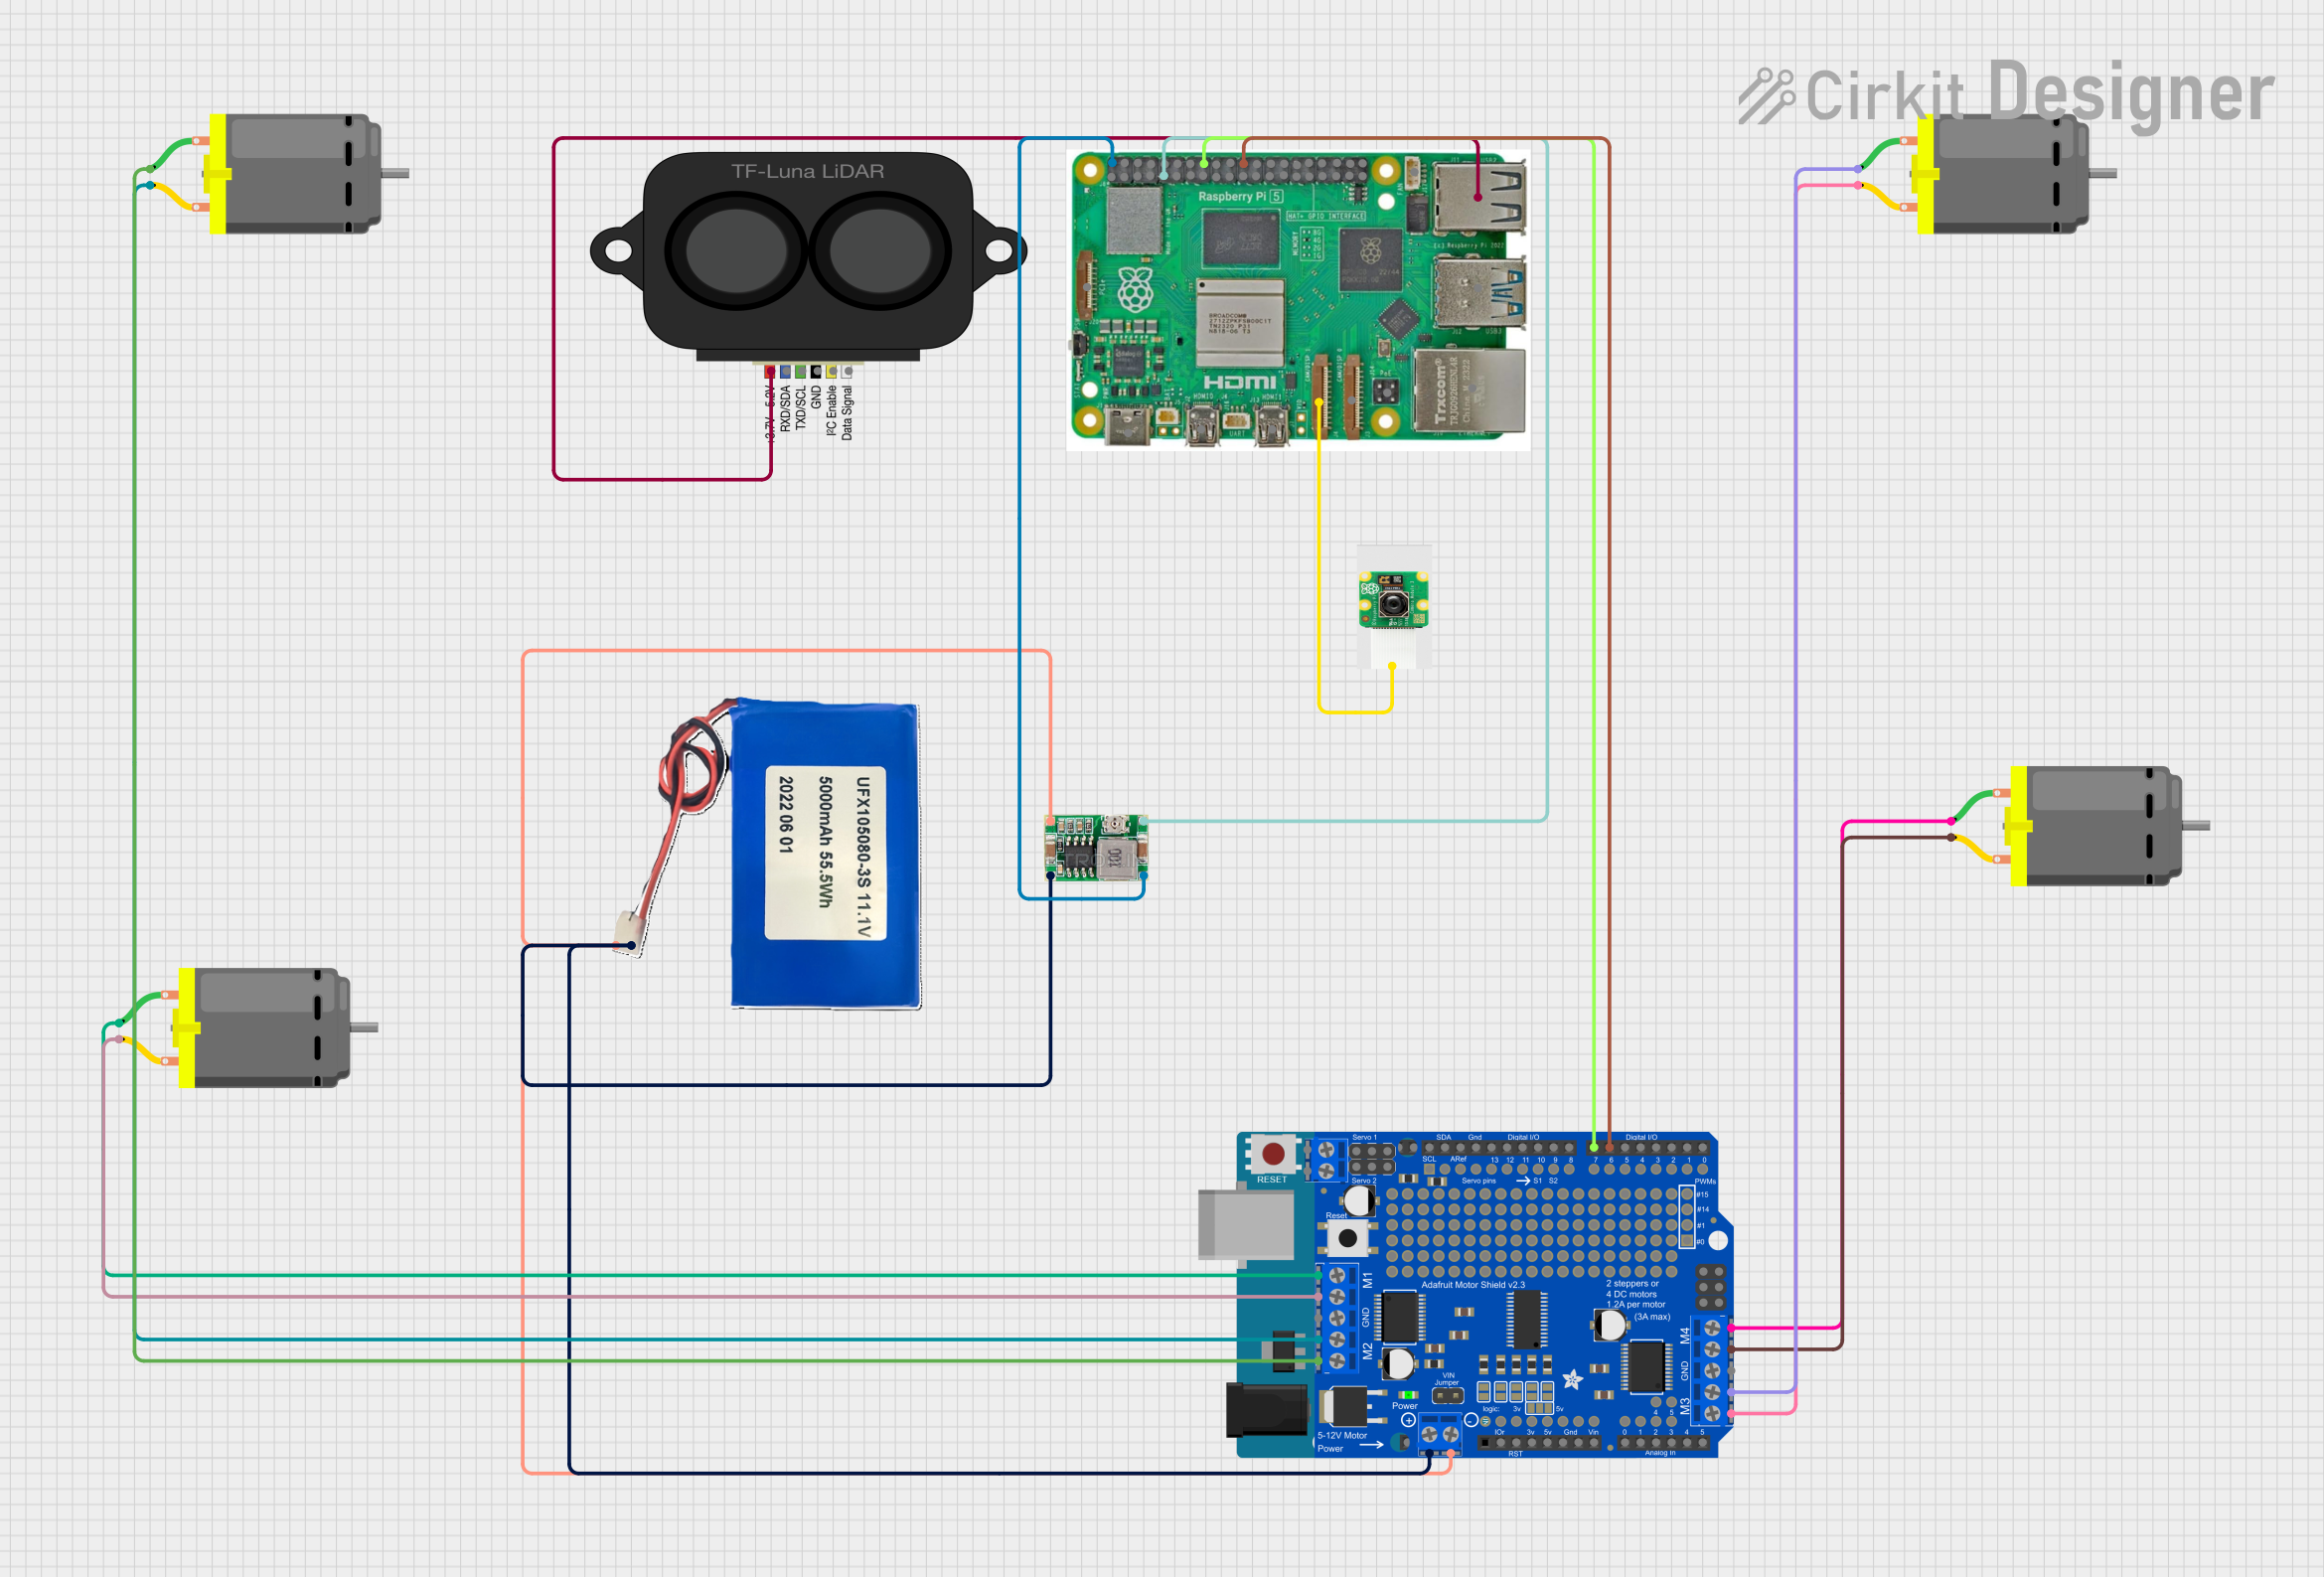
Raspberry Pi 5 Controlled Robotic Vehicle with LIDAR and Camera Module
Image of Autonomous Car: A project utilizing 3D DEPTH CAMERA in a practical application
This circuit features a Raspberry Pi 5 connected to a camera module and a TF LUNA LIDAR sensor for visual and distance sensing capabilities. A Mini 360 Buck Converter is used to regulate power from a Li-ion battery to the Raspberry Pi and an Adafruit Motor Shield, which controls four DC motors. The Arduino UNO microcontroller appears to be unused in the current configuration.
Cirkit Designer LogoOpen Project in Cirkit Designer

Explore Projects Built with 3D DEPTH CAMERA

Use Cirkit Designer to design, explore, and prototype these projects online. Some projects support real-time simulation. Click "Open Project" to start designing instantly!
Image of flood management system: A project utilizing 3D DEPTH CAMERA in a practical application
Arduino-Based Depth and Environmental Monitor with LCD Display and Buzzer Alert
This circuit uses an Arduino UNO to measure depth, humidity, and temperature using an HC-SR04 ultrasonic sensor and a DHT11 sensor. The measurements are displayed on a 16x2 I2C LCD, and a piezo buzzer is activated if the depth is less than 5 cm.
Cirkit Designer LogoOpen Project in Cirkit Designer
Image of esp-cam: A project utilizing 3D DEPTH CAMERA in a practical application
ESP32-CAM Ultrasonic Distance Sensor with QR Code Reader and LED Indicator
This circuit features an ESP32-CAM module connected to an HC-SR04 ultrasonic distance sensor and a red LED, powered by a 3xAAA battery pack. The ESP32-CAM reads QR codes and controls the LED based on the distance measured by the ultrasonic sensor, turning the LED on if an object is detected within 10 cm.
Cirkit Designer LogoOpen Project in Cirkit Designer
Image of test4: A project utilizing 3D DEPTH CAMERA in a practical application
ESP32-Based Eye Pressure Monitor with OLED Display and Multiple Sensors
This circuit is designed to monitor eye pressure and deformation using a photodiode, a TCRT 5000 IR sensor, and a VL53L0X time-of-flight distance sensor. The ESP32 microcontroller reads sensor data, processes it to determine eye pressure status, and displays the results on a 0.96" OLED screen. It includes safety features, sensor calibration, and the ability to display sensor values and eye pressure status in real-time.
Cirkit Designer LogoOpen Project in Cirkit Designer
Image of Autonomous Car: A project utilizing 3D DEPTH CAMERA in a practical application
Raspberry Pi 5 Controlled Robotic Vehicle with LIDAR and Camera Module
This circuit features a Raspberry Pi 5 connected to a camera module and a TF LUNA LIDAR sensor for visual and distance sensing capabilities. A Mini 360 Buck Converter is used to regulate power from a Li-ion battery to the Raspberry Pi and an Adafruit Motor Shield, which controls four DC motors. The Arduino UNO microcontroller appears to be unused in the current configuration.
Cirkit Designer LogoOpen Project in Cirkit Designer

Technical Specifications

General Features

  • Resolution: High-resolution depth sensing
  • Range: Capable of detecting objects at various distances
  • Interface: Compatible with Raspberry Pi boards
  • Software Support: Integration with Raspberry Pi OS and libraries

Electrical Characteristics

  • Supply Voltage: 5V DC via USB or GPIO
  • Current Consumption: Typically 500mA

Pin Configuration and Descriptions

Pin Number Description Notes
1 5V Power Supply Connect to 5V power source
2 Ground Connect to system ground
3 I2C SDA Data line for I2C communication
4 I2C SCL Clock line for I2C communication
5 GPIO (optional) For additional functionality

Usage Instructions

Integration with Raspberry Pi

  1. Power Connection: Ensure the camera is powered correctly with a 5V supply.
  2. Data Connection: Connect the I2C SDA and SCL pins to the corresponding pins on the Raspberry Pi.
  3. Software Setup: Install necessary drivers and libraries on the Raspberry Pi to interface with the camera.
  4. Testing: Run provided test scripts to verify the camera is functioning correctly.

Best Practices

  • Avoid exposing the camera to direct sunlight or strong infrared sources.
  • Calibrate the camera for the specific environment where it will be used.
  • Use a stable power supply to prevent data corruption or hardware damage.

Troubleshooting and FAQs

Common Issues

  • Camera Not Detected: Ensure all connections are secure and the Raspberry Pi is supplying power.
  • Poor Depth Quality: Calibrate the camera and check for any obstructions or reflective surfaces.

FAQs

  • Q: Can the camera be used outdoors? A: The camera can be used outdoors but may require recalibration and may be less effective in direct sunlight.

  • Q: What is the maximum range of the camera? A: The effective range varies based on lighting and the reflective properties of the objects being scanned.

Example Code for Raspberry Pi

Below is an example code snippet for initializing the 3D Depth Camera with a Raspberry Pi using Python. This assumes you have the appropriate libraries installed.

import depth_camera_library

Initialize the camera

camera = depth_camera_library.initialize()

Set up the camera parameters (if necessary)

camera.set_parameters({ 'resolution': 'high', 'range_mode': 'extended' })

Capture a depth frame

frame = camera.capture_depth_frame()

Process the frame (this will vary based on your application)

depth_image = frame.get_depth_image()

Display the depth image (this is just an example)

depth_camera_library.display_image(depth_image)

Always properly close the camera when done

camera.close()


Remember to replace `depth_camera_library` with the actual library provided by the manufacturer for the 3D Depth Camera.

**Note:** The above code is for illustrative purposes only and may not directly correspond to the actual API provided by the Raspberry Pi 3D Depth Camera. Always refer to the manufacturer's documentation for the correct usage and functions.