
How to Use SIM900A: Examples, Pinouts, and Specs
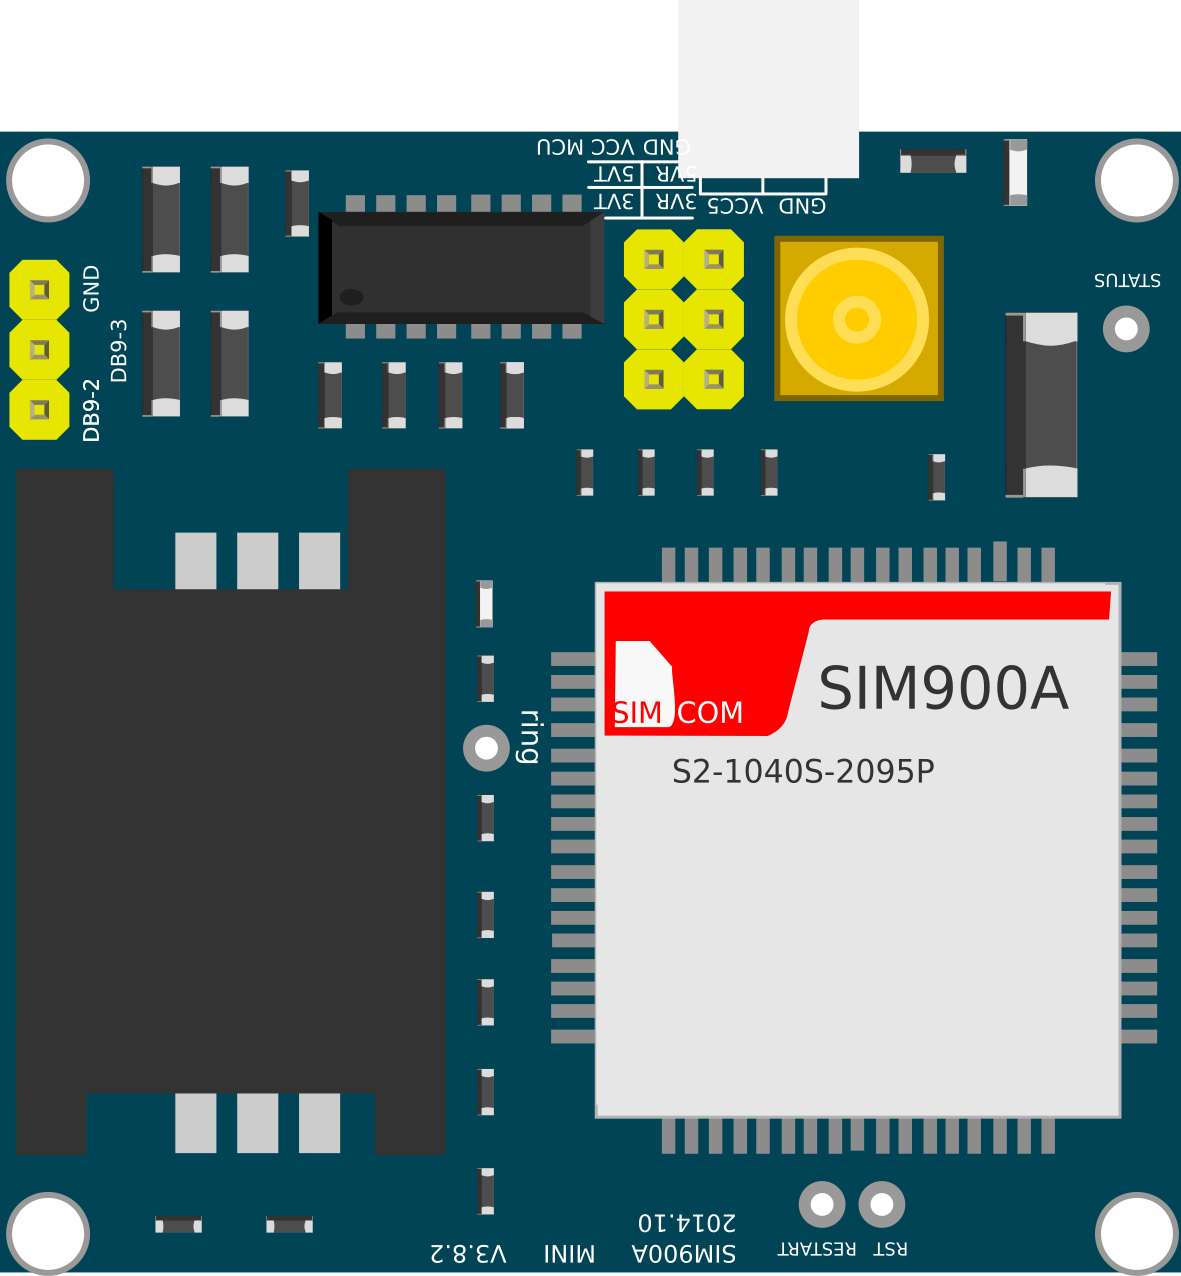
 Design with SIM900A in Cirkit Designer
Introduction
The SIM900A is a complete Quad-band GSM/GPRS solution in a compact plug-in module. Manufactured by SivanPeter (Pvt) Ltd., with the part ID 1237602, this module can be integrated into a wide range of electronic projects that require cellular communication such as SMS, data, and voice calls. Common applications include remote data logging, security systems, GPS tracking, and IoT devices.
Explore Projects Built with SIM900A
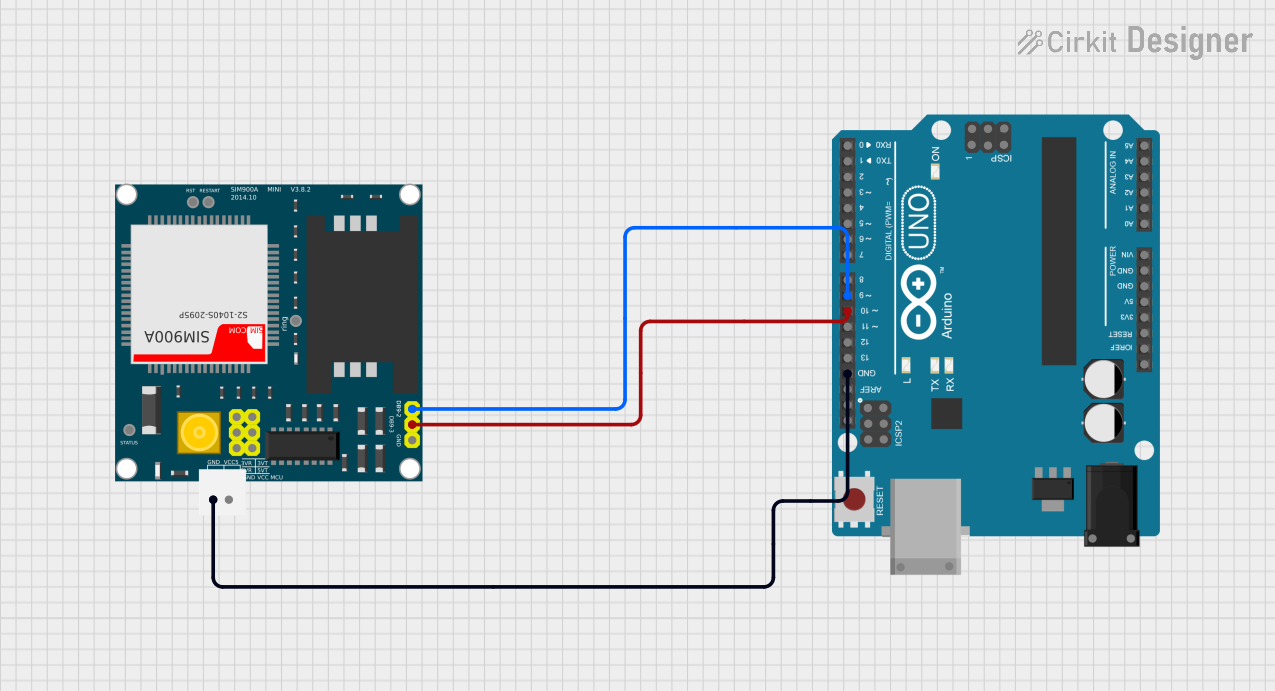
 Open Project in Cirkit Designer
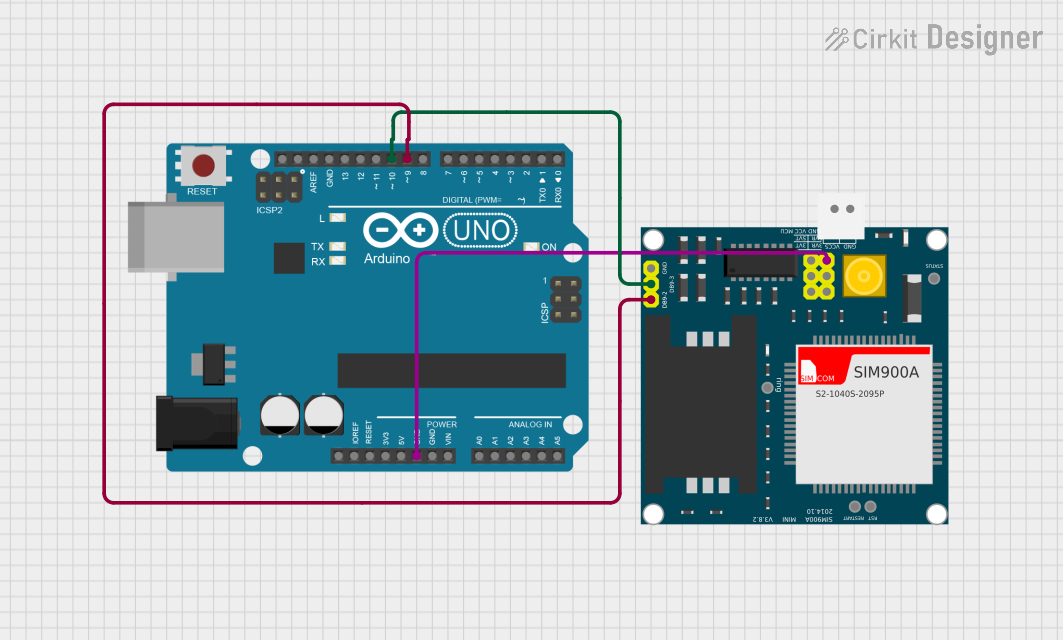
 Open Project in Cirkit Designer
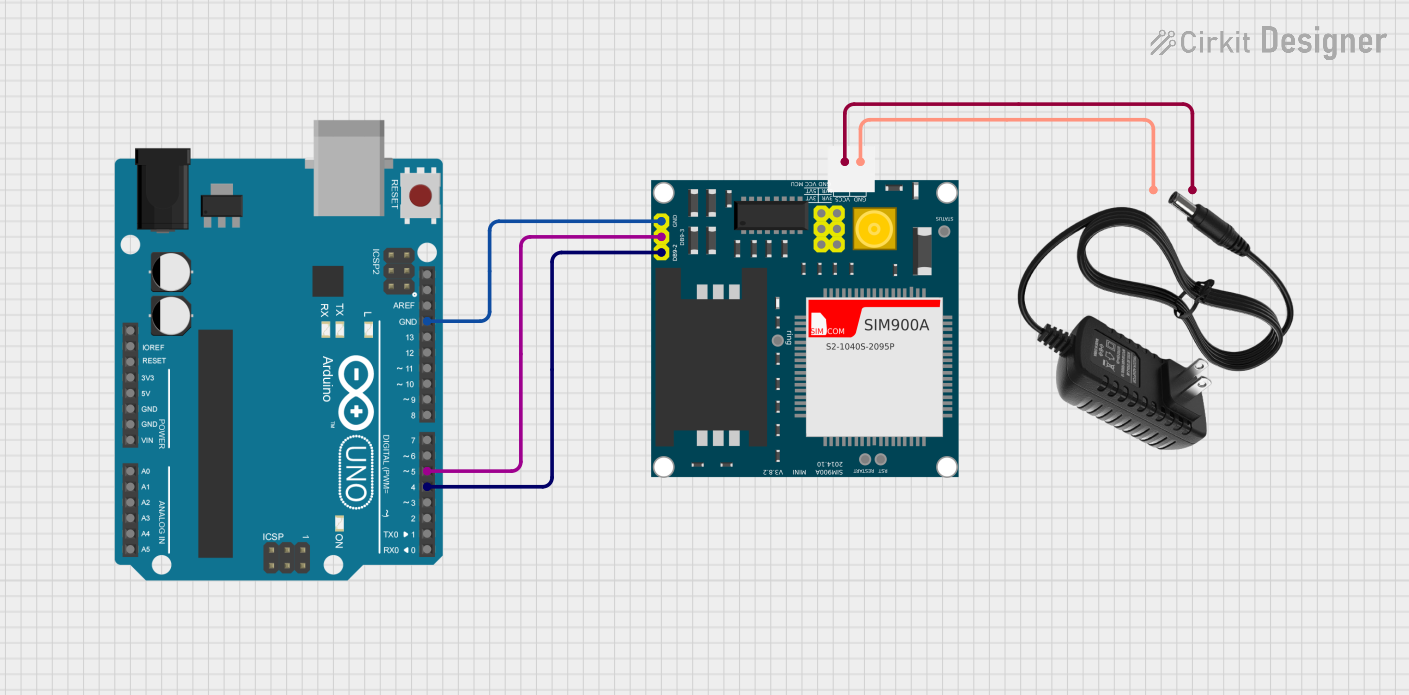
 Open Project in Cirkit Designer
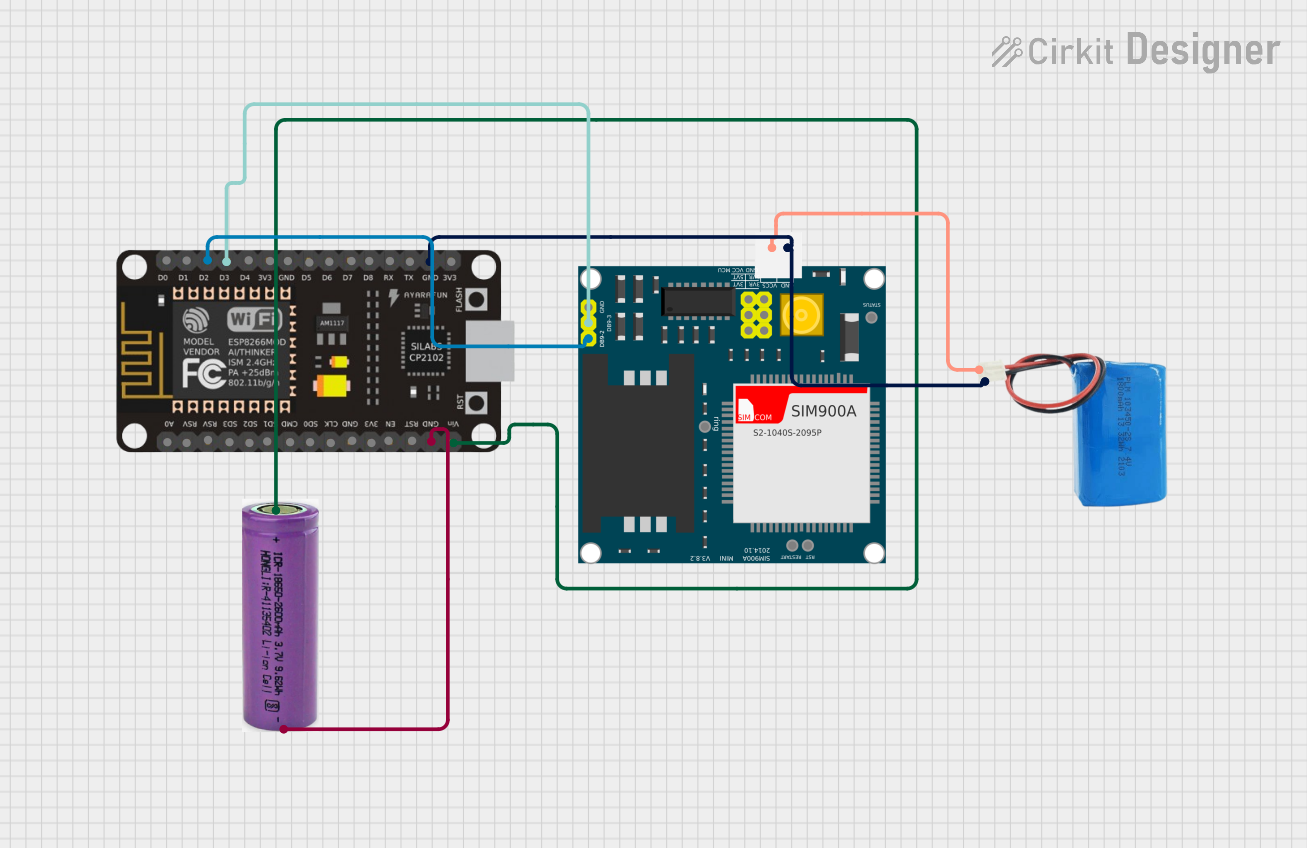
 Open Project in Cirkit Designer
Explore Projects Built with SIM900A

 Open Project in Cirkit Designer
 Open Project in Cirkit Designer
 Open Project in Cirkit Designer
 Open Project in Cirkit Designer
Technical Specifications
General Features
- Dual-Band 900/ 1800 MHz
- GPRS multi-slot class 10/8
- GPRS mobile station class B
- Compliant to GSM phase 2/2+
- Class 4 (2 W @ 900 MHz)
- Class 1 (1 W @ 1800 MHz)
Control via AT Commands
- Standard Commands: GSM 07.07 & 07.05
- Enhanced Commands: SIMCOM AT Commands
Power Supply
- Voltage range: 3.4V - 4.5V
- Recommended voltage: 4.0V
Physical Characteristics
- Dimensions: 24x24x3 mm
- Weight: 3.4g
Pin Configuration
| Pin Number | Name | Description |
|---|---|---|
| 1 | VCC | Power supply input (3.4V - 4.5V) |
| 2 | RST | Reset pin (active low) |
| 3 | RXD | Serial data receive pin |
| 4 | TXD | Serial data transmit pin |
| 5 | GND | Ground connection |
Note: This is a simplified pin configuration. Refer to the full datasheet for additional pins and detailed descriptions.
Usage Instructions
Interfacing with Arduino
To use the SIM900A module with an Arduino UNO, follow these steps:
- Power Supply: Connect a stable 4.0V power supply to the VCC and GND pins of the SIM900A module.
- Serial Communication: Connect the RXD pin of the SIM900A to the TX pin of the Arduino, and the TXD pin to the RX pin.
- Reset: The RST pin can be connected to an Arduino digital pin if software control of the reset function is required.
Sample Arduino Sketch
#include <SoftwareSerial.h>

SoftwareSerial sim900(7, 8); // RX, TX

void setup() {
  // Begin serial communication with Arduino and SIM900A
  sim900.begin(9600);
  Serial.begin(9600);

  // Give time to SIM900A to initialize
  delay(20000);
  Serial.println("Sending Text...");
  sim900.print("AT+CMGF=1\r"); // Set the module to SMS mode
  delay(100);
  sim900.print("AT+CMGS=\"+1234567890\"\r"); // Replace with recipient's number
  delay(100);
  sim900.print("Hello, World!"); // The SMS text you want to send
  delay(100);
  sim900.write(26); // ASCII code of CTRL+Z to send the SMS
}

void loop() {
  // If data is available on the SIM900A, print it to the serial monitor
  if(sim900.available()) {
    Serial.write(sim900.read());
  }
  // If data is available on the serial monitor, send it to the SIM900A
  if(Serial.available()) {
    sim900.write(Serial.read());
  }
}
Note: Make sure to replace "+1234567890" with the actual recipient's phone number.
Important Considerations
- Ensure the power supply can deliver enough current for the peak consumption of the SIM900A module.
- Use level shifters if necessary, as the logic levels of the SIM900A are 2.8V and may not be directly compatible with some microcontrollers.
- Antenna connection is crucial for signal strength and quality. Use an appropriate GSM antenna and ensure it is securely connected to the module.
Troubleshooting and FAQs
Common Issues
- Power Issues: If the module does not power up, check the power supply and connections.
- Signal Strength: Poor signal strength can lead to communication failure. Ensure the antenna is properly connected and positioned.
- Serial Communication: If there is no response from the module, verify the baud rate and wiring.
FAQs
Q: Can the SIM900A module be used for internet connectivity? A: Yes, the SIM900A supports GPRS for internet connectivity, but it is limited to 2G networks.
Q: How do I know if the SIM900A module is connected to the network?
A: The AT+CREG? command can be used to check the network registration status.
Q: What is the default baud rate of the SIM900A module? A: The default baud rate is 9600 bps.
For further assistance, please refer to the manufacturer's datasheet and technical support resources.