
How to Use Raspberry Pi LCD Screen: Examples, Pinouts, and Specs
 Design with Raspberry Pi LCD Screen in Cirkit Designer
Introduction
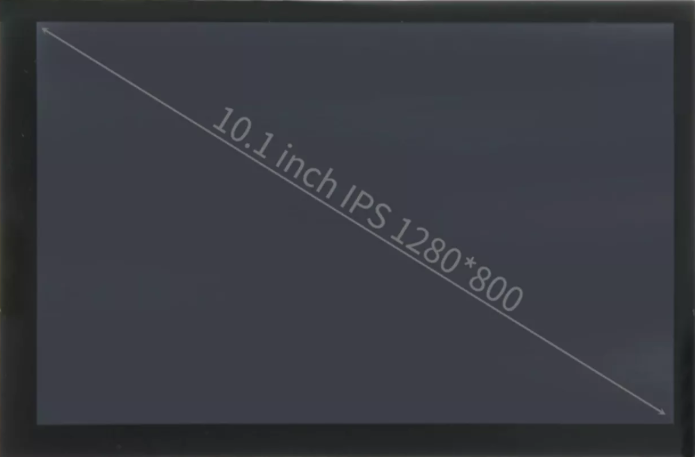
The Raspberry Pi LCD Screen by Approt II is a versatile display module designed specifically for use with Raspberry Pi boards. It enables users to visualize data, interact with applications, and create graphical interfaces for a wide range of projects. This screen is ideal for applications such as IoT dashboards, media players, gaming consoles, and educational projects. Its plug-and-play design ensures seamless integration with Raspberry Pi boards, making it a popular choice for both beginners and advanced users.
Explore Projects Built with Raspberry Pi LCD Screen
 Open Project in Cirkit Designer
 Open Project in Cirkit Designer
 Open Project in Cirkit Designer
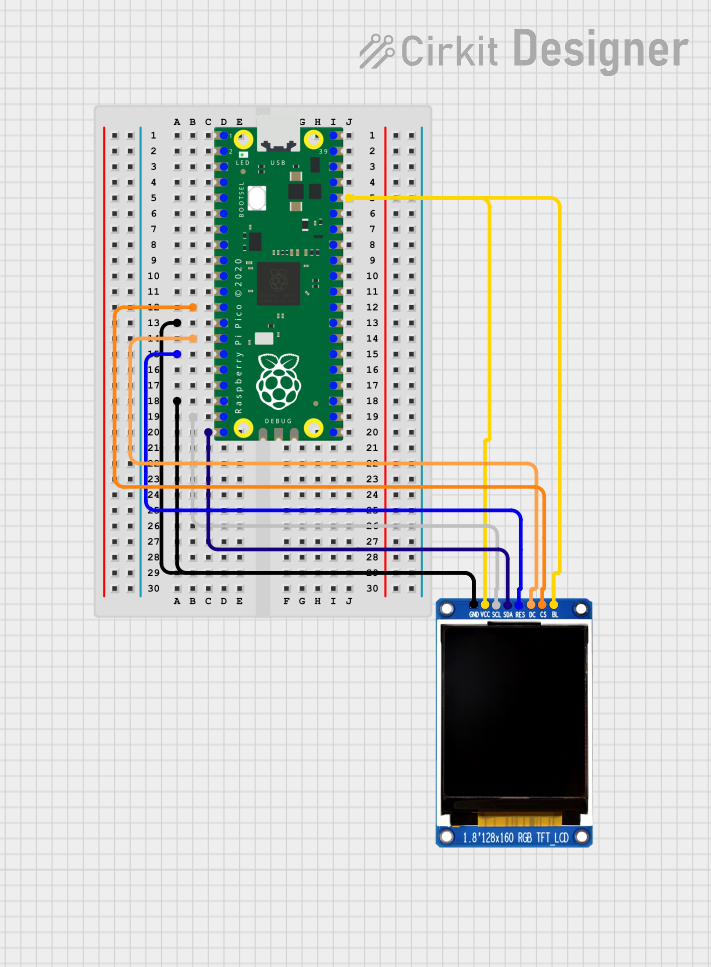 Open Project in Cirkit Designer
Explore Projects Built with Raspberry Pi LCD Screen
Open Project in Cirkit DesignerOpen Project in Cirkit DesignerOpen Project in Cirkit DesignerOpen Project in Cirkit DesignerTechnical Specifications
Below are the key technical details of the Raspberry Pi LCD Screen:
| Specification | Details |
|---|---|
| Manufacturer | Approt II |
| Display Type | TFT LCD |
| Screen Size | 3.5 inches |
| Resolution | 480 x 320 pixels |
| Touchscreen Support | Yes (Resistive Touch) |
| Interface | SPI (Serial Peripheral Interface) |
| Input Voltage | 5V (via Raspberry Pi GPIO header) |
| Power Consumption | ~150mA |
| Operating Temperature | -20°C to 70°C |
| Dimensions | 85mm x 55mm x 12mm |
Pin Configuration and Descriptions
The Raspberry Pi LCD Screen connects to the Raspberry Pi GPIO header. Below is the pin configuration:
| Pin | GPIO Pin | Function |
|---|---|---|
| 1 | 3.3V | Power Supply (3.3V) |
| 2 | 5V | Power Supply (5V) |
| 6 | GND | Ground |
| 19 | GPIO10 | SPI MOSI (Master Out, Slave In) |
| 21 | GPIO9 | SPI MISO (Master In, Slave Out) |
| 23 | GPIO11 | SPI SCLK (Clock) |
| 24 | GPIO8 | SPI CE0 (Chip Enable) |
| 26 | GPIO7 | SPI CE1 (Chip Enable) |
Usage Instructions
Connecting the LCD Screen to a Raspberry Pi
- Power Off the Raspberry Pi: Ensure the Raspberry Pi is powered off before connecting the LCD screen to avoid damage.
- Attach the Screen: Align the LCD screen's GPIO pins with the Raspberry Pi's GPIO header and gently press it into place.
- Power On the Raspberry Pi: Once the screen is securely connected, power on the Raspberry Pi.
Installing Drivers
Most Raspberry Pi LCD screens require drivers to function correctly. Follow these steps to install the necessary drivers:
- Open a terminal on your Raspberry Pi.
- Update the system packages:
sudo apt update && sudo apt upgrade -y - Download and install the driver provided by Approt II:
wget https://approtii.com/drivers/lcd-driver.tar.gz tar -xvzf lcd-driver.tar.gz cd lcd-driver sudo ./install.sh - Reboot the Raspberry Pi:
sudo reboot
Example Code for Displaying Text
Below is an example Python script using the Pillow library to display text on the LCD screen:
from PIL import Image, ImageDraw, ImageFont
import spidev
import time
Initialize SPI interface
spi = spidev.SpiDev() spi.open(0, 0) # Open SPI bus 0, device 0 spi.max_speed_hz = 32000000 # Set SPI speed
Create a blank image for the display
width, height = 480, 320 image = Image.new("RGB", (width, height), "black") draw = ImageDraw.Draw(image)
Load a font and write text
font = ImageFont.truetype("/usr/share/fonts/truetype/dejavu/DejaVuSans-Bold.ttf", 24) draw.text((50, 150), "Hello, Raspberry Pi!", font=font, fill="white")
Convert image to raw data and send to the LCD
raw_data = image.tobytes() spi.xfer2(list(raw_data)) # Send data via SPI
Close SPI interface
spi.close()
Best Practices
- Ensure the Raspberry Pi is powered off before connecting or disconnecting the LCD screen.
- Use a stable power supply to avoid flickering or display issues.
- Avoid applying excessive pressure on the touchscreen to prevent damage.
Troubleshooting and FAQs
Common Issues
The screen does not turn on.
- Solution: Ensure the LCD screen is properly connected to the GPIO header. Verify that the Raspberry Pi is powered on and the drivers are installed correctly.
The touchscreen is unresponsive.
- Solution: Check if the touchscreen drivers are installed. Reinstall the drivers if necessary. Ensure no physical damage has occurred to the screen.
The display shows a blank screen.
- Solution: Verify the SPI interface is enabled in the Raspberry Pi configuration. Run the following command to enable SPI:
sudo raspi-config
- Solution: Verify the SPI interface is enabled in the Raspberry Pi configuration. Run the following command to enable SPI:
The display flickers or has poor image quality.
- Solution: Ensure the Raspberry Pi is receiving sufficient power. Use a high-quality power adapter capable of delivering at least 2.5A.
FAQs
Can I use this LCD screen with other microcontrollers? Yes, but you will need to configure the SPI interface and write custom drivers for compatibility.
Does the screen support multitouch? No, the touchscreen supports only single-point resistive touch.
What is the maximum resolution supported? The screen supports a maximum resolution of 480 x 320 pixels.
Can I use this screen in outdoor environments? While the screen operates in a wide temperature range, it is not waterproof or sunlight-readable. Use it in shaded or indoor environments for best results.