How to Use Adafruit-LPS2X: Examples, Pinouts, and Specs
Introduction
The Adafruit-LPS2X is a versatile breakout board that integrates the LPS2X series of barometric pressure and temperature sensors. These sensors are designed to provide precise measurements of atmospheric pressure and ambient temperature, which are essential parameters in a variety of applications. The Adafruit-LPS2X is commonly used in weather stations for monitoring climatic conditions, in smartphones and GPS devices as an altimeter, and in HVAC systems for environmental control.
Explore Projects Built with Adafruit-LPS2X

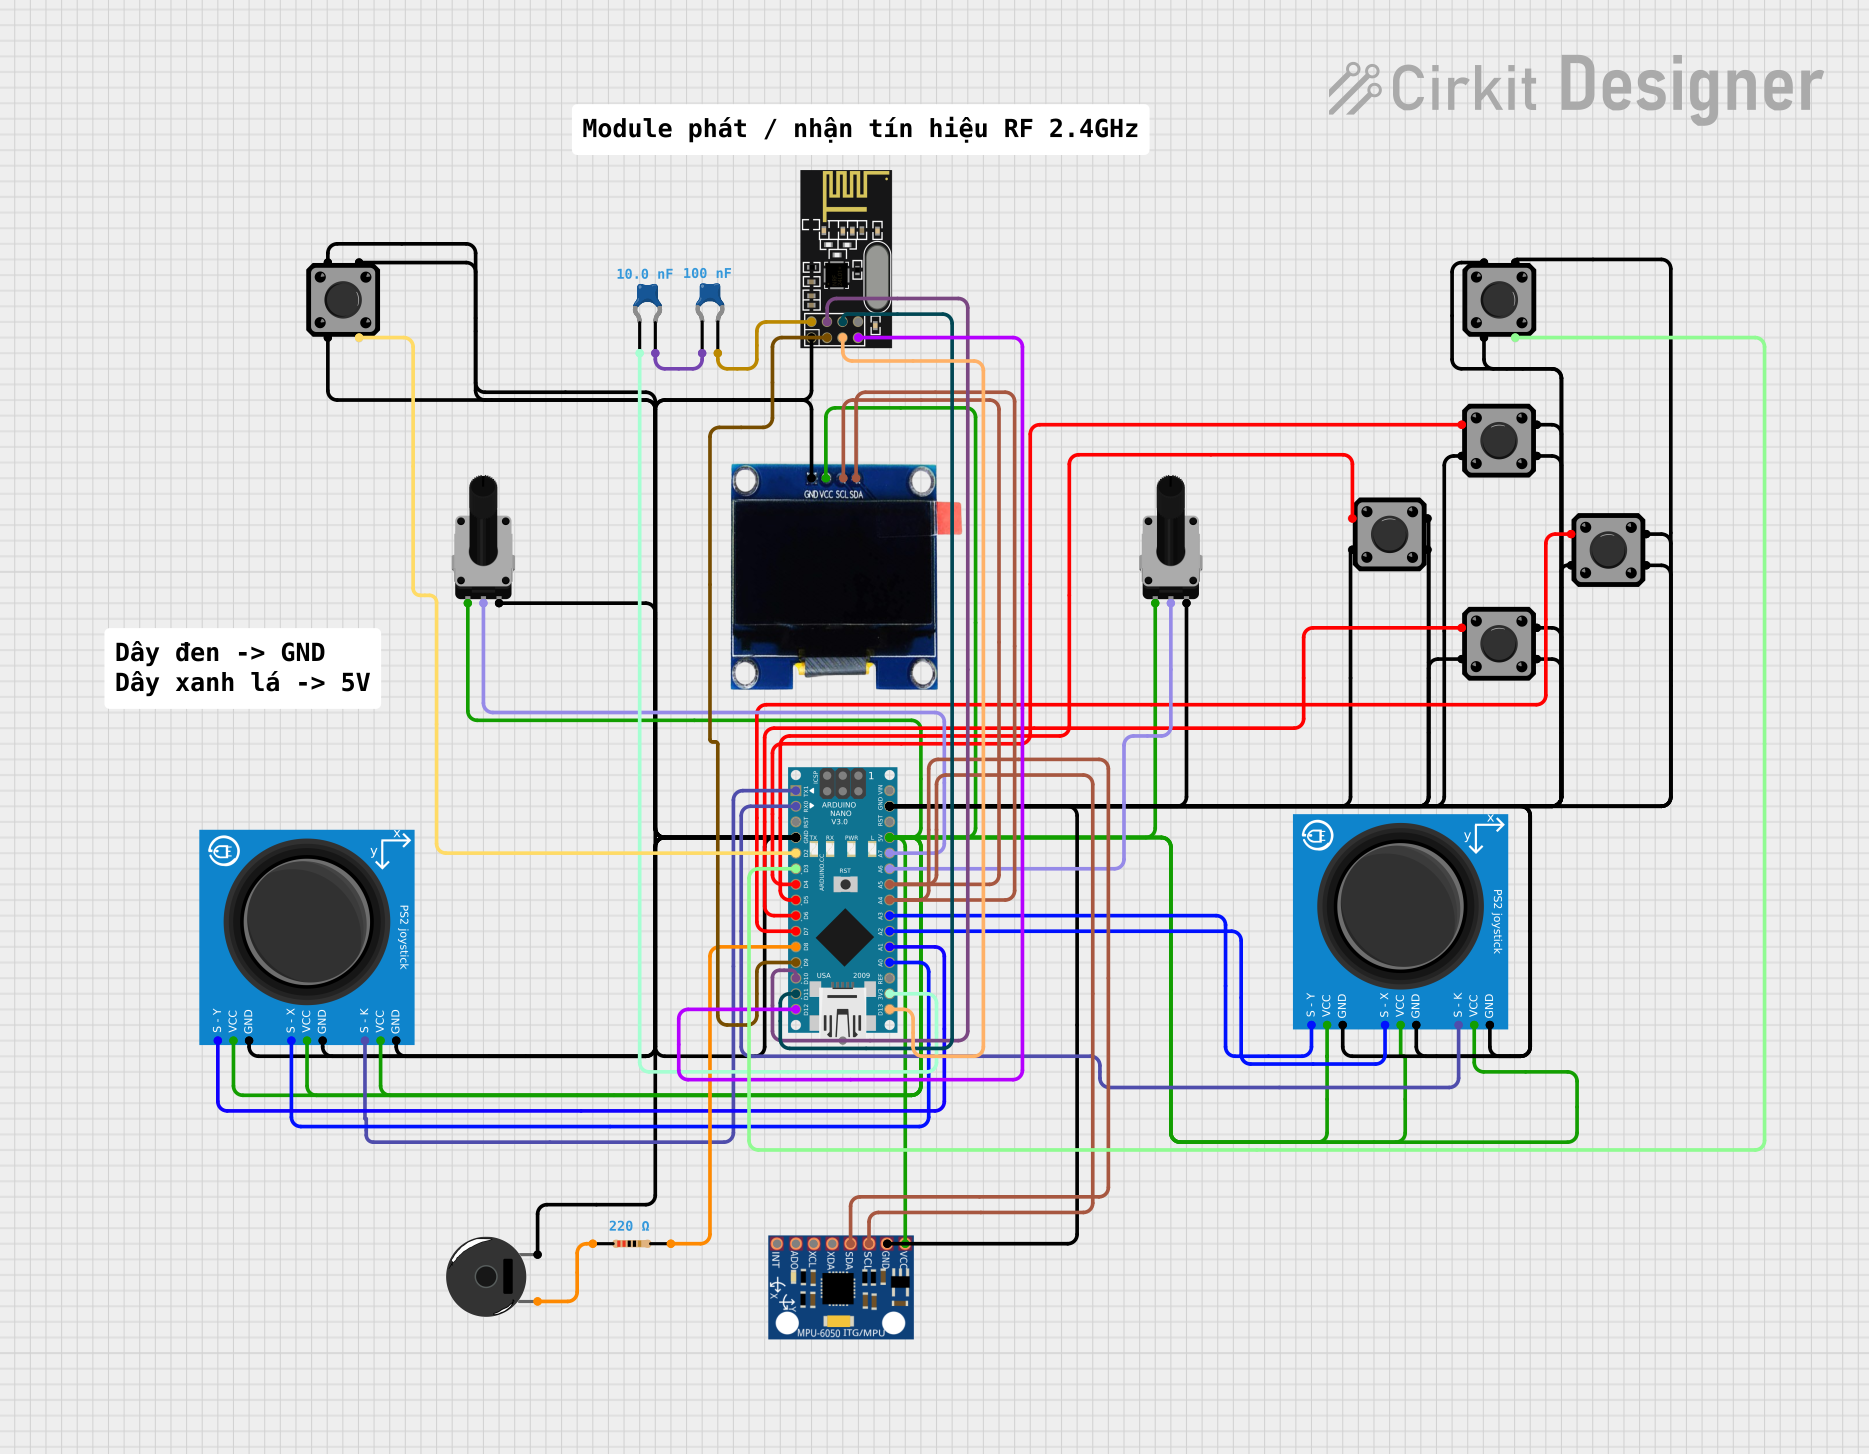


Explore Projects Built with Adafruit-LPS2X
Common Applications and Use Cases
- Weather monitoring systems
- Altimeters in wearable and handheld devices
- Indoor navigation and location-based services
- Environmental control in smart home systems
- Data logging for climate research
Technical Specifications
Key Technical Details
- Pressure Sensing Range: 260 to 1260 hPa
- Temperature Sensing Range: -40°C to +85°C
- Pressure Sensor Accuracy: ±0.1 hPa (typical)
- Temperature Sensor Accuracy: ±0.1°C (typical)
- Operating Voltage: 1.7V to 3.6V
- Interface: I2C (up to 400 kHz)
- Supply Current: 4 μA at 1 Hz output rate
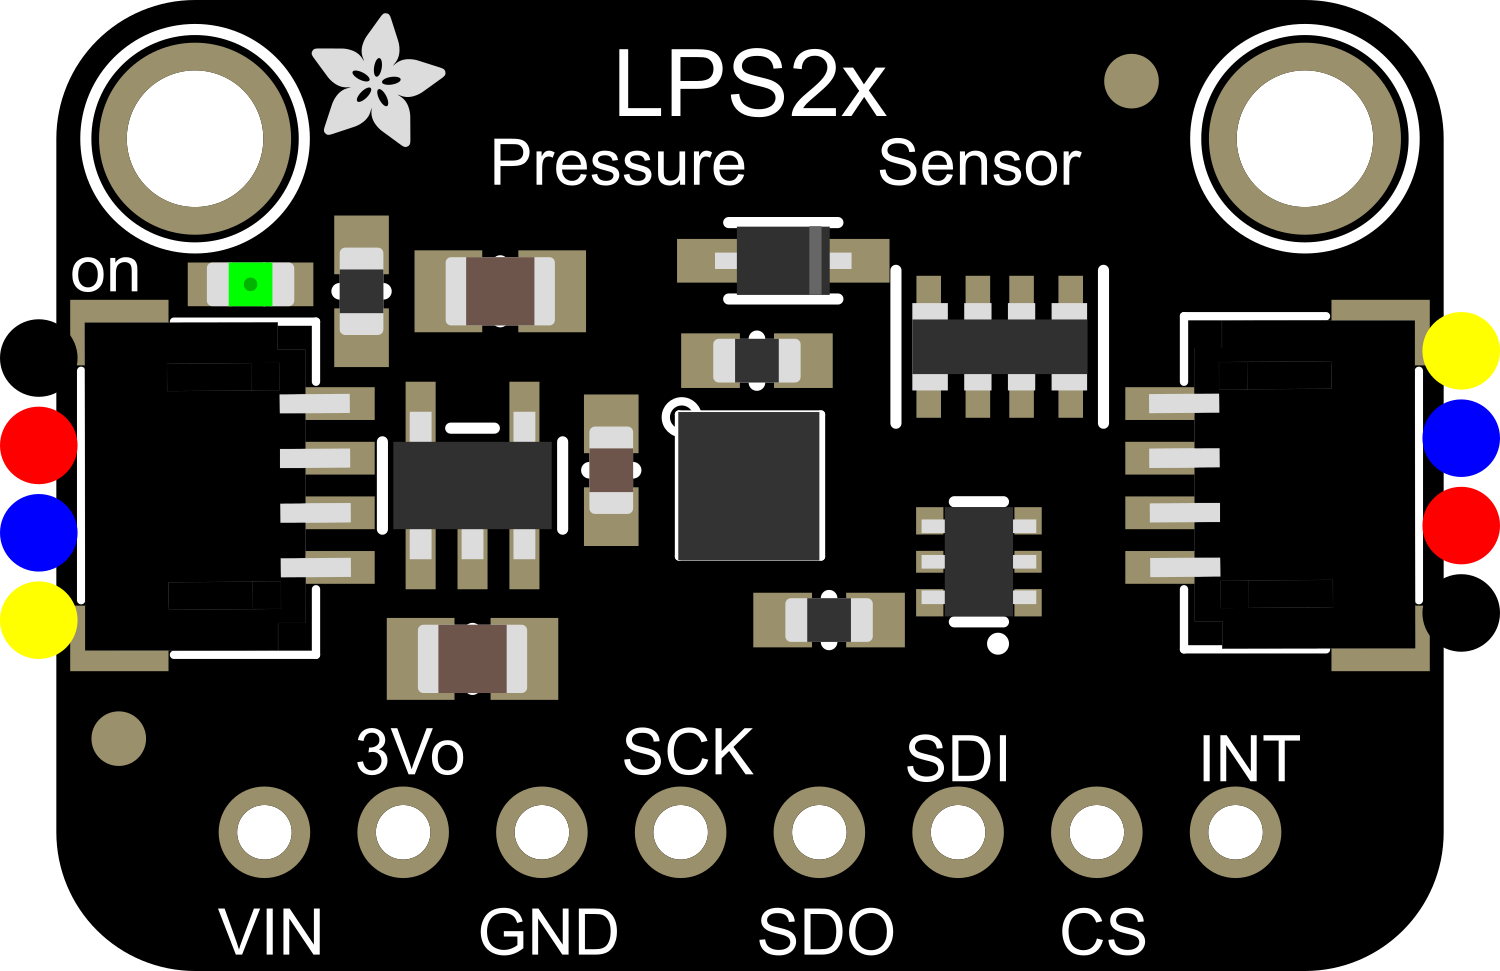
Pin Configuration and Descriptions
| Pin Number | Pin Name | Description |
|---|---|---|
| 1 | VDD | Power supply (1.7V to 3.6V) |
| 2 | GND | Ground |
| 3 | SDA | I2C Data |
| 4 | SCL | I2C Clock |
| 5 | SA0/SDO | I2C Address selection/ SPI Data Output |
| 6 | CS | SPI Chip Select (active low) |
| 7 | SDO/SA0 | SPI Data Output / I2C Address selection |
Usage Instructions
How to Use the Component in a Circuit
- Power Supply: Connect the VDD pin to a power source between 1.7V and 3.6V, and the GND pin to the ground of your circuit.
- I2C Communication: Connect the SDA and SCL pins to the I2C data and clock lines of your microcontroller, respectively. If using an Arduino UNO, SDA connects to A4 and SCL to A5.
- Address Selection: The SA0/SDO pin can be used to change the I2C address if multiple devices are connected to the same I2C bus.
Important Considerations and Best Practices
- Ensure that the power supply is within the specified range to prevent damage to the sensor.
- Use pull-up resistors on the I2C lines if they are not provided by the microcontroller.
- Avoid physical stress and exposure to chemical solvents as they may damage the sensor.
- For accurate measurements, allow the sensor to acclimatize to the ambient temperature before taking readings.
Example Code for Arduino UNO
#include <Wire.h>
#include "Adafruit_LPS2X.h"

Adafruit_LPS22 lps; // Create an instance of the LPS22 class

void setup() {
  Serial.begin(9600);
  Wire.begin(); // Initialize I2C

  if (!lps.begin_I2C()) { // Initialize the sensor
    Serial.println("Failed to find LPS sensor");
    while (1);
  }
  Serial.println("LPS sensor found!");
}

void loop() {
  Serial.print("Pressure: ");
  Serial.print(lps.readPressure());
  Serial.println(" hPa");

  Serial.print("Temperature: ");
  Serial.print(lps.readTemperature());
  Serial.println(" C");

  delay(500); // Wait half a second between readings
}
Troubleshooting and FAQs
Common Issues Users Might Face
- Sensor Not Detected: Ensure that the wiring is correct and that the sensor is properly powered.
- Inaccurate Readings: Verify that the sensor has been given enough time to acclimatize to the ambient conditions.
- I2C Communication Errors: Check for proper pull-up resistors and absence of bus contention.
Solutions and Tips for Troubleshooting
- Double-check the connections and solder joints for any loose or cold solder points.
- Use a logic analyzer or oscilloscope to inspect the I2C signals for integrity.
- Reset the power to the sensor and attempt to initialize again.
FAQs
Q: Can the Adafruit-LPS2X be used with a 5V microcontroller? A: Yes, but a level shifter is recommended for the I2C lines to ensure compatibility with the sensor's voltage levels.
Q: How can I change the I2C address of the sensor? A: The I2C address can be changed by connecting the SA0/SDO pin to either VDD or GND.
Q: Is the Adafruit-LPS2X waterproof? A: No, the sensor is not waterproof and should be protected from moisture and water exposure.
For further assistance, consult the Adafruit-LPS2X datasheet or contact technical support.