How to Use Adafruit SHT40: Examples, Pinouts, and Specs

Introduction
The Adafruit SHT40 is a high-precision temperature and humidity sensor breakout board that utilizes the Sensirion SHT40 sensor. This sensor is known for its reliability and accuracy, making it an ideal choice for environmental monitoring in a variety of applications including weather stations, home automation, and HVAC systems. Its low power consumption and wide operating voltage range allow it to be easily integrated into battery-powered and portable devices.
Explore Projects Built with Adafruit SHT40
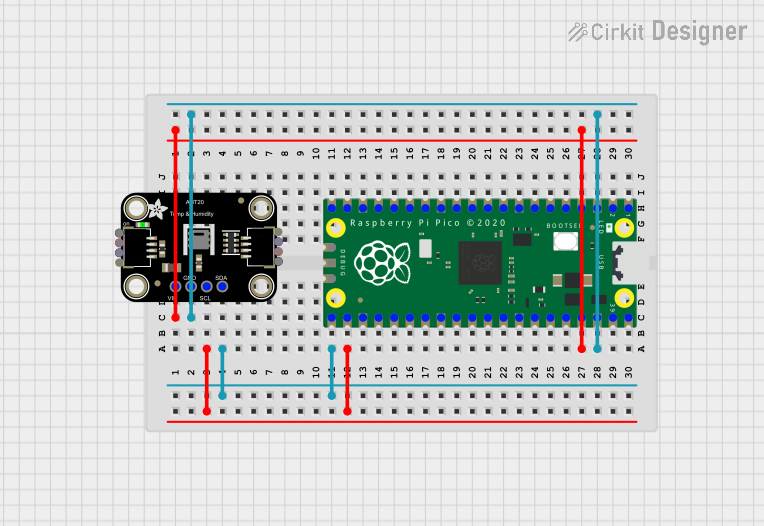
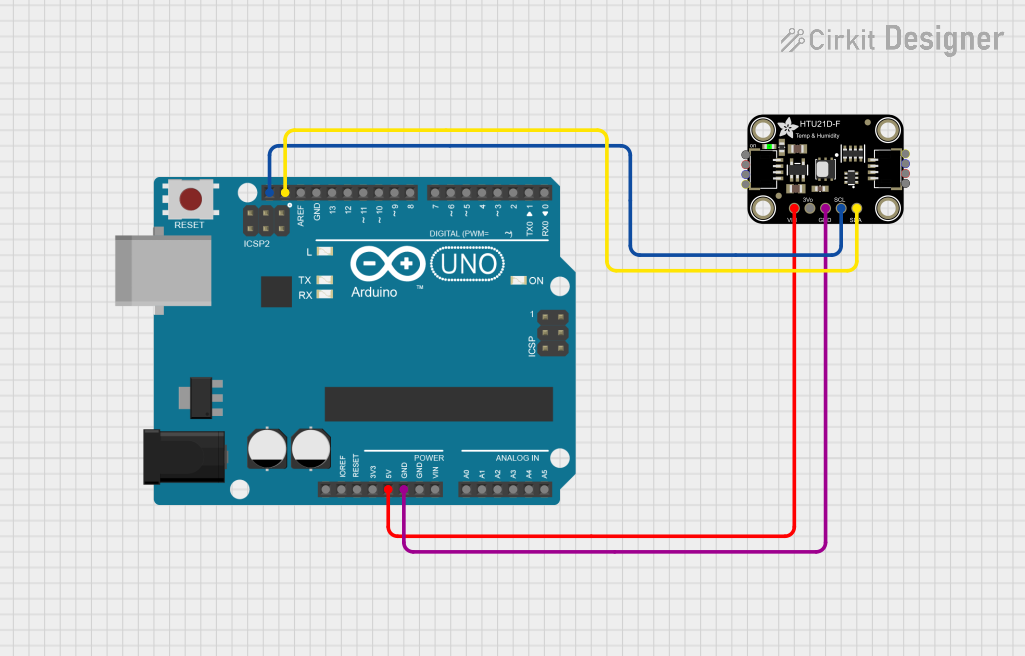
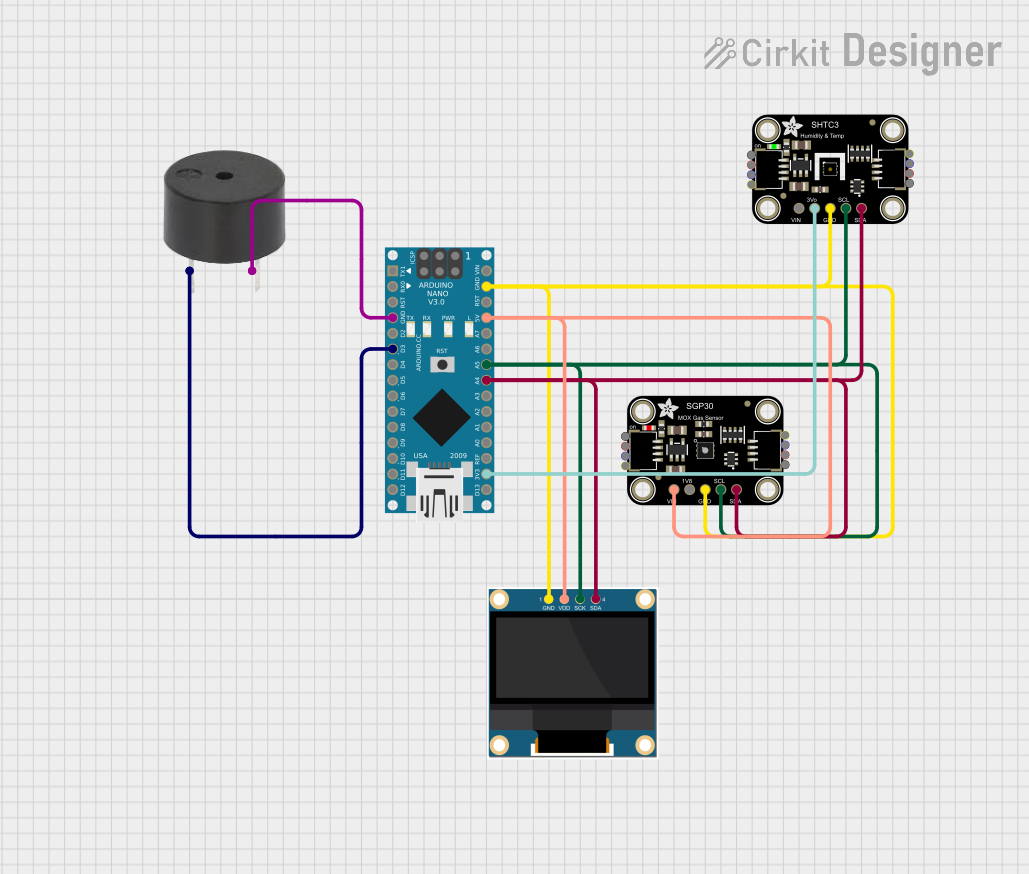
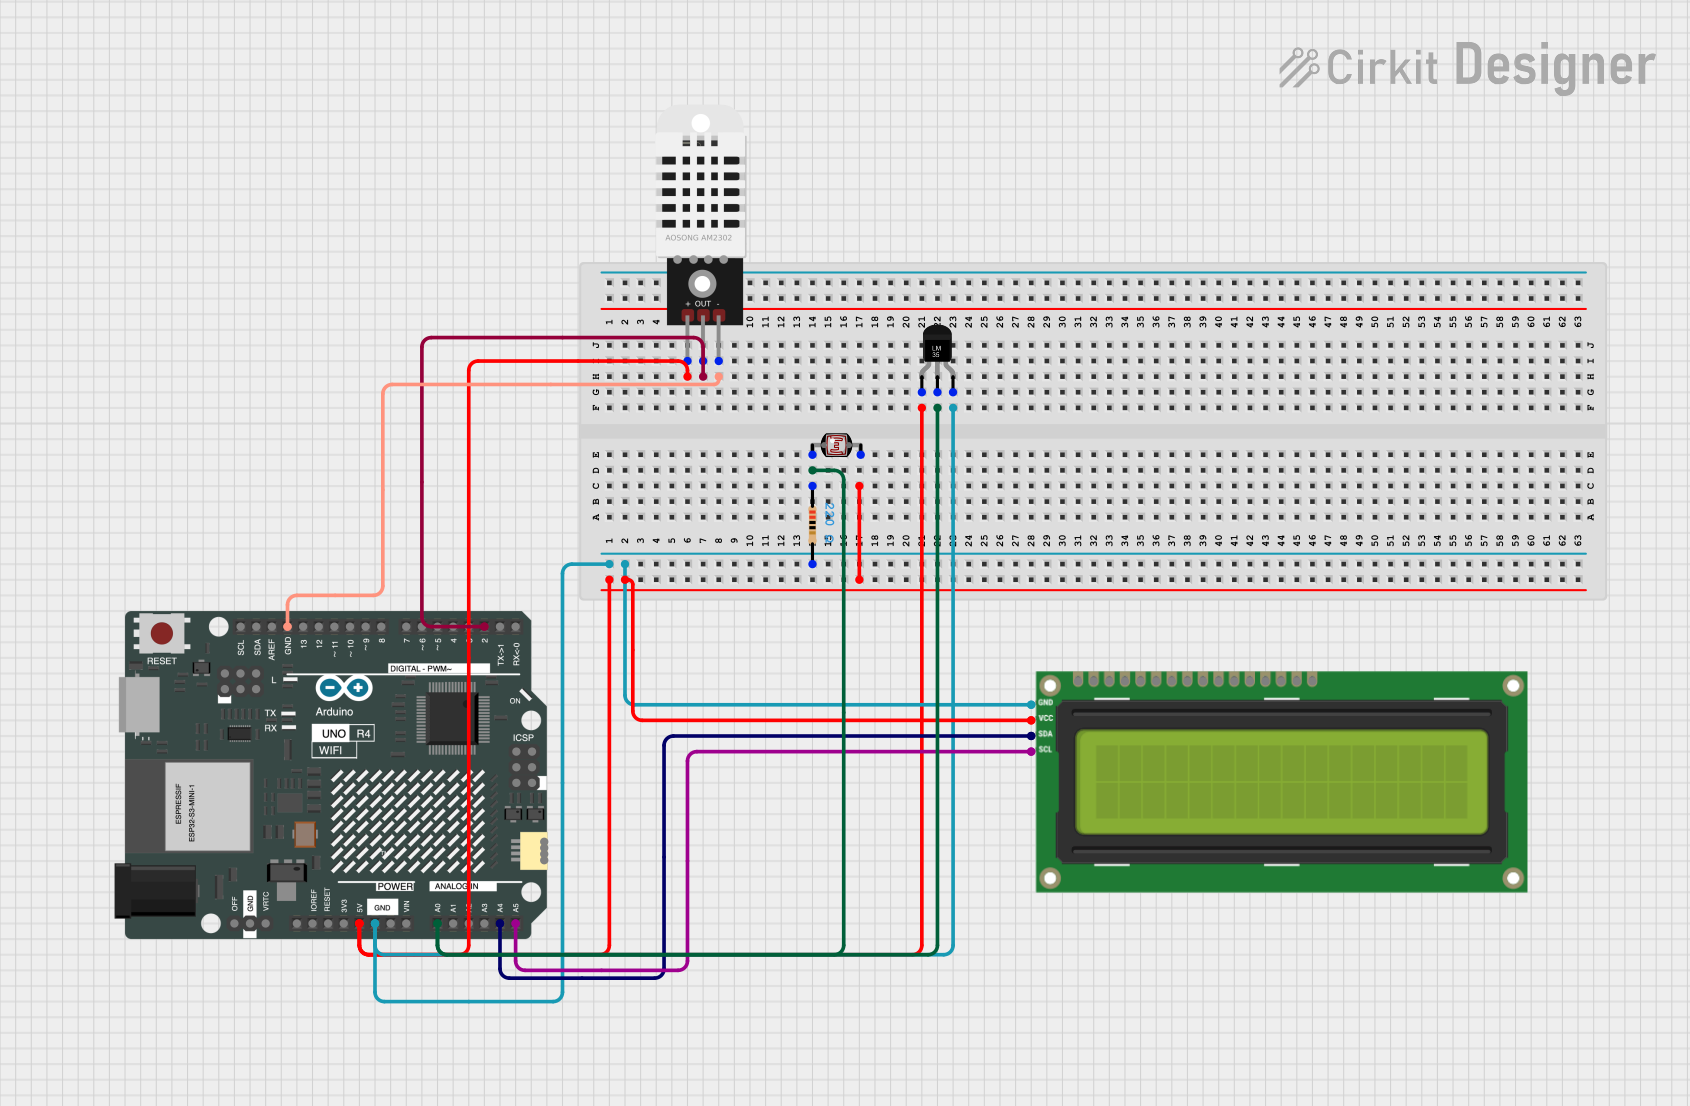
Explore Projects Built with Adafruit SHT40
Technical Specifications
Key Technical Details
- Temperature Measurement Range: -40°C to +125°C
- Humidity Measurement Range: 0 to 100% RH
- Temperature Accuracy: ±0.2°C (typical)
- Humidity Accuracy: ±1.8% RH (typical)
- Operating Voltage Range: 2.4V to 5.5V
- Interface: I2C
- I2C Address: 0x44 (default)
- Power Consumption: Low power consumption, suitable for battery-powered applications
Pin Configuration and Descriptions
| Pin Number | Name | Description |
|---|---|---|
| 1 | VDD | Power supply (2.4V to 5.5V) |
| 2 | GND | Ground connection |
| 3 | SCL | I2C clock line |
| 4 | SDA | I2C data line |
| 5 | ADDR | I2C address selection (connect to GND or VDD) |
| 6 | NC | No connection (do not connect) |
Usage Instructions
Integration into a Circuit
To use the Adafruit SHT40 sensor in a circuit, follow these steps:
- Connect the VDD pin to a power supply within the 2.4V to 5.5V range.
- Connect the GND pin to the ground of your power supply.
- Connect the SCL and SDA pins to the I2C clock and data lines on your microcontroller, respectively.
- If necessary, set the I2C address by connecting the ADDR pin to GND or VDD. The default address is 0x44.
Best Practices
- Ensure that the power supply is stable and within the specified voltage range.
- Use pull-up resistors on the I2C lines, typically 10kΩ, unless they are provided by the microcontroller board.
- Avoid placing the sensor in direct sunlight or near heat sources to prevent inaccurate readings.
- For outdoor applications, protect the sensor from direct exposure to water or high humidity conditions.
Example Code for Arduino UNO
#include <Wire.h>
#include <Adafruit_SHT40.h>

Adafruit_SHT40 sht40;

void setup() {
  Serial.begin(9600);
  if (!sht40.begin()) {
    Serial.println("Couldn't find SHT40");
    while (1) delay(1);
  }
}

void loop() {
  sensors_event_t humidity, temp;
  sht40.getEvent(&humidity, &temp); // Get new data

  Serial.print("Temperature: ");
  Serial.print(temp.temperature);
  Serial.println(" degrees C");

  Serial.print("Humidity: ");
  Serial.print(humidity.relative_humidity);
  Serial.println("% rH");

  delay(1000);
}
Ensure that the Adafruit SHT40 library is installed in your Arduino IDE before uploading this code to your Arduino UNO.
Troubleshooting and FAQs
Common Issues
- Sensor not detected: Check the wiring, ensure that the I2C address is correct, and that the power supply is within the specified range.
- Inaccurate readings: Verify that the sensor is not exposed to heat sources or direct sunlight and that it's protected from water if used outdoors.
FAQs
Q: Can the SHT40 sensor be used in high humidity environments? A: Yes, the SHT40 can operate in 0 to 100% RH range, but it should not be submerged in water or exposed to condensing environments.
Q: What is the power consumption of the SHT40 sensor? A: The SHT40 has low power consumption, but the exact value depends on the measurement frequency and operating conditions.
Q: How do I calibrate the sensor? A: The SHT40 is factory-calibrated. However, for critical applications, you may perform additional calibration using known humidity and temperature references.
For further assistance, consult the Adafruit SHT40 datasheet and the Sensirion SHT40 sensor technical documentation.