How to Use 4:1 splitter: Examples, Pinouts, and Specs

Introduction
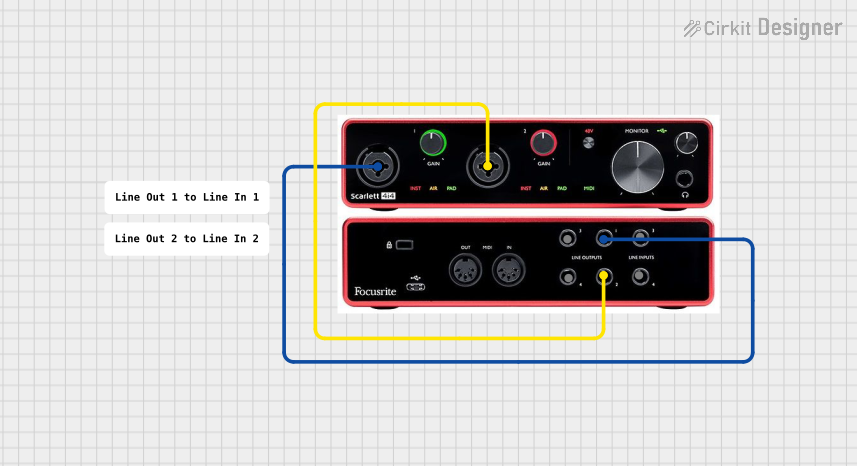
A 4:1 splitter is an electronic component designed to take a single input signal and distribute it evenly across four output channels. This device is commonly used in applications where multiple devices need to share a single signal source, such as in audio systems, video distribution, or data communication networks. By maintaining signal integrity, the 4:1 splitter ensures that all connected devices receive a consistent and reliable signal.
Explore Projects Built with 4:1 splitter


Explore Projects Built with 4:1 splitter
Common Applications and Use Cases
- Audio Systems: Distributing audio signals from a single source to multiple speakers or amplifiers.
- Video Distribution: Splitting video signals for use with multiple displays or monitors.
- Data Communication: Sharing a single data signal across multiple devices in networking setups.
- Testing and Prototyping: Distributing signals to multiple test points in electronic circuits.
Technical Specifications
The following table outlines the key technical details of a typical 4:1 splitter:
| Parameter | Value |
|---|---|
| Input Signal Type | Analog or Digital (varies by model) |
| Number of Inputs | 1 |
| Number of Outputs | 4 |
| Frequency Range | 20 Hz to 20 kHz (audio models) |
| Impedance (Input/Output) | 75 Ω (typical for video models) |
| Voltage Range | 0.5V to 5V (depending on signal type) |
| Power Supply | Passive or Active (varies by design) |
| Signal Loss | ≤ 3 dB (typical for high-quality models) |
Pin Configuration and Descriptions
For an active 4:1 splitter with a power supply, the pin configuration is as follows:
| Pin Number | Label | Description |
|---|---|---|
| 1 | Input | Signal input terminal |
| 2 | Output 1 | First signal output terminal |
| 3 | Output 2 | Second signal output terminal |
| 4 | Output 3 | Third signal output terminal |
| 5 | Output 4 | Fourth signal output terminal |
| 6 | VCC | Positive power supply terminal (for active models) |
| 7 | GND | Ground terminal |
Usage Instructions
How to Use the 4:1 Splitter in a Circuit
- Connect the Input Signal: Attach the signal source (e.g., audio, video, or data) to the input terminal of the splitter.
- Connect the Outputs: Connect the four output terminals to the devices or circuits that need to receive the signal.
- Power the Splitter (if Active): For active splitters, connect the VCC and GND pins to a suitable power supply as specified in the technical specifications.
- Verify Connections: Ensure all connections are secure and that the input and output devices are compatible with the splitter's specifications.
- Test the System: Power on the system and verify that the signal is being distributed evenly to all output devices.
Important Considerations and Best Practices
- Signal Compatibility: Ensure the input signal type (analog or digital) matches the splitter's design.
- Impedance Matching: Use devices with matching impedance to minimize signal loss and distortion.
- Cable Quality: Use high-quality cables to maintain signal integrity, especially for high-frequency signals.
- Power Supply: For active splitters, use a stable and noise-free power supply to avoid introducing interference.
- Avoid Overloading: Do not connect devices that exceed the splitter's output current or voltage ratings.
Example: Using a 4:1 Splitter with an Arduino UNO
If the 4:1 splitter is used to distribute a digital signal (e.g., PWM) from an Arduino UNO to multiple devices, the following code can be used to generate the signal:
// Example code to generate a PWM signal from Arduino UNO
// This signal can be distributed using a 4:1 splitter

const int pwmPin = 9; // Pin 9 is used for PWM output

void setup() {
  pinMode(pwmPin, OUTPUT); // Set pin 9 as an output
}

void loop() {
  analogWrite(pwmPin, 128); // Generate a 50% duty cycle PWM signal
  delay(1000); // Wait for 1 second
  analogWrite(pwmPin, 255); // Generate a 100% duty cycle PWM signal
  delay(1000); // Wait for 1 second
}
Troubleshooting and FAQs
Common Issues and Solutions
No Signal at Outputs:
- Cause: Loose or incorrect connections.
- Solution: Verify all connections and ensure the input signal is active.
Signal Loss or Distortion:
- Cause: Poor-quality cables or impedance mismatch.
- Solution: Use high-quality cables and ensure impedance matching between devices.
Uneven Signal Distribution:
- Cause: Faulty splitter or overloaded outputs.
- Solution: Test the splitter with fewer devices and check for any damaged components.
Active Splitter Not Powering On:
- Cause: Incorrect or insufficient power supply.
- Solution: Verify the power supply voltage and current ratings.
FAQs
Q: Can I use a 4:1 splitter for both audio and video signals?
A: It depends on the splitter's design. Some models are optimized for specific signal types. Check the specifications before use.Q: Will using a splitter degrade the signal quality?
A: High-quality splitters minimize signal loss, but some degradation may occur, especially with long cables or mismatched impedance.Q: Can I cascade multiple splitters to increase the number of outputs?
A: Yes, but cascading may increase signal loss. Use an active splitter to compensate for the loss if needed.Q: Do I need a power supply for my splitter?
A: Passive splitters do not require power, but active splitters need a power supply to amplify the signal.
By following this documentation, users can effectively integrate a 4:1 splitter into their projects and troubleshoot common issues.