
How to Use WTV020SD: Examples, Pinouts, and Specs
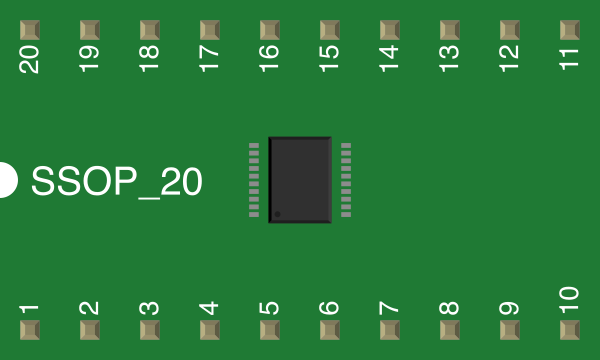
 Design with WTV020SD in Cirkit Designer
Introduction
The WTV020SD is a low-cost audio playback module designed for playing audio files stored on a microSD card. It supports multiple audio formats, including AD4 and WAV, and is widely used in projects requiring sound playback. This module is ideal for applications such as toys, alarms, interactive devices, and voice prompts. Its compact size and ease of integration make it a popular choice for hobbyists and professionals alike.
Explore Projects Built with WTV020SD
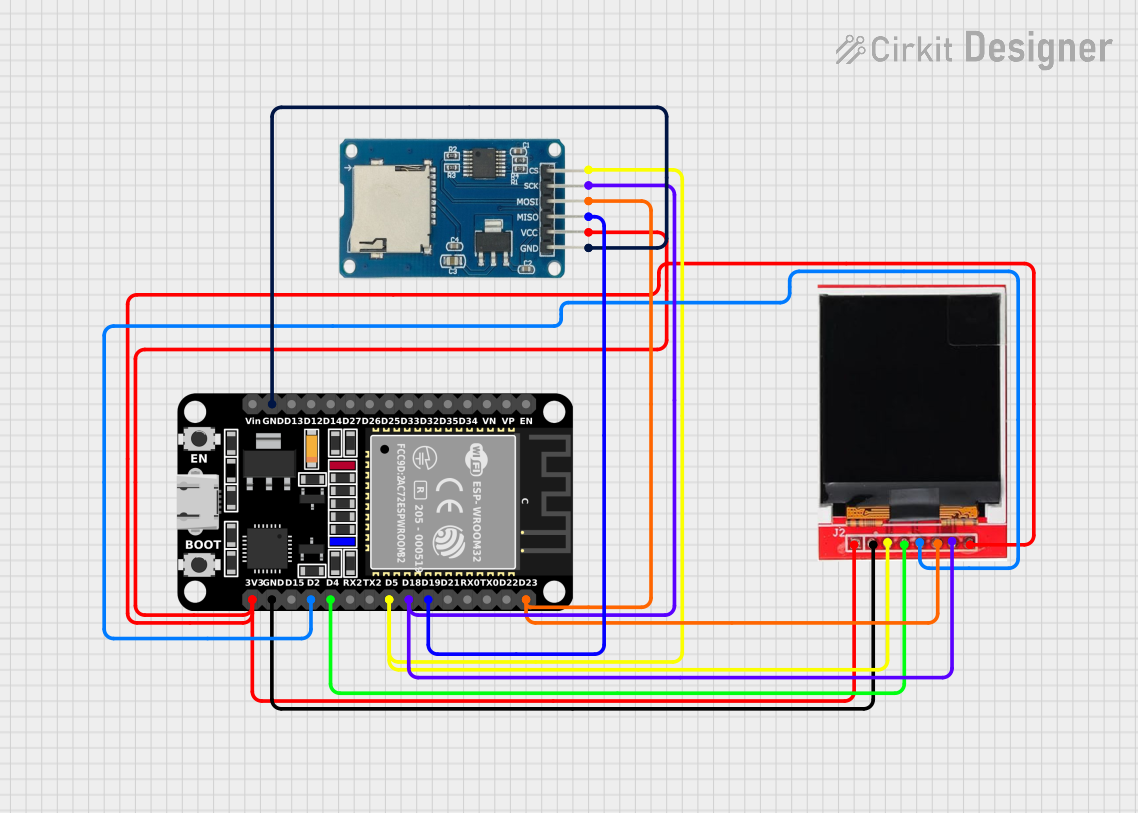 Open Project in Cirkit Designer
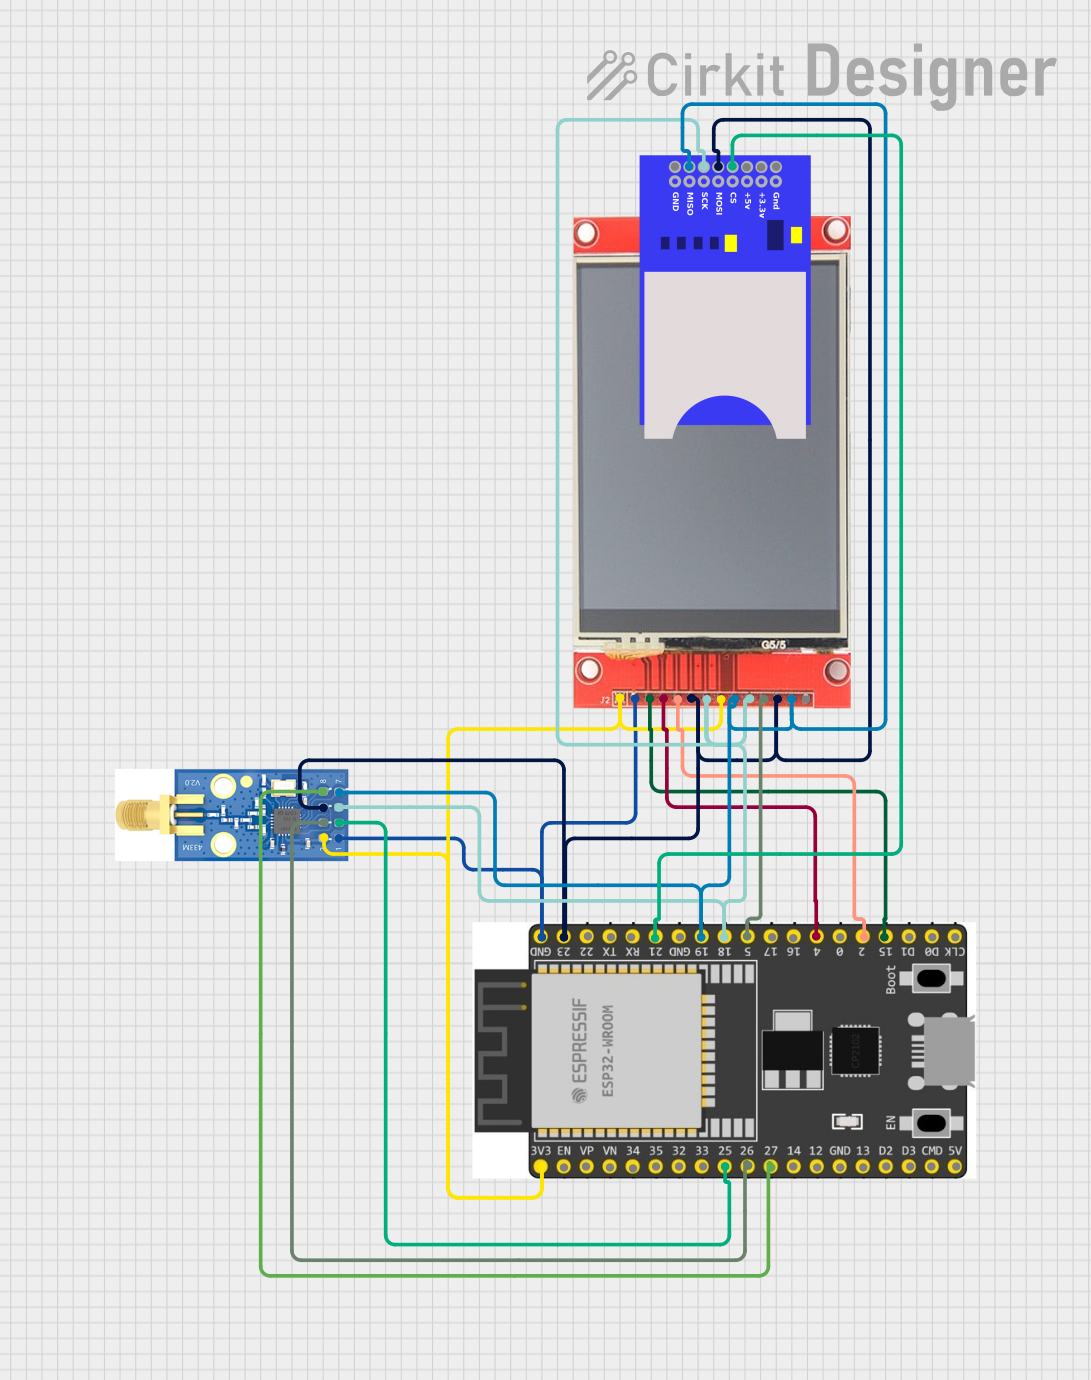 Open Project in Cirkit Designer
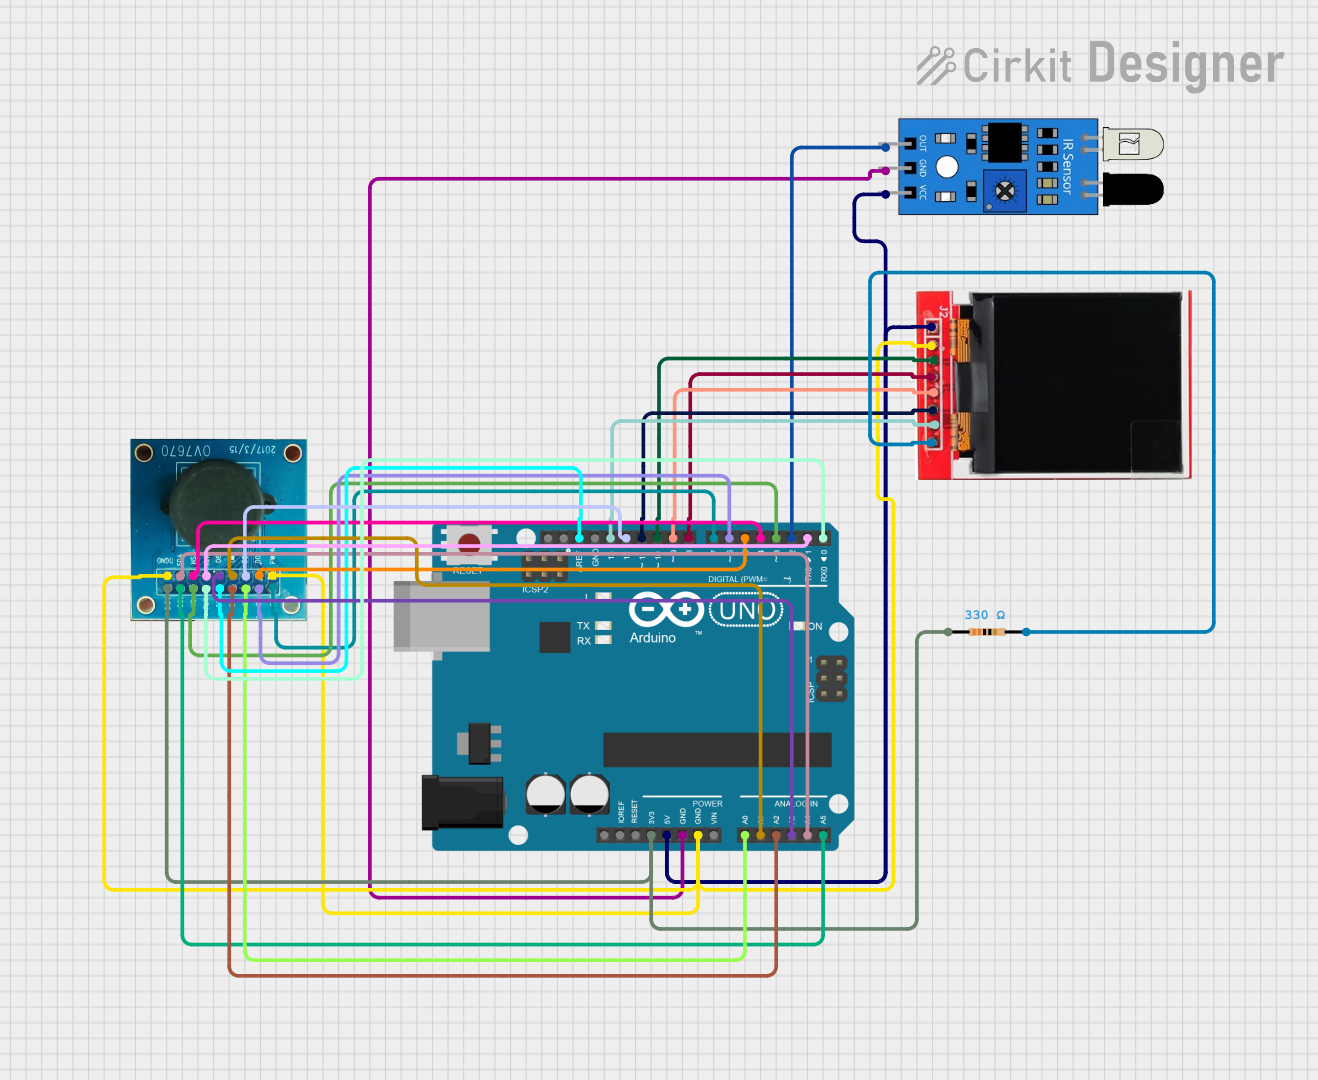 Open Project in Cirkit Designer
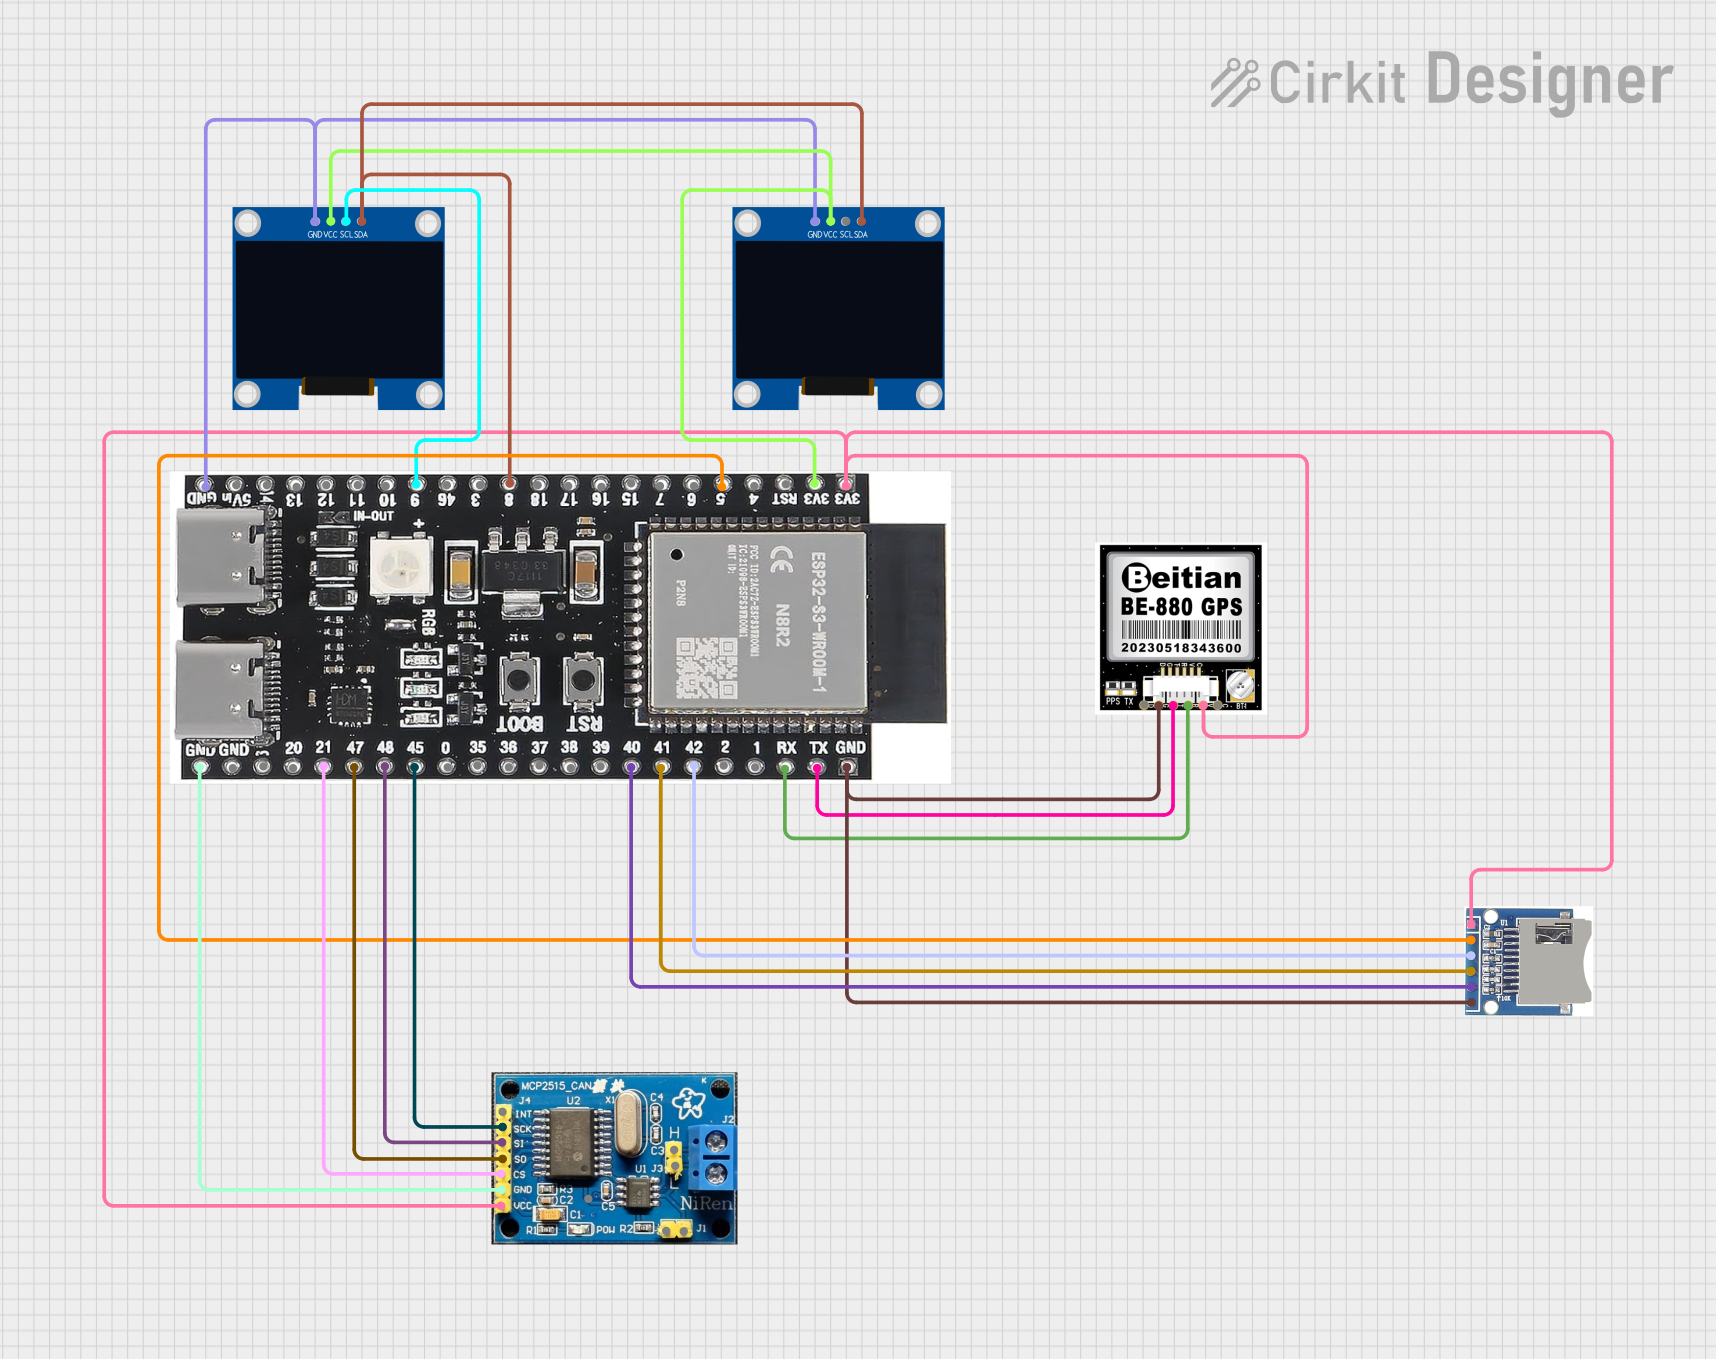 Open Project in Cirkit Designer
Explore Projects Built with WTV020SD
Open Project in Cirkit DesignerOpen Project in Cirkit DesignerOpen Project in Cirkit DesignerOpen Project in Cirkit DesignerTechnical Specifications
- Operating Voltage: 2.6V to 3.6V DC
- Current Consumption: < 15mA during playback
- Audio Formats Supported: AD4, WAV
- Storage Medium: microSD card (up to 2GB, FAT16 format)
- Output Options:
- DAC output for direct speaker connection
- PWM output for external amplifier
- Control Modes:
- Serial mode (via microcontroller)
- Key mode (standalone operation with buttons)
- Operating Temperature: -25°C to 85°C
Pin Configuration and Descriptions
The WTV020SD module has an 8-pin interface. Below is the pinout and description:
| Pin Number | Pin Name | Description |
|---|---|---|
| 1 | VCC | Power supply input (2.6V to 3.6V DC). |
| 2 | GND | Ground connection. |
| 3 | RX | Serial data input for controlling the module via a microcontroller. |
| 4 | TX | Serial data output (not commonly used). |
| 5 | SPK+ | Positive terminal for speaker connection (DAC output). |
| 6 | SPK- | Negative terminal for speaker connection (DAC output). |
| 7 | BUSY | Output pin that indicates playback status (LOW = playing, HIGH = idle). |
| 8 | CLK | Clock signal input for standalone key mode (not used in serial mode). |
Usage Instructions
How to Use the WTV020SD in a Circuit
- Power Supply: Connect the VCC pin to a 3.3V power source and the GND pin to ground. Ensure the power supply is stable and within the specified voltage range.
- Audio Output:
- For direct speaker output, connect a small 8-ohm speaker to the SPK+ and SPK- pins.
- For higher-quality audio, use the PWM output with an external amplifier.
- Control Mode:
- Serial Mode: Connect the RX pin to a microcontroller's TX pin (e.g., Arduino UNO) for serial communication.
- Key Mode: Use external buttons connected to the CLK pin for standalone operation.
- microSD Card Preparation:
- Format the microSD card to FAT16.
- Convert audio files to AD4 format using the WTV020SD conversion tool.
- Name the files sequentially (e.g.,
0000.ad4,0001.ad4) and copy them to the root directory of the microSD card.
- Insert the microSD Card: Insert the prepared microSD card into the module's slot.
Important Considerations and Best Practices
- Use a level shifter or resistor divider when interfacing the RX pin with a 5V microcontroller like Arduino UNO, as the module operates at 3.3V logic levels.
- Ensure the microSD card is properly formatted and the audio files are in the correct format and naming convention.
- Avoid powering the module directly from a noisy power source to prevent audio distortion.
- Use decoupling capacitors near the VCC pin to stabilize the power supply.
Example: Connecting to an Arduino UNO
Below is an example of how to control the WTV020SD module using an Arduino UNO in serial mode:
Circuit Connections
- Connect the WTV020SD's RX pin to Arduino's TX pin (pin 1) through a 1kΩ resistor.
- Connect the VCC and GND pins of the module to a 3.3V power source and ground, respectively.
- Connect an 8-ohm speaker to the SPK+ and SPK- pins.
Arduino Code
// Example code to control the WTV020SD module with Arduino UNO
// Ensure the audio files are named sequentially (e.g., 0000.ad4, 0001.ad4)
// and stored in the root directory of a FAT16-formatted microSD card.

void setup() {
  Serial.begin(9600); // Initialize serial communication at 9600 baud
  delay(100);         // Allow the WTV020SD module to initialize
}

void loop() {
  playAudio(0);       // Play the first audio file (0000.ad4)
  delay(5000);        // Wait for 5 seconds before playing the next file
  playAudio(1);       // Play the second audio file (0001.ad4)
  delay(5000);        // Wait for 5 seconds
}

// Function to send play command to WTV020SD module
void playAudio(int fileNumber) {
  Serial.write(0xFF); // Start byte
  Serial.write(0x06); // Play command
  Serial.write(0x00); // Data length
  Serial.write(0x00); // High byte of file number
  Serial.write(fileNumber); // Low byte of file number
  Serial.write(0xEF); // End byte
}
Troubleshooting and FAQs
Common Issues and Solutions
No Sound Output:
- Ensure the microSD card is properly formatted to FAT16 and the audio files are in AD4 format.
- Check the speaker connections and ensure the speaker impedance is 8 ohms.
- Verify the power supply voltage is within the specified range (2.6V to 3.6V).
Module Not Responding to Commands:
- Confirm the RX pin is connected to the microcontroller's TX pin.
- Use a level shifter or resistor divider if interfacing with a 5V microcontroller.
- Check the baud rate of the microcontroller (should be 9600).
Playback Stops Abruptly:
- Ensure the microSD card is securely inserted into the module.
- Use high-quality microSD cards to avoid read errors.
Distorted Audio:
- Verify the power supply is stable and free from noise.
- Use decoupling capacitors near the VCC pin to filter out power supply noise.
FAQs
Q1: Can the WTV020SD play MP3 files?
No, the WTV020SD does not support MP3 files. It only supports AD4 and WAV formats.
Q2: What is the maximum capacity of the microSD card supported?
The WTV020SD supports microSD cards up to 2GB formatted in FAT16.
Q3: Can I use the module without a microcontroller?
Yes, the module can operate in key mode, where buttons are used to trigger playback.
Q4: How do I convert audio files to AD4 format?
You can use the WTV020SD conversion tool provided by the manufacturer to convert WAV files to AD4 format.
Q5: Is it possible to control the volume?
Yes, volume control commands can be sent via serial communication in serial mode.