
How to Use Advancer Muscle Sensor V3: Examples, Pinouts, and Specs
 Design with Advancer Muscle Sensor V3 in Cirkit Designer
Introduction
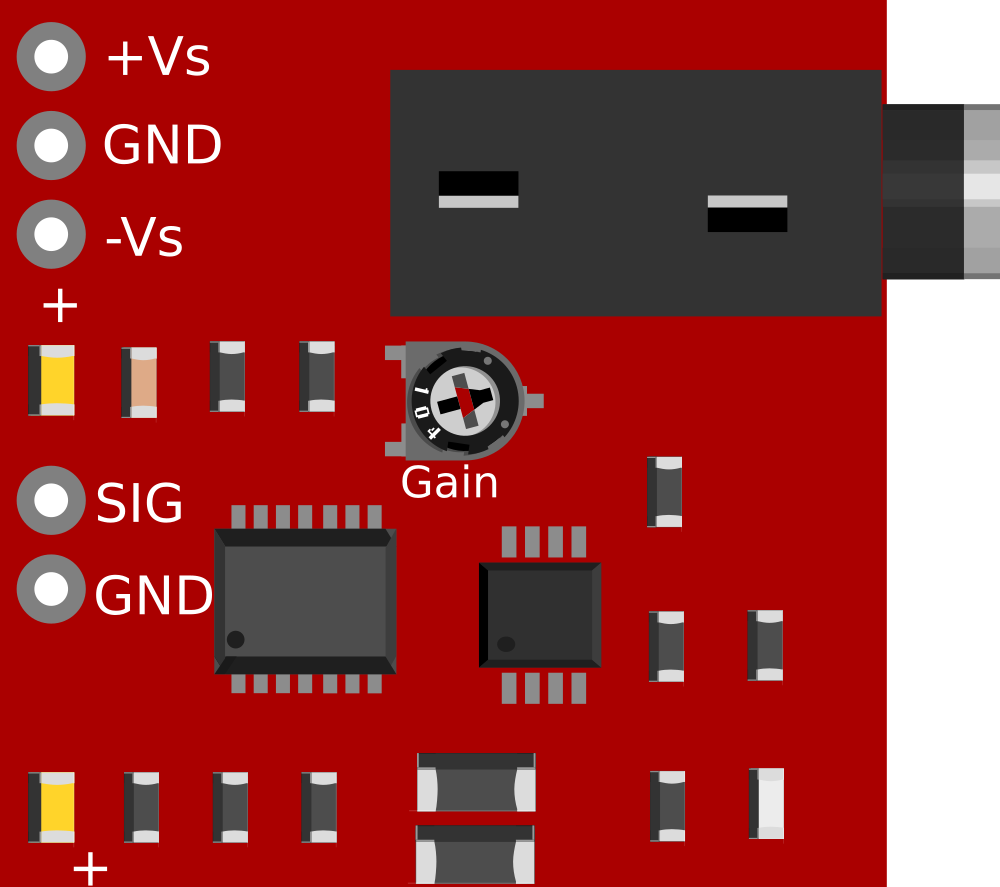
The Advancer Muscle Sensor V3 is a sophisticated sensor designed to measure the electrical activity generated by muscle contractions, known as electromyography (EMG). This sensor is capable of detecting the electrical potential generated by muscle cells when these cells are electrically or neurologically activated. It is commonly used in applications such as biofeedback systems, prosthetic device control, robotics, gaming, and interactive installations.
Explore Projects Built with Advancer Muscle Sensor V3
 Open Project in Cirkit Designer
 Open Project in Cirkit Designer
 Open Project in Cirkit Designer
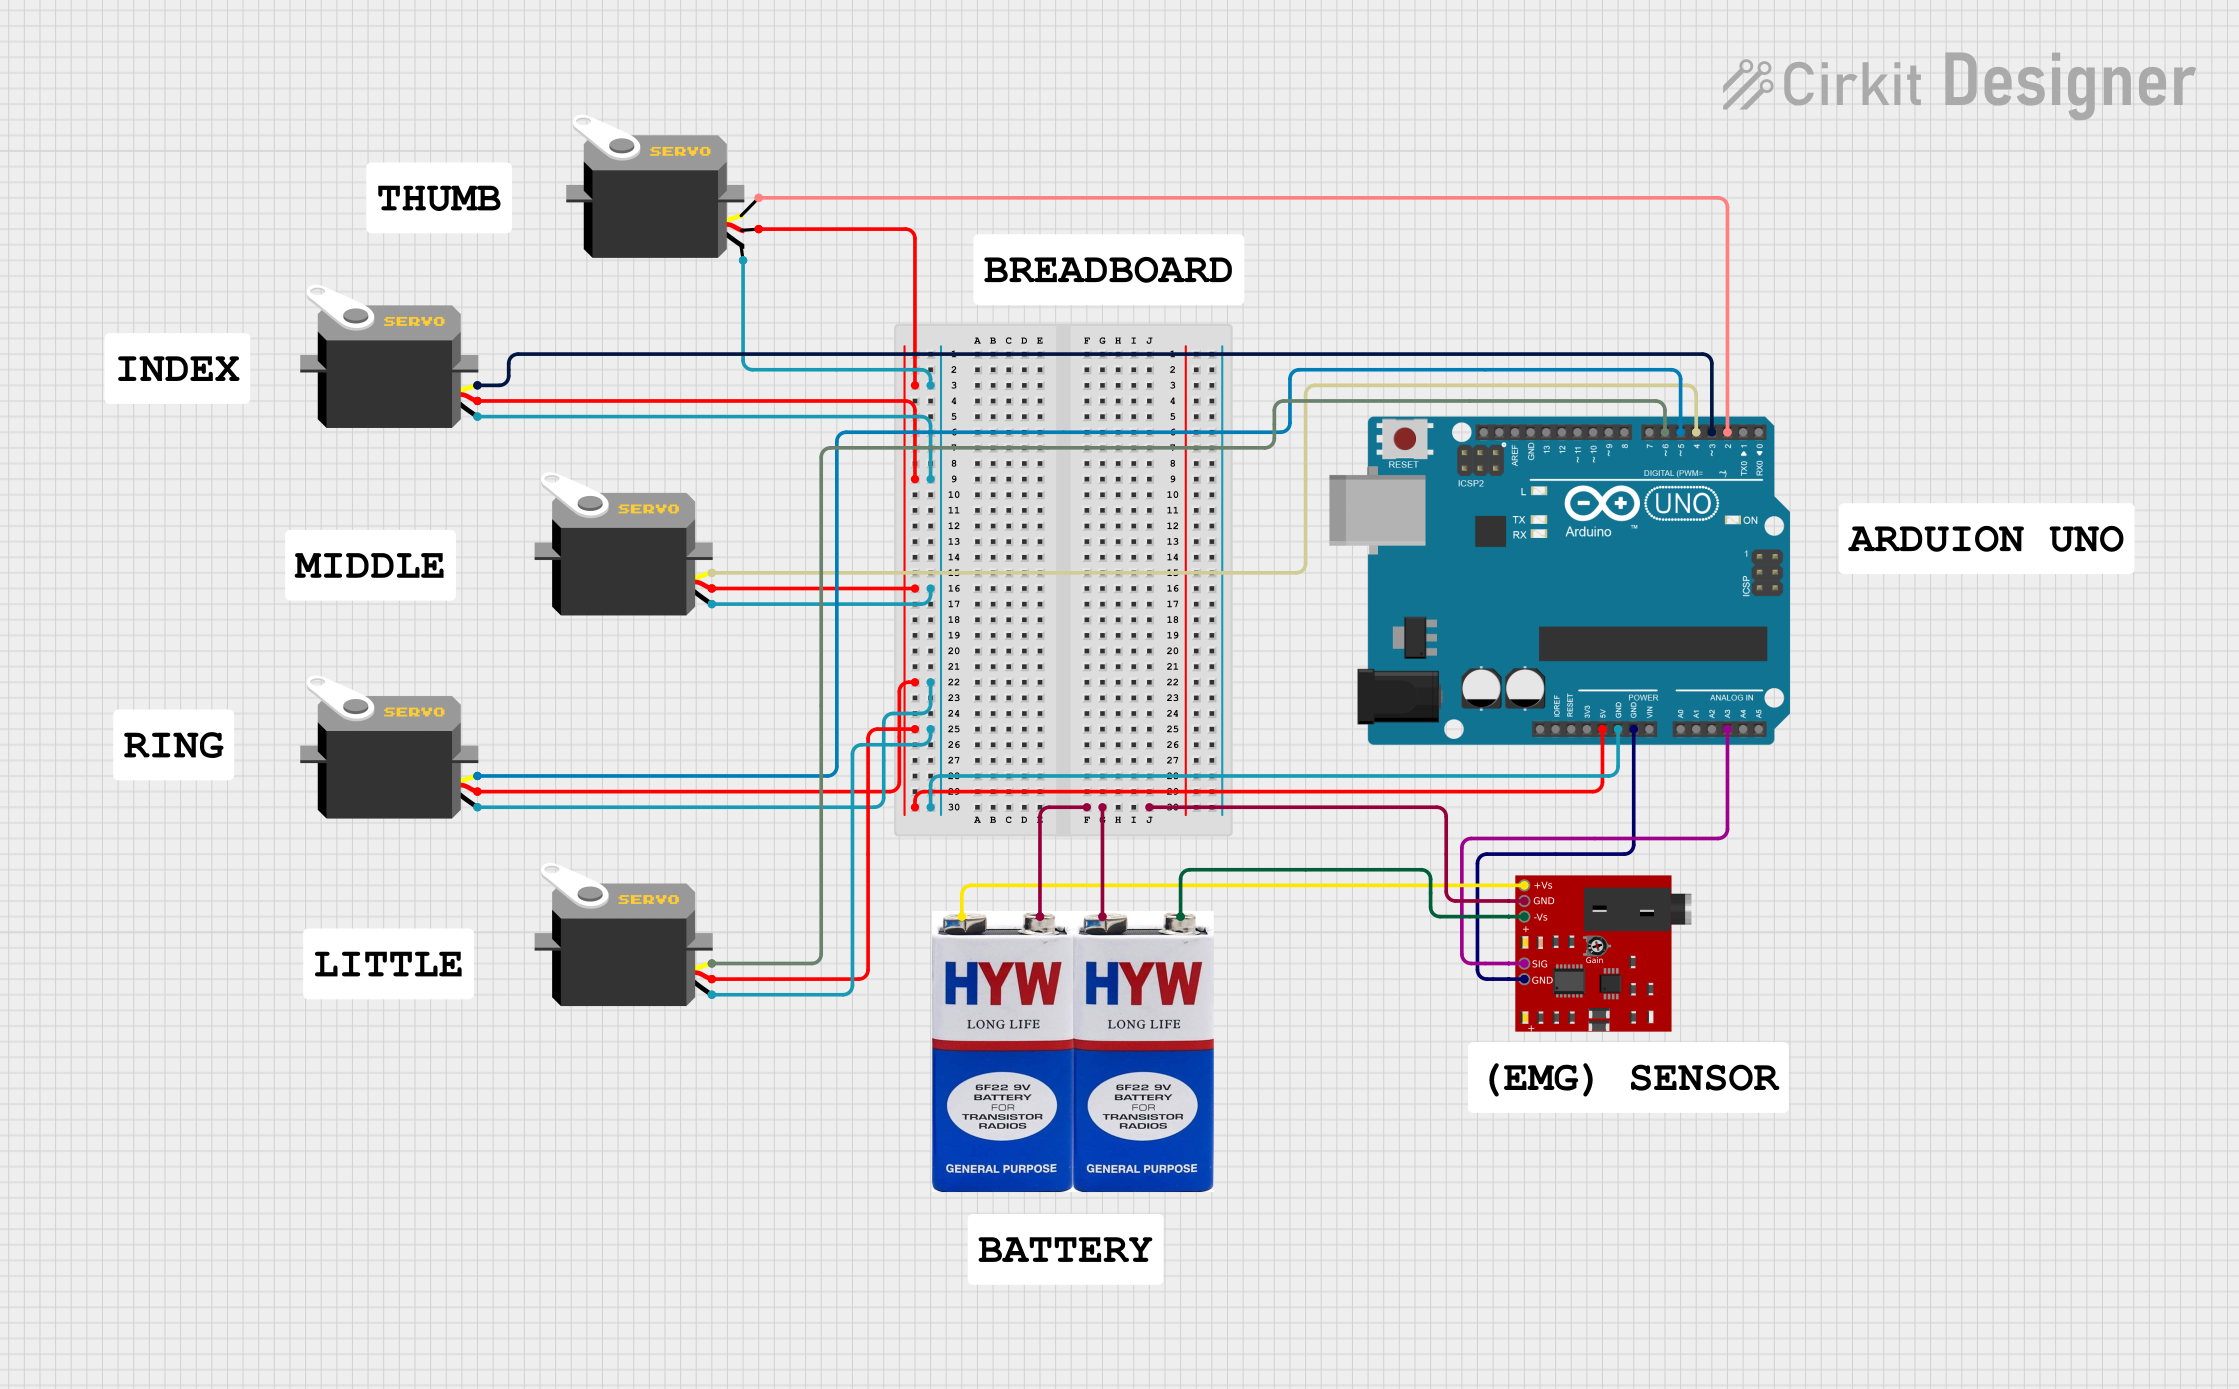
 Open Project in Cirkit Designer
Explore Projects Built with Advancer Muscle Sensor V3

 Open Project in Cirkit Designer
 Open Project in Cirkit Designer
 Open Project in Cirkit Designer
 Open Project in Cirkit Designer
Technical Specifications
Key Technical Details
- Supply Voltage: 3.3V to 5V
- Output Voltage: 0V - Vcc
- Operating Current: 9.5mA (typical)
- Analog Output: Proportional to the amount of muscle activity
- Gain: Adjustable via onboard potentiometer
- Connector: Standard 3-pin (GND, Vcc, Signal)
Pin Configuration and Descriptions
| Pin Number | Name | Description |
|---|---|---|
| 1 | GND | Ground connection for the sensor's power supply. |
| 2 | Vcc | Power supply input, accepts 3.3V to 5V. |
| 3 | SIG | Analog signal output, provides a voltage proportional to muscle activity. |
Usage Instructions
Integration with a Circuit
To use the Advancer Muscle Sensor V3 in a circuit, follow these steps:
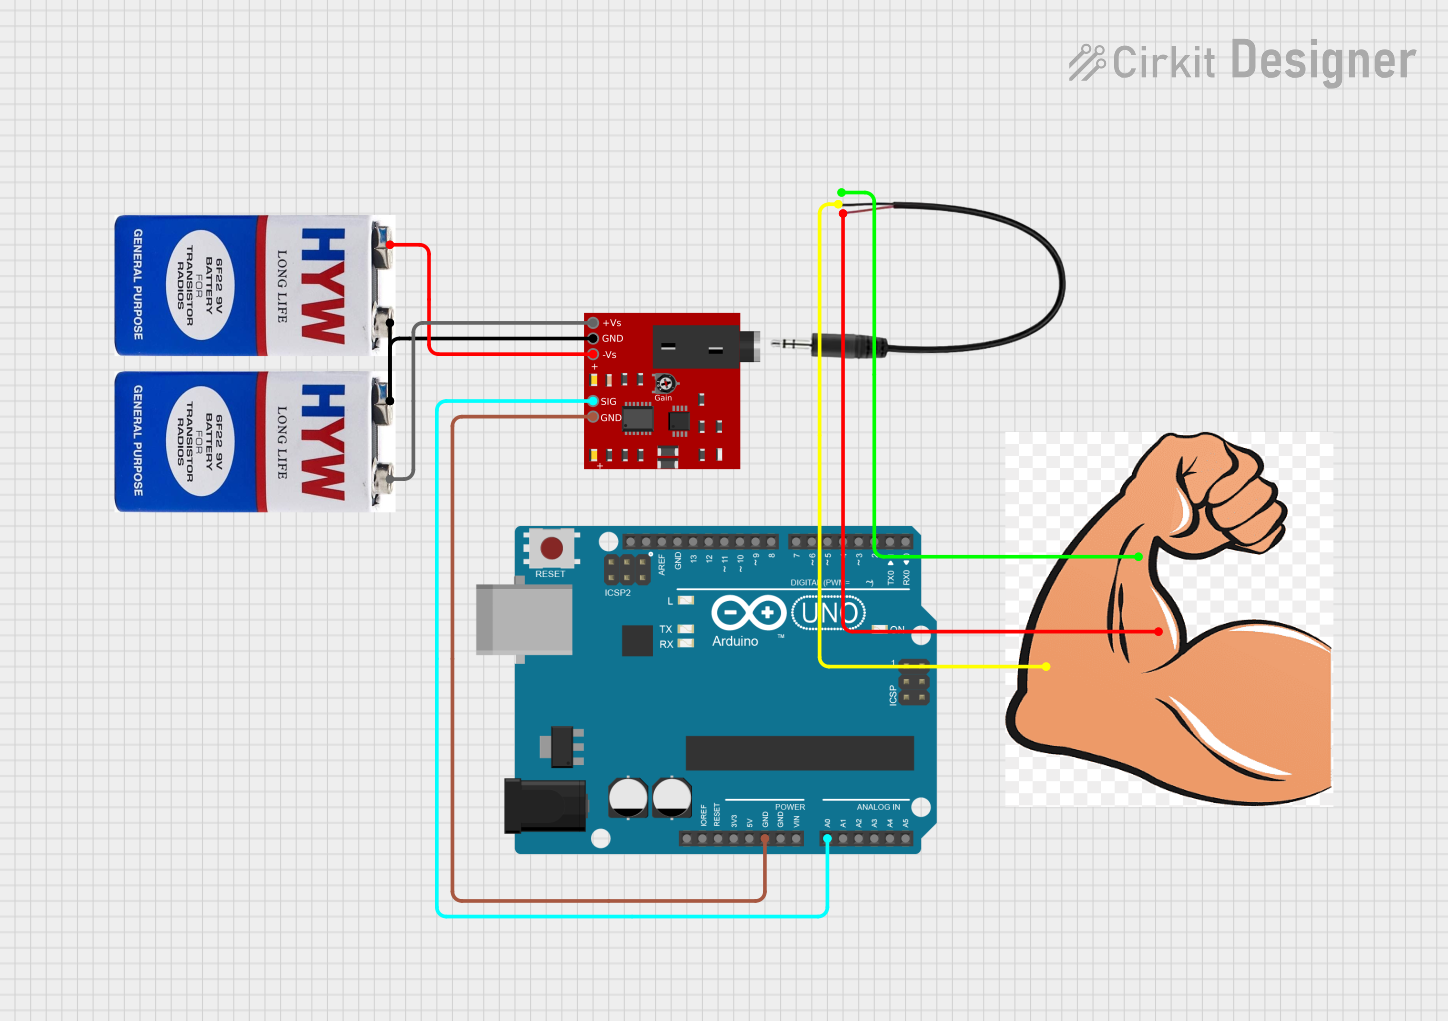
- Connect the GND pin to the ground of your power supply.
- Connect the Vcc pin to a 3.3V or 5V power supply.
- Connect the SIG pin to an analog input on your microcontroller, such as an Arduino.
Calibration and Adjustment
- Before using the sensor, it is important to calibrate it for the specific muscle being monitored.
- Adjust the onboard potentiometer to set the gain. This will change the sensitivity of the sensor to muscle activity.
- The sensor's output is an analog voltage that varies with the muscle activity. This voltage can be read by an analog-to-digital converter (ADC) on a microcontroller.
Best Practices
- Ensure that the sensor pads are placed firmly on the skin over the muscle being measured.
- Avoid placing the sensor near electrical noise sources, as this can interfere with the readings.
- Use shielded cables for connections to minimize interference.
Example Code for Arduino UNO
// Define the analog pin connected to the sensor
const int muscleSensorPin = A0;

void setup() {
  // Initialize serial communication at 9600 baud rate
  Serial.begin(9600);
}

void loop() {
  // Read the analog value from the muscle sensor
  int sensorValue = analogRead(muscleSensorPin);

  // Convert the analog value to a voltage
  float voltage = sensorValue * (5.0 / 1023.0);

  // Print the voltage to the Serial Monitor
  Serial.println(voltage);

  // Delay for a stable reading
  delay(10);
}
Troubleshooting and FAQs
Common Issues
- Inconsistent Readings: Ensure that the sensor pads are properly attached to the skin and that the skin is clean.
- No Signal: Check all connections, including the power supply and ground connections. Ensure the sensor is correctly powered.
- Noise in Signal: Use shielded cables and keep the sensor away from high electrical noise sources.
FAQs
Q: Can the sensor be used on any muscle? A: Yes, the sensor can be placed on any skeletal muscle to measure its activity.
Q: How do I know if the sensor is working correctly? A: When a muscle contraction occurs, the sensor's output voltage should increase. This can be observed on the analog input of a microcontroller or an oscilloscope.
Q: Is the sensor reusable? A: Yes, the sensor itself is reusable, but the adhesive pads may need to be replaced after multiple uses for optimal performance.
Q: Can the sensor be used with a 3.3V system? A: Yes, the sensor can operate with a supply voltage between 3.3V and 5V.
For further assistance, please refer to the manufacturer's support resources or community forums dedicated to EMG sensor applications.