
How to Use Spektrum AR410 Receiver: Examples, Pinouts, and Specs
 Design with Spektrum AR410 Receiver in Cirkit Designer
Introduction
The Spektrum AR410 is a compact 4-channel receiver designed for use in remote control (RC) applications. It features DSMX technology, which ensures reliable and interference-resistant signal transmission. The AR410 is compatible with a wide range of Spektrum transmitters, making it a versatile choice for RC enthusiasts. Its lightweight and streamlined design make it ideal for use in aircraft, drones, and other RC models where space and weight are critical considerations.
Explore Projects Built with Spektrum AR410 Receiver
 Open Project in Cirkit Designer
 Open Project in Cirkit Designer
 Open Project in Cirkit Designer
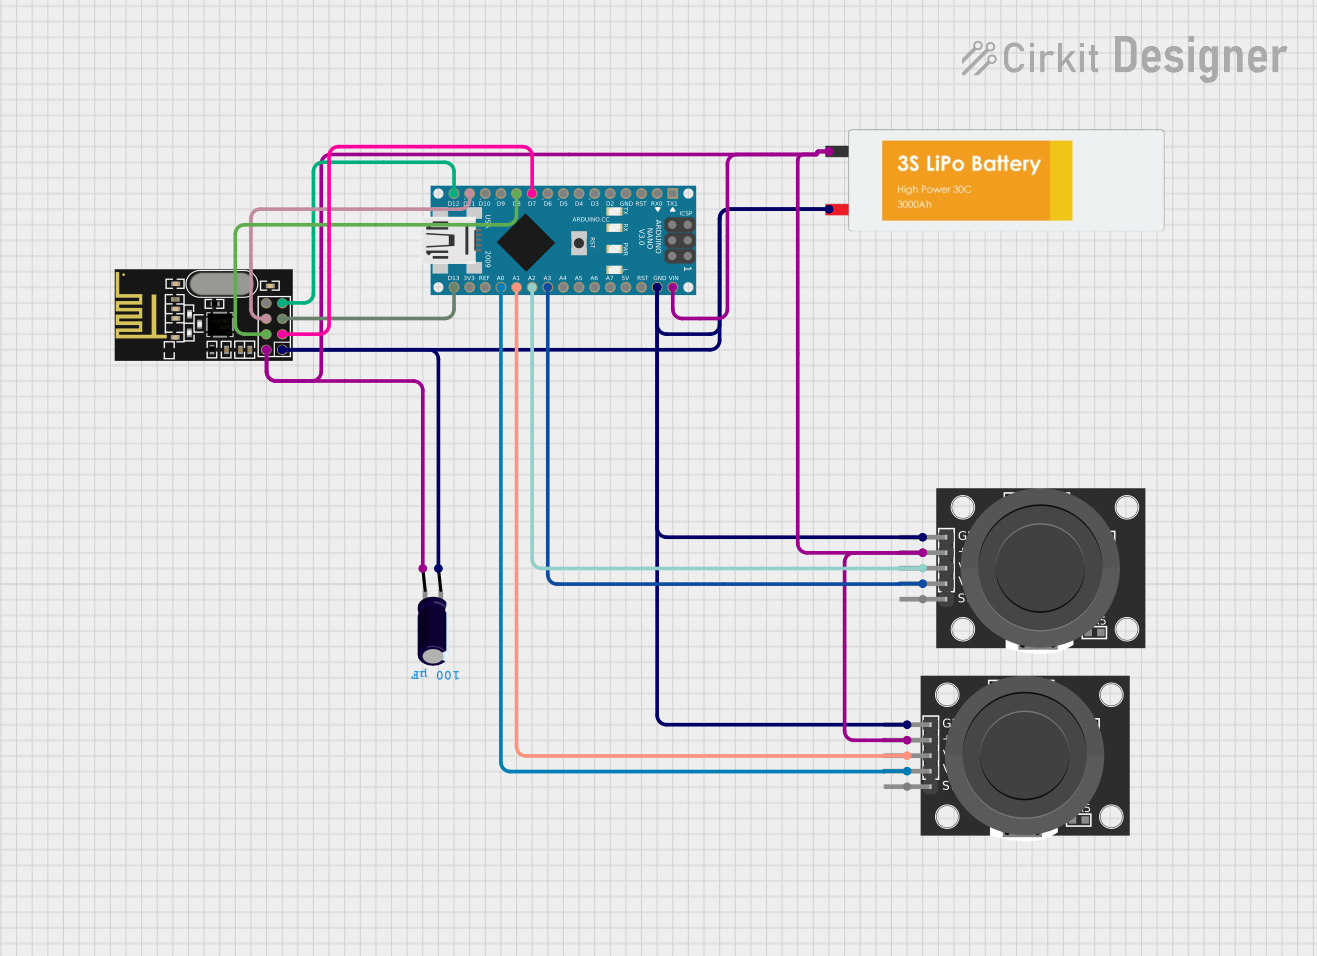
 Open Project in Cirkit Designer
Explore Projects Built with Spektrum AR410 Receiver

 Open Project in Cirkit Designer
 Open Project in Cirkit Designer
 Open Project in Cirkit Designer
 Open Project in Cirkit Designer
Common Applications and Use Cases
- RC airplanes and helicopters
- Drones and quadcopters
- RC cars and boats
- Hobbyist and professional RC projects requiring a reliable 4-channel receiver
Technical Specifications
The following table outlines the key technical details of the Spektrum AR410 receiver:
| Specification | Details |
|---|---|
| Manufacturer | Spektrum |
| Part ID | AR410 |
| Channels | 4 |
| Modulation | DSMX/DSM2 |
| Frequency Band | 2.4 GHz |
| Input Voltage Range | 3.5V to 9.6V |
| Dimensions | 1.77 x 0.94 x 0.49 inches (45 x 24 x 12.5 mm) |
| Weight | 8 grams |
| Antenna Type | Integrated |
| Range | Full range (suitable for most RC models) |
| Bind Method | Bind button |
Pin Configuration and Descriptions
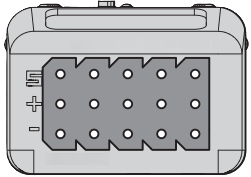
The AR410 receiver features a simple pin layout for connecting servos and other components. The table below describes the pin configuration:
| Pin Number | Label | Description |
|---|---|---|
| 1 | CH1 | Channel 1 signal output (e.g., throttle) |
| 2 | CH2 | Channel 2 signal output (e.g., aileron) |
| 3 | CH3 | Channel 3 signal output (e.g., elevator) |
| 4 | CH4 | Channel 4 signal output (e.g., rudder) |
| 5 | BATT/BIND | Power input and bind function |
Usage Instructions
How to Use the AR410 in a Circuit
Powering the Receiver:
Connect a power source (3.5V to 9.6V) to the BATT/BIND pin. This is typically done through an electronic speed controller (ESC) with a built-in battery eliminator circuit (BEC) or a standalone BEC.Binding the Receiver:
- Turn on your Spektrum transmitter and set it to bind mode.
- Press and hold the bind button on the AR410 while powering it on. The LED on the receiver will flash, indicating it is in bind mode.
- Release the bind button and wait for the LED to turn solid, indicating a successful bind.
Connecting Servos:
Plug the servo connectors into the appropriate channel pins (CH1 to CH4) based on your RC model's control configuration.Testing the Setup:
After binding, test all channels to ensure proper operation. Verify that the servos respond correctly to transmitter inputs.
Important Considerations and Best Practices
- Antenna Placement: The AR410 has an integrated antenna. Ensure the receiver is mounted in a location with minimal obstructions to maintain a strong signal.
- Voltage Range: Do not exceed the specified input voltage range (3.5V to 9.6V) to avoid damaging the receiver.
- Failsafe Settings: Configure failsafe settings on your transmitter to ensure safe operation in case of signal loss.
- Environment: Avoid using the receiver in areas with high RF interference, as this may affect performance.
Example Code for Arduino UNO Integration
While the AR410 is not typically used with microcontrollers like the Arduino UNO, it is possible to read PWM signals from the receiver's output channels. Below is an example code snippet for reading a PWM signal from CH1:
// Example code to read PWM signal from AR410 CH1 using Arduino UNO

const int channelPin = 2; // Connect CH1 signal pin to Arduino digital pin 2
unsigned long pulseWidth = 0; // Variable to store pulse width

void setup() {
  pinMode(channelPin, INPUT); // Set channel pin as input
  Serial.begin(9600); // Initialize serial communication
}

void loop() {
  // Measure the duration of the HIGH state of the PWM signal
  pulseWidth = pulseIn(channelPin, HIGH);

  // Print the pulse width in microseconds
  Serial.print("Pulse Width: ");
  Serial.print(pulseWidth);
  Serial.println(" us");

  delay(100); // Small delay for readability
}
Troubleshooting and FAQs
Common Issues and Solutions
Receiver Not Binding:
- Cause: Incorrect bind procedure or transmitter settings.
- Solution: Ensure the transmitter is in bind mode and the receiver's bind button is pressed while powering it on. Verify that the transmitter is set to DSMX/DSM2 mode.
No Response from Servos:
- Cause: Incorrect wiring or power supply issues.
- Solution: Check all connections and ensure the receiver is receiving the correct voltage. Verify that the servos are connected to the correct channels.
Signal Loss During Operation:
- Cause: Poor antenna placement or RF interference.
- Solution: Reposition the receiver to minimize obstructions and interference. Avoid operating in areas with high RF noise.
LED Not Turning On:
- Cause: Power supply issue or damaged receiver.
- Solution: Verify the power source and connections. If the issue persists, the receiver may need to be replaced.
FAQs
Q: Can the AR410 be used with DSM2 transmitters?
A: Yes, the AR410 is compatible with both DSMX and DSM2 transmitters.Q: What is the range of the AR410?
A: The AR410 is a full-range receiver, suitable for most RC applications.Q: Does the AR410 support telemetry?
A: No, the AR410 does not support telemetry. For telemetry functionality, consider using a Spektrum receiver with telemetry capabilities.Q: Can I use the AR410 with a 2S LiPo battery?
A: Yes, the AR410 can be powered by a 2S LiPo battery (7.4V), as it falls within the input voltage range of 3.5V to 9.6V.
This concludes the documentation for the Spektrum AR410 receiver. For further assistance, refer to the official Spektrum user manual or contact their support team.