How to Use Chainable DS18B20 extender breakout: Examples, Pinouts, and Specs
Introduction
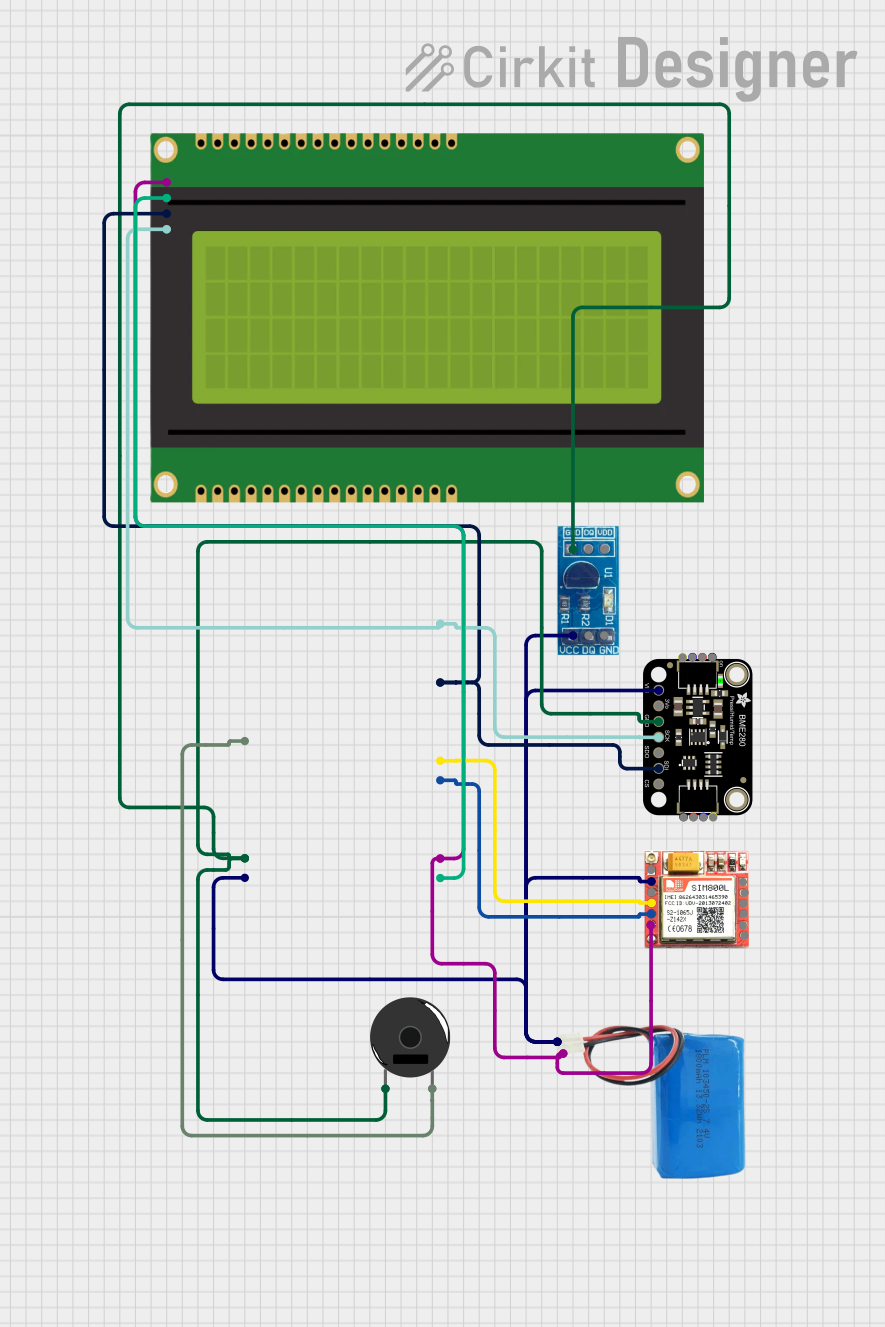
The Adafruit 5971 - DS18B20 Extender Breakout is a specialized breakout board designed to enhance the functionality of the DS18B20 digital temperature sensor. This board allows multiple DS18B20 sensors to be connected in a daisy-chain configuration, simplifying wiring and enabling scalable temperature sensing solutions. It is ideal for projects requiring multiple temperature readings over a single data line, such as environmental monitoring, industrial automation, and smart home systems.
Explore Projects Built with Chainable DS18B20 extender breakout
Explore Projects Built with Chainable DS18B20 extender breakout
Common Applications and Use Cases
- Multi-point temperature monitoring in HVAC systems
- Data logging for weather stations
- Industrial process control
- Smart agriculture and greenhouse monitoring
- IoT-based temperature sensing networks
Technical Specifications
The following table outlines the key technical details of the Adafruit 5971 - DS18B20 Extender Breakout:
| Parameter | Specification |
|---|---|
| Operating Voltage | 3.3V to 5V |
| Communication Protocol | 1-Wire |
| Supported Sensors | DS18B20 digital temperature sensors |
| Maximum Sensors | Limited by 1-Wire bus constraints |
| Operating Temperature | -55°C to +125°C (sensor-dependent) |
| Dimensions | 25mm x 20mm |
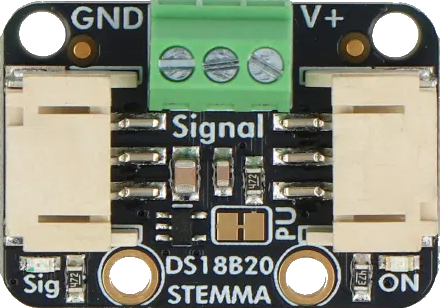
Pin Configuration and Descriptions
The breakout board features a simple pinout for easy integration. Below is the pin configuration:
| Pin Name | Description |
|---|---|
| VIN | Power input (3.3V to 5V) |
| GND | Ground connection |
| DATA_IN | 1-Wire data input from the microcontroller or host |
| DATA_OUT | 1-Wire data output to the next breakout in the chain |
Usage Instructions
How to Use the Component in a Circuit
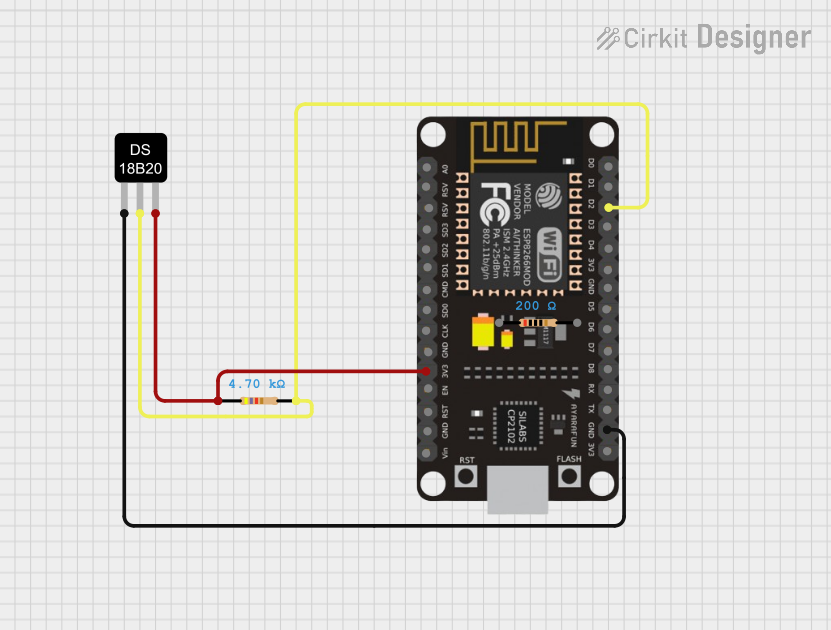
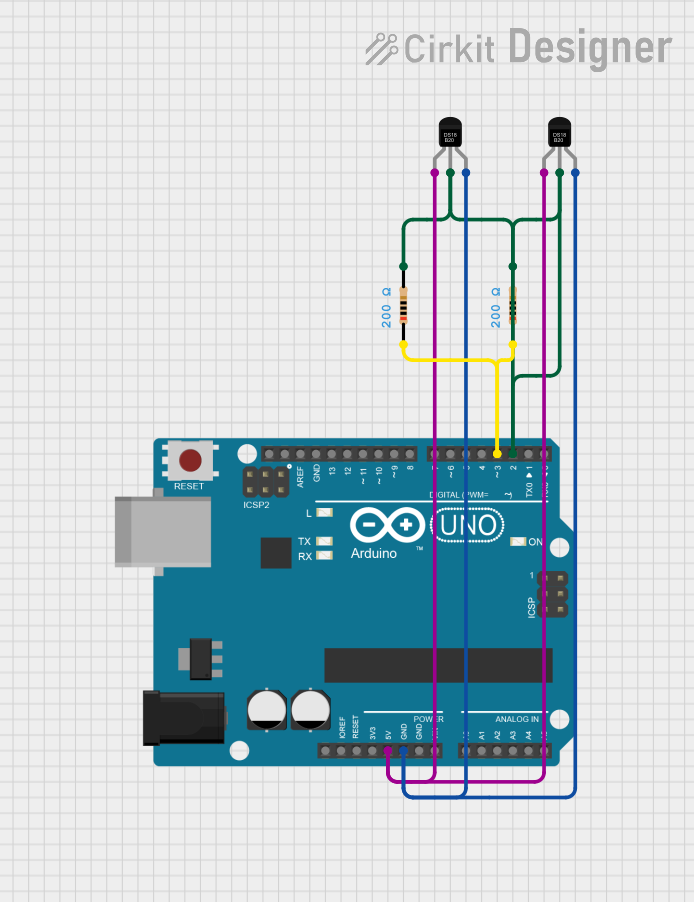
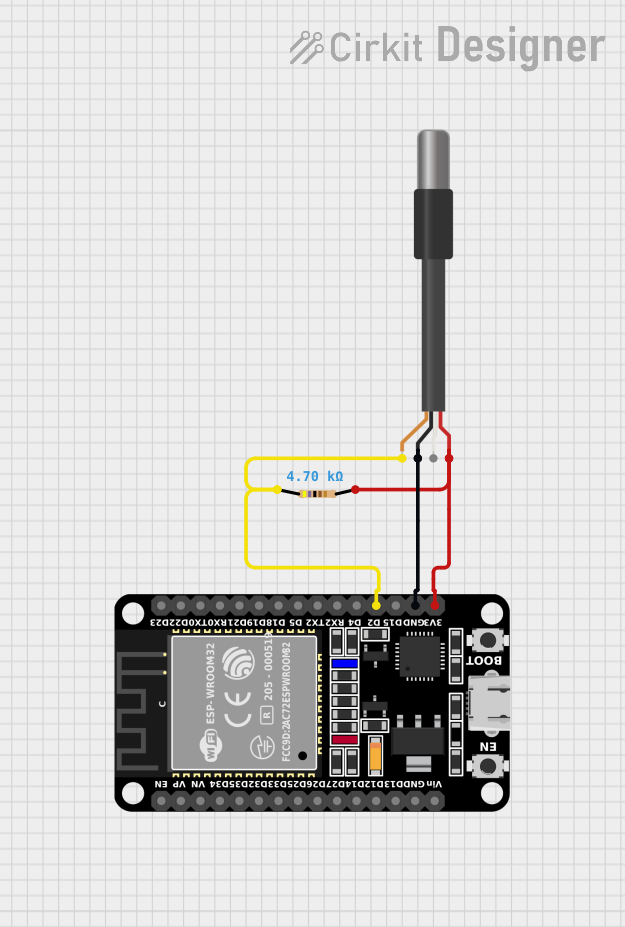
- Power the Breakout Board: Connect the VIN pin to a 3.3V or 5V power source and the GND pin to ground.
- Connect the Data Line:
- Attach the DATA_IN pin to the 1-Wire data pin of your microcontroller (e.g., Arduino).
- If chaining multiple boards, connect the DATA_OUT pin of the first board to the DATA_IN pin of the next board.
- Attach DS18B20 Sensors: Plug the DS18B20 sensors into the breakout board's 3-pin connector.
- Pull-Up Resistor: Ensure a 4.7kΩ pull-up resistor is connected between the data line and the power supply to stabilize the 1-Wire communication.
Important Considerations and Best Practices
- Power Supply: Ensure the power supply voltage matches the requirements of both the breakout board and the DS18B20 sensors.
- Cable Length: Minimize cable length to reduce signal degradation, especially when chaining multiple boards.
- Sensor Addressing: Each DS18B20 sensor has a unique 64-bit address. Use this address to differentiate between sensors in your code.
- Environmental Protection: If used in harsh environments, protect the sensors and breakout boards with waterproof enclosures.
Example Code for Arduino UNO
Below is an example of how to use the Adafruit 5971 - DS18B20 Extender Breakout with an Arduino UNO:
#include <OneWire.h>
#include <DallasTemperature.h>

// Define the 1-Wire bus pin
#define ONE_WIRE_BUS 2

// Create a OneWire instance to communicate with the DS18B20 sensors
OneWire oneWire(ONE_WIRE_BUS);

// Pass the OneWire reference to DallasTemperature library
DallasTemperature sensors(&oneWire);

void setup() {
  Serial.begin(9600);
  Serial.println("DS18B20 Extender Breakout Example");

  // Start the DallasTemperature library
  sensors.begin();
}

void loop() {
  Serial.println("Requesting temperatures...");

  // Request temperature readings from all sensors on the bus
  sensors.requestTemperatures();

  // Print the temperature of each sensor
  for (int i = 0; i < sensors.getDeviceCount(); i++) {
    float tempC = sensors.getTempCByIndex(i);
    Serial.print("Sensor ");
    Serial.print(i);
    Serial.print(": ");
    Serial.print(tempC);
    Serial.println(" °C");
  }

  // Wait 2 seconds before the next reading
  delay(2000);
}
Troubleshooting and FAQs
Common Issues and Solutions
No Temperature Readings:
- Ensure the pull-up resistor (4.7kΩ) is properly connected between the data line and the power supply.
- Verify that the sensors are securely connected to the breakout board.
- Check the wiring for loose or incorrect connections.
Inconsistent Readings:
- Reduce the length of the data line to minimize signal degradation.
- Ensure the power supply is stable and within the specified voltage range.
Unable to Detect All Sensors:
- Verify that each sensor is functioning correctly by testing them individually.
- Ensure the total number of sensors does not exceed the 1-Wire bus limitations.
FAQs
Q: Can I use this breakout board with other 1-Wire sensors?
A: This breakout board is specifically designed for DS18B20 sensors. Compatibility with other 1-Wire sensors is not guaranteed.
Q: How many sensors can I chain together?
A: The number of sensors is limited by the 1-Wire bus constraints, which depend on factors such as cable length, power supply, and pull-up resistor value. Typically, up to 10 sensors can be chained reliably.
Q: Do I need a separate pull-up resistor for each breakout board?
A: No, a single 4.7kΩ pull-up resistor on the data line is sufficient for the entire chain.
Q: Can I use this breakout board with a 3.3V microcontroller?
A: Yes, the breakout board supports both 3.3V and 5V logic levels, making it compatible with a wide range of microcontrollers.