Cirkit Designer LogoCirkit DesignerYour all-in-one circuit design IDE Launch Cirkit Designer App

How to Use Diode 1N4148: Examples, Pinouts, and Specs

Image of Diode 1N4148Design with Diode 1N4148 in Cirkit Designer

Introduction

The 1N4148 is a small-signal switching diode widely recognized for its fast switching speed and low forward voltage drop. It is a highly reliable and versatile component, making it a popular choice in a variety of electronic circuits. The 1N4148 is commonly used in applications such as signal processing, rectification, and high-speed switching.

Explore Projects Built with Diode 1N4148

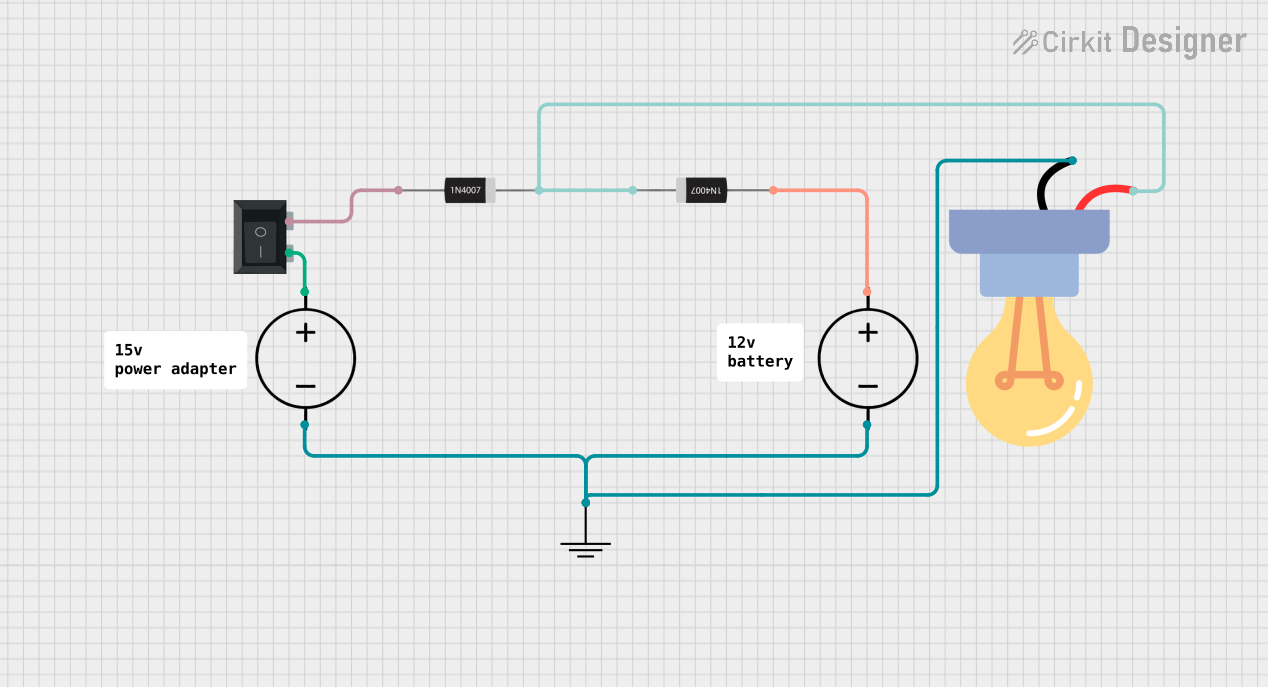
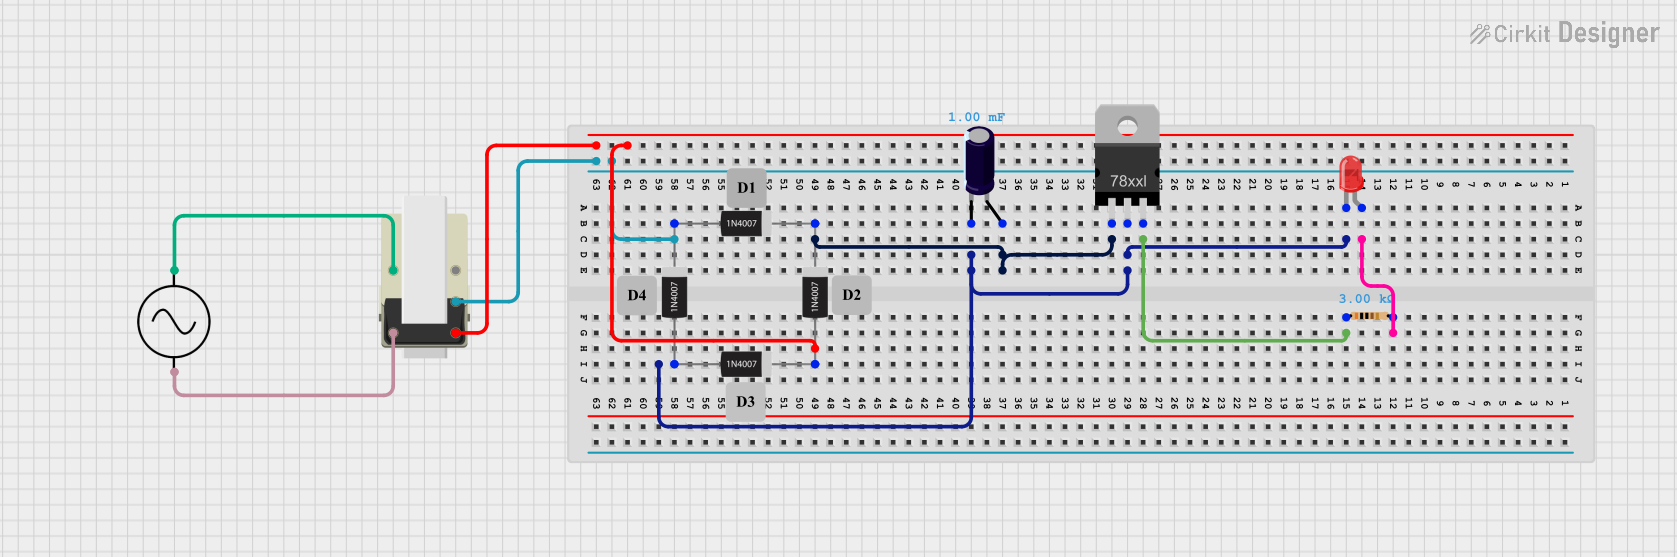
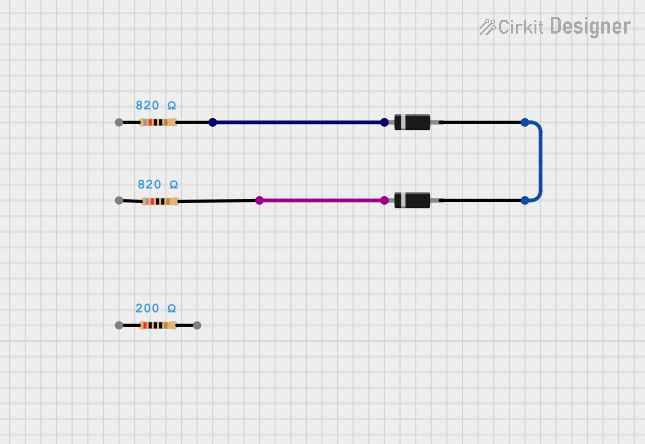
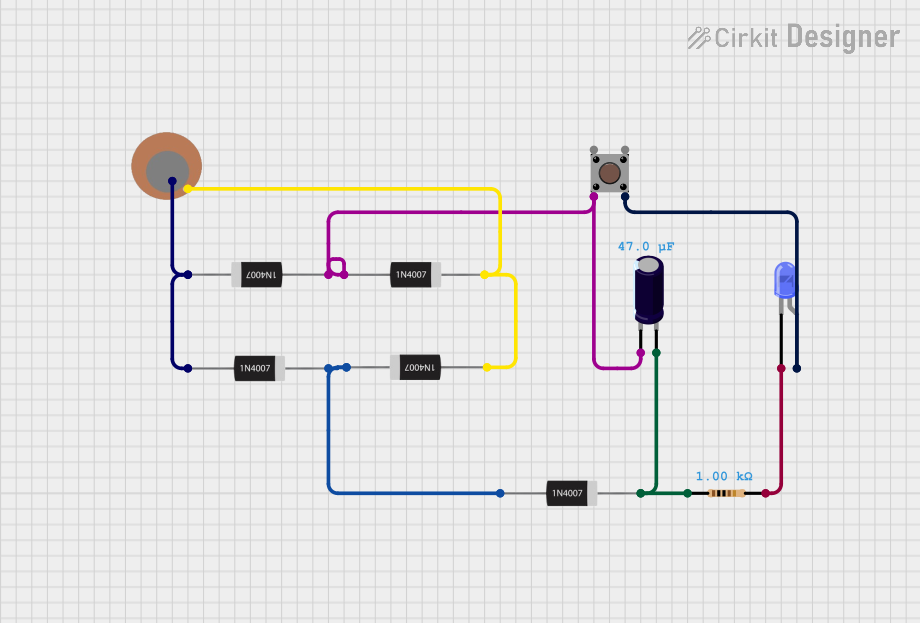
Use Cirkit Designer to design, explore, and prototype these projects online. Some projects support real-time simulation. Click "Open Project" to start designing instantly!

Common Applications:

Technical Specifications

Below are the key technical details of the 1N4148 diode:

Parameter Value
Maximum Reverse Voltage 100 V
Forward Voltage Drop (Vf) 0.7 V (typical at 10 mA)
Maximum Forward Current 300 mA
Reverse Current (Ir) 25 nA (typical at 20 V)
Reverse Recovery Time (trr) 4 ns
Power Dissipation 500 mW
Operating Temperature Range -65°C to +175°C
Package Type DO-35 (glass axial package)

Pin Configuration

The 1N4148 diode has two terminals:

Pin Description
Anode Positive terminal (current flows in)
Cathode Negative terminal (current flows out)

The cathode is typically marked with a black or white band on the diode body.

Usage Instructions

How to Use the 1N4148 in a Circuit

  1. Identify the Terminals: Locate the cathode (marked with a band) and the anode.
  2. Connect in the Correct Orientation: Ensure the anode is connected to the positive side of the circuit and the cathode to the negative side for forward-biased operation.
  3. Choose Appropriate Resistors: If used in a signal or rectification circuit, calculate and include a current-limiting resistor to prevent exceeding the maximum forward current.
  4. Observe Voltage Ratings: Ensure the reverse voltage in the circuit does not exceed 100 V to avoid damage.

Example Circuit: Signal Rectification

The 1N4148 can be used in a simple half-wave rectifier circuit. Below is an example of how to connect it to an Arduino UNO for signal rectification:

Circuit Description:

Arduino Code Example:

// Example: Reading rectified signal with Arduino UNO
// This code reads the rectified signal from an analog pin and prints the value
// to the Serial Monitor. Ensure the input signal is within the Arduino's ADC range.

const int analogPin = A0; // Analog pin connected to the rectified signal

void setup() {
  Serial.begin(9600); // Initialize serial communication at 9600 baud
}

void loop() {
  int signalValue = analogRead(analogPin); // Read the rectified signal
  Serial.print("Signal Value: ");
  Serial.println(signalValue); // Print the signal value to the Serial Monitor
  delay(500); // Wait for 500 ms before the next reading
}

Important Considerations:

Troubleshooting and FAQs

Common Issues and Solutions:

  1. Diode Not Conducting in Forward Bias:

    • Cause: Incorrect orientation of the diode.
    • Solution: Verify the anode and cathode connections. The cathode should be connected to the negative side of the circuit.
  2. Diode Overheating:

    • Cause: Excessive current through the diode.
    • Solution: Add a current-limiting resistor to ensure the current does not exceed 300 mA.
  3. No Output in Rectification Circuit:

    • Cause: Insufficient input signal or damaged diode.
    • Solution: Check the input signal and replace the diode if necessary.
  4. High Reverse Leakage Current:

    • Cause: Operating the diode near its maximum reverse voltage.
    • Solution: Reduce the reverse voltage or use a diode with a higher reverse voltage rating.

FAQs: