
How to Use LCD: Examples, Pinouts, and Specs
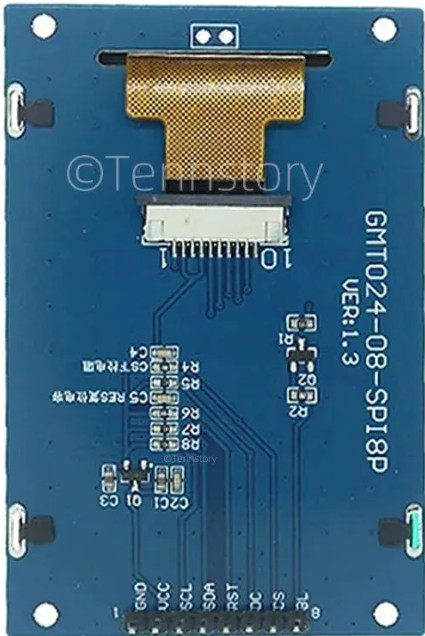
 Design with LCD in Cirkit Designer
Introduction
A Liquid Crystal Display (LCD) is a flat-panel display technology that uses liquid crystals to modulate light. It is widely used in various electronic devices, including televisions, computer monitors, mobile devices, and embedded systems. LCDs are popular due to their low power consumption, lightweight design, and ability to produce sharp and clear images.
In electronics, smaller LCD modules (e.g., 16x2 or 20x4 character displays) are commonly used for displaying text or simple graphics in embedded systems, such as Arduino-based projects, IoT devices, and industrial control panels.
Explore Projects Built with LCD
 Open Project in Cirkit Designer
 Open Project in Cirkit Designer
 Open Project in Cirkit Designer
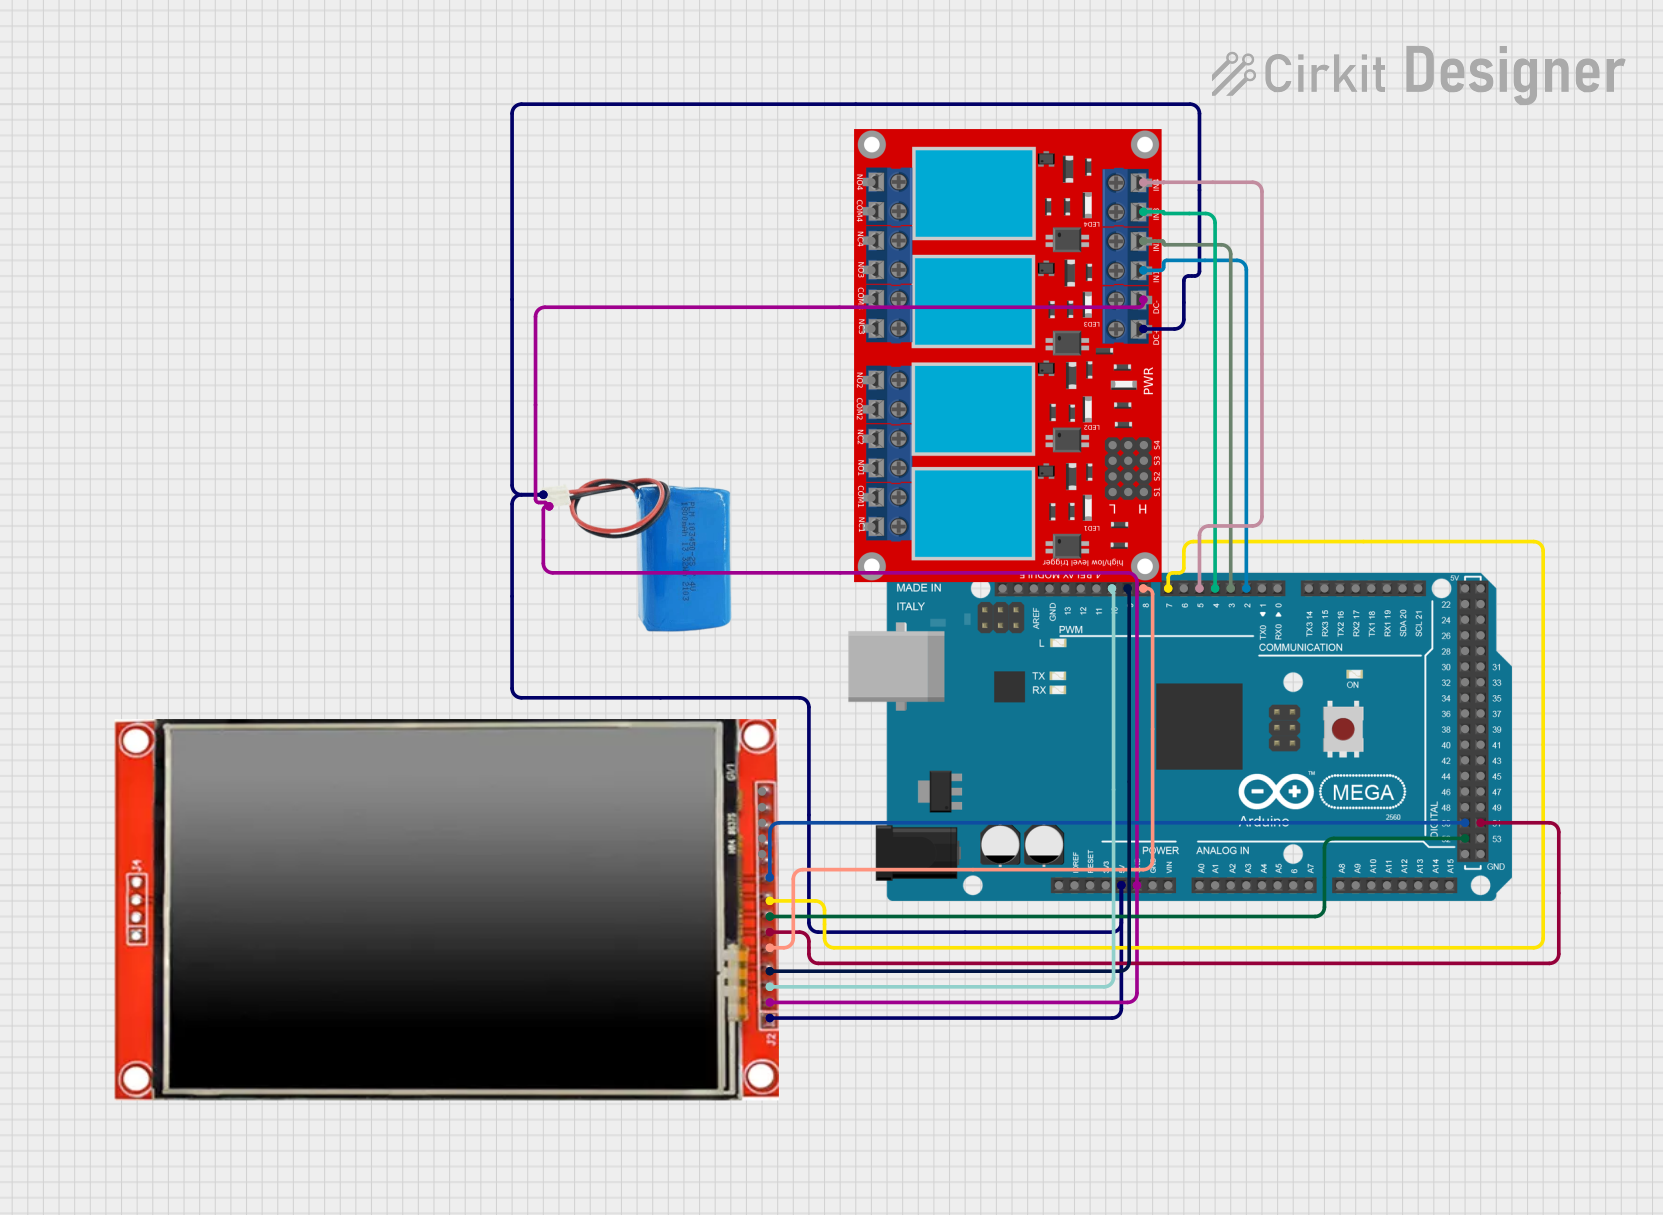 Open Project in Cirkit Designer
Explore Projects Built with LCD
Open Project in Cirkit DesignerOpen Project in Cirkit DesignerOpen Project in Cirkit DesignerOpen Project in Cirkit DesignerTechnical Specifications
Below are the general technical specifications for a standard 16x2 character LCD module (HD44780-compatible):
Key Specifications
- Display Type: Character-based LCD
- Resolution: 16 columns x 2 rows (16x2)
- Operating Voltage: 4.7V to 5.3V (typical 5V)
- Current Consumption: ~1mA (without backlight), ~15-20mA (with backlight)
- Interface: Parallel (4-bit or 8-bit mode)
- Backlight: LED (optional, typically white or green)
- Character Size: ~5.0mm x 8.0mm
- Operating Temperature: -20°C to 70°C
Pin Configuration
The LCD module typically has 16 pins. Below is the pinout and description:
| Pin | Name | Description |
|---|---|---|
| 1 | VSS | Ground (0V) connection |
| 2 | VDD | Power supply (4.7V to 5.3V) |
| 3 | VO | Contrast adjustment (connect to a potentiometer for contrast control) |
| 4 | RS | Register Select (0: Command mode, 1: Data mode) |
| 5 | RW | Read/Write (0: Write to LCD, 1: Read from LCD; typically grounded for write) |
| 6 | E | Enable pin (used to latch data into the LCD) |
| 7 | D0 | Data pin 0 (used in 8-bit mode; leave unconnected in 4-bit mode) |
| 8 | D1 | Data pin 1 (used in 8-bit mode; leave unconnected in 4-bit mode) |
| 9 | D2 | Data pin 2 (used in 8-bit mode; leave unconnected in 4-bit mode) |
| 10 | D3 | Data pin 3 (used in 8-bit mode; leave unconnected in 4-bit mode) |
| 11 | D4 | Data pin 4 (used in both 4-bit and 8-bit modes) |
| 12 | D5 | Data pin 5 (used in both 4-bit and 8-bit modes) |
| 13 | D6 | Data pin 6 (used in both 4-bit and 8-bit modes) |
| 14 | D7 | Data pin 7 (used in both 4-bit and 8-bit modes) |
| 15 | LED+ | Backlight anode (connect to 5V via a resistor if backlight is used) |
| 16 | LED- | Backlight cathode (connect to ground if backlight is used) |
Usage Instructions
Connecting the LCD to an Arduino UNO
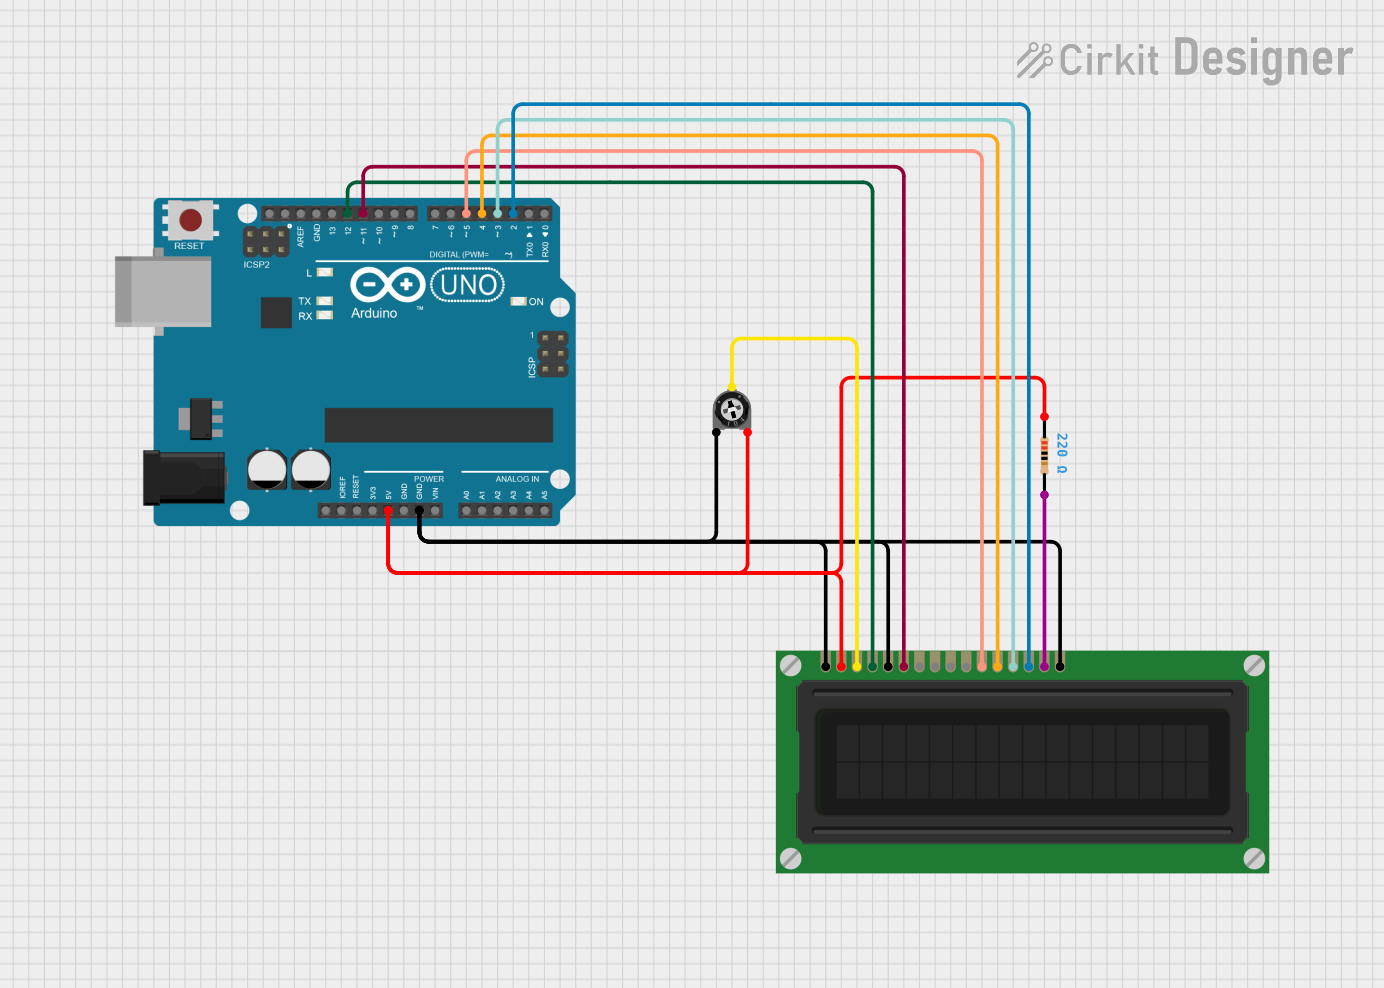
To use a 16x2 LCD with an Arduino UNO, you can connect it in 4-bit mode to save pins. Below is a typical wiring configuration:
| LCD Pin | Arduino Pin |
|---|---|
| VSS | GND |
| VDD | 5V |
| VO | Potentiometer (middle pin) |
| RS | Digital Pin 12 |
| RW | GND |
| E | Digital Pin 11 |
| D4 | Digital Pin 5 |
| D5 | Digital Pin 4 |
| D6 | Digital Pin 3 |
| D7 | Digital Pin 2 |
| LED+ | 5V (via 220Ω resistor) |
| LED- | GND |
Sample Arduino Code
Below is an example Arduino sketch to display "Hello, World!" on a 16x2 LCD:
#include <LiquidCrystal.h>

// Initialize the library with the numbers of the interface pins
LiquidCrystal lcd(12, 11, 5, 4, 3, 2);

void setup() {
  // Set up the LCD's number of columns and rows
  lcd.begin(16, 2);

  // Print a message to the LCD
  lcd.print("Hello, World!");
}

void loop() {
  // Move the cursor to the second row, first column
  lcd.setCursor(0, 1);

  // Print a dynamic message
  lcd.print("Arduino Rocks!");
  delay(1000); // Wait for 1 second

  // Clear the second row
  lcd.setCursor(0, 1);
  lcd.print("                "); // Clear the row
  delay(1000); // Wait for 1 second
}
Important Considerations
- Contrast Adjustment: Use a 10kΩ potentiometer to adjust the contrast by connecting its middle pin to the VO pin of the LCD.
- Backlight Resistor: If using the backlight, connect a 220Ω resistor in series with the LED+ pin to limit current.
- Power Supply: Ensure the LCD is powered with a stable 5V supply to avoid flickering or malfunction.
- 4-bit vs. 8-bit Mode: Use 4-bit mode to save Arduino pins unless your application requires faster data transfer.
Troubleshooting and FAQs
Common Issues
No Display on LCD:
- Check the power connections (VSS to GND, VDD to 5V).
- Adjust the contrast using the potentiometer connected to VO.
- Verify the wiring of the RS, RW, E, and data pins.
Flickering or Garbled Text:
- Ensure proper grounding and stable power supply.
- Double-check the connections and ensure no loose wires.
- Verify that the correct pins are defined in the Arduino code.
Backlight Not Working:
- Check the LED+ and LED- connections.
- Ensure a resistor is used to limit current to the backlight.
FAQs
Can I use the LCD with 3.3V systems?
- Most LCD modules require 5V for proper operation. Use a level shifter or a 5V power source for compatibility.
How do I display custom characters?
- Use the
lcd.createChar()function in the LiquidCrystal library to define and display custom characters.
- Use the
Can I connect multiple LCDs to one Arduino?
- Yes, but you will need additional pins or an I2C interface module to simplify wiring.
By following this documentation, you can successfully integrate an LCD module into your projects and troubleshoot common issues effectively.