Introduction
The DS18B20 Adapter is a specialized interface designed to simplify the connection of the DS18B20 temperature sensor to microcontrollers. It provides a convenient way to integrate the sensor into temperature measurement applications by handling the necessary pull-up resistor and ensuring reliable communication over the 1-Wire protocol. This adapter is ideal for projects requiring precise temperature monitoring, such as weather stations, HVAC systems, and industrial automation.
Common Applications and Use Cases
- Temperature monitoring in IoT devices
- Environmental sensing in smart homes
- Industrial temperature control systems
- Data logging for scientific experiments
- Weather stations and agricultural monitoring
Technical Specifications
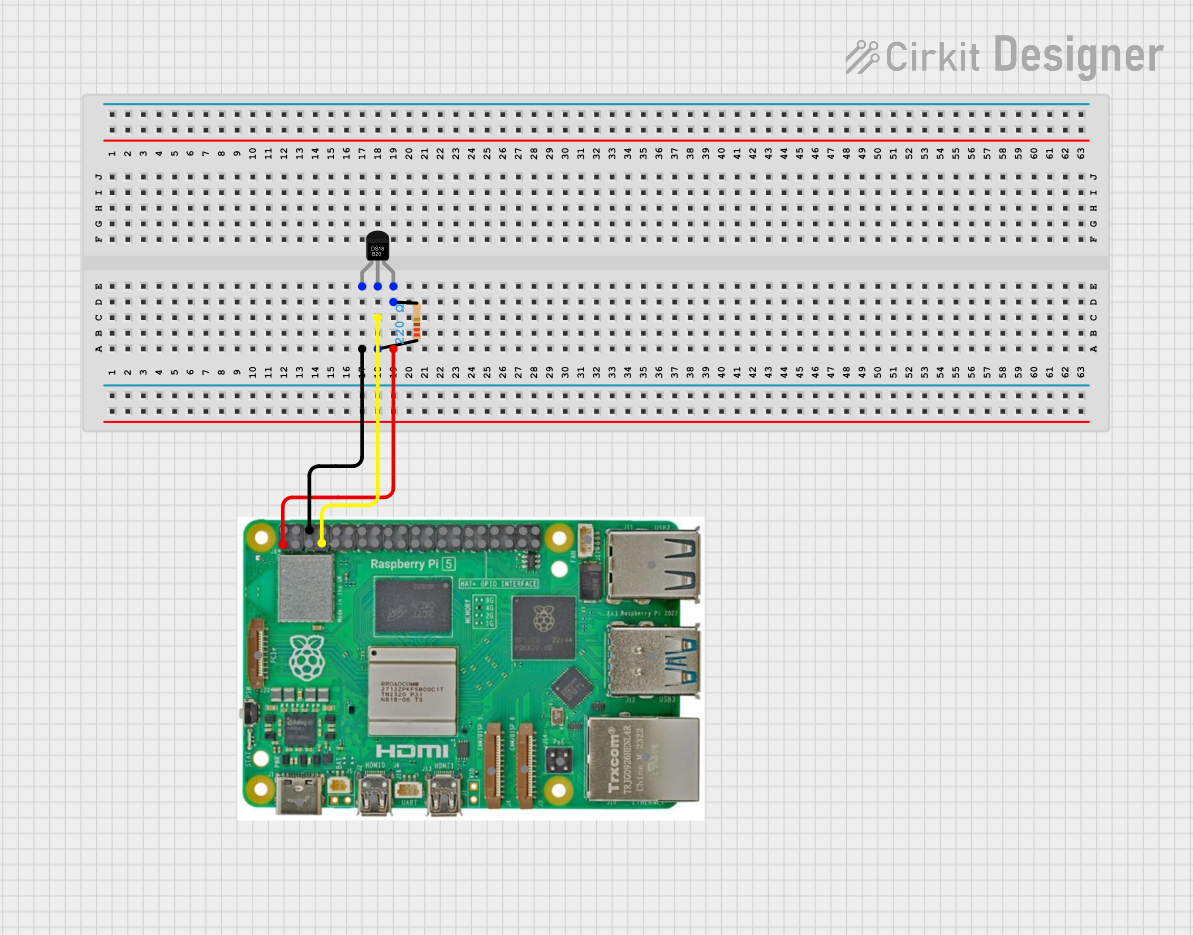
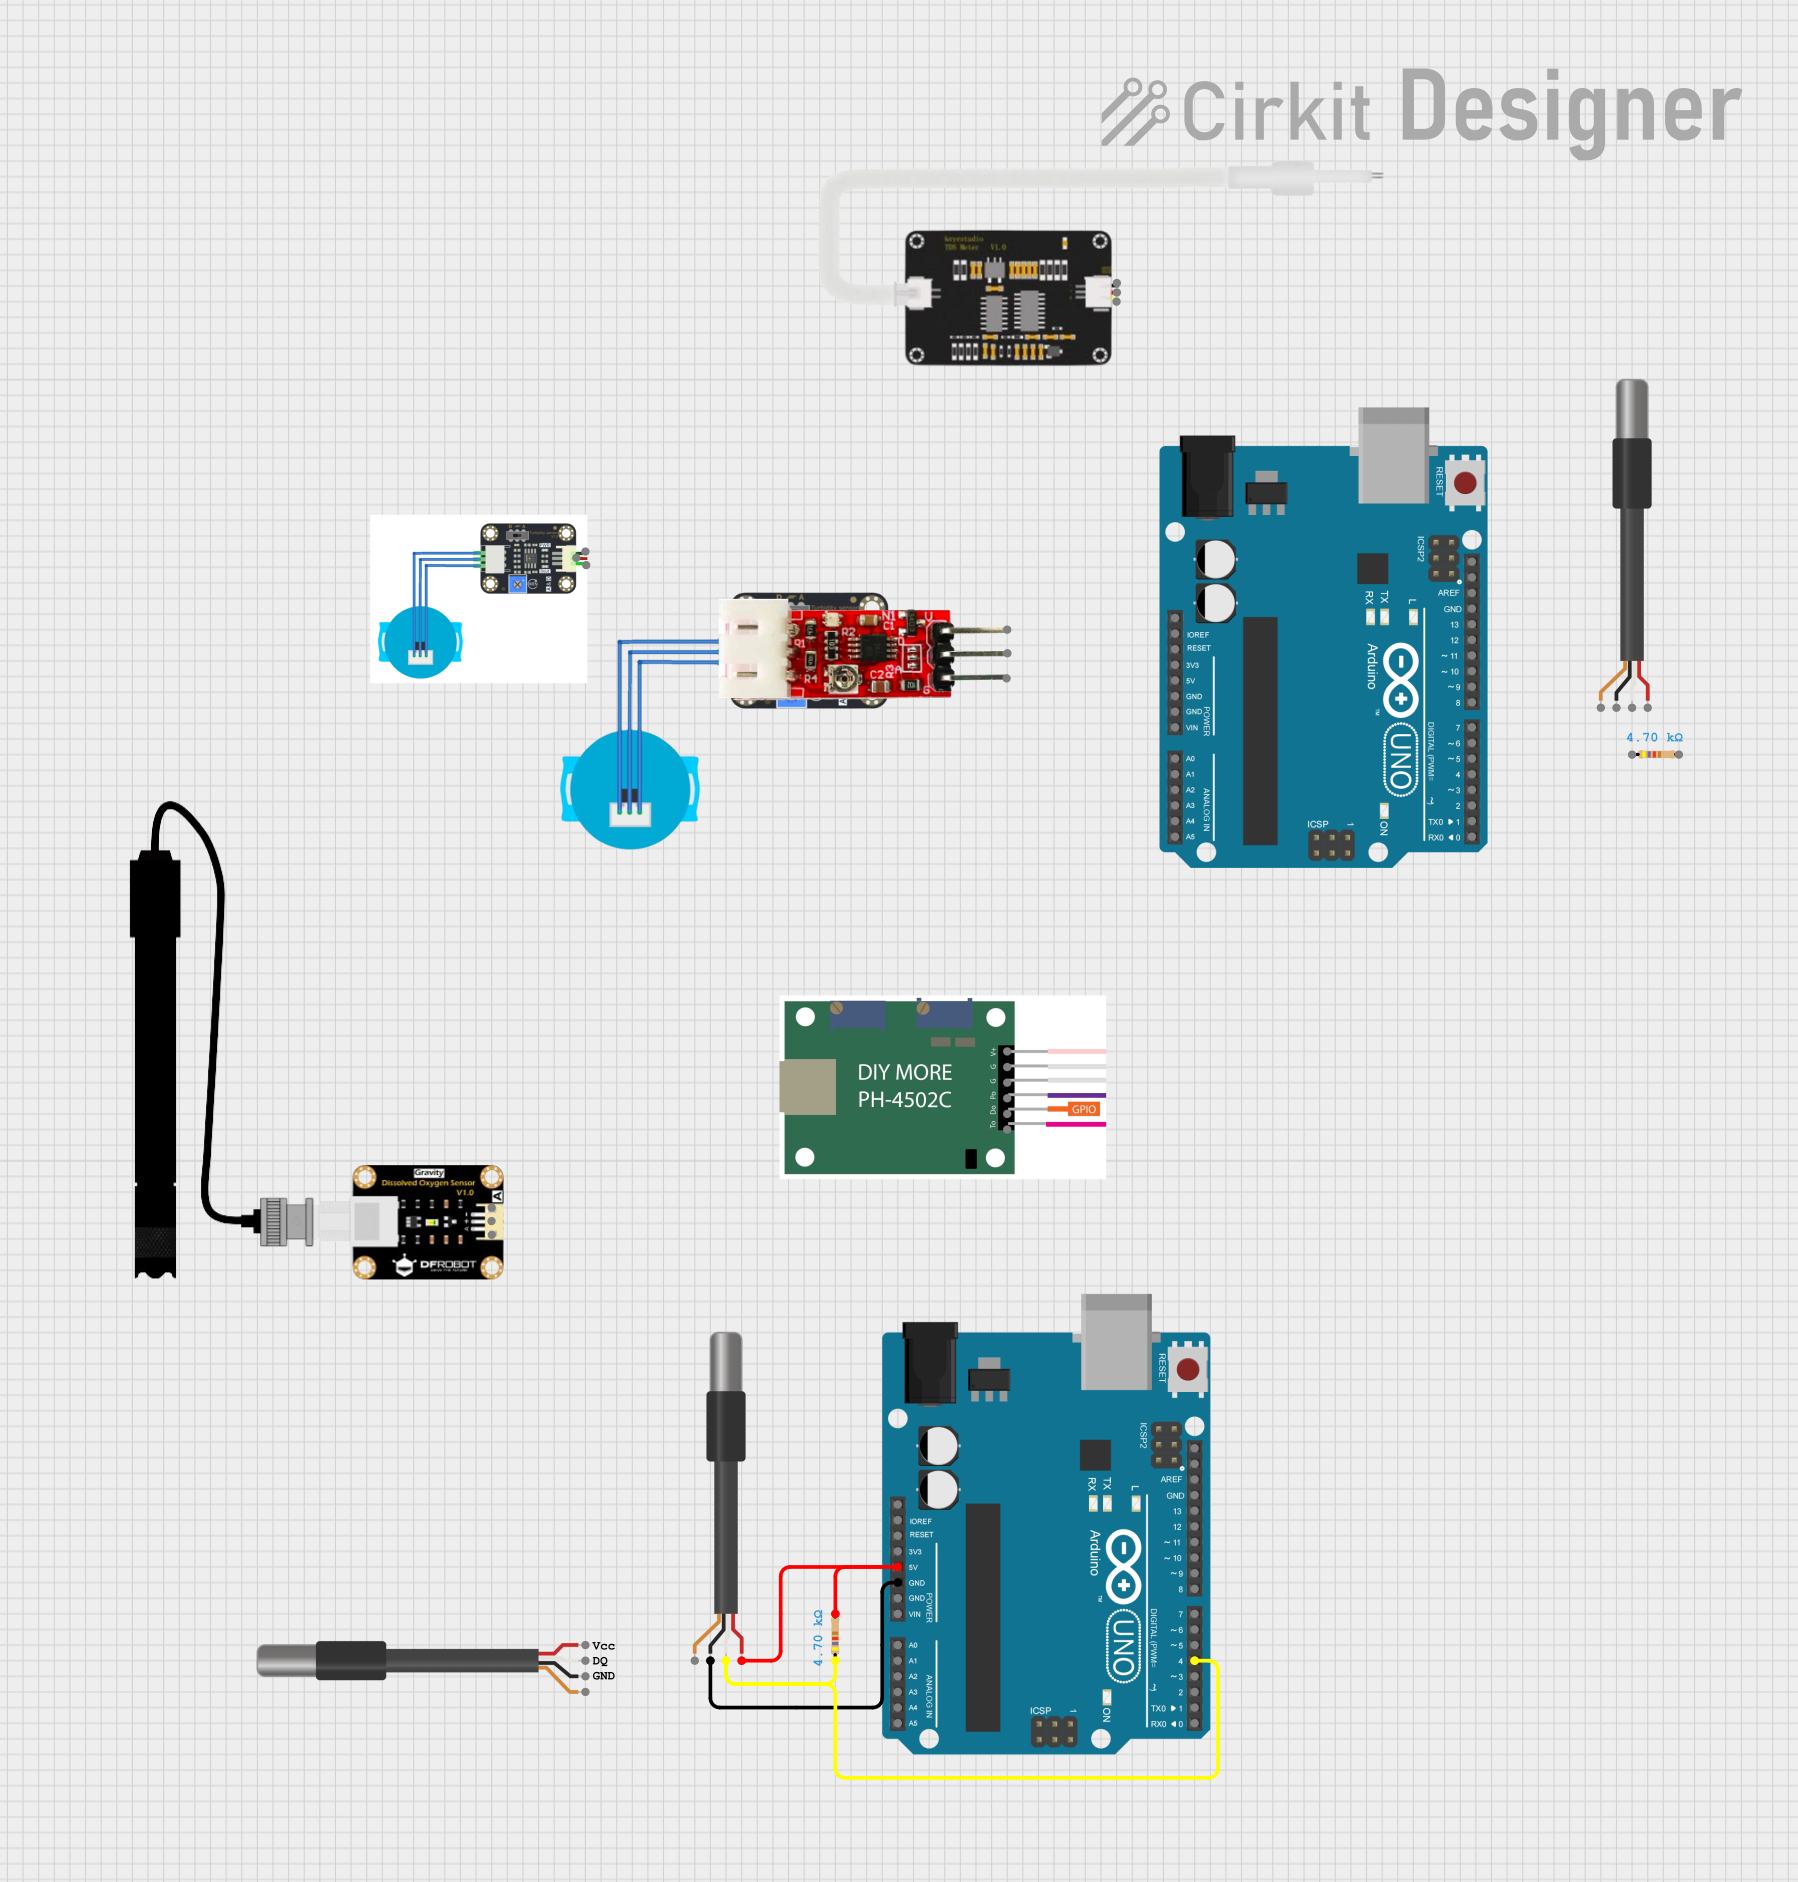
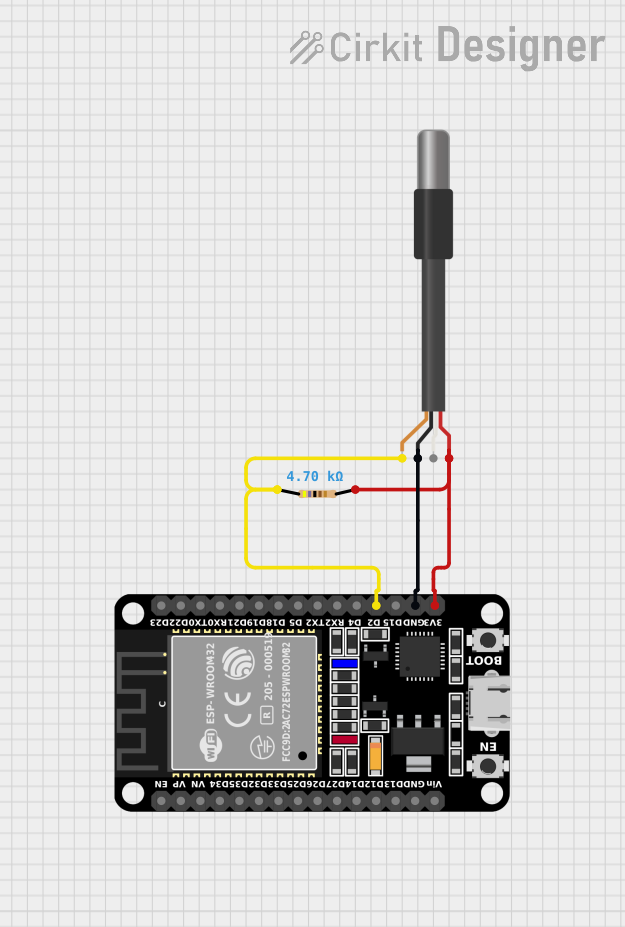
The DS18B20 Adapter is designed to work seamlessly with the DS18B20 sensor and microcontrollers like Arduino, ESP32, and Raspberry Pi. Below are the key technical details:
General Specifications
- Input Voltage: 3.3V to 5V DC
- Communication Protocol: 1-Wire
- Operating Temperature: -55°C to +125°C (limited by the DS18B20 sensor)
- Pull-Up Resistor: Integrated 4.7kΩ resistor for 1-Wire data line
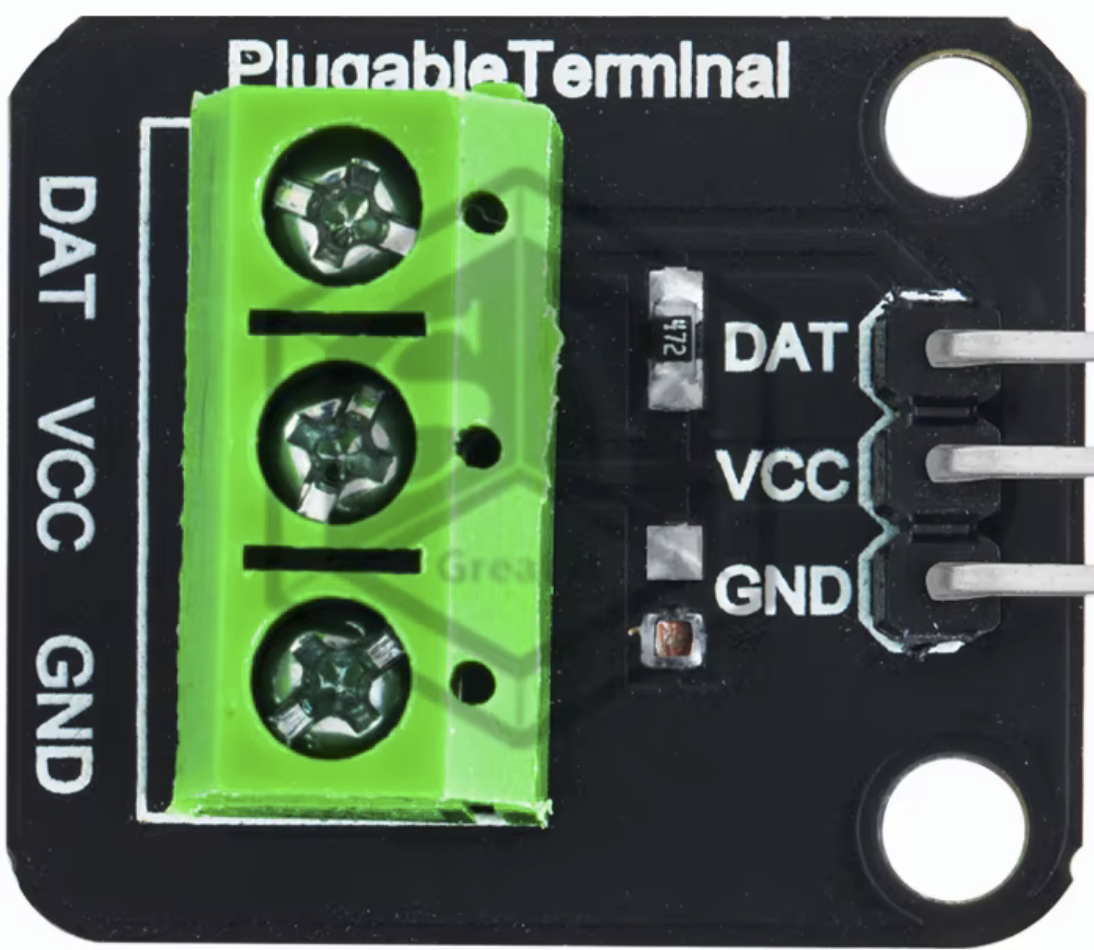
- Connector Type: 3-pin interface (VCC, GND, DATA)
Pin Configuration and Descriptions
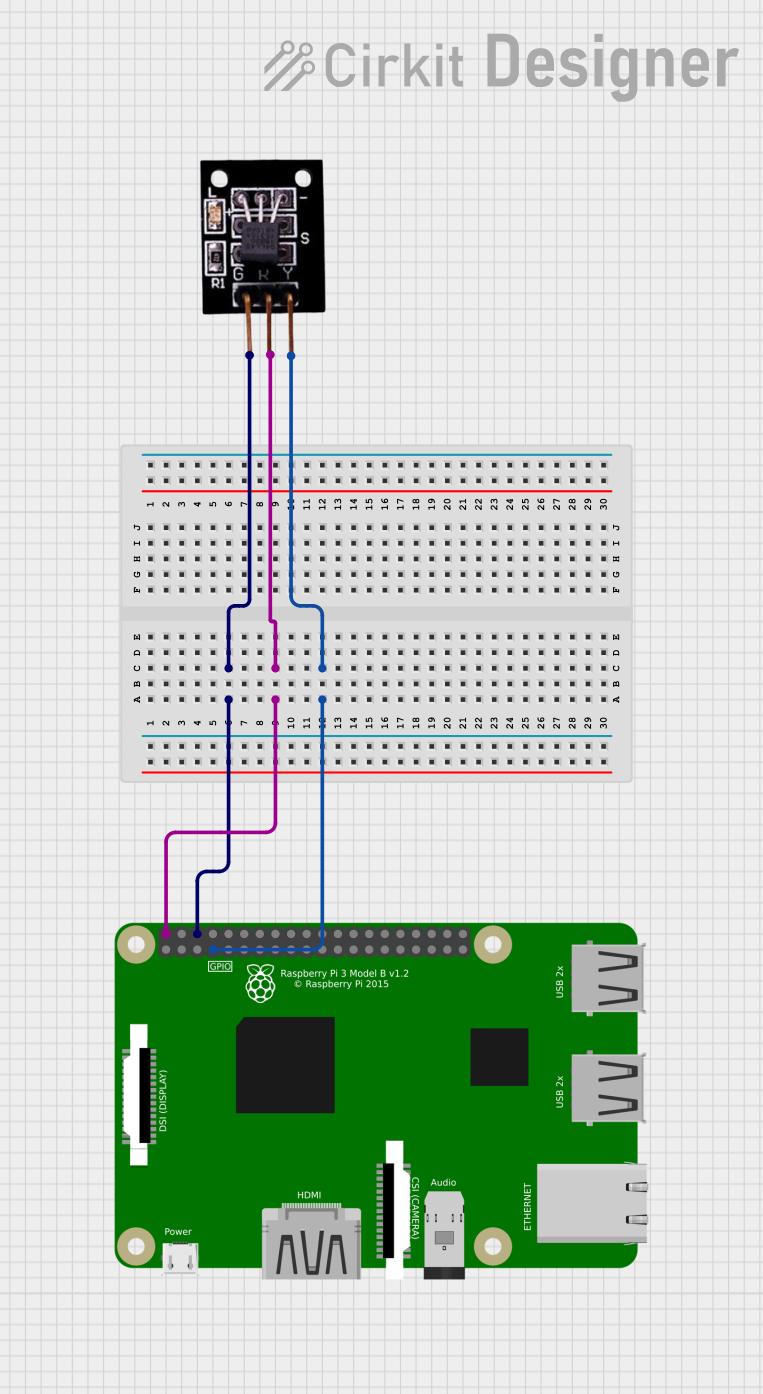
The DS18B20 Adapter has a 3-pin interface for easy connection to microcontrollers. Below is the pinout:
Usage Instructions
How to Use the DS18B20 Adapter in a Circuit
Connect the Adapter to the Microcontroller:
- Connect the
VCC pin of the adapter to the 3.3V or 5V power supply pin of the microcontroller.
- Connect the
GND pin of the adapter to the ground (GND) of the microcontroller.
- Connect the
DATA pin of the adapter to a digital I/O pin on the microcontroller.
Connect the DS18B20 Sensor:
- Plug the DS18B20 sensor into the adapter's socket. Ensure proper orientation to avoid damage.
Install Required Libraries:
- For Arduino, install the DallasTemperature and OneWire libraries from the Arduino Library Manager.
Write and Upload Code:
- Use the example code below to read temperature data from the DS18B20 sensor.
Example Code for Arduino UNO
#include <OneWire.h>
#include <DallasTemperature.h>

// Pin connected to the DATA pin of the DS18B20 Adapter
#define ONE_WIRE_BUS 2

// Setup a oneWire instance to communicate with the DS18B20
OneWire oneWire(ONE_WIRE_BUS);

// Pass the oneWire reference to DallasTemperature library
DallasTemperature sensors(&oneWire);

void setup() {
  Serial.begin(9600); // Initialize serial communication
  sensors.begin();    // Start the DS18B20 sensor
  Serial.println("DS18B20 Adapter Example");
}

void loop() {
  sensors.requestTemperatures(); // Request temperature data from the sensor
  float temperature = sensors.getTempCByIndex(0); // Get temperature in Celsius

  // Print the temperature to the Serial Monitor
  Serial.print("Temperature: ");
  Serial.print(temperature);
  Serial.println(" °C");

  delay(1000); // Wait 1 second before the next reading
}
Important Considerations and Best Practices
- Ensure the DS18B20 sensor is properly inserted into the adapter socket.
- Use a stable power supply to avoid communication errors.
- If using multiple DS18B20 sensors, ensure each has a unique address and use the
getAddress() function from the DallasTemperature library to manage them.
- Avoid long wires for the 1-Wire bus to minimize signal degradation.
Troubleshooting and FAQs
Common Issues and Solutions
No Temperature Reading:
- Cause: Incorrect wiring or loose connections.
- Solution: Double-check the connections between the adapter, sensor, and microcontroller.
Temperature Reading Stuck at -127°C or 85°C:
- Cause: Sensor not detected or not initialized properly.
- Solution: Ensure the sensor is securely connected and call
sensors.begin() in the setup function.
Unstable Temperature Readings:
- Cause: Electrical noise or insufficient pull-up resistor.
- Solution: Ensure the adapter's pull-up resistor is functioning. Use shorter wires or shielded cables if necessary.
Adapter Overheating:
- Cause: Incorrect voltage supply.
- Solution: Verify that the input voltage is within the 3.3V to 5V range.
FAQs
Can I use the DS18B20 Adapter with 3.3V microcontrollers?
Yes, the adapter is compatible with both 3.3V and 5V systems.
How many DS18B20 sensors can I connect to a single adapter?
The 1-Wire protocol supports multiple sensors on the same data line. However, ensure proper addressing and sufficient power supply.
Do I need an external pull-up resistor?
No, the DS18B20 Adapter includes an integrated 4.7kΩ pull-up resistor.
Can I extend the cable length of the DS18B20 sensor?
Yes, but keep the length under 10 meters for reliable communication. Use shielded cables for longer distances.
This documentation provides all the necessary details to effectively use the DS18B20 Adapter in your projects. For further assistance, consult the datasheets of the DS18B20 sensor and your microcontroller.

 Open Project in Cirkit Designer