How to Use SunnyBuddy-v13: Examples, Pinouts, and Specs
Introduction
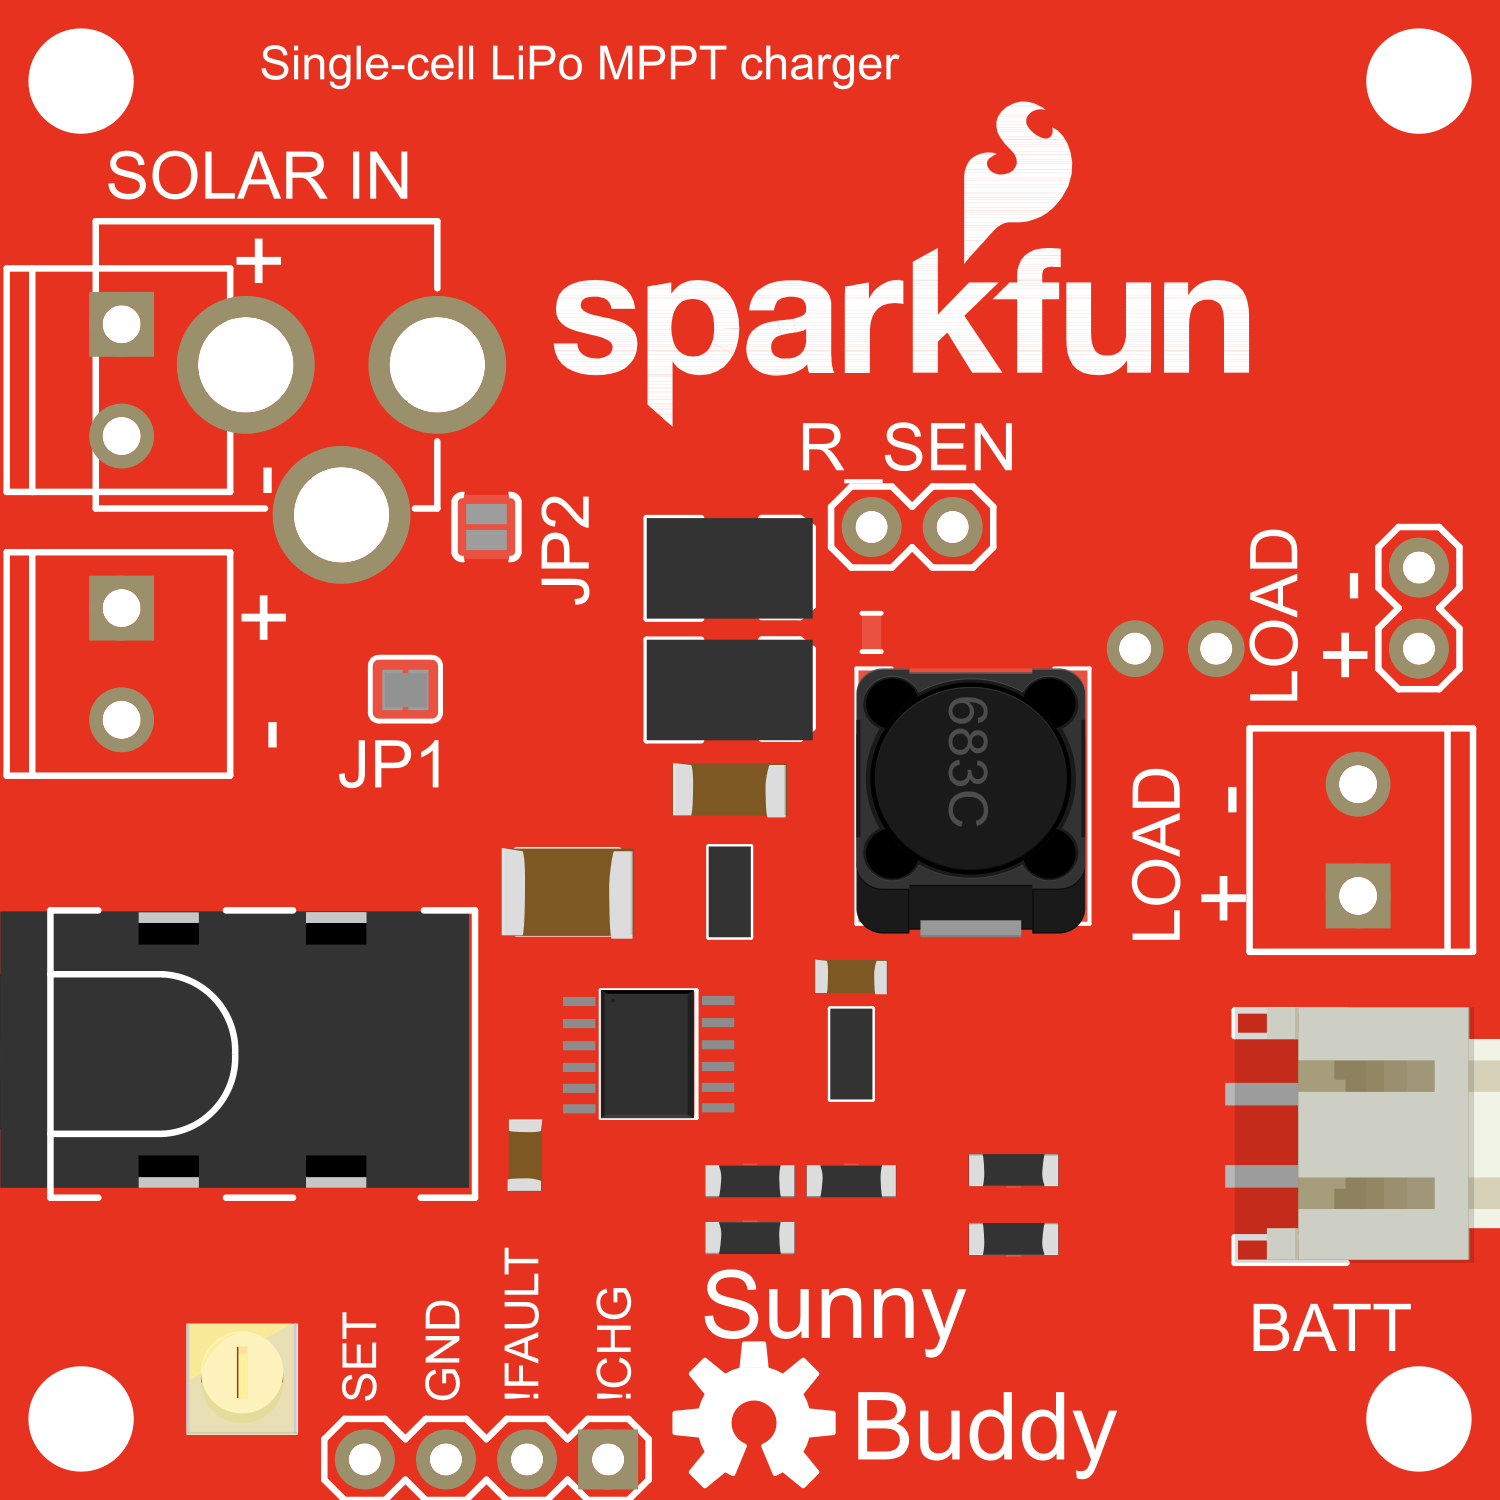
The SunnyBuddy v1.3 is a versatile solar power controller and charger designed to harness energy from solar panels and charge batteries efficiently. It is an essential component for solar-powered projects, providing a regulated 5V output suitable for powering various electronic devices. Common applications include portable power supplies, solar-powered sensor nodes, and DIY solar projects.
Explore Projects Built with SunnyBuddy-v13
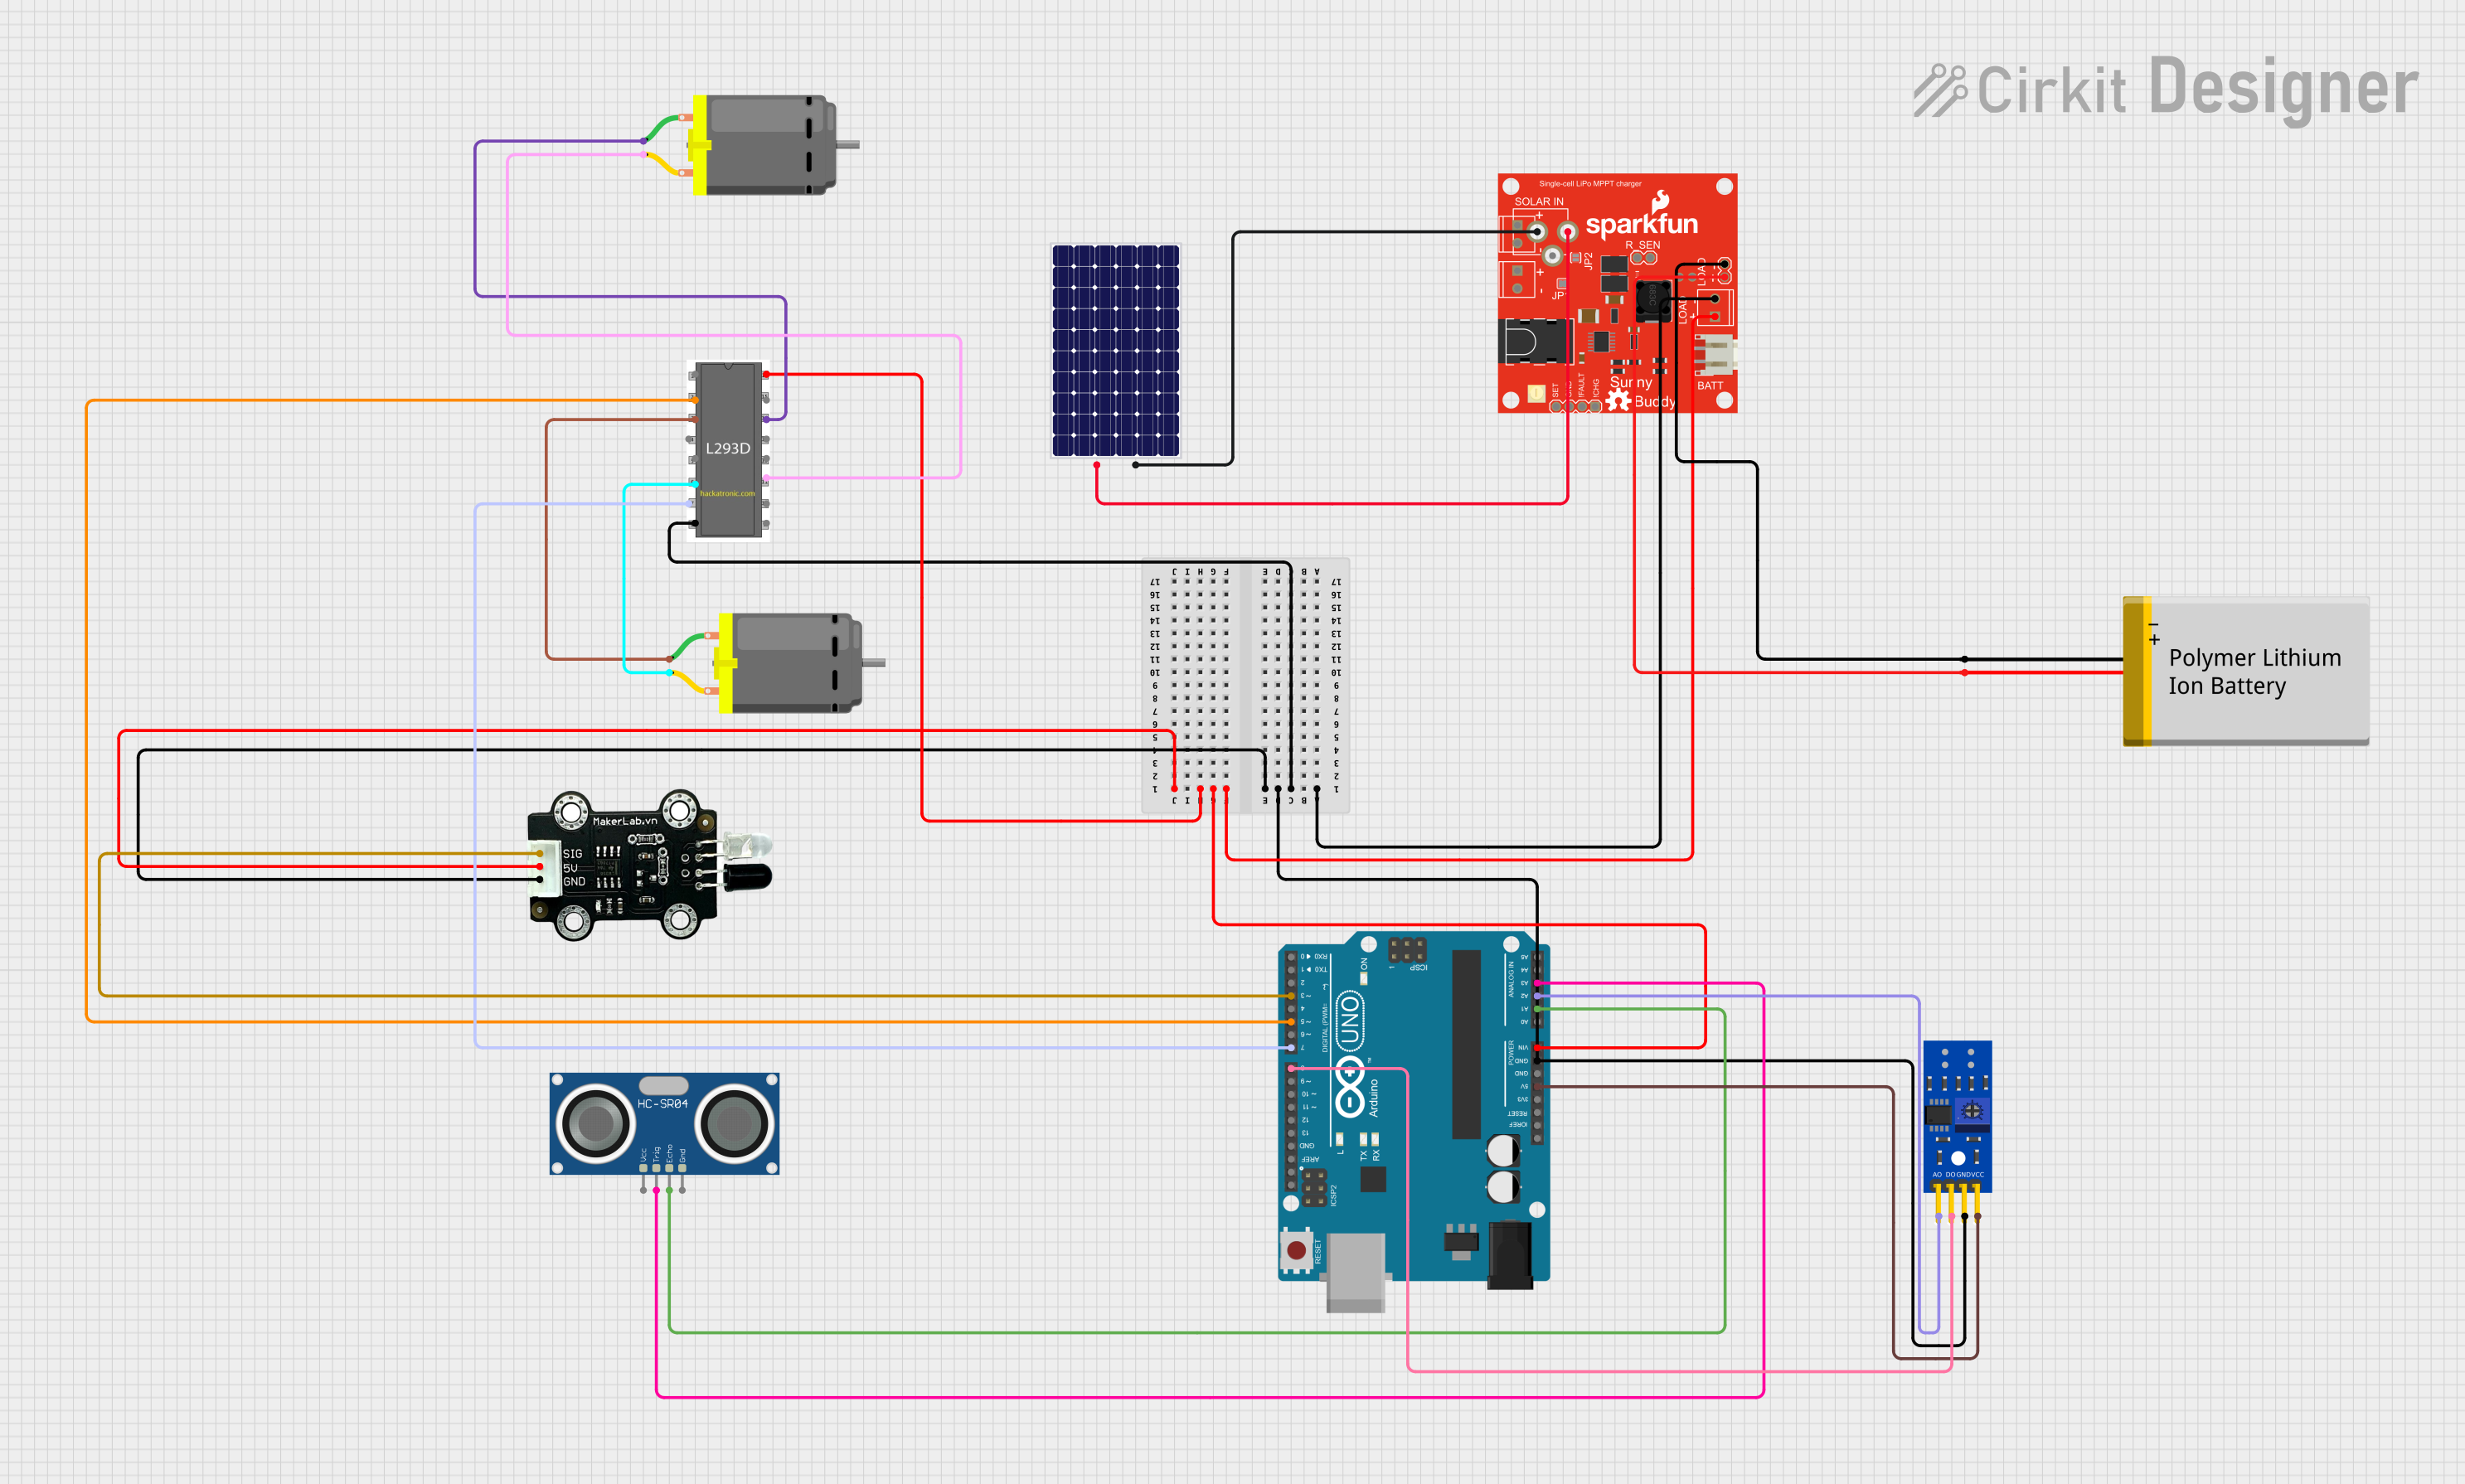

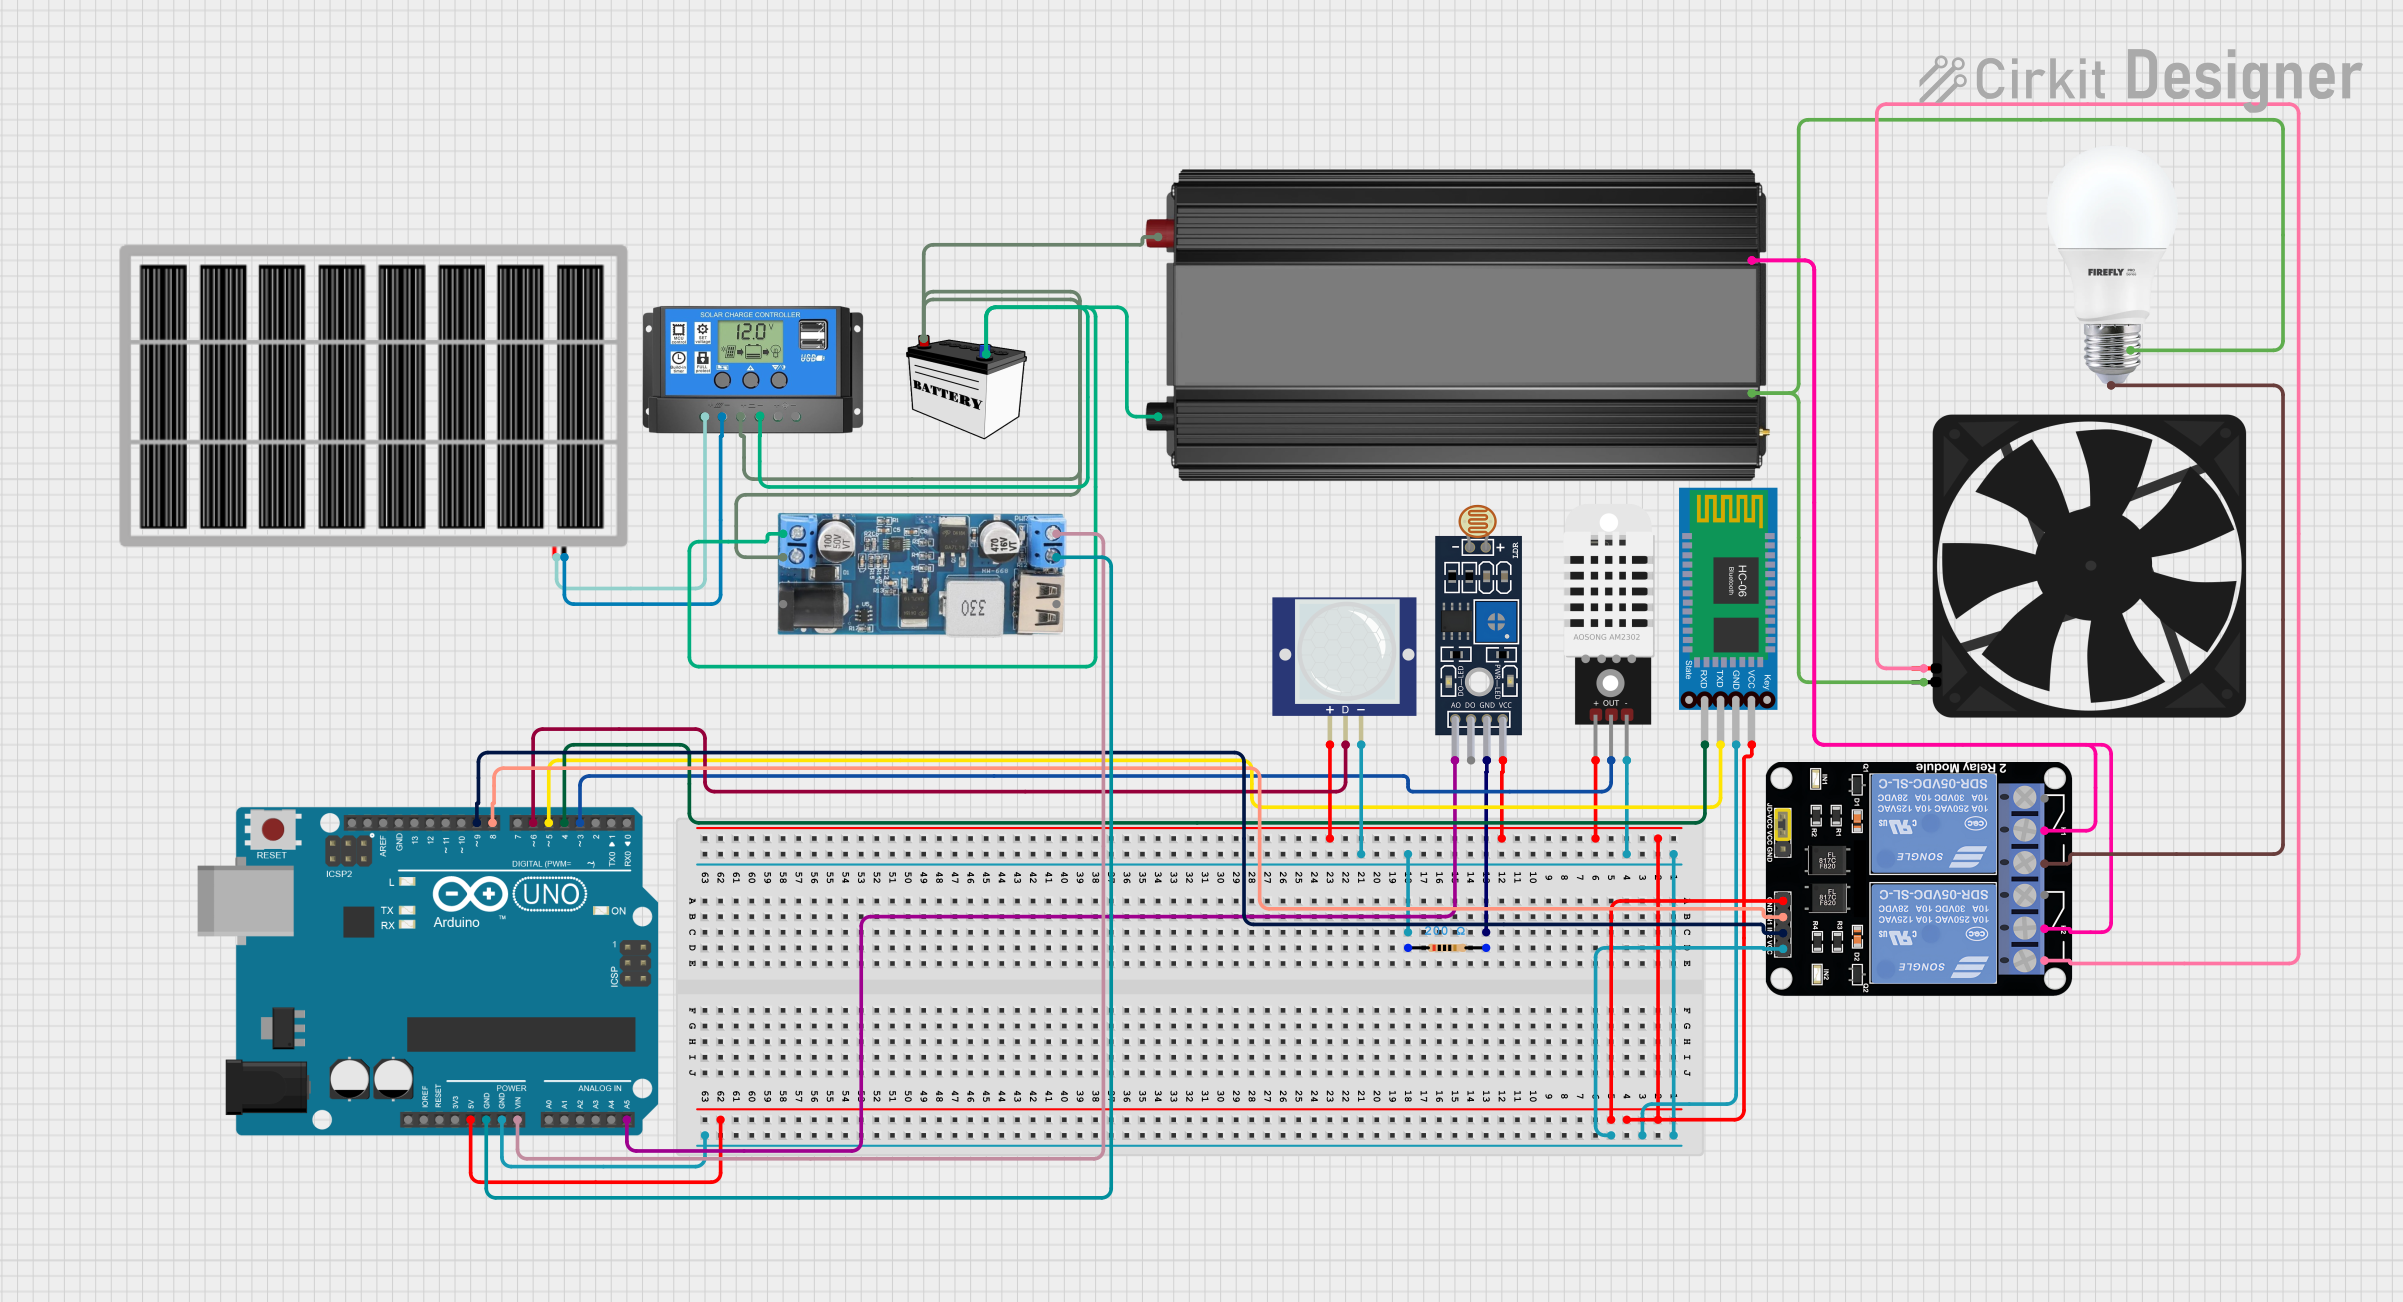
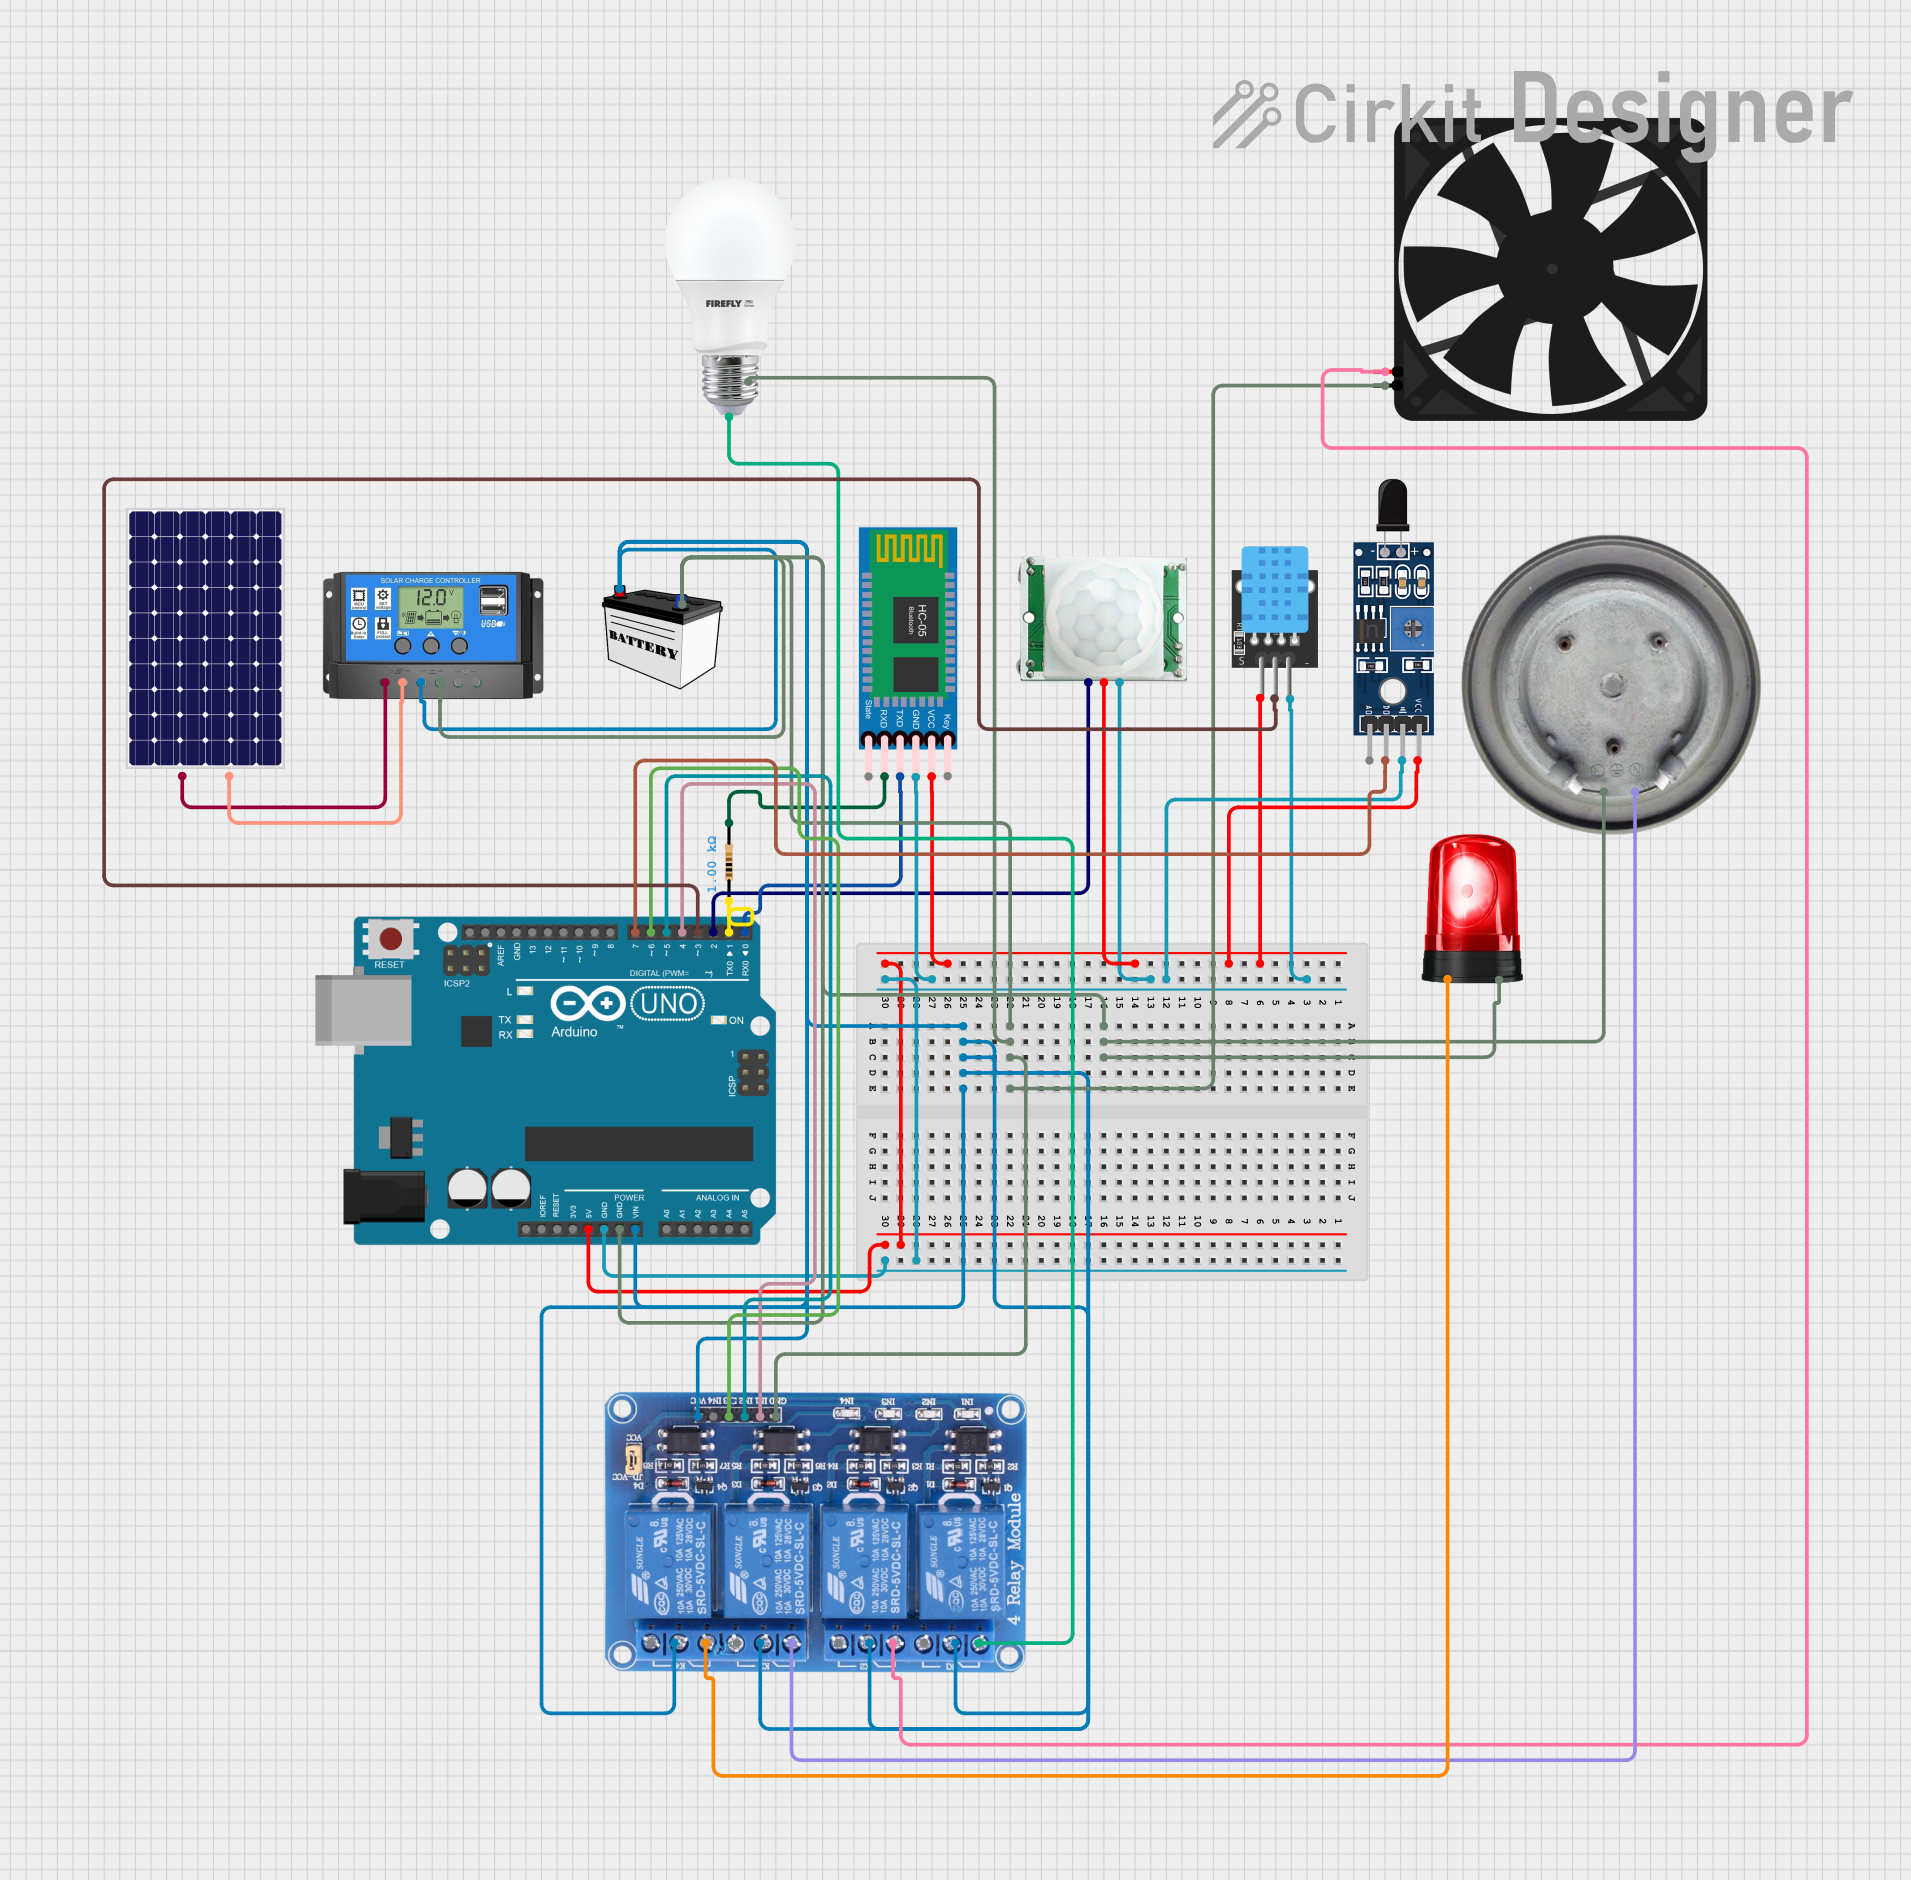
Explore Projects Built with SunnyBuddy-v13
Technical Specifications
Key Technical Details
- Input Voltage (Solar Panel): 6V to 20V
- Battery Charge Voltage: 4.2V (for single-cell LiPo batteries)
- Maximum Charge Current: 450mA (adjustable)
- Output Voltage: Regulated 5V
- Maximum Output Current: Depends on the battery and solar panel used
- Operating Temperature: -40°C to +85°C
Pin Configuration and Descriptions
| Pin Number | Name | Description |
|---|---|---|
| 1 | VIN | Solar panel input voltage |
| 2 | GND | Ground connection |
| 3 | BAT | Battery connection for charging |
| 4 | VOUT | Regulated 5V output |
| 5 | STAT | Charging status indicator output |
| 6 | CNTRL | Charge rate control input |
Usage Instructions
Connecting the SunnyBuddy v1.3
- Solar Panel Connection: Connect the positive terminal of the solar panel to the VIN pin and the negative terminal to the GND pin.
- Battery Charging: Connect the positive terminal of a single-cell LiPo battery to the BAT pin and the negative terminal to the GND pin.
- Load Connection: Connect your device's power input to the VOUT pin and the ground to the GND pin.
Important Considerations and Best Practices
- Ensure the solar panel's open-circuit voltage does not exceed 20V.
- Use only single-cell LiPo batteries for charging.
- Adjust the charge current according to the battery's specifications using the CNTRL pin.
- Do not expose the SunnyBuddy v1.3 to temperatures beyond its operating range.
- Protect the SunnyBuddy v1.3 from moisture and physical damage.
Troubleshooting and FAQs
Common Issues
- No Output Voltage: Ensure the solar panel is receiving adequate sunlight and connections are secure.
- Battery Not Charging: Check battery connections and ensure the battery is not faulty.
- Overheating: Ensure the charge current is not set too high for the battery and solar panel used.
Solutions and Tips
- Adjusting Charge Current: Use a potentiometer or fixed resistor on the CNTRL pin to set the desired charge rate.
- Status Indicator: The STAT pin can be connected to an LED (with a current-limiting resistor) to indicate charging status.
FAQs
Q: Can I charge multiple batteries at once? A: No, the SunnyBuddy v1.3 is designed for charging a single-cell LiPo battery.
Q: What size solar panel should I use? A: The solar panel should have an open-circuit voltage between 6V and 20V and provide enough current to charge the battery at the desired rate.
Q: Can I use the SunnyBuddy v1.3 without a battery? A: No, the SunnyBuddy v1.3 is designed to work with a battery as the energy storage component.
Example Code for Arduino UNO
// This example code is designed to read the charging status from the SunnyBuddy v1.3
// and output it to the Arduino Serial Monitor.

const int statusPin = 2; // Connect the STAT pin of SunnyBuddy to digital pin 2

void setup() {
  pinMode(statusPin, INPUT);
  Serial.begin(9600);
}

void loop() {
  int chargingStatus = digitalRead(statusPin);
  if (chargingStatus == HIGH) {
    // If STAT pin is HIGH, the battery is not currently charging
    Serial.println("Battery is fully charged or not charging.");
  } else {
    // If STAT pin is LOW, the battery is currently charging
    Serial.println("Battery is charging...");
  }
  delay(1000); // Wait for 1 second before reading the status again
}
Remember to connect the STAT pin of the SunnyBuddy to the digital pin 2 on the Arduino UNO and the GND of SunnyBuddy to the GND on the Arduino. This code will help you monitor the charging status of the battery connected to the SunnyBuddy v1.3.