The Current Sensor Compact Carrier (Manufacturer Part ID: 5292 ACS37220LEZATR-100B5) by Pololu is a compact and efficient module designed to house current sensors. It facilitates easy integration into electronic circuits for monitoring and measuring electrical current. This carrier board is based on the Allegro ACS37220 current sensor IC, which provides precise and reliable current measurements with high sensitivity and low noise.
Explore Projects Built with Current Sensor Compact Carrier
Use Cirkit Designer to design, explore, and prototype these projects online. Some projects support real-time simulation. Click "Open Project" to start designing instantly!
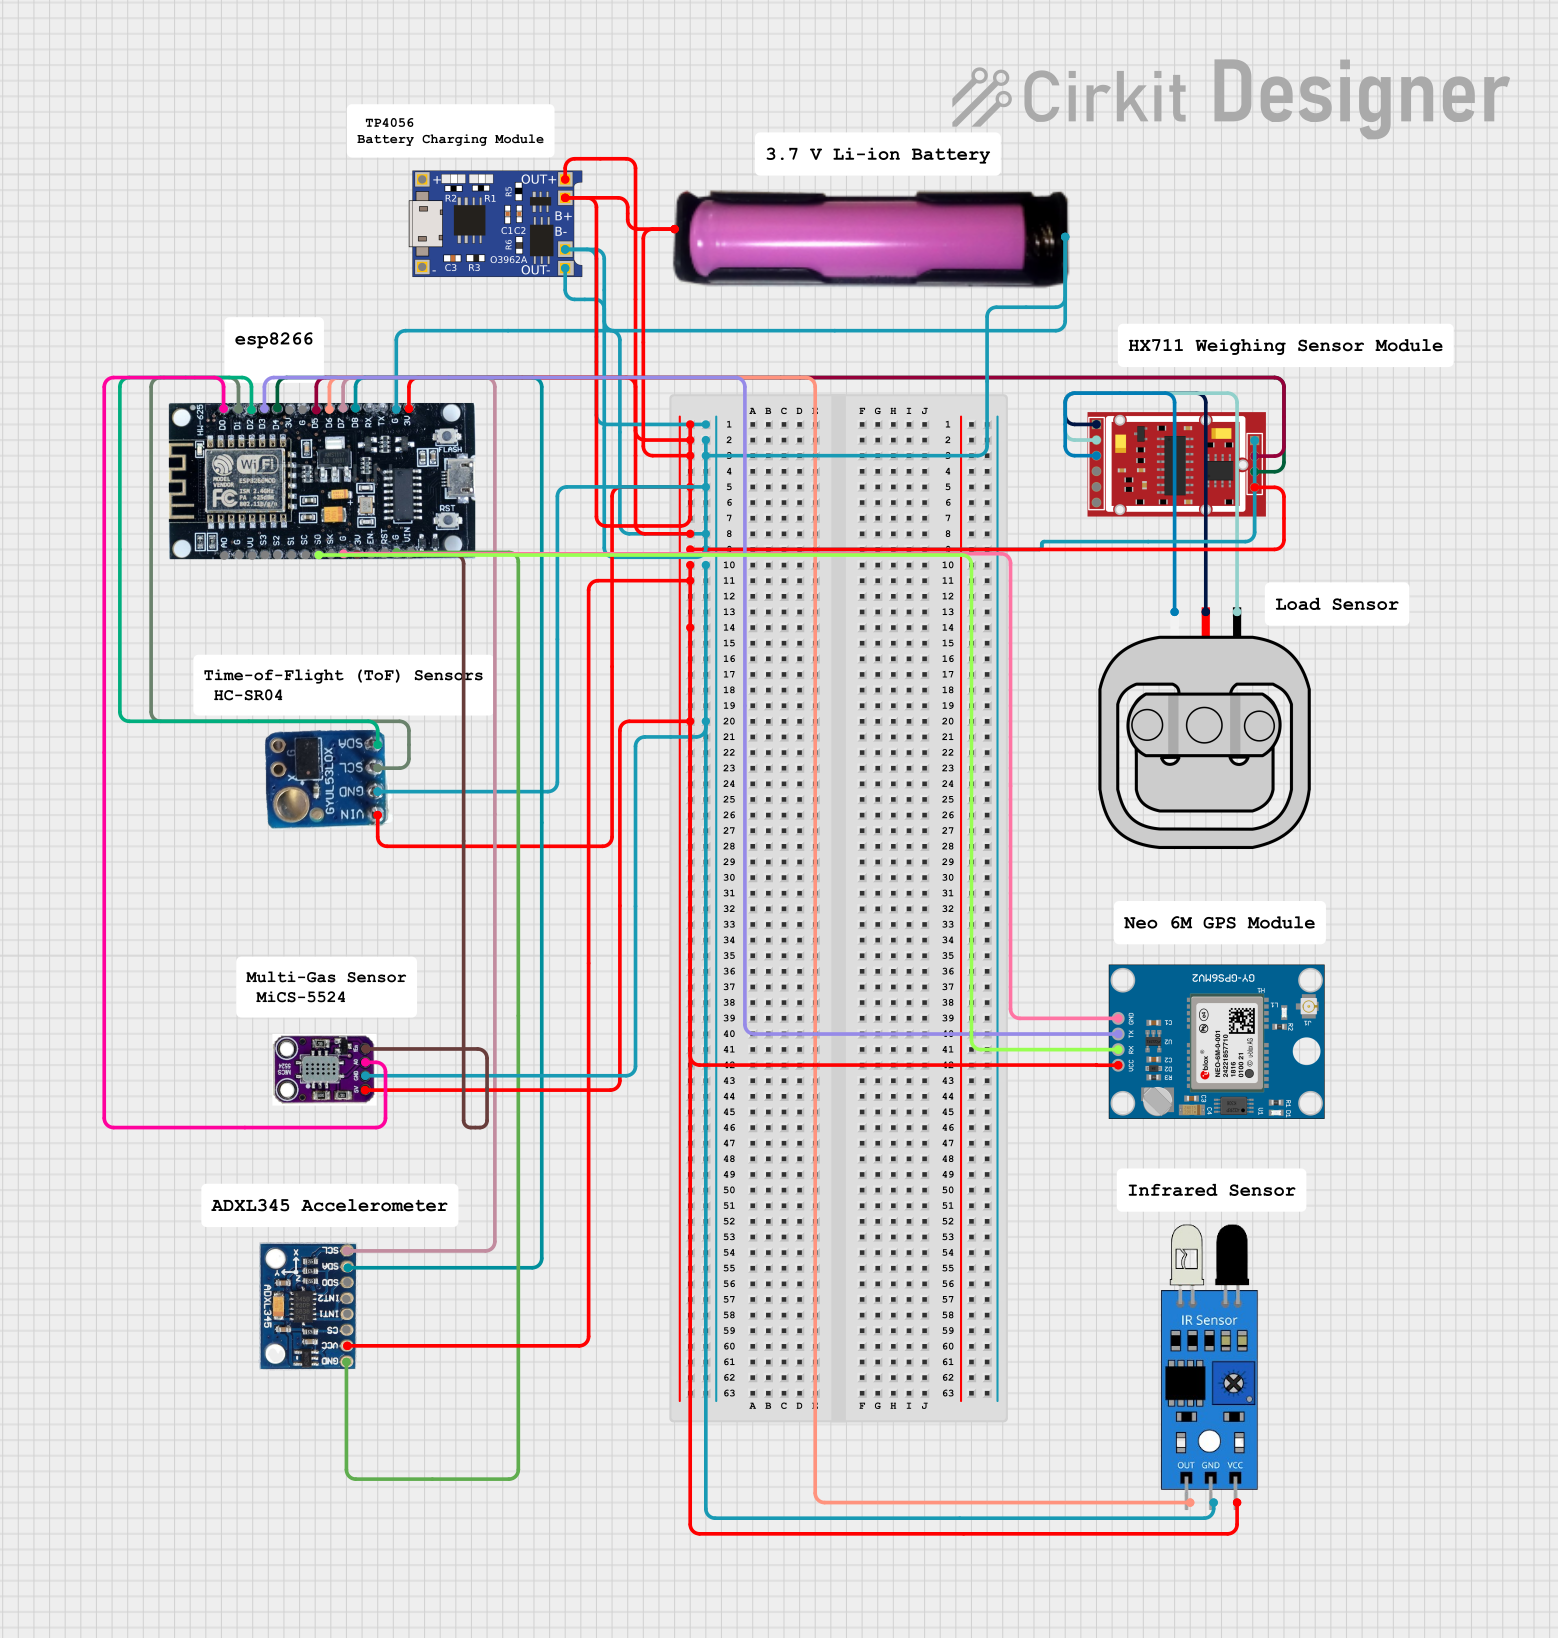
This circuit is a multi-sensor data acquisition system powered by a 18650 battery and managed by an ESP8266 microcontroller. It includes a load sensor interfaced with an HX711 module for weight measurement, an IR sensor, an ADXL345 accelerometer, a VL53L0X distance sensor, and a Neo 6M GPS module for location tracking. The system is designed for wireless data transmission and is supported by a TP4056 module for battery charging.
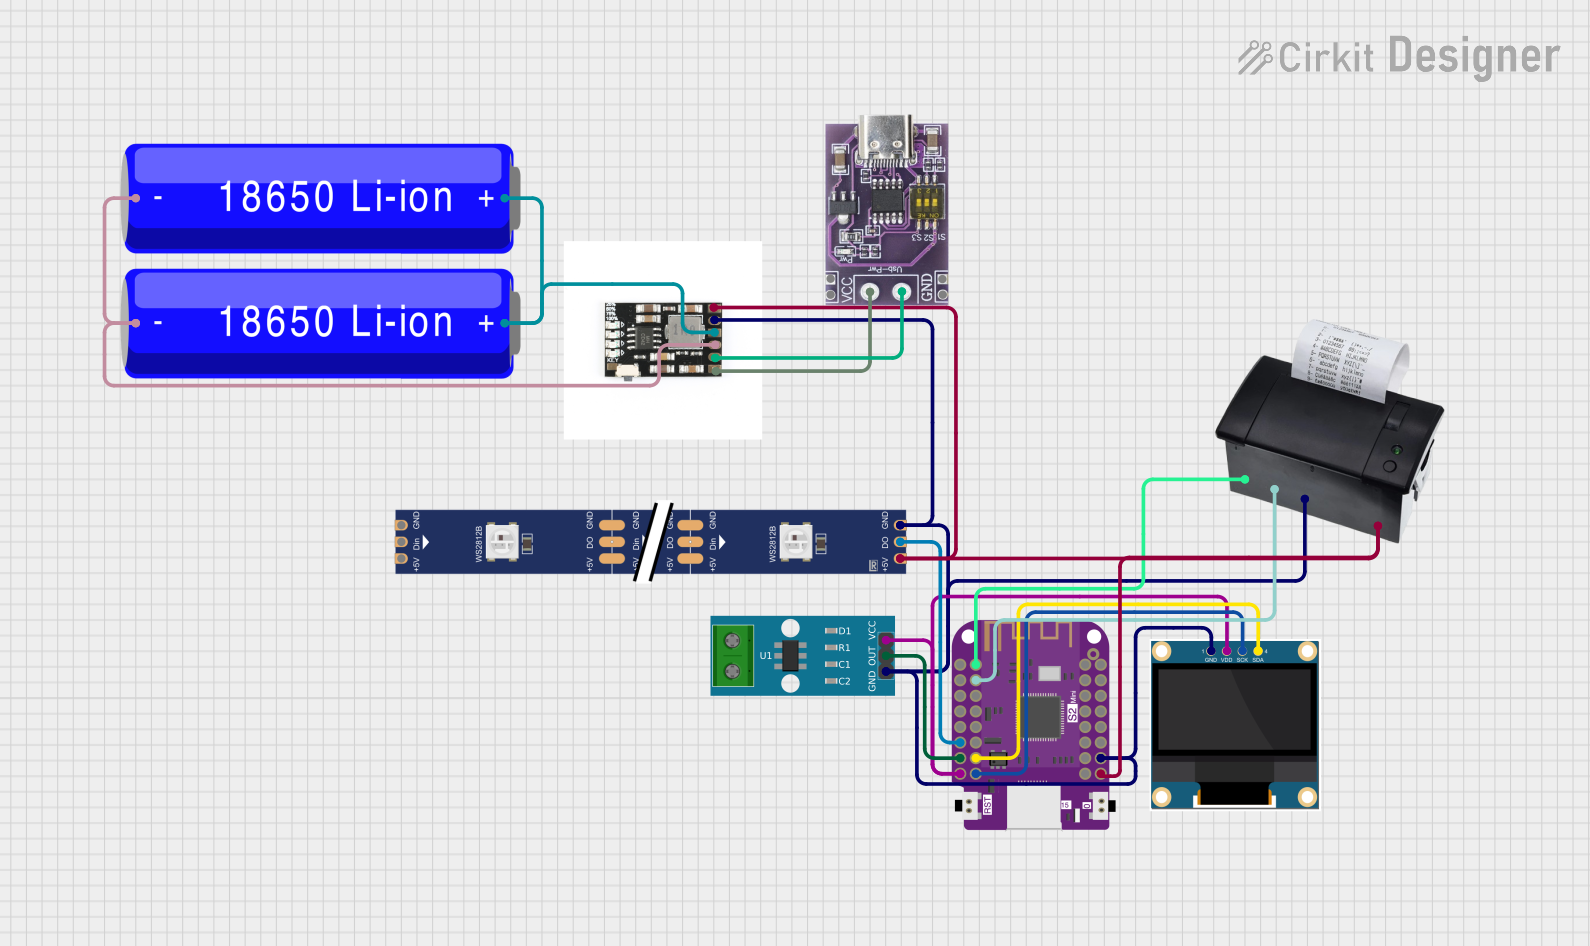
This circuit features a Wemos S2 Mini microcontroller that controls a WS2812 RGB LED strip and communicates with a 0.96" OLED display and a 58mm mini thermal printer. The ACS712 Current Sensor is interfaced with the microcontroller to monitor current, and power is managed by a CD42 BMS connected to two 18650 Li-ion batteries, with a USB-C PD Trigger Board for power delivery. The circuit is designed for visual output (LED strip, OLED display), printing capabilities, and current sensing, likely for a portable, battery-powered monitoring and display device.
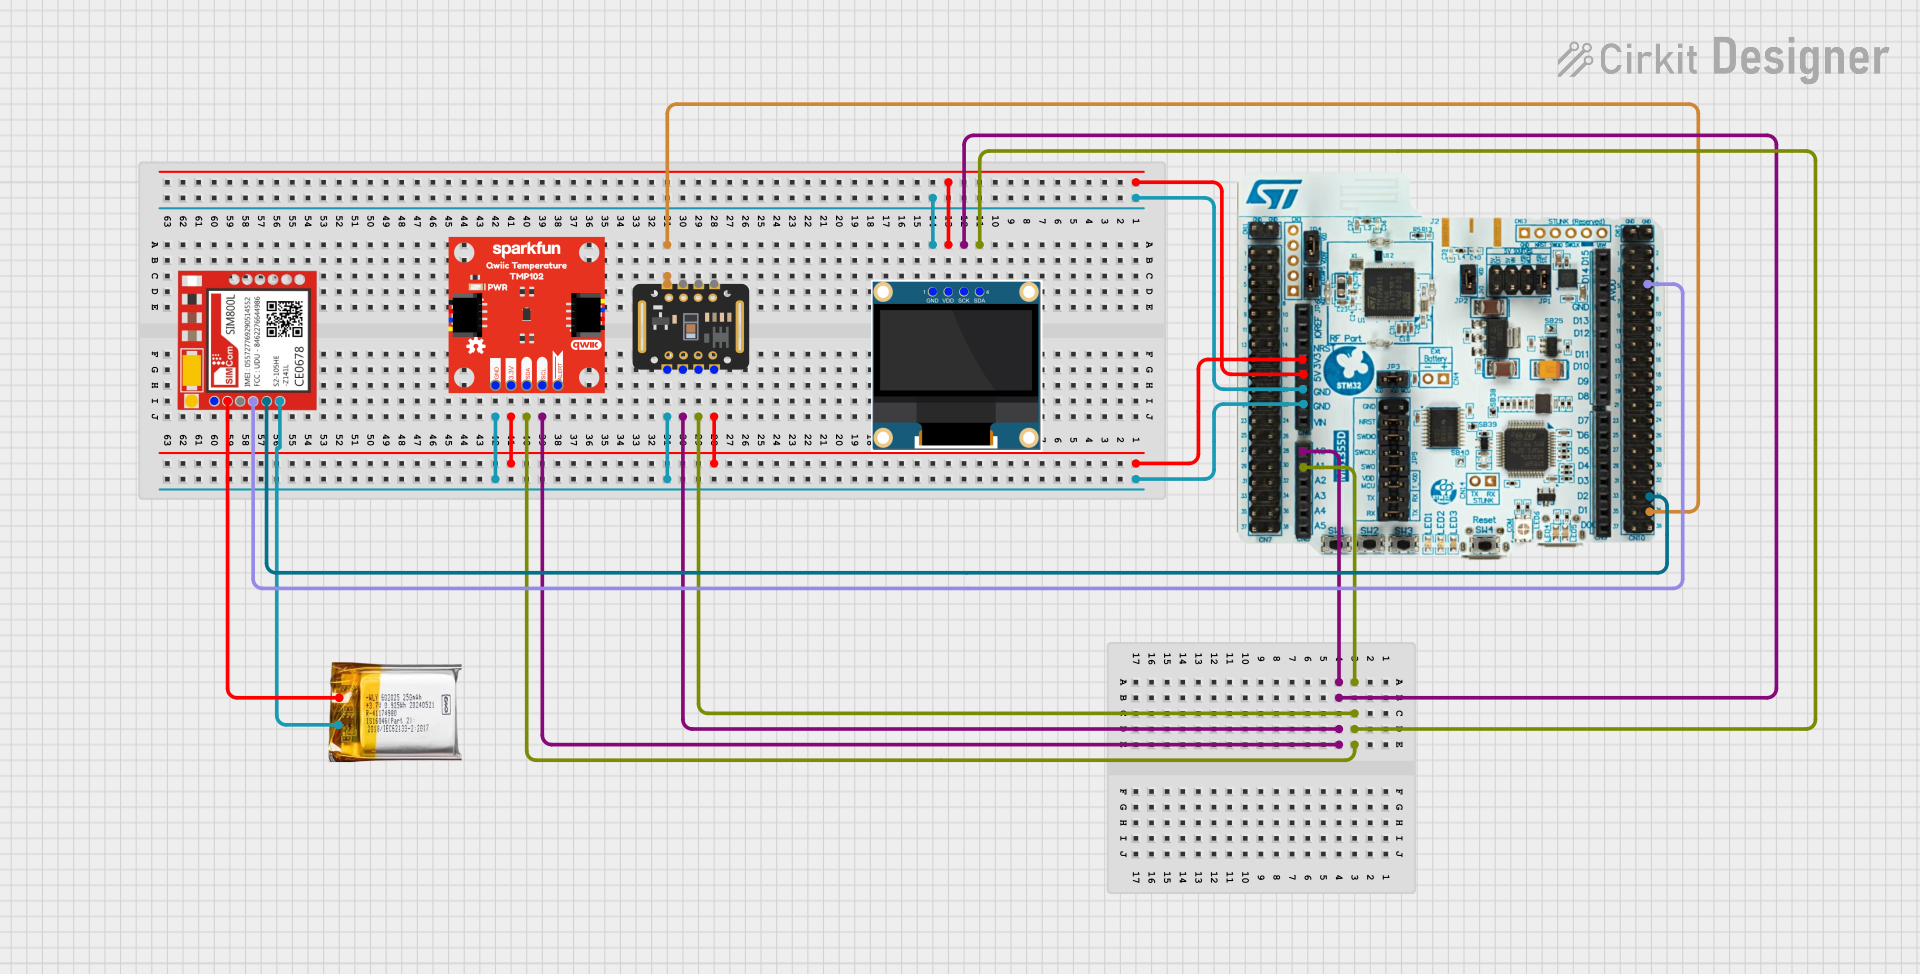
This circuit is a multi-sensor data acquisition system that uses a Nucleo WB55RG microcontroller to interface with a digital temperature sensor (TMP102), a pulse oximeter and heart-rate sensor (MAX30102), and a 0.96" OLED display via I2C. Additionally, it includes a Sim800l module for GSM communication, powered by a 3.7V LiPo battery.
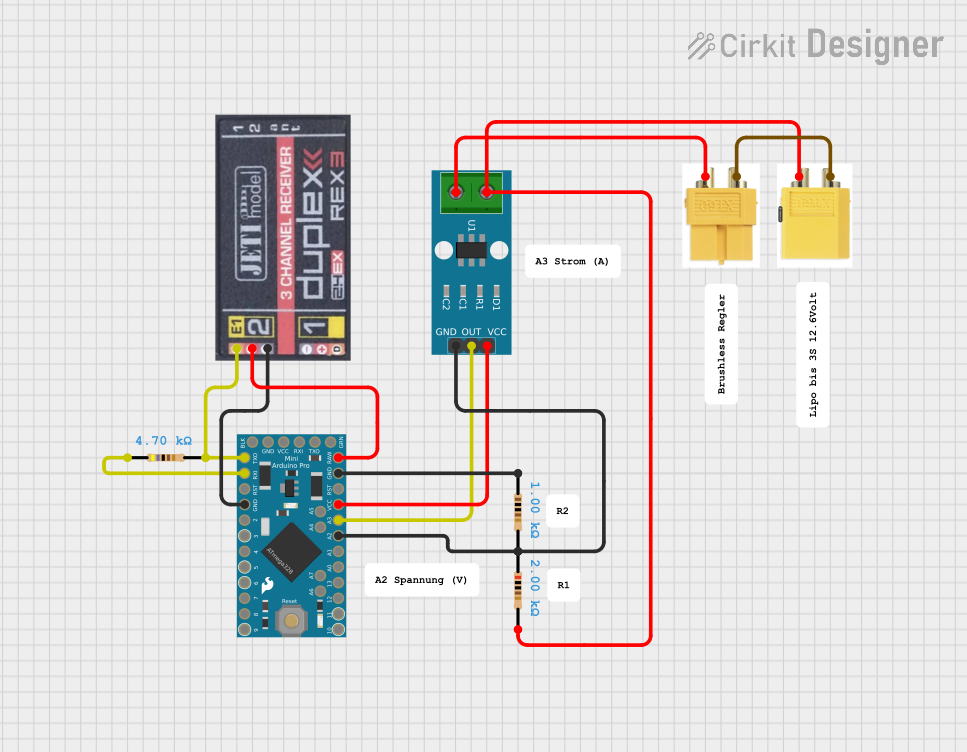
This circuit integrates an Arduino Pro Mini with a Jeti Rex Receiver and an ACS712 current sensor to measure and transmit current, voltage, power, capacity, and rotation data. The Arduino processes sensor data and communicates it to the Jeti Rex Receiver for telemetry purposes.
The following are the key technical details of the Current Sensor Compact Carrier:
Electrical Specifications
Parameter
Value
Supply Voltage (Vcc)
3.3 V to 5 V
Current Sensing Range
±20 A
Sensitivity
100 mV/A
Output Voltage Range
0.2 V to 4.8 V (typical)
Bandwidth
120 kHz
Accuracy
±1% (typical)
Operating Temperature
-40°C to +125°C
Pin Configuration and Descriptions
The Current Sensor Compact Carrier has a simple pinout for easy integration. Below is the pin configuration:
Pin Name
Pin Number
Description
Vcc
1
Power supply input (3.3 V to 5 V).
GND
2
Ground connection.
OUT
3
Analog output voltage proportional to the measured current.
IP+
4
Positive terminal for current to be measured.
IP-
5
Negative terminal for current to be measured.
Usage Instructions
How to Use the Component in a Circuit
Power Supply: Connect the Vcc pin to a 3.3 V or 5 V power source and the GND pin to the ground of your circuit.
Current Measurement:
Pass the current-carrying wire through the IP+ and IP- terminals. Ensure the current flows in the correct direction as indicated on the carrier board.
The sensor will output an analog voltage on the OUT pin, which is proportional to the current being measured.
Output Reading: Connect the OUT pin to an analog input of a microcontroller (e.g., Arduino) or an ADC (Analog-to-Digital Converter) to read the voltage and calculate the current.
Important Considerations and Best Practices
Current Direction: Ensure the current flows in the correct direction through the IP+ and IP- terminals. Reversing the direction will result in a negative output voltage.
Filtering: For applications requiring high precision, consider adding a low-pass filter to the OUT pin to reduce noise.
Thermal Management: The sensor can handle high currents, but prolonged exposure to maximum current may cause heating. Ensure proper ventilation or heat dissipation if necessary.
Calibration: For the most accurate results, calibrate the sensor in your specific application environment.
Example: Using with Arduino UNO
Below is an example of how to use the Current Sensor Compact Carrier with an Arduino UNO to measure current:
// Define the analog pin connected to the sensor's OUT pin
const int sensorPin = A0;

// Define the sensitivity of the sensor (100 mV/A for ACS37220)
const float sensitivity = 0.1; // Sensitivity in V/A

// Define the zero-current output voltage (2.5 V for ACS37220 at 5V Vcc)
const float zeroCurrentVoltage = 2.5;

void setup() {
  Serial.begin(9600); // Initialize serial communication
  pinMode(sensorPin, INPUT); // Set the sensor pin as input
}

void loop() {
  // Read the analog voltage from the sensor
  int sensorValue = analogRead(sensorPin);

  // Convert the analog reading to voltage (5V reference for Arduino UNO)
  float voltage = sensorValue * (5.0 / 1023.0);

  // Calculate the current in Amperes
  float current = (voltage - zeroCurrentVoltage) / sensitivity;

  // Print the current to the Serial Monitor
  Serial.print("Current: ");
  Serial.print(current);
  Serial.println(" A");

  delay(1000); // Wait for 1 second before the next reading
}
Troubleshooting and FAQs
Common Issues and Solutions
No Output Voltage:
Cause: Incorrect power supply connection.
Solution: Verify that Vcc and GND are properly connected to a 3.3 V or 5 V power source.
Inaccurate Current Readings:
Cause: Noise or lack of calibration.
Solution: Add a low-pass filter to the OUT pin and calibrate the sensor in your specific application.
Overheating:
Cause: Prolonged exposure to high currents.
Solution: Ensure proper ventilation or reduce the current load.
Negative Output Voltage:
Cause: Current flowing in the reverse direction.
Solution: Verify the direction of current flow through the IP+ and IP- terminals.
FAQs
Q1: Can this sensor measure both AC and DC currents?
A1: Yes, the ACS37220 can measure both AC and DC currents.
Q2: What is the maximum current this sensor can handle?
A2: The sensor can measure currents up to ±20 A.
Q3: Can I use this sensor with a 3.3 V microcontroller?
A3: Yes, the sensor operates with a supply voltage of 3.3 V to 5 V, making it compatible with 3.3 V microcontrollers.
Q4: How do I improve the accuracy of the sensor?
A4: Use a low-pass filter to reduce noise and calibrate the sensor in your specific application environment.
This concludes the documentation for the Current Sensor Compact Carrier. For further assistance, refer to the Pololu product page or contact their support team.


 Open Project in Cirkit Designer