
How to Use LCD 16x4: Examples, Pinouts, and Specs
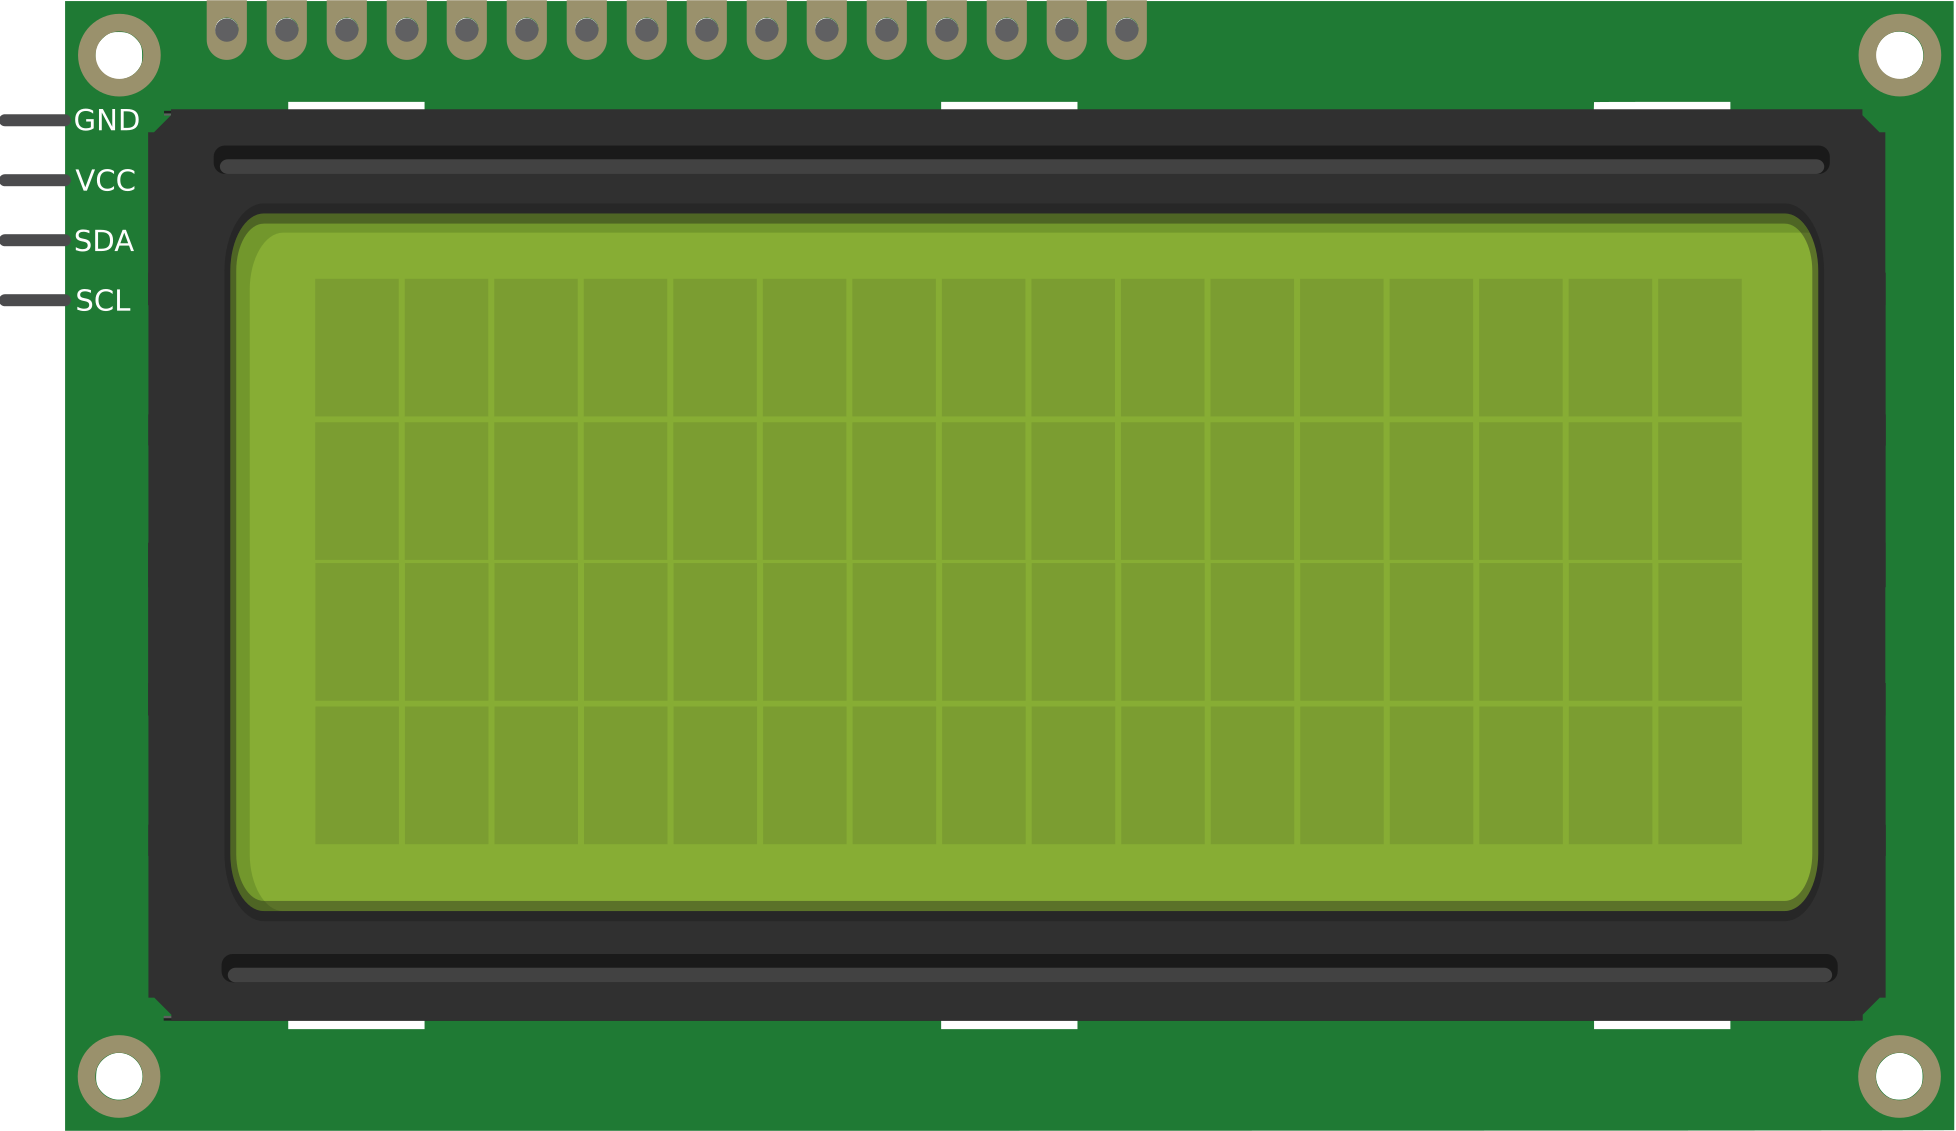
 Design with LCD 16x4 in Cirkit Designer
Introduction
The LCD 16x4 is a Liquid Crystal Display capable of displaying 16 characters per line across 4 lines. Manufactured by Arduino with the part ID "UNO," this display is widely used in embedded systems and microcontroller projects. It provides a simple and efficient way to display text, numbers, and basic symbols, making it ideal for applications such as DIY electronics, industrial control panels, and educational projects.
Explore Projects Built with LCD 16x4
 Open Project in Cirkit Designer
 Open Project in Cirkit Designer
 Open Project in Cirkit Designer
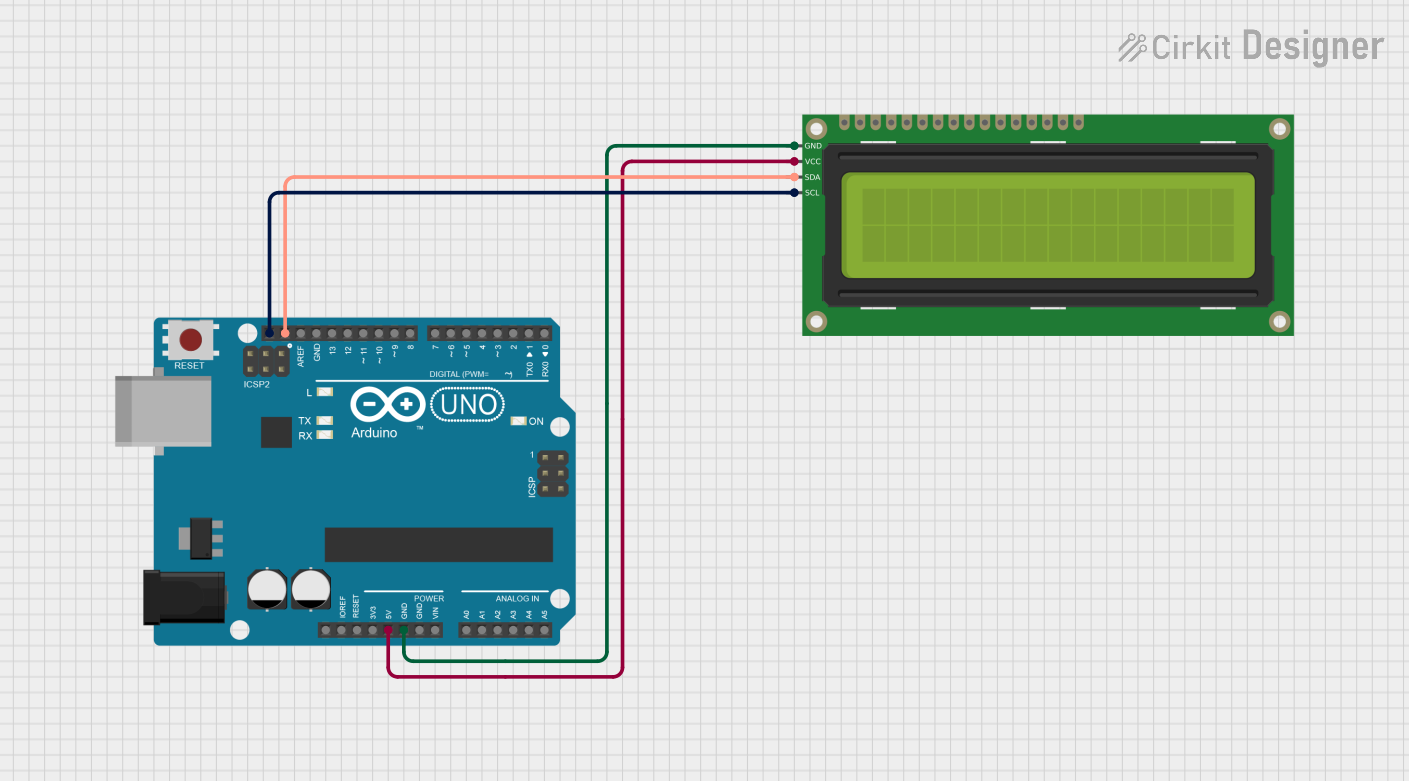 Open Project in Cirkit Designer
Explore Projects Built with LCD 16x4
Open Project in Cirkit DesignerOpen Project in Cirkit DesignerOpen Project in Cirkit DesignerOpen Project in Cirkit DesignerCommon Applications and Use Cases
- Microcontroller-based projects (e.g., Arduino, Raspberry Pi)
- Home automation systems
- Industrial control panels
- Educational tools for learning electronics
- Data monitoring and display systems
Technical Specifications
The LCD 16x4 is based on the HD44780 controller, which is compatible with most microcontrollers. Below are the key technical details:
Key Technical Details
| Parameter | Value |
|---|---|
| Display Type | 16x4 Character LCD |
| Controller | HD44780 or compatible |
| Operating Voltage | 4.7V to 5.3V |
| Operating Current | ~2mA (without backlight) |
| Backlight Current | ~120mA (typical) |
| Character Size | 5x8 dot matrix per character |
| Interface Type | Parallel (4-bit or 8-bit mode) |
| Operating Temperature | -20°C to +70°C |
Pin Configuration and Descriptions
The LCD 16x4 has 16 pins, which are described in the table below:
| Pin Number | Pin Name | Description |
|---|---|---|
| 1 | VSS | Ground (0V) |
| 2 | VDD | Power supply (4.7V to 5.3V) |
| 3 | VO | Contrast adjustment (connect to a potentiometer) |
| 4 | RS | Register Select (0: Command, 1: Data) |
| 5 | RW | Read/Write (0: Write, 1: Read) |
| 6 | E | Enable signal (triggers data read/write) |
| 7 | D0 | Data line 0 (used in 8-bit mode only) |
| 8 | D1 | Data line 1 (used in 8-bit mode only) |
| 9 | D2 | Data line 2 (used in 8-bit mode only) |
| 10 | D3 | Data line 3 (used in 8-bit mode only) |
| 11 | D4 | Data line 4 (used in 4-bit or 8-bit mode) |
| 12 | D5 | Data line 5 (used in 4-bit or 8-bit mode) |
| 13 | D6 | Data line 6 (used in 4-bit or 8-bit mode) |
| 14 | D7 | Data line 7 (used in 4-bit or 8-bit mode) |
| 15 | A (LED+) | Backlight anode (connect to +5V via a resistor if needed) |
| 16 | K (LED-) | Backlight cathode (connect to ground) |
Usage Instructions
How to Use the LCD 16x4 in a Circuit
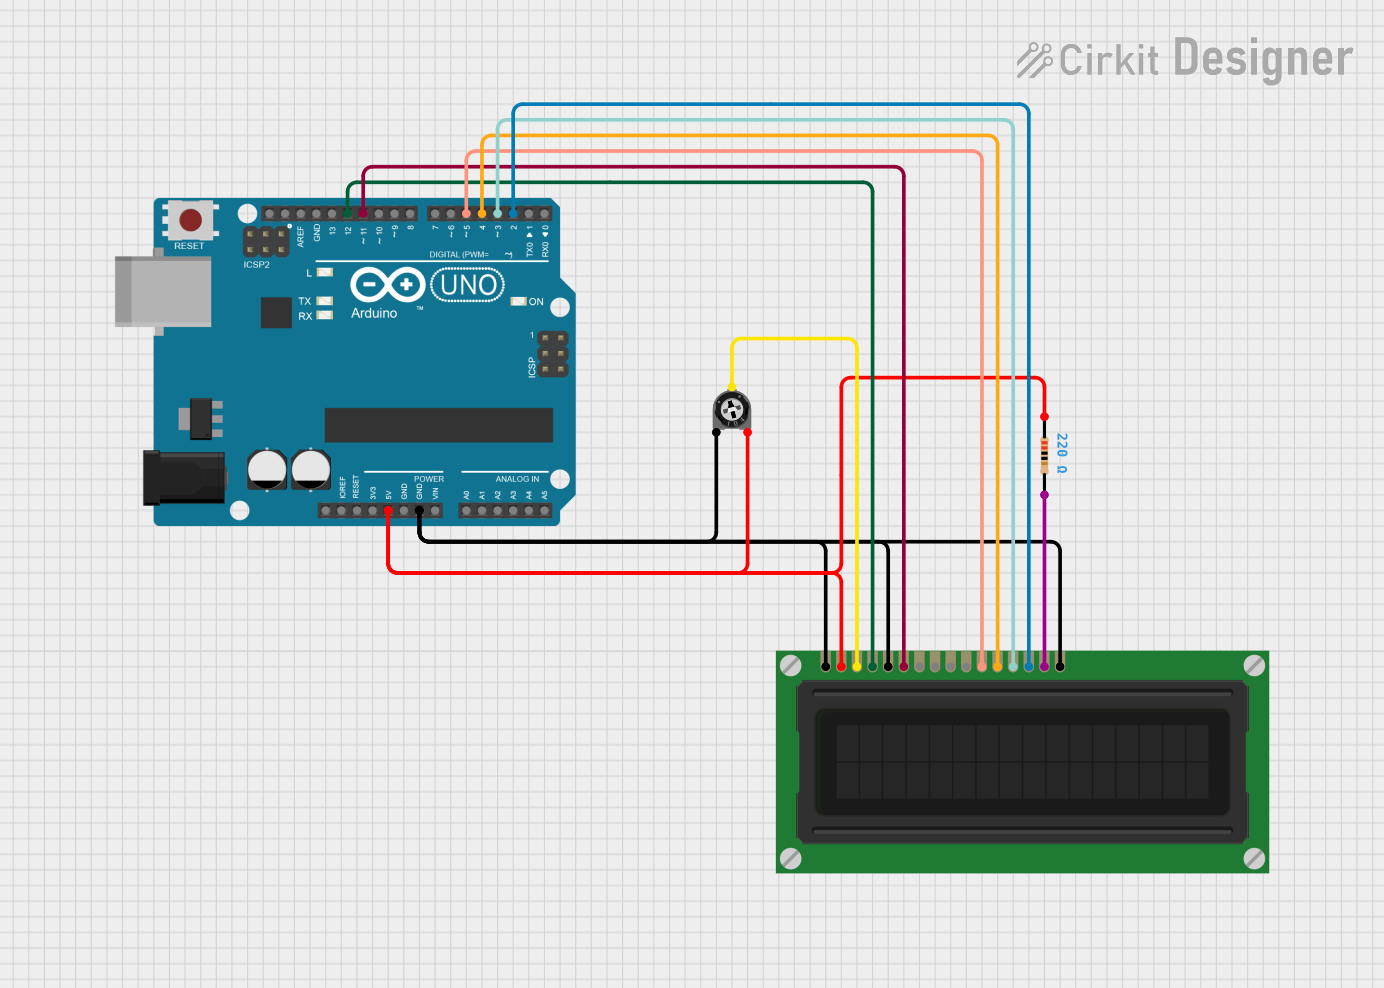
- Power the LCD: Connect the VSS pin to ground and the VDD pin to a 5V power supply.
- Adjust Contrast: Connect the VO pin to the middle terminal of a 10kΩ potentiometer. Connect the other two terminals of the potentiometer to VDD and ground.
- Connect Control Pins:
- RS: Connect to a digital pin on the microcontroller.
- RW: Connect to ground (for write-only mode).
- E: Connect to another digital pin on the microcontroller.
- Connect Data Pins:
- For 4-bit mode: Use D4 to D7 and leave D0 to D3 unconnected.
- For 8-bit mode: Use all data pins (D0 to D7).
- Backlight: Connect pin 15 (A) to 5V through a 220Ω resistor and pin 16 (K) to ground.
- Initialize the LCD: Use a library like
LiquidCrystalin Arduino to initialize and control the display.
Important Considerations and Best Practices
- Use a current-limiting resistor for the backlight to prevent damage.
- Ensure proper grounding to avoid noise or flickering issues.
- Use 4-bit mode for fewer pin connections and simpler wiring.
- Avoid exposing the LCD to temperatures outside its operating range.
Example Code for Arduino UNO
Below is an example of how to use the LCD 16x4 with an Arduino UNO:
#include <LiquidCrystal.h>

// Initialize the library with the numbers of the interface pins
// RS, E, D4, D5, D6, D7
LiquidCrystal lcd(7, 8, 9, 10, 11, 12);

void setup() {
  // Set up the LCD's number of columns and rows
  lcd.begin(16, 4);

  // Print a message to the LCD
  lcd.setCursor(0, 0); // Set cursor to column 0, row 0
  lcd.print("Hello, World!");

  lcd.setCursor(0, 1); // Set cursor to column 0, row 1
  lcd.print("Line 2 Text");

  lcd.setCursor(0, 2); // Set cursor to column 0, row 2
  lcd.print("Line 3 Text");

  lcd.setCursor(0, 3); // Set cursor to column 0, row 3
  lcd.print("Line 4 Text");
}

void loop() {
  // No actions in the loop for this example
}
Troubleshooting and FAQs
Common Issues and Solutions
No Display on the LCD:
- Check the power connections (VSS and VDD).
- Adjust the contrast using the potentiometer connected to VO.
- Ensure the backlight is properly connected.
Flickering or Unstable Display:
- Verify proper grounding of the circuit.
- Use decoupling capacitors near the power pins to reduce noise.
Incorrect or Garbled Characters:
- Ensure the data pins are correctly connected.
- Verify the initialization code matches the LCD configuration (e.g., 4-bit or 8-bit mode).
Backlight Not Working:
- Check the resistor value connected to the backlight anode (pin 15).
- Ensure the backlight cathode (pin 16) is connected to ground.
FAQs
Q: Can I use the LCD 16x4 with a 3.3V microcontroller?
A: The LCD 16x4 is designed for 5V operation. You can use a level shifter or voltage divider to interface it with a 3.3V microcontroller.
Q: How do I display custom characters?
A: The HD44780 controller supports custom characters. Use the createChar() function in the LiquidCrystal library to define and display custom characters.
Q: Can I use the LCD without a potentiometer for contrast adjustment?
A: Yes, you can use a fixed resistor (e.g., 1kΩ to 10kΩ) between VO and ground, but a potentiometer provides better control.
Q: Is the backlight mandatory?
A: No, the LCD can function without the backlight, but it may be difficult to read in low-light conditions.