
How to Use Pilot Lamp Yellon: Examples, Pinouts, and Specs
 Design with Pilot Lamp Yellon in Cirkit Designer
Introduction
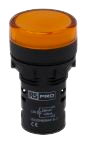
The Pilot Lamp Yellon is a small indicator light designed to visually display the operational status of a device or circuit. This component emits a yellow light, which is commonly associated with caution or warning conditions. Its compact design and reliable performance make it an essential component in control panels, industrial equipment, and consumer electronics.
Explore Projects Built with Pilot Lamp Yellon
 Open Project in Cirkit Designer
 Open Project in Cirkit Designer
 Open Project in Cirkit Designer
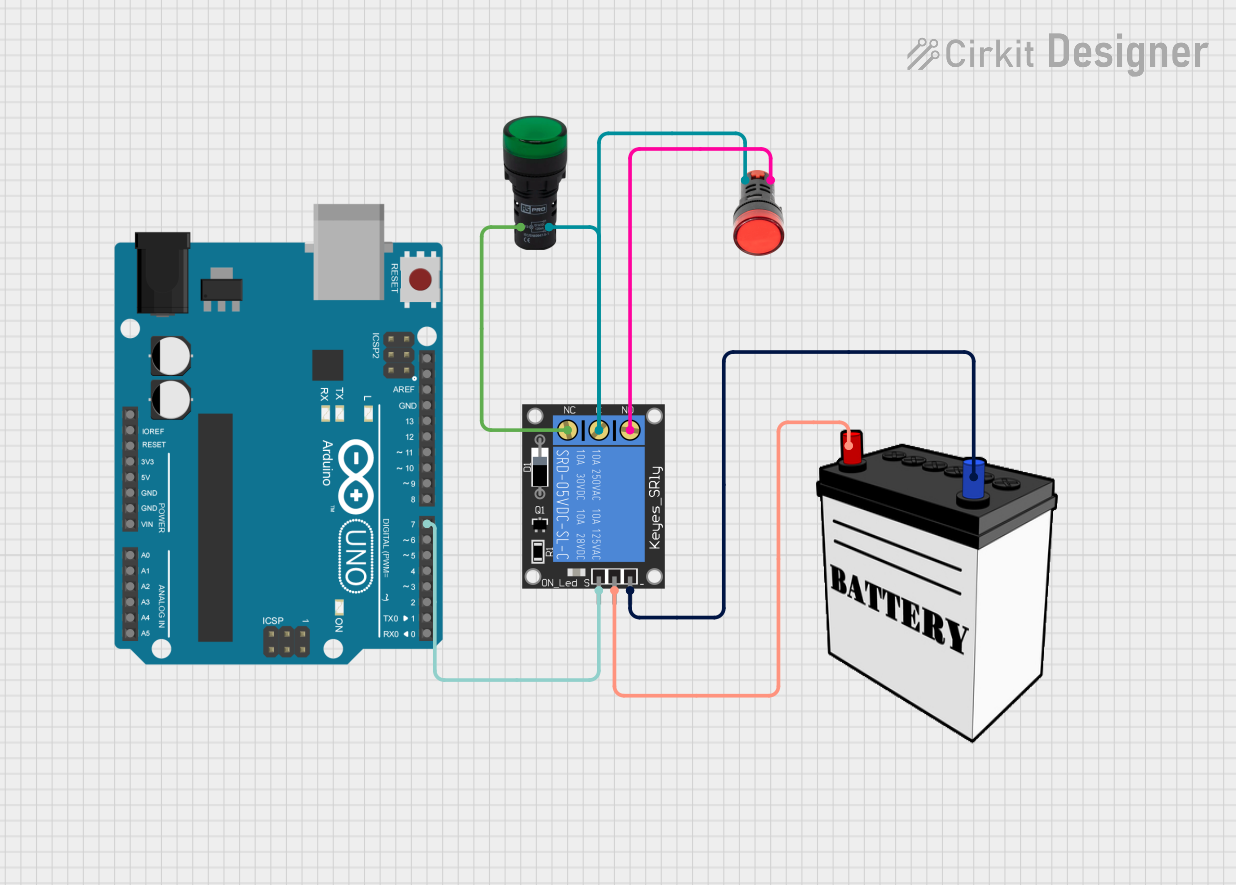 Open Project in Cirkit Designer
Explore Projects Built with Pilot Lamp Yellon
Open Project in Cirkit DesignerOpen Project in Cirkit DesignerOpen Project in Cirkit DesignerOpen Project in Cirkit DesignerCommon Applications and Use Cases
- Control Panels: Used to indicate the status of machinery or processes.
- Industrial Equipment: Serves as a warning or caution light in heavy machinery.
- Consumer Electronics: Provides visual feedback for power or operational states.
- Automotive Systems: Indicates specific conditions, such as low fuel or maintenance alerts.
- Home Appliances: Used in devices like washing machines or microwaves to signal operational states.
Technical Specifications
The Pilot Lamp Yellon is designed for durability and consistent performance. Below are its key technical details:
General Specifications
| Parameter | Value |
|---|---|
| Operating Voltage | 12V DC (typical) |
| Current Consumption | 20 mA (nominal) |
| Light Color | Yellow |
| Mounting Type | Panel Mount |
| Lamp Type | LED |
| Lifespan | 50,000 hours (typical) |
| Operating Temperature | -20°C to +70°C |
Pin Configuration and Descriptions
The Pilot Lamp Yellon typically has two terminals for connection:
| Pin Number | Label | Description |
|---|---|---|
| 1 | Positive (+) | Connect to the positive terminal of the power supply. |
| 2 | Negative (-) | Connect to the negative terminal (ground). |
Usage Instructions
How to Use the Pilot Lamp Yellon in a Circuit
- Power Supply: Ensure the power supply matches the operating voltage of the lamp (12V DC).
- Wiring:
- Connect the positive terminal of the lamp to the positive output of the power supply.
- Connect the negative terminal of the lamp to the ground.
- Mounting: Secure the lamp into the panel or enclosure using the provided mounting hardware.
- Testing: Power on the circuit to verify that the lamp illuminates correctly.
Important Considerations and Best Practices
- Voltage Compatibility: Do not exceed the rated voltage (12V DC) to avoid damaging the lamp.
- Polarity: Ensure correct polarity when connecting the terminals. Reversing the polarity may prevent the lamp from functioning.
- Heat Management: While the lamp generates minimal heat, ensure adequate ventilation in high-temperature environments.
- Durability: Avoid physical impacts or exposure to moisture unless the lamp is rated for such conditions.
Example: Connecting to an Arduino UNO
The Pilot Lamp Yellon can be used with an Arduino UNO to indicate the status of a digital output pin. Below is an example:
// Example: Controlling the Pilot Lamp Yellon with Arduino UNO
// Connect the positive terminal of the lamp to pin 9 (via a 470-ohm resistor)
// Connect the negative terminal of the lamp to GND

const int lampPin = 9; // Define the pin connected to the lamp

void setup() {
  pinMode(lampPin, OUTPUT); // Set the lamp pin as an output
}

void loop() {
  digitalWrite(lampPin, HIGH); // Turn the lamp ON
  delay(1000);                 // Wait for 1 second
  digitalWrite(lampPin, LOW);  // Turn the lamp OFF
  delay(1000);                 // Wait for 1 second
}
Note: Use a current-limiting resistor (e.g., 470 ohms) in series with the lamp to protect the Arduino pin and the lamp.
Troubleshooting and FAQs
Common Issues and Solutions
Lamp Does Not Light Up:
- Cause: Incorrect wiring or reversed polarity.
- Solution: Double-check the wiring and ensure the positive and negative terminals are connected correctly.
Dim or Flickering Light:
- Cause: Insufficient power supply or loose connections.
- Solution: Verify the power supply voltage and ensure all connections are secure.
Lamp Overheats:
- Cause: Excessive voltage or prolonged operation in high-temperature environments.
- Solution: Ensure the voltage does not exceed 12V DC and provide adequate ventilation.
Short Lifespan:
- Cause: Operating outside the specified temperature range or physical damage.
- Solution: Use the lamp within the recommended temperature range and handle it carefully.
FAQs
Q: Can the Pilot Lamp Yellon be used with AC power?
A: No, this lamp is designed for DC power only. Using AC power may damage the component.Q: What resistor value should I use with the lamp?
A: For a 12V DC supply, a 470-ohm resistor is typically sufficient to limit current when used with microcontrollers like Arduino.Q: Is the lamp waterproof?
A: The standard Pilot Lamp Yellon is not waterproof. For outdoor or wet environments, use a waterproof variant.Q: Can I use the lamp with a 5V power supply?
A: No, the lamp is designed for 12V DC operation. Using a lower voltage may result in insufficient brightness or failure to light up.
This documentation provides all the necessary details to effectively use and troubleshoot the Pilot Lamp Yellon in your projects.