
How to Use Soil Moisture Sensor: Examples, Pinouts, and Specs
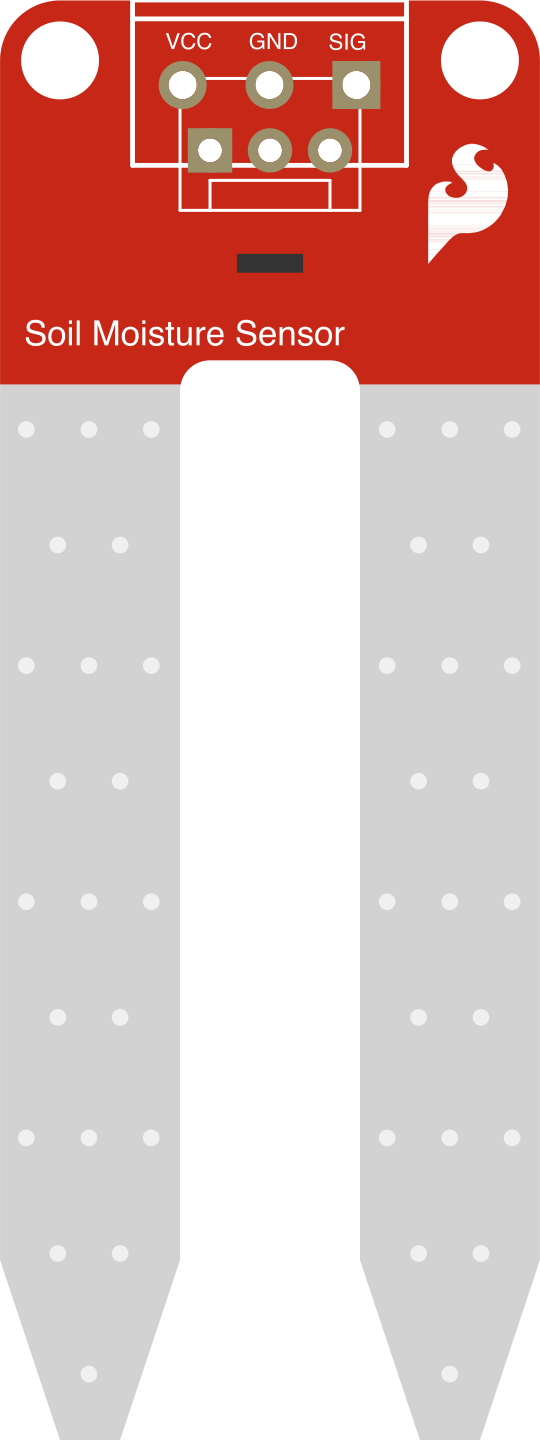
 Design with Soil Moisture Sensor in Cirkit Designer
Introduction
The Soil Moisture Sensor is a device designed to measure the volumetric water content in soil. It provides real-time data that can be used for irrigation management, plant health monitoring, and agricultural automation. By detecting the moisture level in the soil, this sensor helps optimize water usage and ensures plants receive adequate hydration.
Explore Projects Built with Soil Moisture Sensor
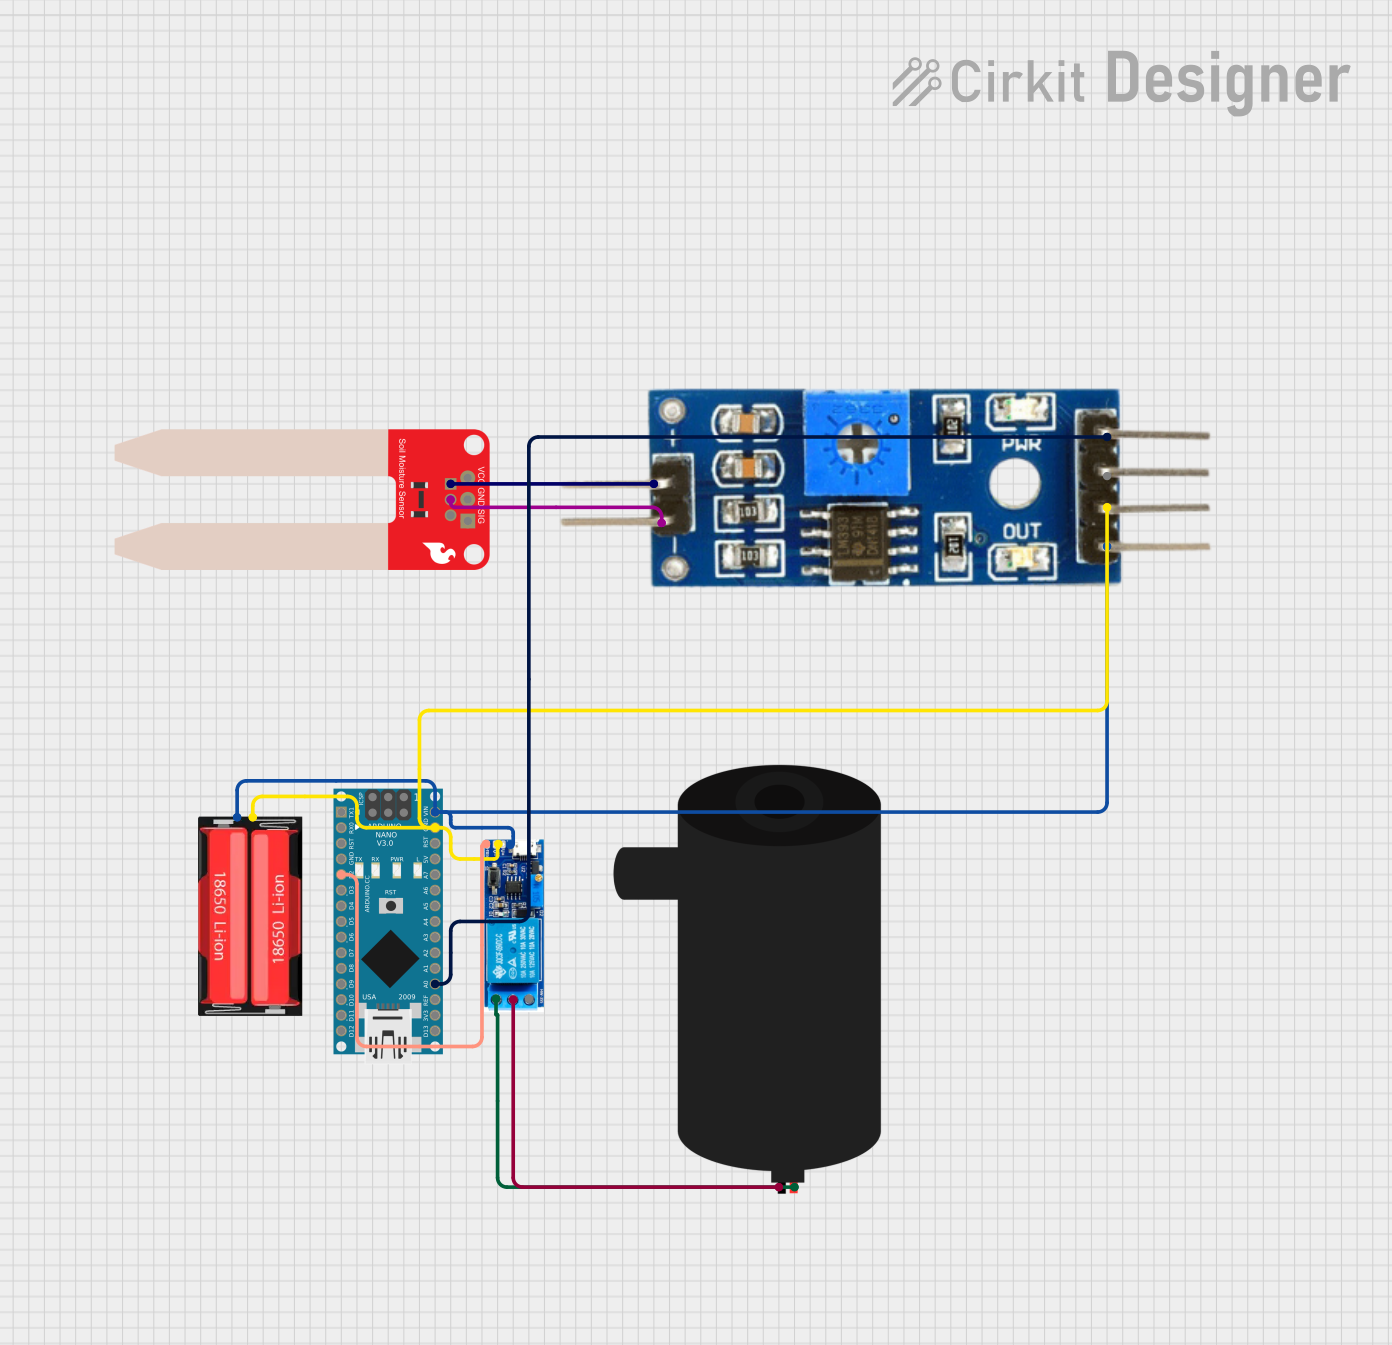 Open Project in Cirkit Designer
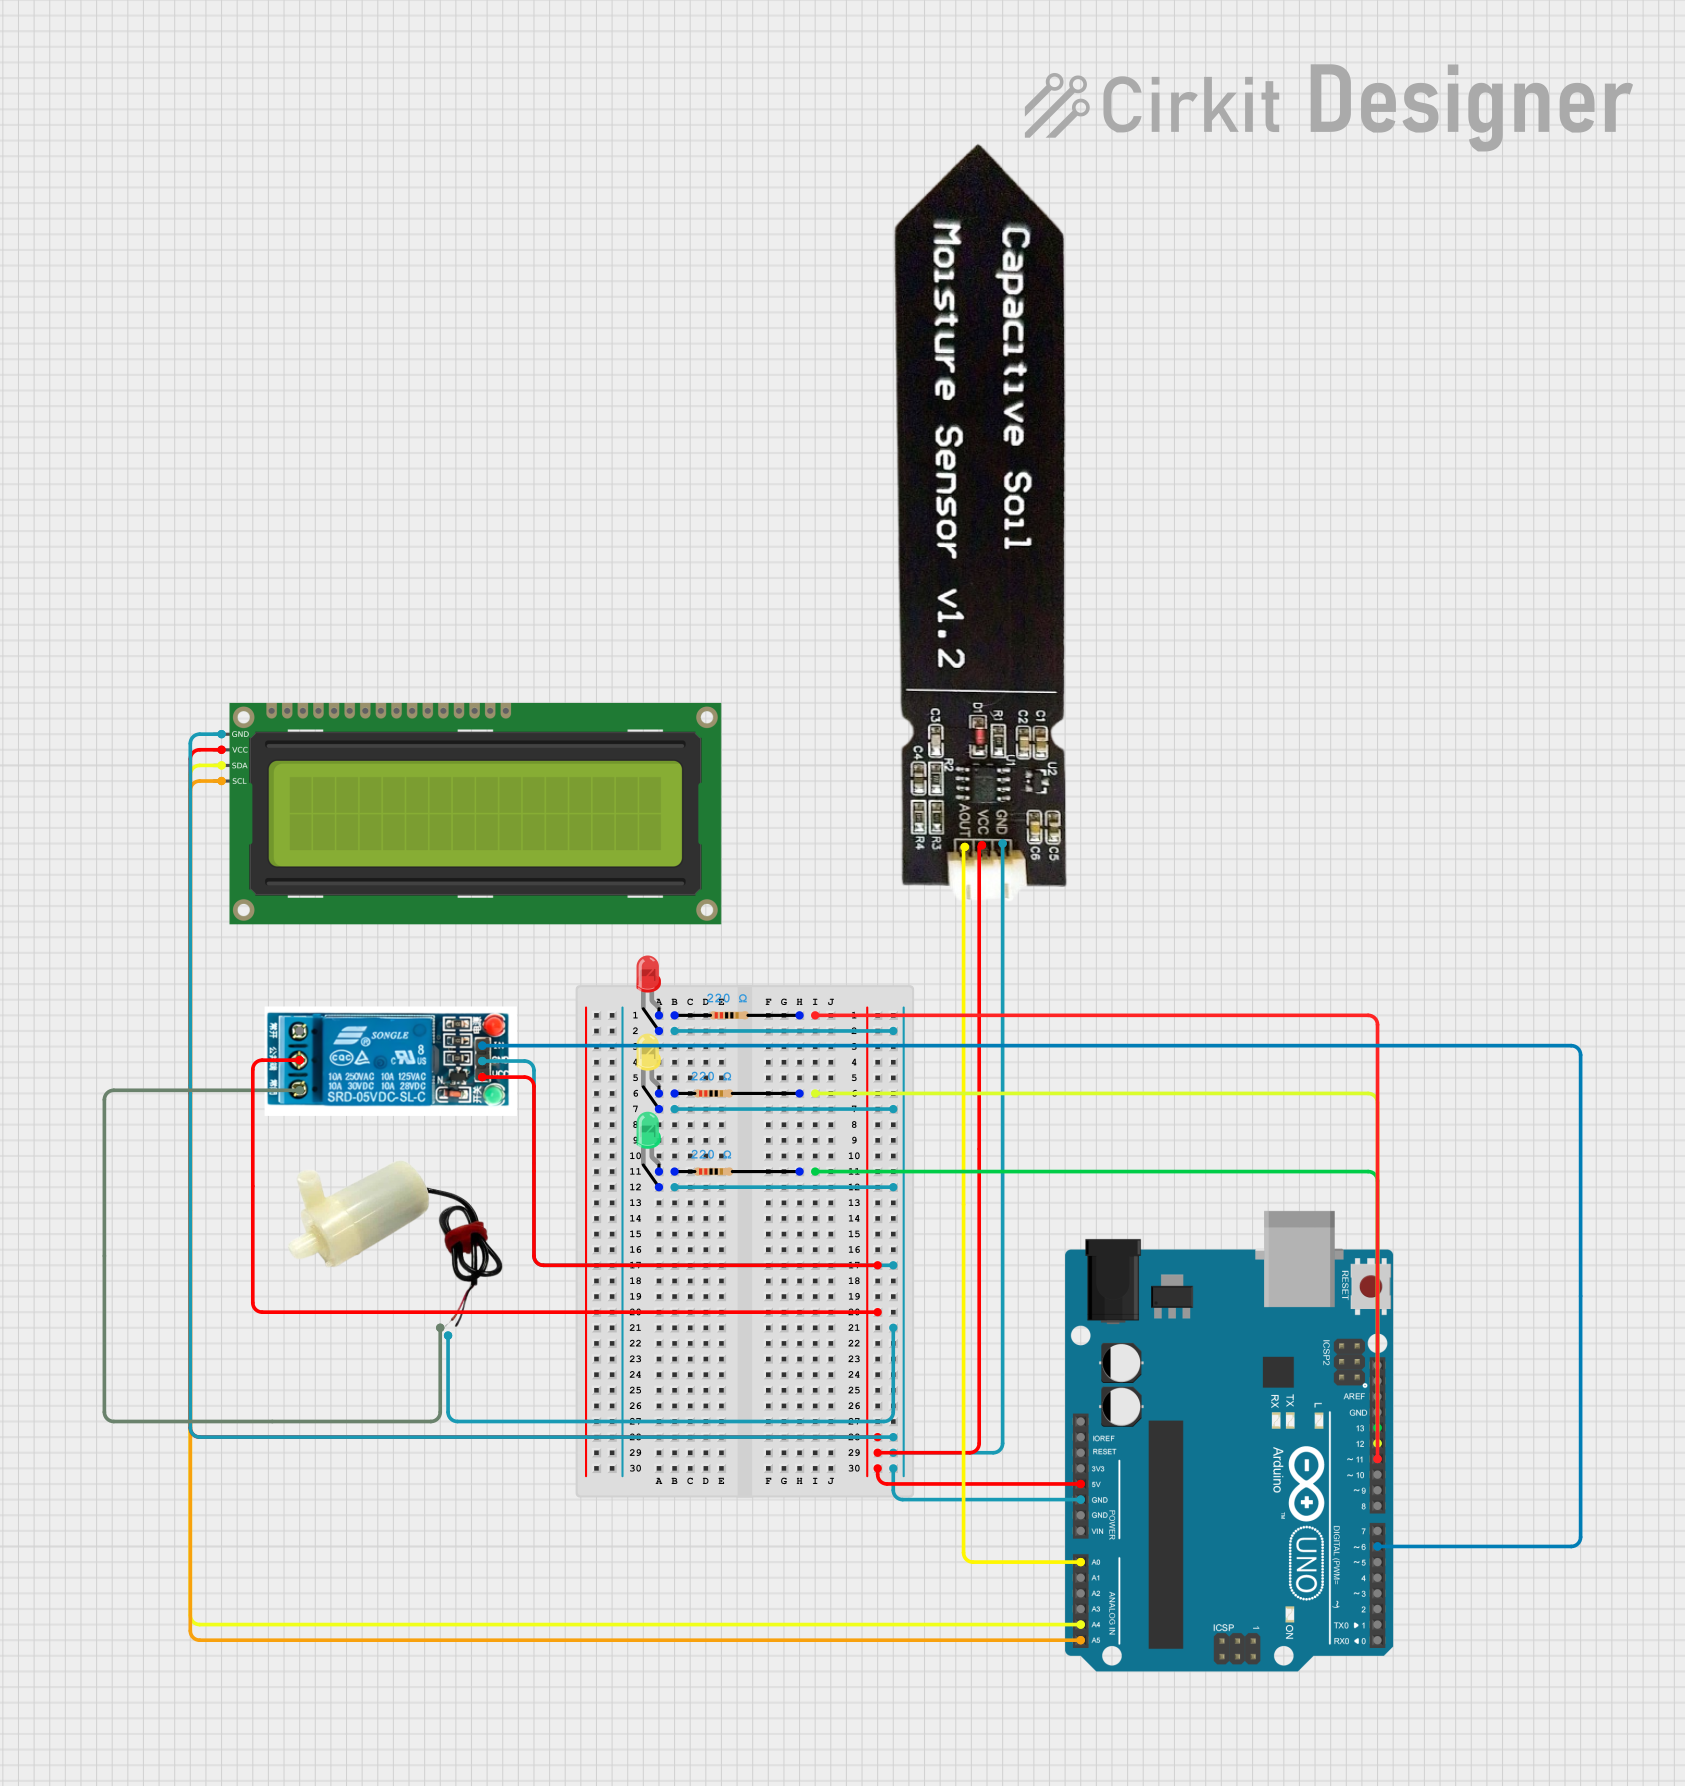 Open Project in Cirkit Designer
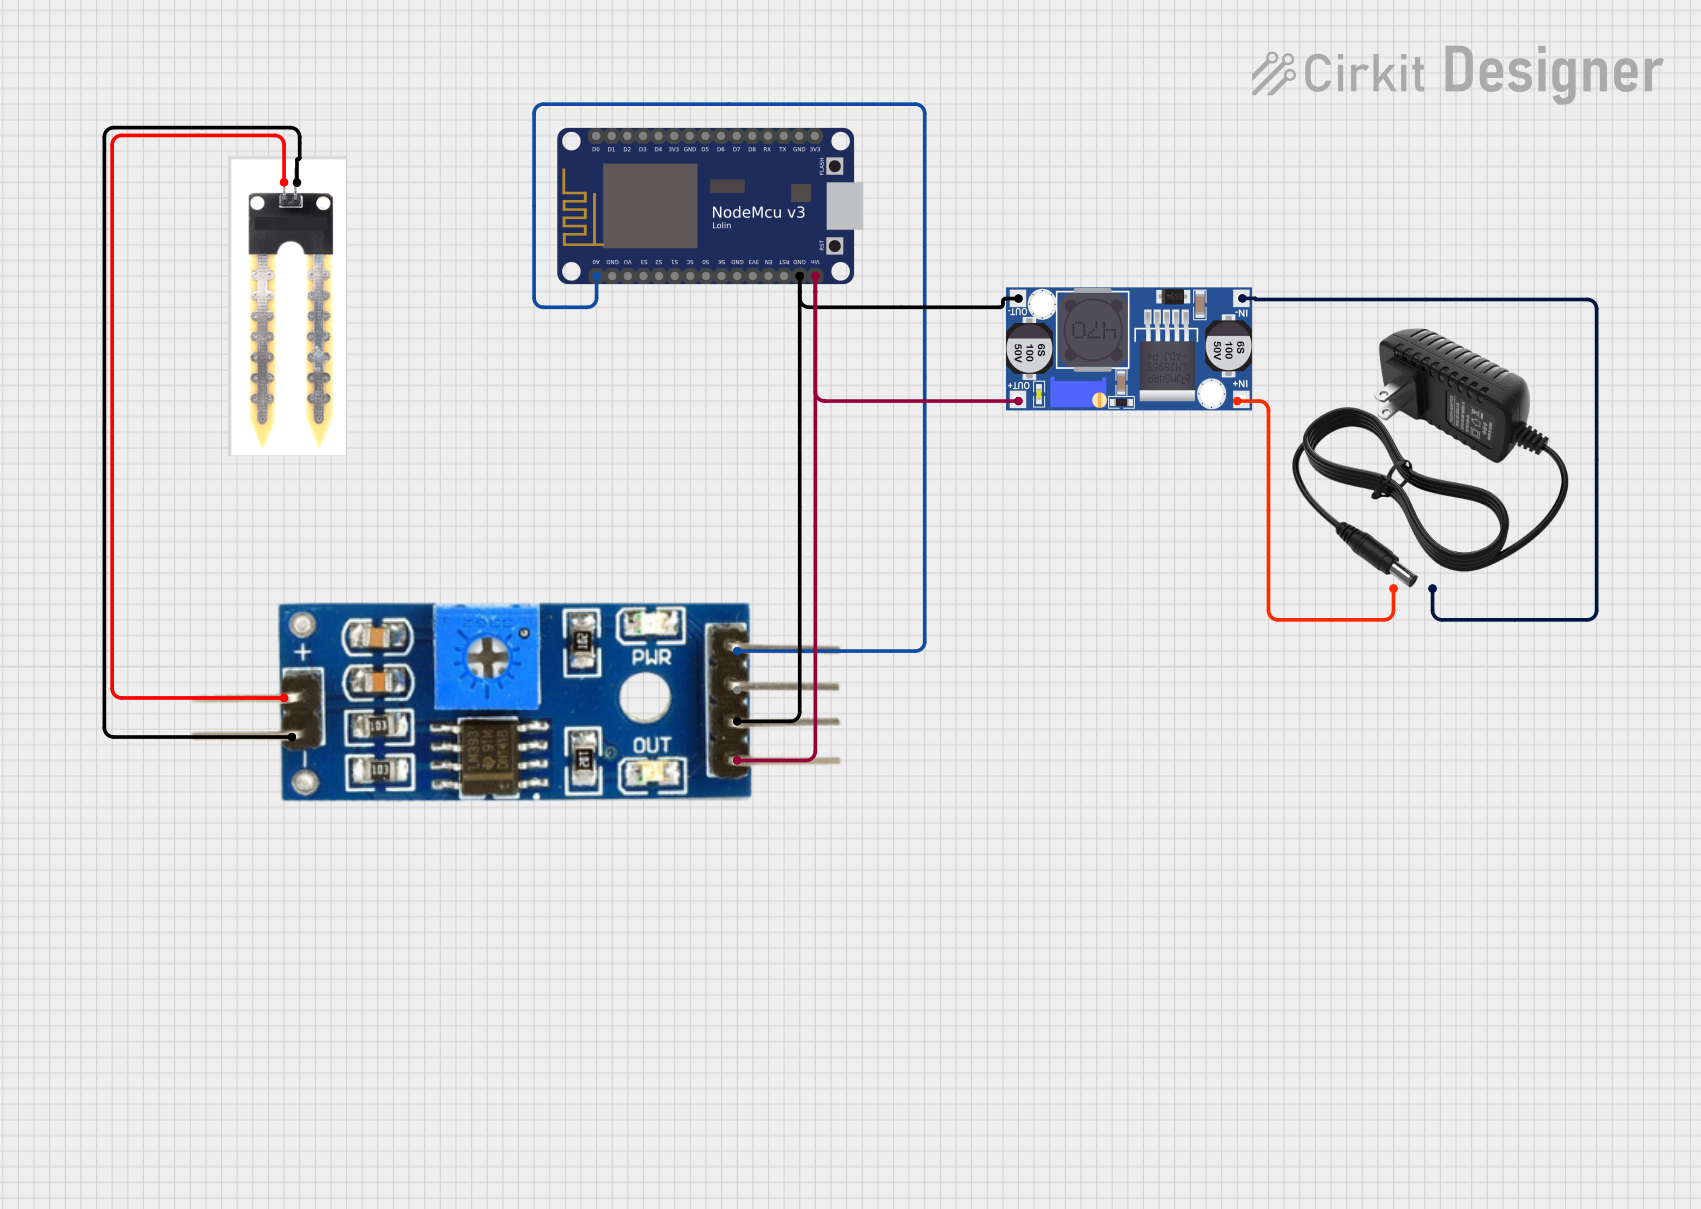 Open Project in Cirkit Designer
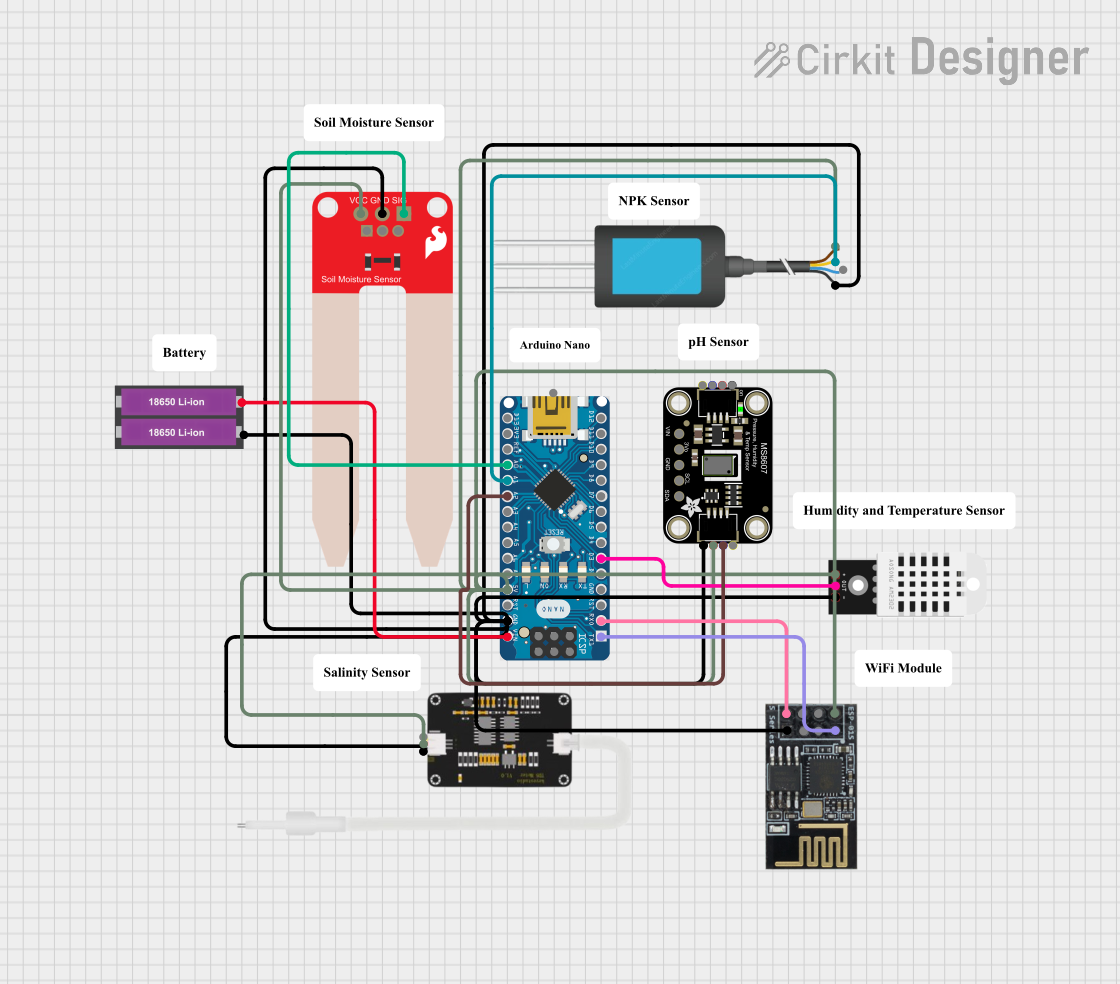 Open Project in Cirkit Designer
Explore Projects Built with Soil Moisture Sensor
Open Project in Cirkit DesignerOpen Project in Cirkit DesignerOpen Project in Cirkit DesignerOpen Project in Cirkit DesignerCommon Applications and Use Cases
- Automated irrigation systems
- Greenhouse monitoring
- Smart gardening projects
- Agricultural research and development
- Soil analysis for landscaping and farming
Technical Specifications
The Soil Moisture Sensor typically consists of two probes that measure the resistance of the soil, which correlates to its moisture level. Below are the key technical details:
| Parameter | Value |
|---|---|
| Operating Voltage | 3.3V - 5V |
| Operating Current | < 20mA |
| Output Type | Analog and Digital |
| Analog Output Voltage | 0V (dry soil) to 4.2V (wet soil) |
| Digital Output | High (wet) / Low (dry) |
| Dimensions | ~60mm x 20mm x 5mm |
| Probe Material | Corrosion-resistant metal |
Pin Configuration and Descriptions
The Soil Moisture Sensor module typically has four pins:
| Pin | Name | Description |
|---|---|---|
| 1 | VCC | Power supply pin (3.3V - 5V) |
| 2 | GND | Ground pin |
| 3 | A0 | Analog output pin (provides a voltage proportional to soil moisture level) |
| 4 | D0 | Digital output pin (provides a HIGH or LOW signal based on a threshold value) |
Usage Instructions
How to Use the Component in a Circuit
Connect the Sensor to a Microcontroller:
- Connect the
VCCpin to the 5V pin of the microcontroller (e.g., Arduino UNO). - Connect the
GNDpin to the ground (GND) of the microcontroller. - Connect the
A0pin to an analog input pin (e.g., A0 on Arduino UNO) for reading moisture levels. - Optionally, connect the
D0pin to a digital input pin if you want to use the digital output.
- Connect the
Insert the Probes into the Soil:
- Place the sensor probes into the soil at the desired depth.
- Ensure the probes are fully inserted for accurate readings.
Calibrate the Sensor:
- Use the potentiometer on the module to adjust the threshold for the digital output.
- Turn the potentiometer clockwise or counterclockwise to set the desired moisture level.
Read the Output:
- Use the analog output (
A0) for precise moisture level readings. - Use the digital output (
D0) for simple wet/dry detection.
- Use the analog output (
Important Considerations and Best Practices
- Avoid prolonged exposure of the sensor to water to prevent corrosion.
- Use a protective coating (e.g., nail polish) on the probes to extend their lifespan.
- Calibrate the sensor for different soil types, as moisture levels can vary based on soil composition.
- Disconnect the sensor when not in use to prevent electrolysis and degradation of the probes.
Example Code for Arduino UNO
// Soil Moisture Sensor Example Code for Arduino UNO
// This code reads both analog and digital outputs from the sensor
// and displays the results in the Serial Monitor.

const int analogPin = A0; // Analog pin connected to A0 of the sensor
const int digitalPin = 7; // Digital pin connected to D0 of the sensor
const int ledPin = 13;    // LED pin to indicate soil dryness

void setup() {
  pinMode(digitalPin, INPUT); // Set digital pin as input
  pinMode(ledPin, OUTPUT);    // Set LED pin as output
  Serial.begin(9600);         // Initialize serial communication
}

void loop() {
  // Read analog value from the sensor
  int analogValue = analogRead(analogPin);
  // Read digital value from the sensor
  int digitalValue = digitalRead(digitalPin);

  // Print the analog value to the Serial Monitor
  Serial.print("Analog Value: ");
  Serial.println(analogValue);

  // Print the digital value to the Serial Monitor
  Serial.print("Digital Value: ");
  Serial.println(digitalValue);

  // Turn on the LED if the soil is dry (digital output is LOW)
  if (digitalValue == LOW) {
    digitalWrite(ledPin, HIGH);
    Serial.println("Soil is dry! LED ON.");
  } else {
    digitalWrite(ledPin, LOW);
    Serial.println("Soil is wet! LED OFF.");
  }

  delay(1000); // Wait for 1 second before the next reading
}
Troubleshooting and FAQs
Common Issues Users Might Face
Inconsistent Readings:
- Cause: Soil composition or improper probe insertion.
- Solution: Ensure the probes are fully inserted and recalibrate the sensor for the specific soil type.
Corrosion of Probes:
- Cause: Prolonged exposure to water or electrolysis.
- Solution: Apply a protective coating to the probes and disconnect the sensor when not in use.
No Output from the Sensor:
- Cause: Incorrect wiring or insufficient power supply.
- Solution: Double-check the wiring and ensure the power supply matches the sensor's requirements.
Digital Output Always HIGH or LOW:
- Cause: Incorrect threshold setting on the potentiometer.
- Solution: Adjust the potentiometer to set the desired moisture threshold.
FAQs
Can the sensor be used outdoors?
- Yes, but it is recommended to protect the sensor from prolonged exposure to water and harsh weather conditions.
How do I extend the lifespan of the sensor?
- Apply a protective coating to the probes and avoid leaving the sensor powered on when not in use.
What is the difference between analog and digital outputs?
- The analog output provides a continuous voltage proportional to the soil moisture level, while the digital output gives a simple HIGH/LOW signal based on a set threshold.
Can I use this sensor with a Raspberry Pi?
- Yes, the sensor can be used with a Raspberry Pi. However, you will need an ADC (Analog-to-Digital Converter) to read the analog output.