
How to Use PCB Circuit 5x7: Examples, Pinouts, and Specs
 Design with PCB Circuit 5x7 in Cirkit Designer
Introduction
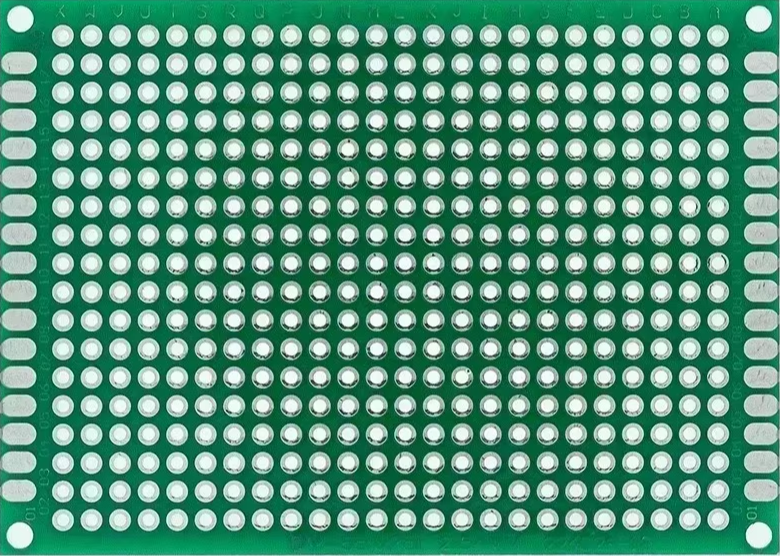
The PCB Circuit 5x7 is a versatile printed circuit board (PCB) measuring 5x7 inches, designed for mounting and interconnecting electronic components. Manufactured in China, this PCB provides a robust platform for prototyping, small-scale production, and DIY electronics projects. Its grid of pre-drilled holes and copper pads allows for easy soldering and component placement, making it an essential tool for hobbyists, students, and professionals alike.
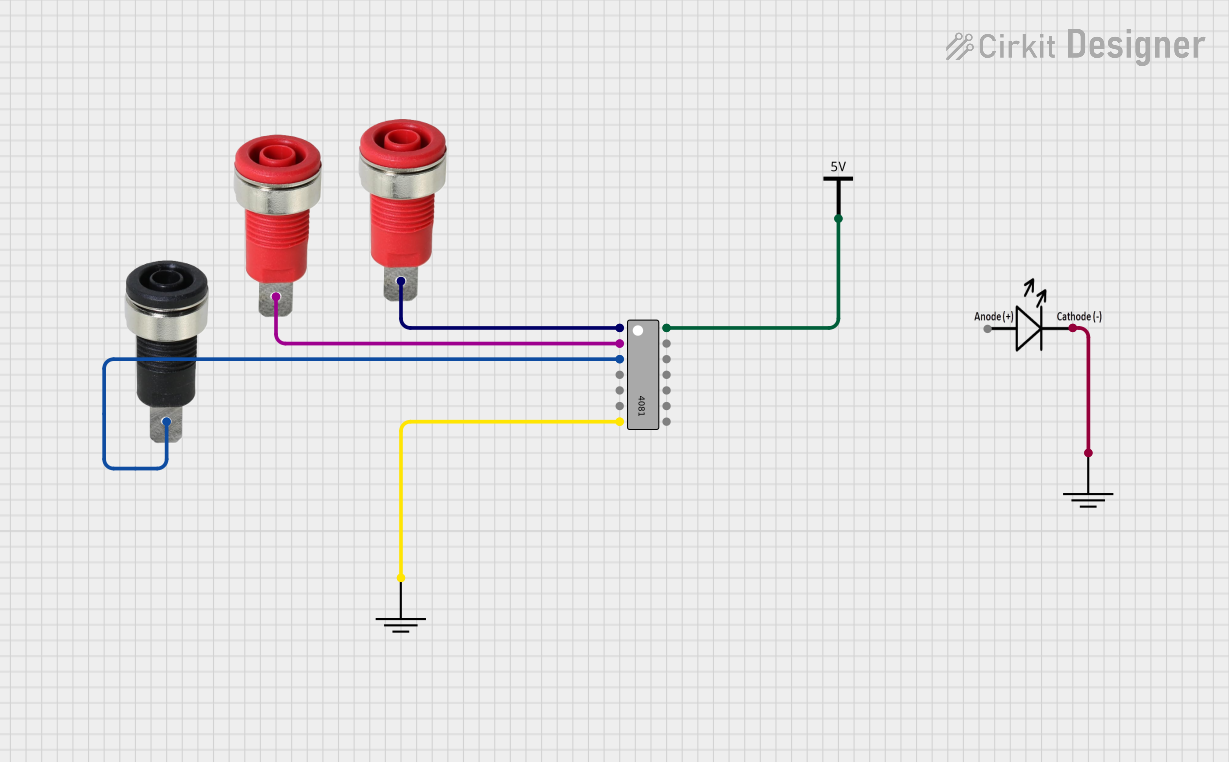
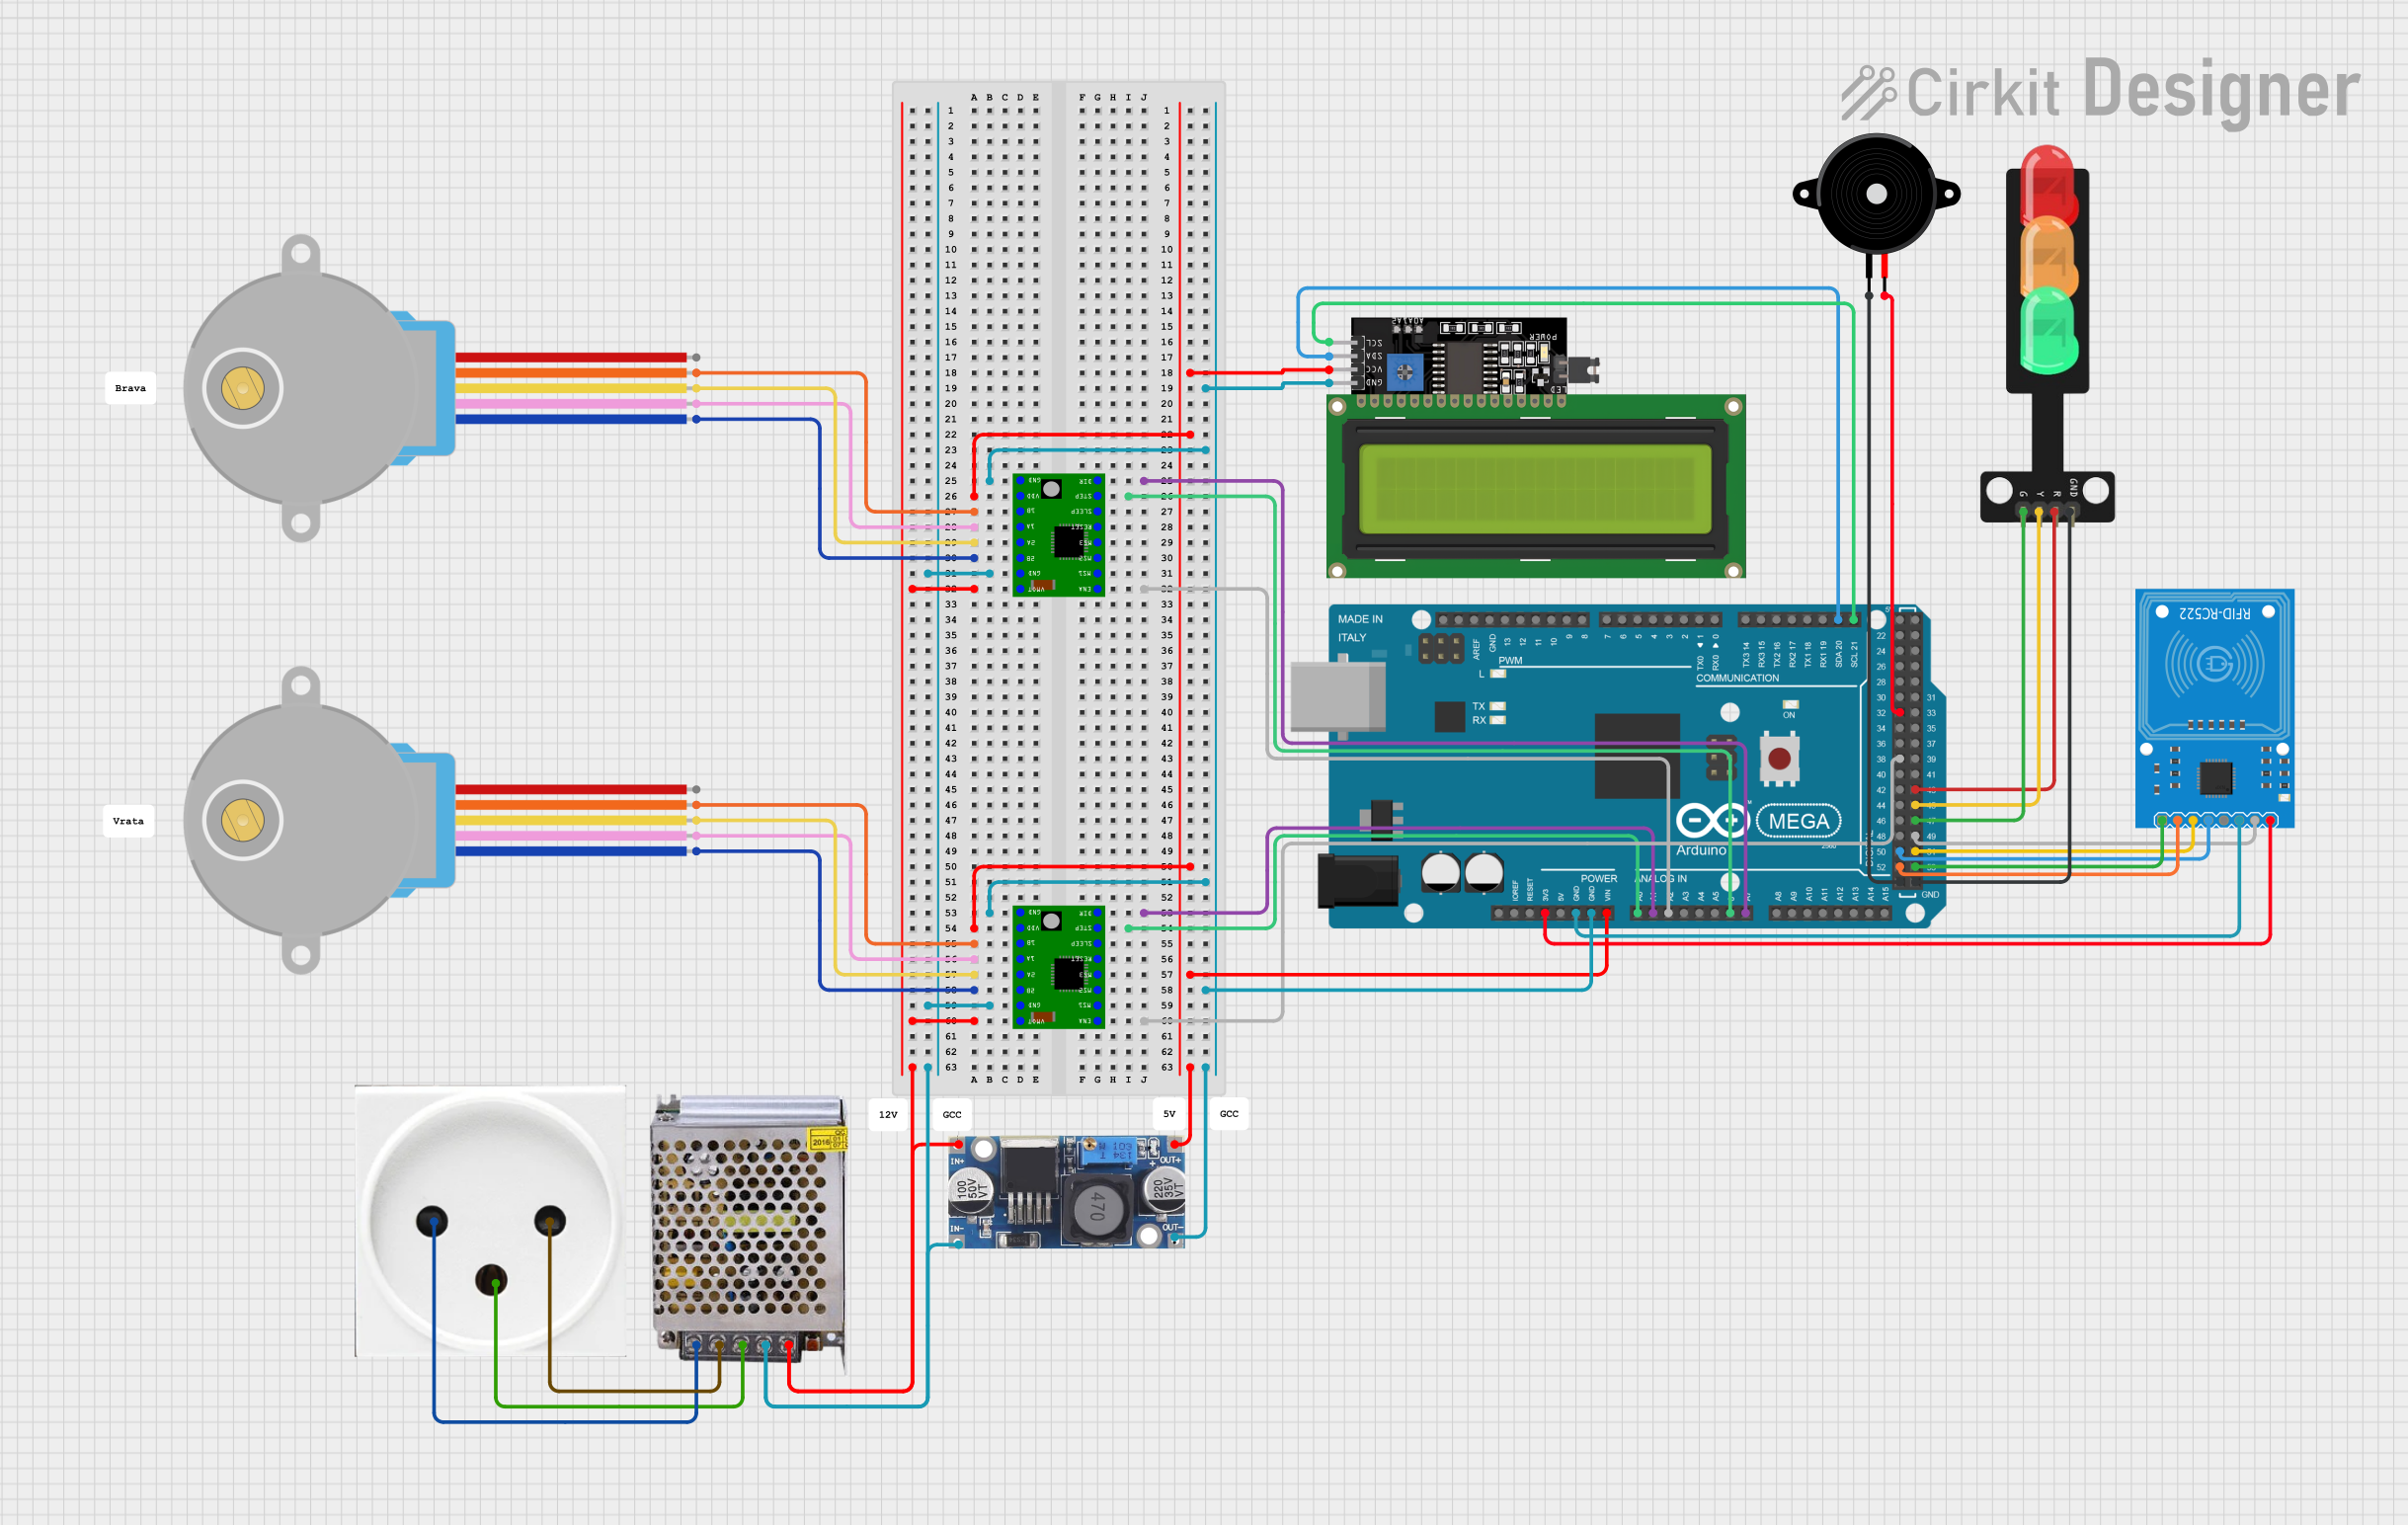
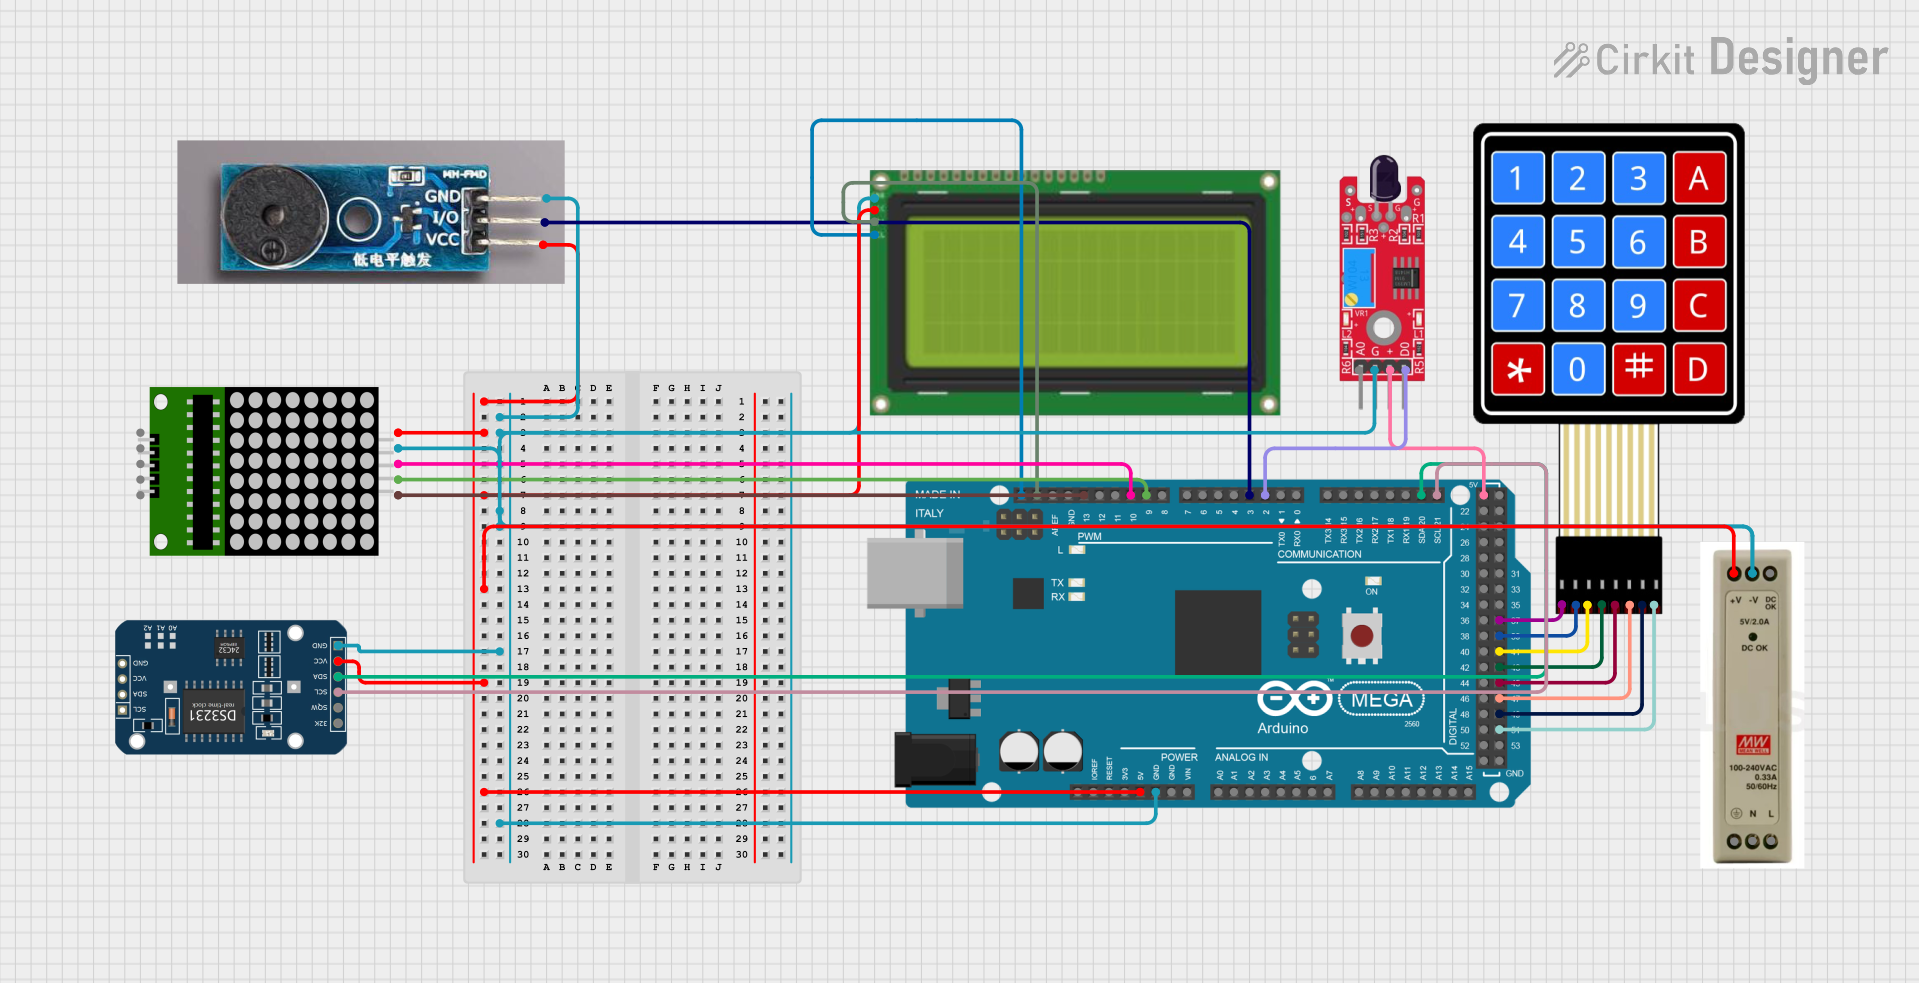
Explore Projects Built with PCB Circuit 5x7
 Open Project in Cirkit Designer
 Open Project in Cirkit Designer
 Open Project in Cirkit Designer
 Open Project in Cirkit Designer
Explore Projects Built with PCB Circuit 5x7
Open Project in Cirkit DesignerOpen Project in Cirkit DesignerOpen Project in Cirkit DesignerOpen Project in Cirkit DesignerCommon Applications and Use Cases
- Prototyping electronic circuits
- DIY electronics projects
- Educational purposes for learning circuit design
- Small-scale production of custom circuits
- Repair and modification of existing circuits
Technical Specifications
The PCB Circuit 5x7 is designed to meet the needs of a wide range of electronic applications. Below are its key technical details:
General Specifications
| Parameter | Value |
|---|---|
| Dimensions | 5 x 7 inches (127 x 178 mm) |
| Material | FR4 (Flame Retardant 4) |
| Thickness | 1.6 mm |
| Copper Layer | Single-sided or double-sided (varies by model) |
| Hole Diameter | 1.0 mm |
| Grid Spacing | 2.54 mm (0.1 inch) |
| Surface Finish | HASL (Hot Air Solder Leveling) or bare copper |
| Operating Temperature | -40°C to 105°C |
Pin Configuration and Descriptions
The PCB Circuit 5x7 does not have predefined pins but features a grid of pre-drilled holes with copper pads. Below is a description of its layout:
| Feature | Description |
|---|---|
| Pre-drilled Holes | 1.0 mm diameter holes arranged in a 2.54 mm grid for component leads |
| Copper Pads | Circular pads around each hole for soldering connections |
| Edge Connectors | Optional edge connectors for interfacing with external circuits |
| Mounting Holes | Four larger holes at the corners for securing the PCB to enclosures or fixtures |
Usage Instructions
How to Use the PCB Circuit 5x7 in a Circuit
- Plan Your Circuit Layout: Sketch the circuit diagram and decide the placement of components on the PCB.
- Insert Components: Place the leads of components (e.g., resistors, capacitors, ICs) through the pre-drilled holes.
- Solder Connections: Use a soldering iron to solder the component leads to the copper pads. Ensure clean and secure solder joints.
- Route Connections: Use jumper wires or solder bridges to connect the copper pads as per your circuit design.
- Test the Circuit: Verify the functionality of the circuit before finalizing the assembly.
Important Considerations and Best Practices
- Avoid Overheating: Excessive heat during soldering can damage the copper pads or the PCB material.
- Use Flux: Apply flux to improve solder flow and ensure reliable connections.
- Clean the PCB: Remove any residual flux or debris after soldering to prevent short circuits.
- Plan for Expansion: Leave extra space on the PCB for future modifications or additions.
- Use Standoffs: Mount the PCB on standoffs to prevent short circuits with the surface below.
Example: Connecting the PCB Circuit 5x7 to an Arduino UNO
The PCB Circuit 5x7 can be used to create custom shields or breakout boards for an Arduino UNO. Below is an example of connecting an LED and a resistor to an Arduino using the PCB:
Circuit Diagram
- Connect the LED's anode to Arduino pin 13 through a 220-ohm resistor.
- Connect the LED's cathode to the Arduino's GND pin.
Arduino Code
// Example code to blink an LED connected to pin 13
// Ensure the LED is connected with the correct polarity
// and a resistor is used to limit current.

void setup() {
  pinMode(13, OUTPUT); // Set pin 13 as an output
}

void loop() {
  digitalWrite(13, HIGH); // Turn the LED on
  delay(1000);            // Wait for 1 second
  digitalWrite(13, LOW);  // Turn the LED off
  delay(1000);            // Wait for 1 second
}
Troubleshooting and FAQs
Common Issues Users Might Face
Poor Solder Joints:
- Cause: Insufficient heat or solder during soldering.
- Solution: Reheat the joint and apply more solder. Ensure the solder flows smoothly around the pad and lead.
Short Circuits:
- Cause: Excess solder bridging adjacent pads.
- Solution: Use a solder wick or desoldering pump to remove excess solder.
Damaged Copper Pads:
- Cause: Excessive heat or mechanical stress during soldering.
- Solution: Avoid overheating and handle the PCB carefully. Use adhesive copper tape to repair damaged pads if necessary.
Components Not Functioning:
- Cause: Incorrect placement or orientation of components.
- Solution: Double-check the circuit diagram and component orientation before soldering.
FAQs
Q: Can I use this PCB for high-frequency circuits?
A: The PCB Circuit 5x7 is suitable for low to moderate frequency circuits. For high-frequency applications, consider using a PCB with controlled impedance and proper ground planes.
Q: Is the PCB reusable?
A: While the PCB can be reused if components are carefully desoldered, repeated soldering and desoldering may damage the copper pads.
Q: Can I cut the PCB to a smaller size?
A: Yes, the PCB can be cut using a PCB cutter or a fine-toothed saw. Ensure clean edges and avoid damaging the copper traces.
Q: Does the PCB support surface-mount components?
A: The PCB is primarily designed for through-hole components. However, surface-mount components can be used with careful soldering and additional wiring.
This concludes the documentation for the PCB Circuit 5x7.