How to Use WCS1700: Examples, Pinouts, and Specs
Introduction
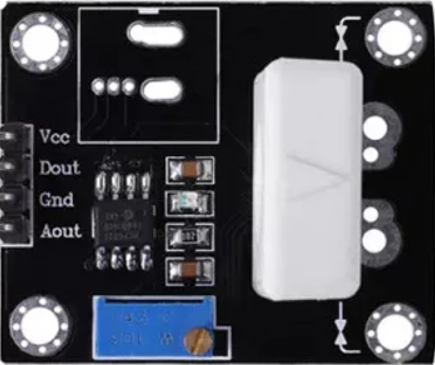
The WCS1700 is a capacitive touch sensor designed to detect touch input through a capacitive sensing mechanism. It is widely used in applications such as touch screens, touch-sensitive controls, and other user interface systems where a reliable and responsive touch detection is required. The WCS1700 offers high sensitivity, low power consumption, and ease of integration, making it an ideal choice for modern touch-based designs.
Explore Projects Built with WCS1700
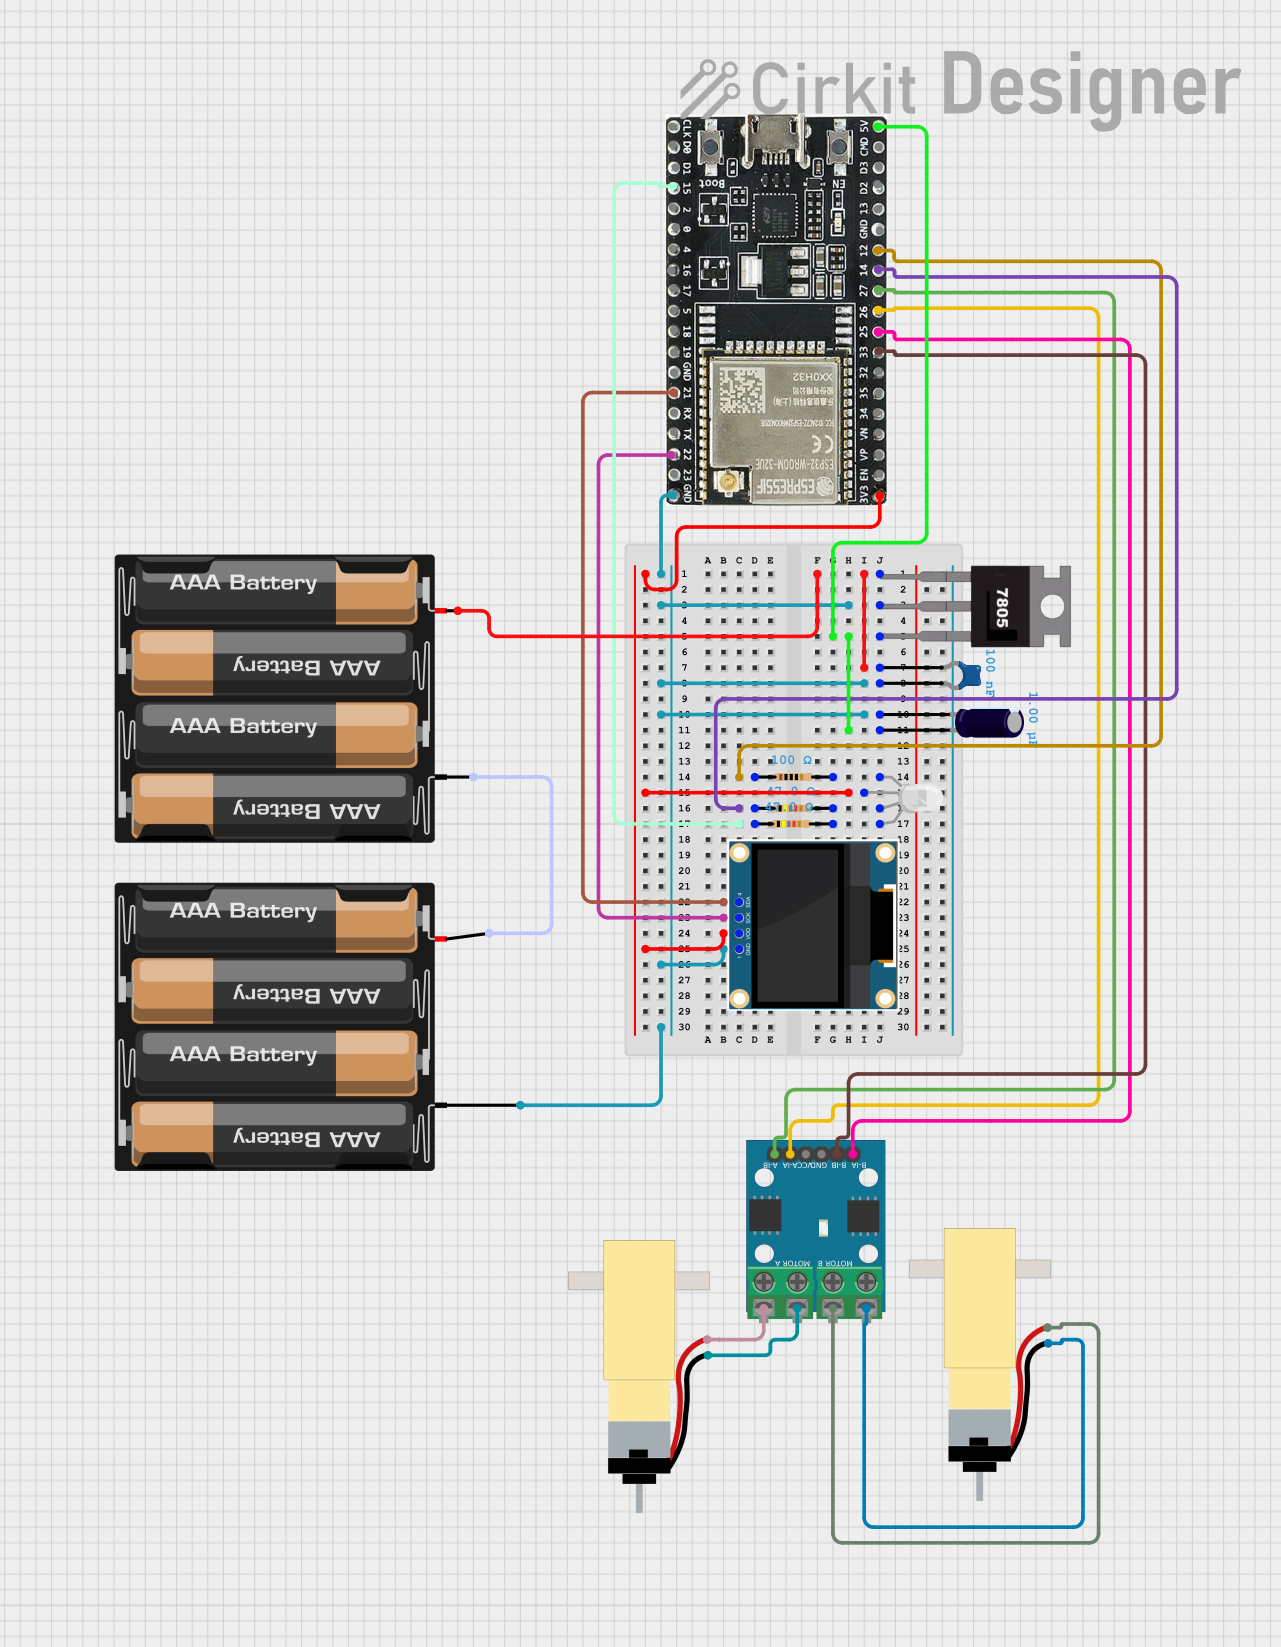

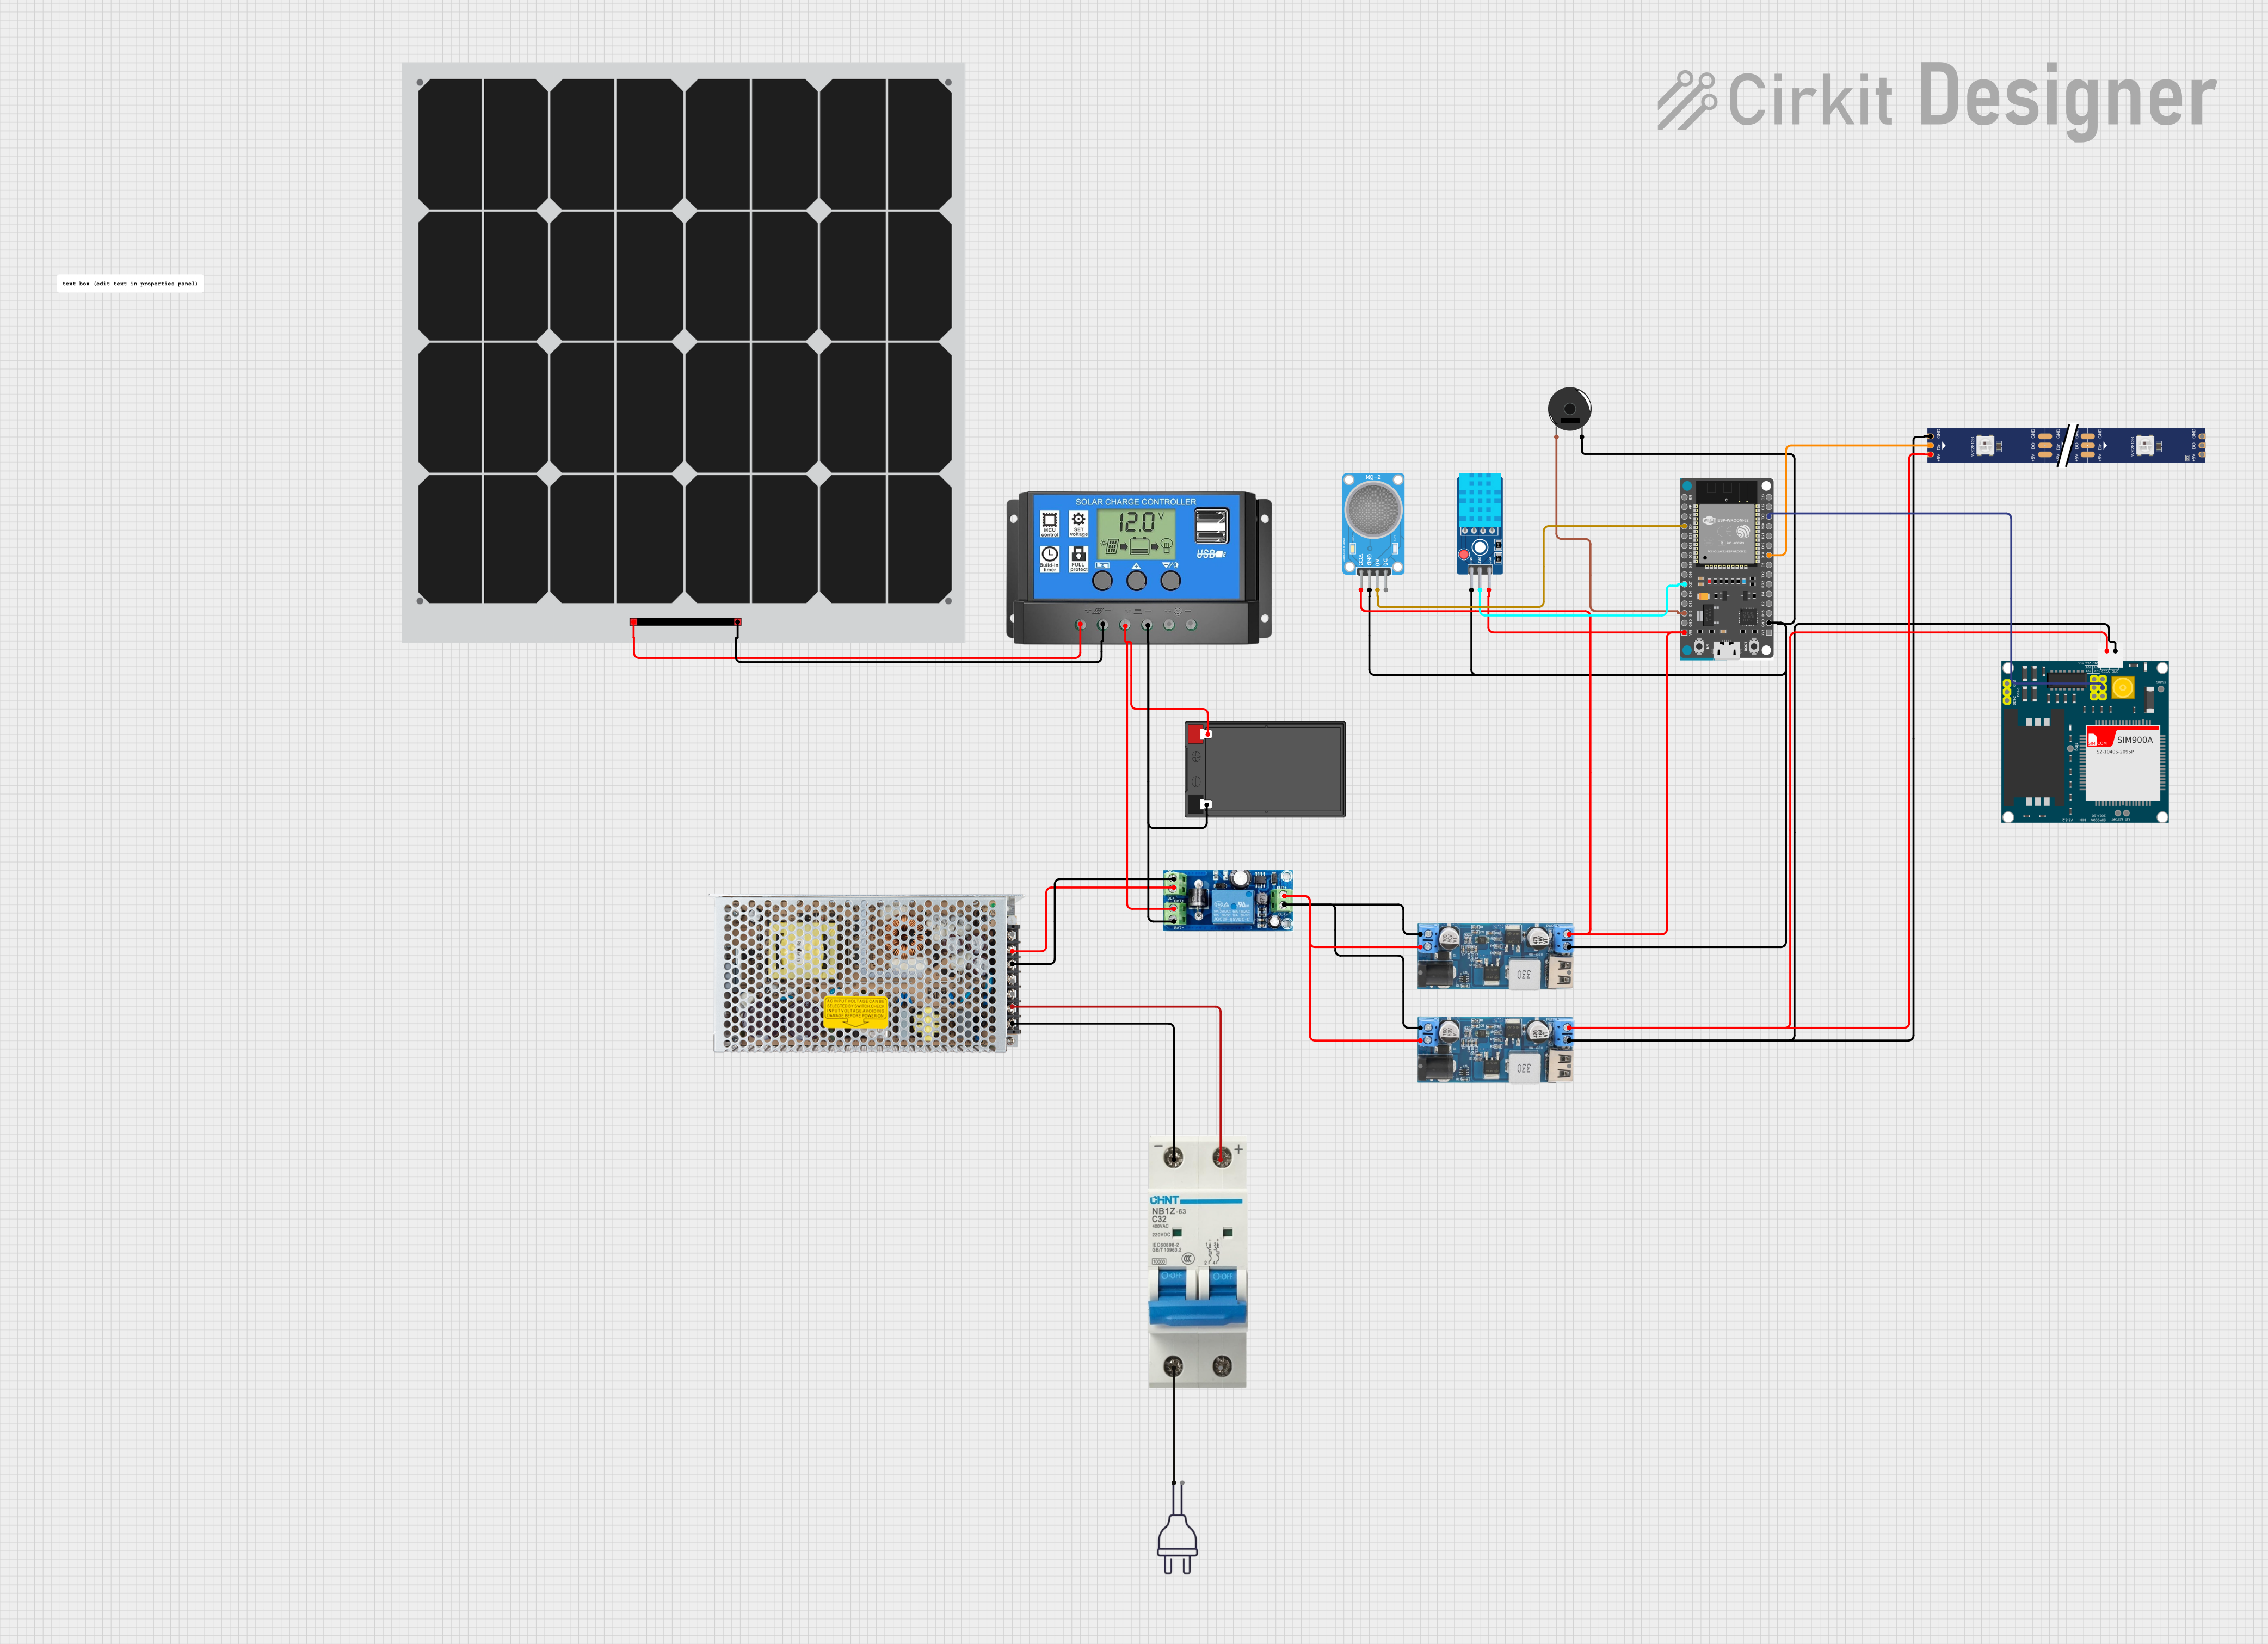

Explore Projects Built with WCS1700
Common Applications
- Touch-sensitive control panels
- Touch screens for consumer electronics
- Home automation systems
- Wearable devices
- Industrial control interfaces
Technical Specifications
Key Technical Details
- Operating Voltage: 2.7V to 5.5V
- Operating Current: < 10 µA (standby mode), ~1 mA (active mode)
- Response Time: < 100 ms
- Touch Sensitivity: Adjustable via external components
- Interface: Digital output (active low or high, depending on configuration)
- Operating Temperature: -40°C to 85°C
- Package Type: SOP-8 or DIP-8
Pin Configuration and Descriptions
The WCS1700 is typically available in an 8-pin package. Below is the pinout and description:
| Pin Number | Pin Name | Description |
|---|---|---|
| 1 | VCC | Power supply input (2.7V to 5.5V). |
| 2 | OUT | Digital output pin. Indicates touch detection. |
| 3 | GND | Ground connection. |
| 4 | SEN | Sensitivity adjustment pin. Connect to a resistor or capacitor to adjust sensitivity. |
| 5 | NC | No connection. Leave unconnected. |
| 6 | NC | No connection. Leave unconnected. |
| 7 | NC | No connection. Leave unconnected. |
| 8 | NC | No connection. Leave unconnected. |
Note: Some variants of the WCS1700 may have slightly different pin configurations. Always refer to the specific datasheet for your component.
Usage Instructions
How to Use the WCS1700 in a Circuit
- Power Supply: Connect the VCC pin to a stable power source (2.7V to 5.5V) and the GND pin to ground.
- Output Connection: Connect the OUT pin to a microcontroller or other digital input device to read the touch detection signal.
- Sensitivity Adjustment: Use an external resistor or capacitor on the SEN pin to adjust the touch sensitivity. Refer to the datasheet for recommended values.
- Touch Pad Design: Connect the touch pad (sensor electrode) to the appropriate input. Ensure the touch pad is properly designed for optimal sensitivity and noise immunity.
Important Considerations
- Debouncing: Implement software debouncing in your microcontroller to filter out false triggers caused by noise or rapid touch events.
- PCB Design: Ensure proper grounding and shielding to minimize interference and false triggering.
- Environmental Factors: The WCS1700 is sensitive to environmental conditions such as humidity and temperature. Design your system to account for these variations.
- Pull-up Resistor: If the OUT pin is open-drain, use an appropriate pull-up resistor to ensure proper signal levels.
Example: Connecting WCS1700 to Arduino UNO
Below is an example of how to connect the WCS1700 to an Arduino UNO and read touch input:
Circuit Connections
- VCC: Connect to the 5V pin on the Arduino.
- GND: Connect to the GND pin on the Arduino.
- OUT: Connect to digital pin 2 on the Arduino.
- SEN: Connect a 10 kΩ resistor to ground for sensitivity adjustment.
Arduino Code
// WCS1700 Capacitive Touch Sensor Example
// This code reads the touch input from the WCS1700 and prints the status to the Serial Monitor.

#define TOUCH_PIN 2  // Define the digital pin connected to the OUT pin of WCS1700

void setup() {
  pinMode(TOUCH_PIN, INPUT);  // Set the touch pin as input
  Serial.begin(9600);         // Initialize serial communication at 9600 baud
}

void loop() {
  int touchState = digitalRead(TOUCH_PIN);  // Read the touch sensor state

  if (touchState == LOW) {
    // The sensor outputs LOW when a touch is detected
    Serial.println("Touch detected!");
  } else {
    Serial.println("No touch detected.");
  }

  delay(100);  // Add a small delay to avoid flooding the Serial Monitor
}
Note: Adjust the
TOUCH_PINdefinition if you connect the OUT pin to a different Arduino pin.
Troubleshooting and FAQs
Common Issues and Solutions
No Response from the Sensor
- Cause: Incorrect power supply or loose connections.
- Solution: Verify that the VCC and GND pins are properly connected and the supply voltage is within the specified range.
False Touch Detection
- Cause: Noise or improper grounding.
- Solution: Ensure proper grounding and shielding. Add a decoupling capacitor (e.g., 0.1 µF) near the VCC pin.
Low Sensitivity
- Cause: Incorrect sensitivity adjustment.
- Solution: Adjust the resistor or capacitor connected to the SEN pin to increase sensitivity.
Interference from Nearby Components
- Cause: Electromagnetic interference (EMI) from other components.
- Solution: Use proper PCB layout techniques, such as separating the touch sensor traces from high-frequency signals.
FAQs
Q: Can the WCS1700 detect multiple touches simultaneously?
A: No, the WCS1700 is designed to detect a single touch at a time.Q: What is the maximum size of the touch pad?
A: The size of the touch pad depends on the sensitivity adjustment and the application. Refer to the datasheet for guidelines.Q: Can the WCS1700 be used with a 3.3V system?
A: Yes, the WCS1700 operates within a voltage range of 2.7V to 5.5V, making it compatible with 3.3V systems.Q: How do I prevent accidental touches?
A: Use proper sensitivity adjustment and implement software filtering to ignore brief or weak touch signals.
By following this documentation, you can effectively integrate the WCS1700 into your touch-sensitive applications.