Cirkit Designer Logo
Cirkit Designer
Your all-in-one circuit design IDE
Home / 
Component Documentation

How to Use Battery Level: Examples, Pinouts, and Specs

Image of Battery Level
Cirkit Designer LogoDesign with Battery Level in Cirkit Designer

Introduction

A battery level indicator is an essential component in portable electronic devices, providing a visual representation of the remaining power capacity of a battery. This helps users to monitor their device's battery life and plan recharging accordingly. Common applications include mobile phones, laptops, remote controls, and any battery-powered device where knowledge of the remaining charge is crucial.

Explore Projects Built with Battery Level

Use Cirkit Designer to design, explore, and prototype these projects online. Some projects support real-time simulation. Click "Open Project" to start designing instantly!
Arduino Nano Battery Monitor with Bluetooth and LCD Display
Image of ard: A project utilizing Battery Level in a practical application
This circuit is a battery monitoring system using an Arduino Nano, which reads the battery voltage and displays it on an LCD screen. It also communicates the battery status via a Bluetooth module, lights up LEDs to indicate charge levels, and sounds a buzzer if the battery level falls below 30%.
Cirkit Designer LogoOpen Project in Cirkit Designer
ESP32 Battery Voltage Monitor with OLED Display and Touch Sensor
Image of Battery Monitor: A project utilizing Battery Level in a practical application
This circuit is a battery-powered system that monitors and displays the battery voltage on a 0.96" OLED screen using an ESP32 microcontroller. It includes a TP4056 for battery charging, an MT3608 for voltage boosting, and a touch sensor for user interaction.
Cirkit Designer LogoOpen Project in Cirkit Designer
ESP32-WROOM Bluetooth-Enabled Battery-Powered Button Interface with OLED Display
Image of Bluetooth Page Turner: A project utilizing Battery Level in a practical application
This circuit is a Bluetooth-enabled battery monitoring and control system using an ESP32 microcontroller. It features multiple push buttons for user input, an OLED display for showing battery voltage and percentage, and a blue LED for status indication. The system also includes a LiPo charger/booster and a USB Type C power delivery module for power management.
Cirkit Designer LogoOpen Project in Cirkit Designer
Battery-Powered 18650 Li-ion Charger with USB Output and Adjustable Voltage Regulator
Image of Breadboard: A project utilizing Battery Level in a practical application
This circuit is a battery management and power supply system that uses three 3.7V batteries connected to a 3S 10A Li-ion 18650 Charger Protection Board Module for balanced charging and protection. The system includes a TP4056 Battery Charging Protection Module for additional charging safety, a Step Up Boost Power Converter to regulate and boost the voltage, and a USB regulator to provide a stable 5V output, controlled by a push switch.
Cirkit Designer LogoOpen Project in Cirkit Designer

Explore Projects Built with Battery Level

Use Cirkit Designer to design, explore, and prototype these projects online. Some projects support real-time simulation. Click "Open Project" to start designing instantly!
Image of ard: A project utilizing Battery Level in a practical application
Arduino Nano Battery Monitor with Bluetooth and LCD Display
This circuit is a battery monitoring system using an Arduino Nano, which reads the battery voltage and displays it on an LCD screen. It also communicates the battery status via a Bluetooth module, lights up LEDs to indicate charge levels, and sounds a buzzer if the battery level falls below 30%.
Cirkit Designer LogoOpen Project in Cirkit Designer
Image of Battery Monitor: A project utilizing Battery Level in a practical application
ESP32 Battery Voltage Monitor with OLED Display and Touch Sensor
This circuit is a battery-powered system that monitors and displays the battery voltage on a 0.96" OLED screen using an ESP32 microcontroller. It includes a TP4056 for battery charging, an MT3608 for voltage boosting, and a touch sensor for user interaction.
Cirkit Designer LogoOpen Project in Cirkit Designer
Image of Bluetooth Page Turner: A project utilizing Battery Level in a practical application
ESP32-WROOM Bluetooth-Enabled Battery-Powered Button Interface with OLED Display
This circuit is a Bluetooth-enabled battery monitoring and control system using an ESP32 microcontroller. It features multiple push buttons for user input, an OLED display for showing battery voltage and percentage, and a blue LED for status indication. The system also includes a LiPo charger/booster and a USB Type C power delivery module for power management.
Cirkit Designer LogoOpen Project in Cirkit Designer
Image of Breadboard: A project utilizing Battery Level in a practical application
Battery-Powered 18650 Li-ion Charger with USB Output and Adjustable Voltage Regulator
This circuit is a battery management and power supply system that uses three 3.7V batteries connected to a 3S 10A Li-ion 18650 Charger Protection Board Module for balanced charging and protection. The system includes a TP4056 Battery Charging Protection Module for additional charging safety, a Step Up Boost Power Converter to regulate and boost the voltage, and a USB regulator to provide a stable 5V output, controlled by a push switch.
Cirkit Designer LogoOpen Project in Cirkit Designer

Technical Specifications

Key Technical Details

  • Voltage Range: Typically compatible with the battery voltage, e.g., 3.3V to 12V.
  • Current Consumption: Minimal, often in the microampere range to avoid significant battery drain.
  • Accuracy: Varies, but generally within 5-10% of actual battery capacity.
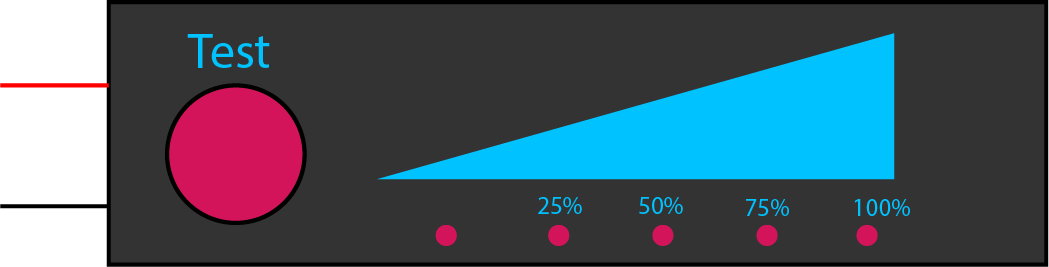
  • Display Type: LED, LCD, or analog gauge.
  • Operating Temperature: Usually -20°C to +70°C.

Pin Configuration and Descriptions

Pin Number Name Description
1 VCC Connect to the positive terminal of the battery or power supply.
2 GND Connect to the ground terminal of the battery or power system.
3 BAT Connect to the battery's positive terminal for voltage sensing.
4 OUT Output pin that can be connected to an ADC pin on a microcontroller for digital readout.

Usage Instructions

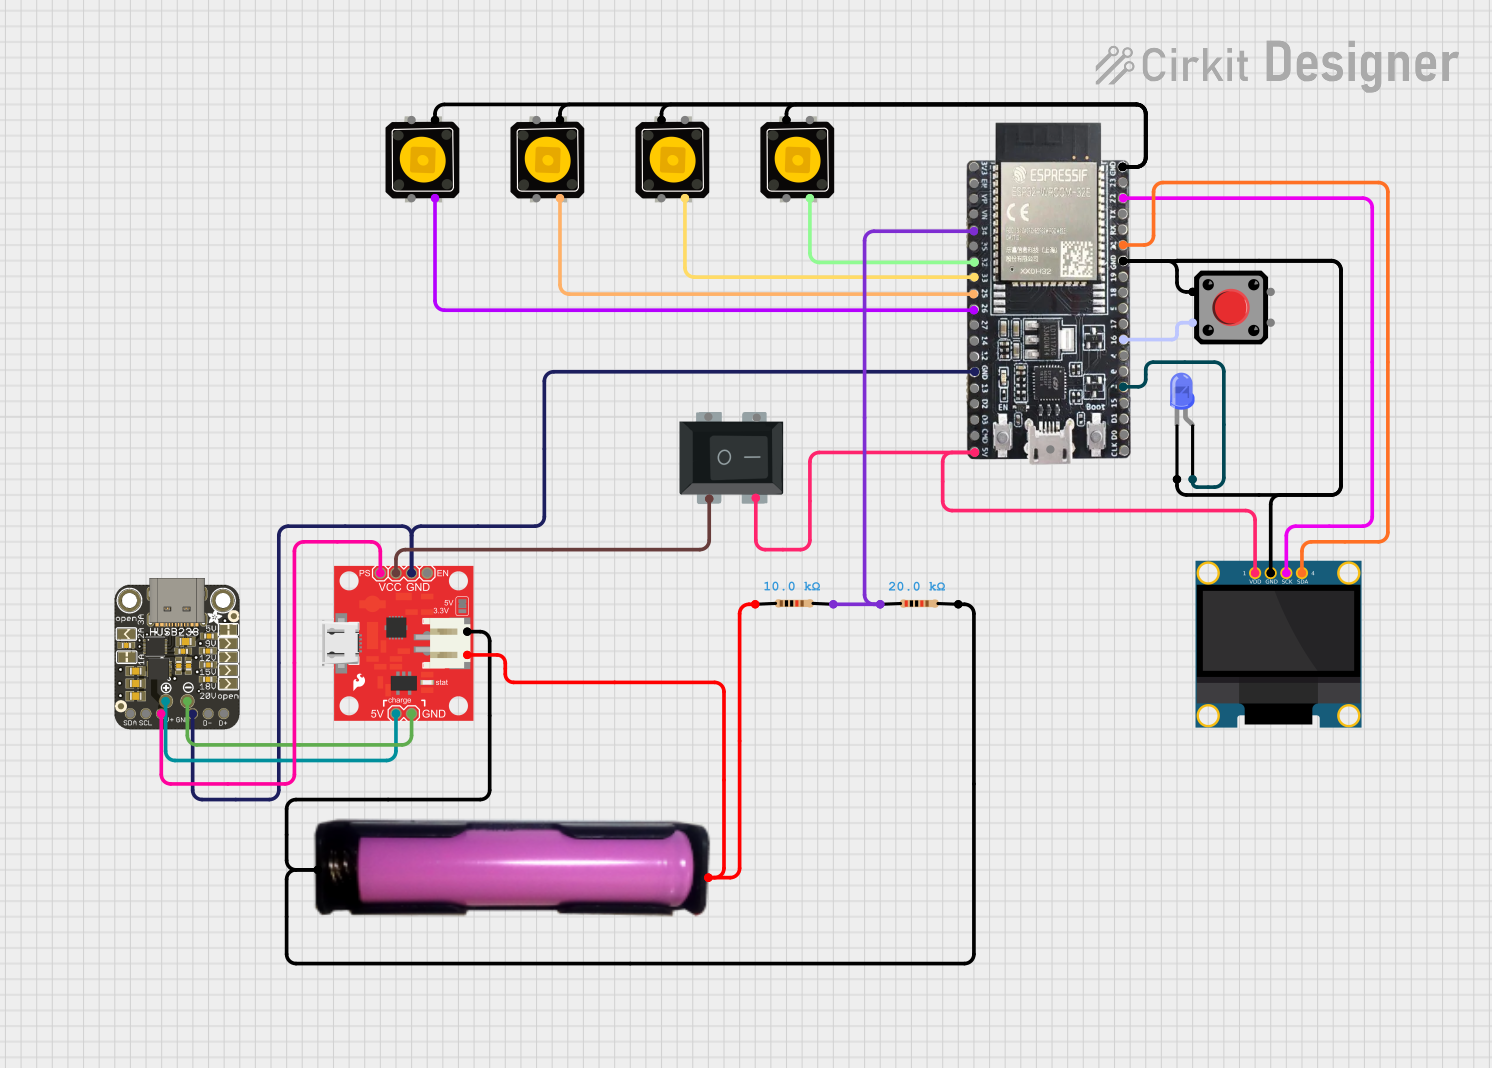
How to Use the Component in a Circuit

  1. Connect the Power Pins: Attach the VCC pin to the positive terminal of the battery and the GND pin to the ground terminal.
  2. Voltage Sensing: Connect the BAT pin to the point in the circuit where you want to measure the battery voltage.
  3. Output Signal: Connect the OUT pin to an analog-to-digital converter (ADC) input on a microcontroller if digital processing of the battery level is required.

Important Considerations and Best Practices

  • Voltage Compatibility: Ensure that the battery level indicator is compatible with the battery's voltage range.
  • Calibration: Some battery level indicators may require calibration to provide accurate readings.
  • Power Consumption: Choose an indicator with low power consumption to minimize the impact on battery life.
  • Display Readability: Ensure the display is easily readable under the conditions in which it will be used.

Example Code for Arduino UNO

// Define the battery level indicator output pin
const int batteryLevelPin = A0; // Connect OUT pin of the battery level indicator to A0

void setup() {
  // Initialize serial communication at 9600 bits per second
  Serial.begin(9600);
}

void loop() {
  // Read the value from the battery level indicator
  int sensorValue = analogRead(batteryLevelPin);
  // Convert the analog reading to a voltage (assuming a 5V Arduino)
  float voltage = sensorValue * (5.0 / 1023.0);
  // Print out the voltage
  Serial.println(voltage);
  // Delay for a bit to avoid spamming the serial output
  delay(1000);
}

Troubleshooting and FAQs

Common Issues

  • Inaccurate Readings: If the battery level indicator provides inaccurate readings, check for proper calibration and ensure that the voltage range is compatible with the battery.
  • No Display: Ensure that the VCC and GND connections are secure and that the battery has sufficient charge.
  • Fluctuating Readings: Battery level indicators can be sensitive to noise. Ensure stable connections and consider adding a capacitor to the circuit to smooth out the voltage.

Solutions and Tips for Troubleshooting

  • Calibration: Follow the manufacturer's instructions for calibrating the battery level indicator.
  • Connection Check: Double-check all connections, including VCC, GND, and BAT pins, for any loose wires or poor contacts.
  • Battery Check: Verify that the battery is charged and functioning correctly.

FAQs

Q: Can I use this battery level indicator with any battery type? A: Most battery level indicators are designed to work with a range of battery types, but always check the specifications to ensure compatibility.

Q: How do I calibrate the battery level indicator? A: Calibration procedures vary by model. Refer to the manufacturer's documentation for specific instructions.

Q: What should I do if the battery level indicator consumes too much power? A: Look for a battery level indicator with a low quiescent current, or consider using a power-saving mode if available.