How to Use IR LED for Pi Camera: Examples, Pinouts, and Specs
Introduction
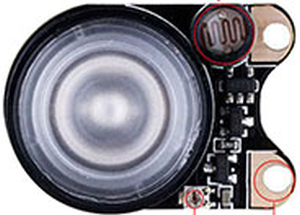
The IR LED for Pi Camera (Manufacturer: Dorhea, Part ID: 15629-light) is an infrared light-emitting diode designed to enhance the performance of Raspberry Pi cameras in low-light or nighttime conditions. By emitting infrared light, this component enables the camera to capture clear images without relying on visible light, making it ideal for applications such as surveillance, wildlife monitoring, and night photography.
Explore Projects Built with IR LED for Pi Camera
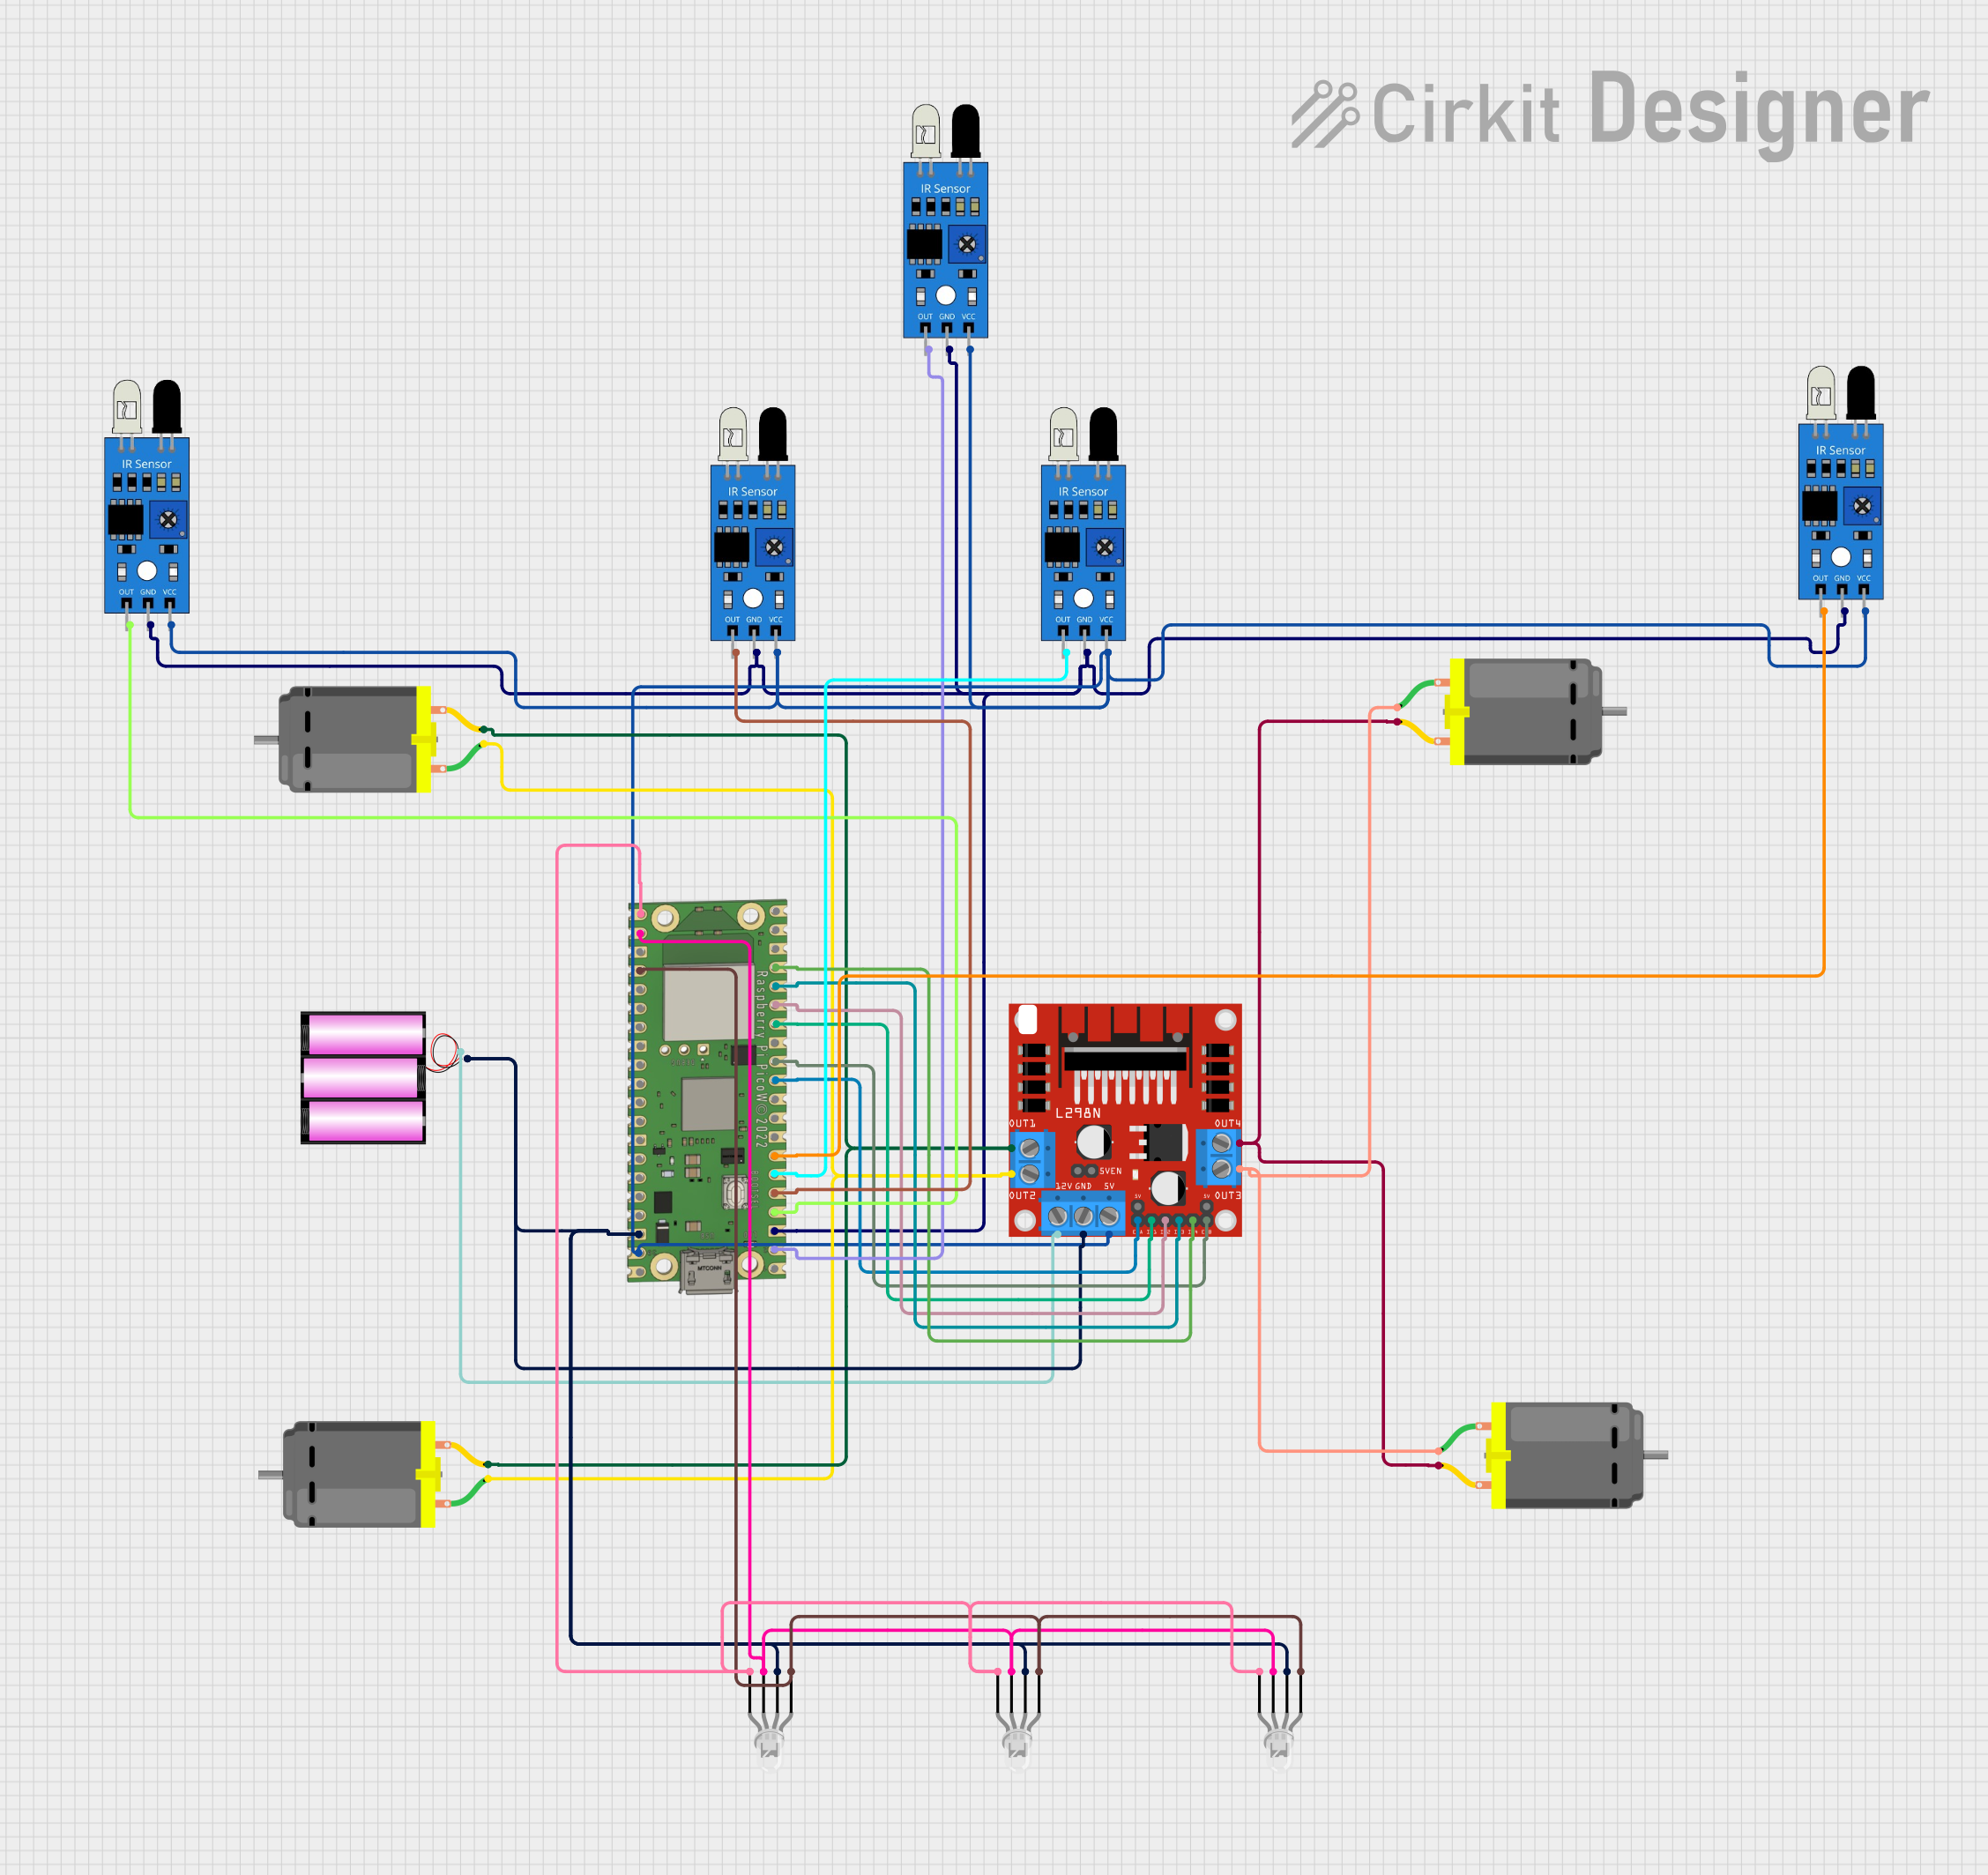
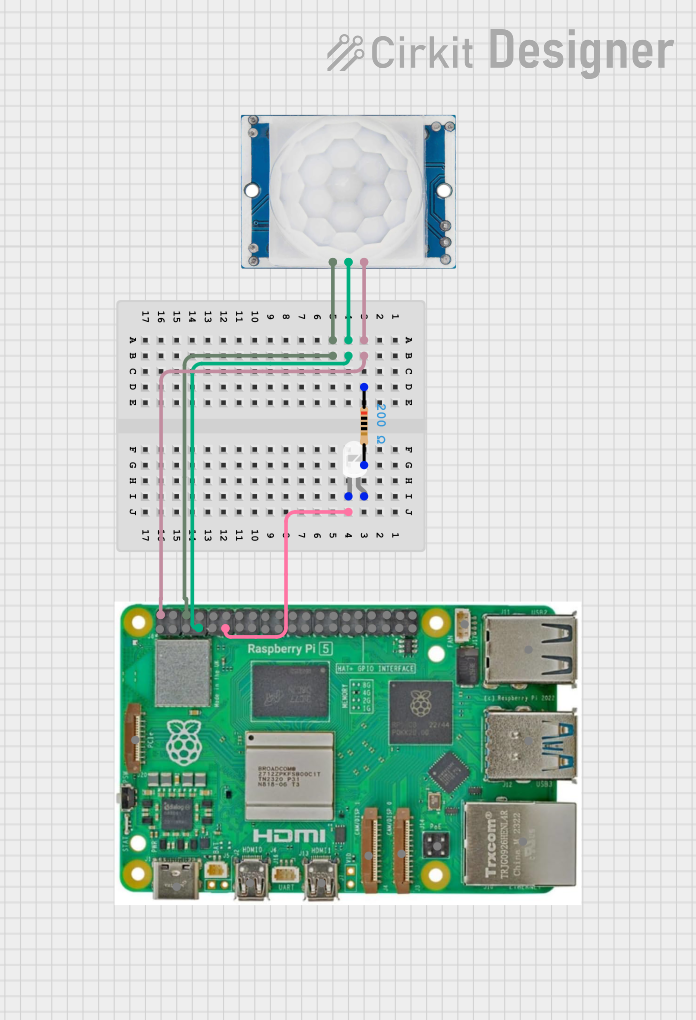
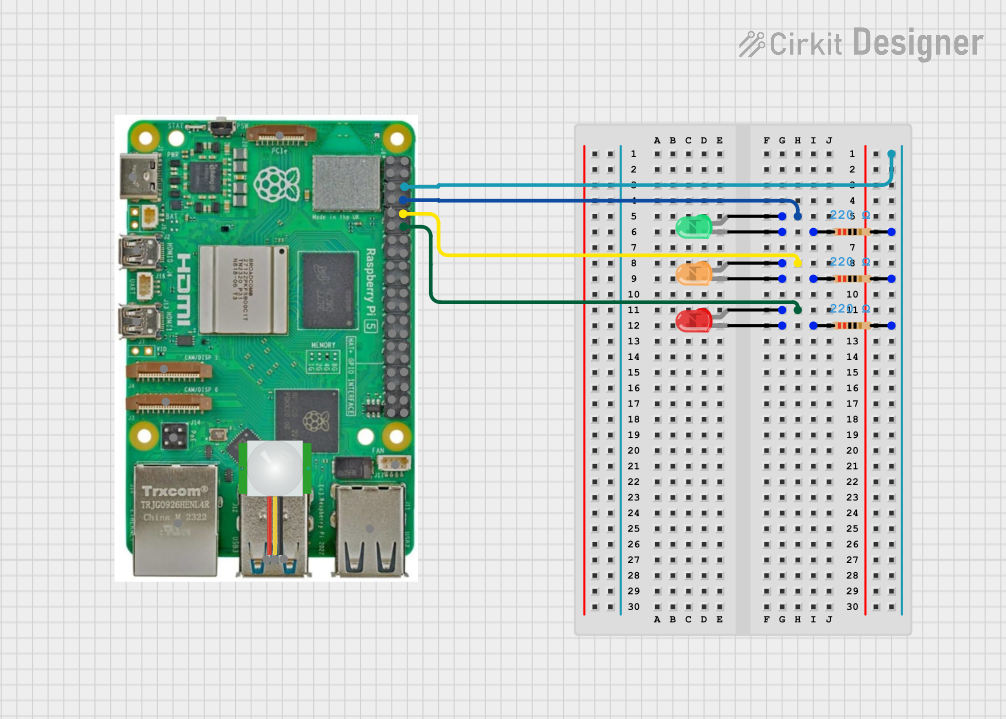
Explore Projects Built with IR LED for Pi Camera
Common Applications and Use Cases
- Surveillance Systems: Provides illumination for security cameras in dark environments.
- Wildlife Monitoring: Enables discreet observation of nocturnal animals without disturbing them.
- Night Vision Photography: Enhances image quality in low-light conditions for Raspberry Pi camera modules.
- Home Automation: Used in smart home systems for night vision capabilities.
Technical Specifications
The following table outlines the key technical details of the Dorhea IR LED for Pi Camera:
| Parameter | Specification |
|---|---|
| Manufacturer | Dorhea |
| Part ID | 15629-light |
| Wavelength | 850 nm (Infrared) |
| Voltage | 3.3V to 5V |
| Current | 20 mA (typical) |
| Power Consumption | ~0.1W |
| Viewing Angle | 60° |
| Operating Temperature | -20°C to 60°C |
| Dimensions | 8mm (LED diameter) |
Pin Configuration and Descriptions
The IR LED module typically has two pins for connection:
| Pin | Name | Description |
|---|---|---|
| 1 | Anode (+) | Connect to the positive terminal of the power supply. |
| 2 | Cathode (-) | Connect to the ground (GND) of the circuit. |
Usage Instructions
How to Use the IR LED in a Circuit
- Power Supply: Ensure the IR LED is powered with a voltage between 3.3V and 5V. A current-limiting resistor may be required to prevent overcurrent.
- Connection:
- Connect the Anode (+) pin to the positive terminal of the power supply or GPIO pin of a microcontroller.
- Connect the Cathode (-) pin to the ground (GND).
- Pairing with Pi Camera:
- Position the IR LED near the Raspberry Pi camera module to ensure proper illumination.
- Use a compatible camera module that supports infrared light (e.g., Raspberry Pi NoIR Camera).
Important Considerations and Best Practices
- Current Limiting: Use a resistor to limit the current through the LED. Calculate the resistor value using Ohm's Law:
( R = \frac{V_{supply} - V_{forward}}{I_{forward}} ), where ( V_{forward} ) is the forward voltage of the LED (typically 1.2V for IR LEDs). - Heat Management: Avoid prolonged operation at maximum current to prevent overheating.
- Placement: Ensure the IR LED is not obstructed and is directed toward the area of interest for optimal illumination.
- Compatibility: Verify that the Raspberry Pi camera module supports infrared light for effective use.
Example Code for Arduino UNO
If you are using the IR LED with an Arduino UNO for testing or control, the following code demonstrates how to blink the LED:
// Define the pin connected to the IR LED
const int irLedPin = 9;

void setup() {
  // Set the IR LED pin as an output
  pinMode(irLedPin, OUTPUT);
}

void loop() {
  // Turn the IR LED on
  digitalWrite(irLedPin, HIGH);
  delay(1000); // Keep the LED on for 1 second

  // Turn the IR LED off
  digitalWrite(irLedPin, LOW);
  delay(1000); // Keep the LED off for 1 second
}
Note: Ensure the IR LED is connected to the specified pin (e.g., pin 9) with a suitable current-limiting resistor.
Troubleshooting and FAQs
Common Issues and Solutions
IR LED Not Lighting Up:
- Cause: Incorrect polarity or insufficient voltage.
- Solution: Verify the connections. Ensure the Anode is connected to the positive terminal and the Cathode to GND. Check the power supply voltage.
Low Illumination:
- Cause: Insufficient current or improper placement.
- Solution: Use a lower-value resistor to increase current (within safe limits). Reposition the LED closer to the camera.
Overheating:
- Cause: Excessive current or prolonged operation.
- Solution: Use a higher-value resistor to limit current. Allow the LED to cool between uses.
Camera Not Detecting IR Light:
- Cause: Incompatible camera module.
- Solution: Use a Raspberry Pi NoIR Camera or a similar module that supports infrared light.
FAQs
Q1: Can I use the IR LED with a 12V power supply?
A1: No, the IR LED is designed for 3.3V to 5V operation. Using a higher voltage may damage the component.
Q2: How do I calculate the resistor value for the IR LED?
A2: Use the formula ( R = \frac{V_{supply} - V_{forward}}{I_{forward}} ). For example, with a 5V supply, 1.2V forward voltage, and 20mA current:
( R = \frac{5 - 1.2}{0.02} = 190 , \Omega ). Use the nearest standard resistor value (e.g., 220Ω).
Q3: Can I use multiple IR LEDs with a single Raspberry Pi camera?
A3: Yes, you can use multiple IR LEDs to increase illumination. Connect them in parallel, ensuring each LED has its own current-limiting resistor.
Q4: Is the IR light visible to the human eye?
A4: No, the IR light emitted by this LED (850 nm wavelength) is not visible to the human eye but can be detected by the camera.
By following this documentation, you can effectively use the Dorhea IR LED for Pi Camera to enhance your Raspberry Pi projects in low-light conditions.