
How to Use DHT22: Examples, Pinouts, and Specs
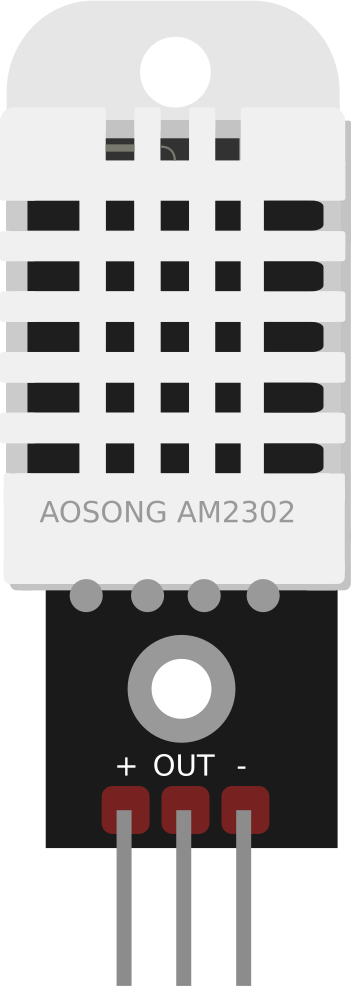
 Design with DHT22 in Cirkit Designer
Introduction
The DHT22 is a digital temperature and humidity sensor that provides accurate readings of temperature in Celsius and humidity in percentage. It is widely used in applications requiring environmental monitoring, such as weather stations, HVAC systems, greenhouses, and IoT projects. The DHT22 is known for its high precision and reliability, making it a popular choice for both hobbyists and professionals.
Explore Projects Built with DHT22
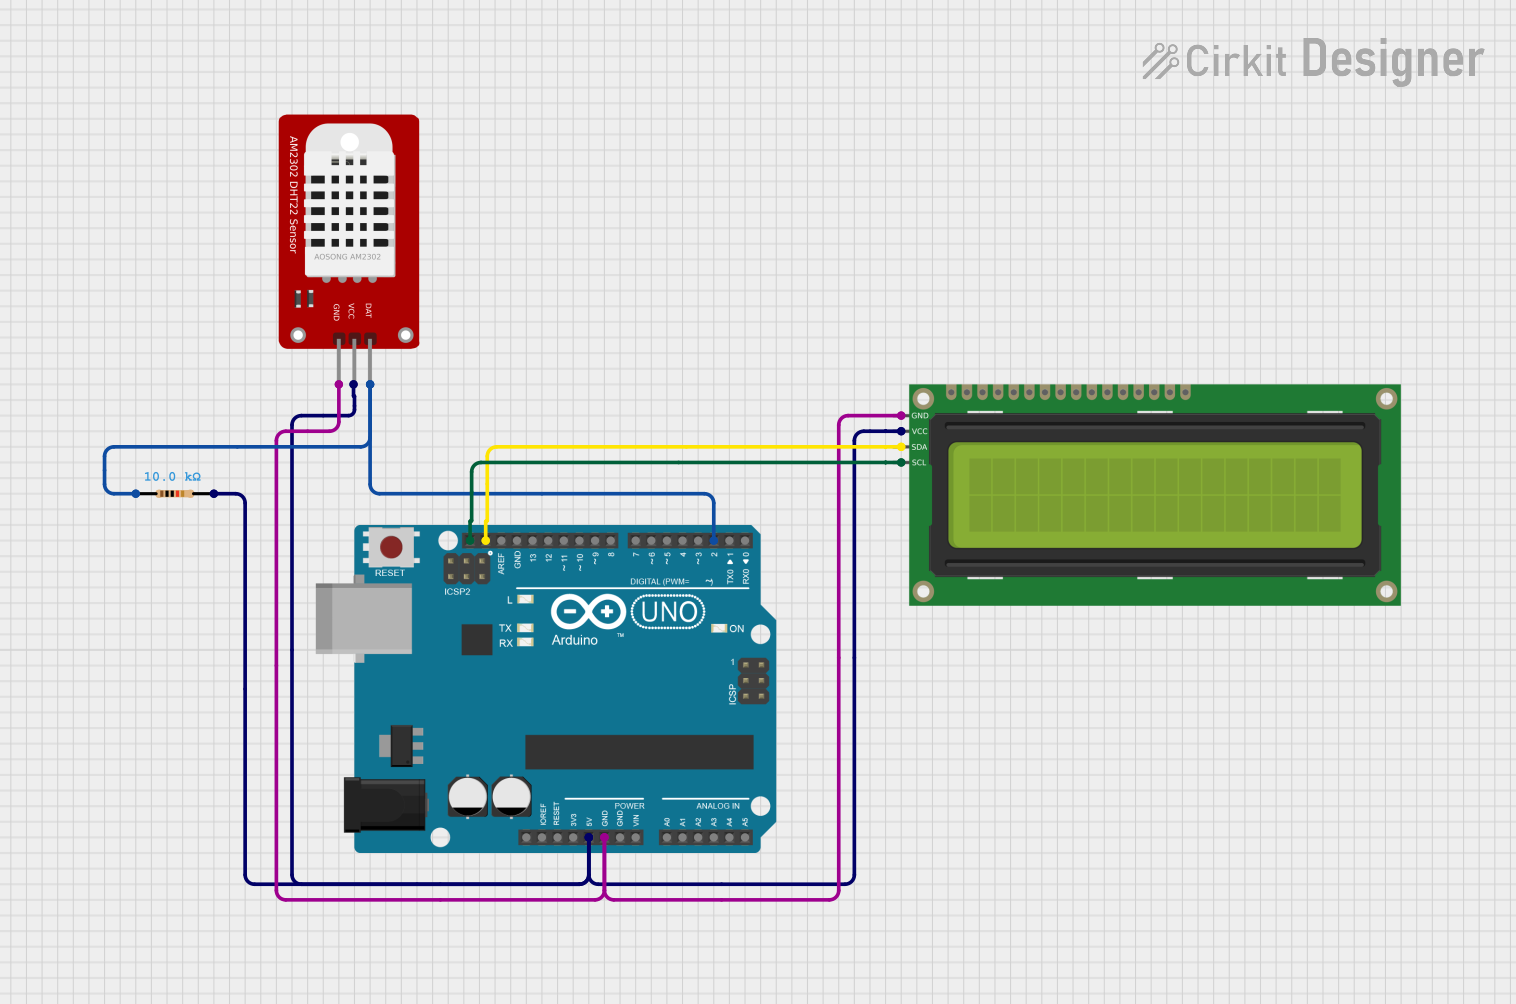 Open Project in Cirkit Designer
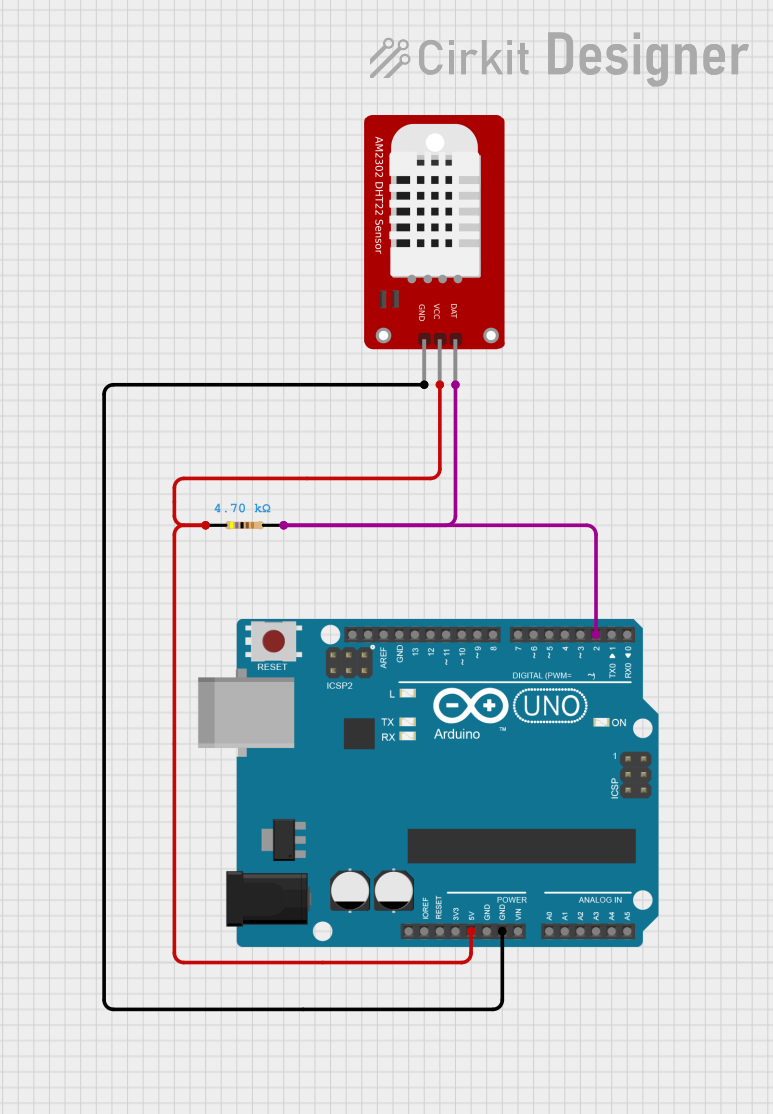 Open Project in Cirkit Designer
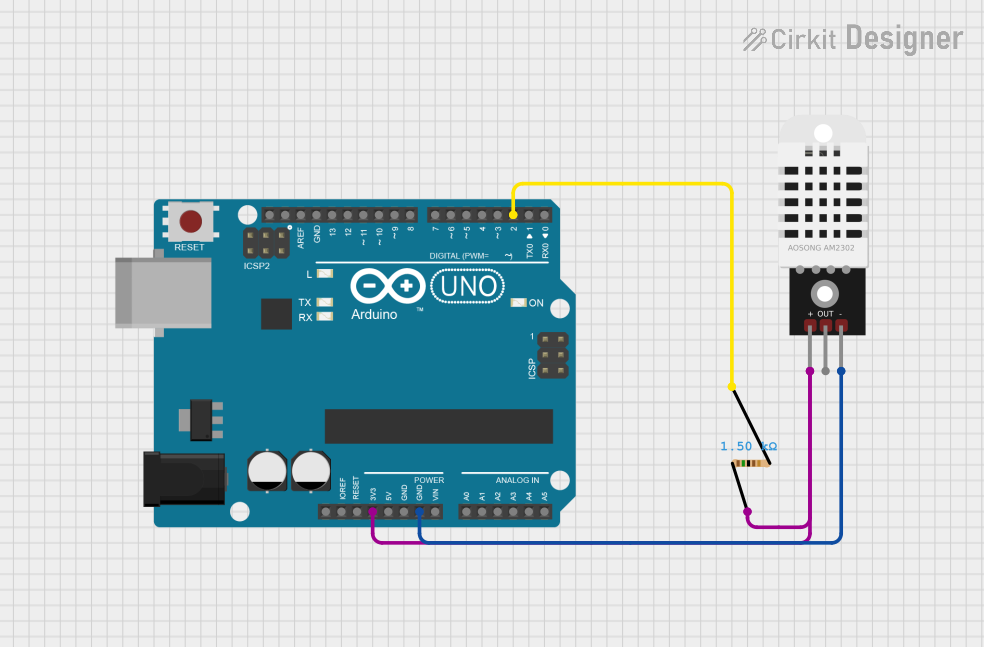 Open Project in Cirkit Designer
 Open Project in Cirkit Designer
Explore Projects Built with DHT22
Open Project in Cirkit DesignerOpen Project in Cirkit DesignerOpen Project in Cirkit DesignerOpen Project in Cirkit DesignerTechnical Specifications
- Temperature Range: -40°C to +80°C
- Temperature Accuracy: ±0.5°C
- Humidity Range: 0% to 100% RH
- Humidity Accuracy: ±2% RH
- Operating Voltage: 3.3V to 6V
- Max Current Consumption: 2.5mA during data transmission
- Communication Protocol: Single-wire digital signal
- Sampling Period: Minimum 2 seconds (1 Hz maximum sampling rate)
- Dimensions: 15.1mm x 25mm x 7.7mm
Pin Configuration and Descriptions
The DHT22 has four pins, but only three are typically used in most applications. Below is the pinout:
| Pin Number | Name | Description |
|---|---|---|
| 1 | VCC | Power supply pin (3.3V to 6V). Connect to the positive terminal of the power source. |
| 2 | DATA | Digital data pin. Used for communication with the microcontroller. Requires a pull-up resistor. |
| 3 | NC (Not Connected) | Not used. Leave this pin unconnected. |
| 4 | GND | Ground pin. Connect to the negative terminal of the power source. |
Usage Instructions
How to Use the DHT22 in a Circuit
- Power the Sensor: Connect the VCC pin to a 3.3V or 5V power source and the GND pin to ground.
- Connect the Data Pin: Attach the DATA pin to a digital input pin on your microcontroller. Use a 10kΩ pull-up resistor between the DATA pin and the VCC pin to ensure proper communication.
- Timing Considerations: The DHT22 requires a minimum sampling period of 2 seconds. Avoid polling the sensor more frequently to ensure accurate readings.
- Library Support: Use a compatible library (e.g., DHT library for Arduino) to simplify communication with the sensor.
Example: Connecting the DHT22 to an Arduino UNO
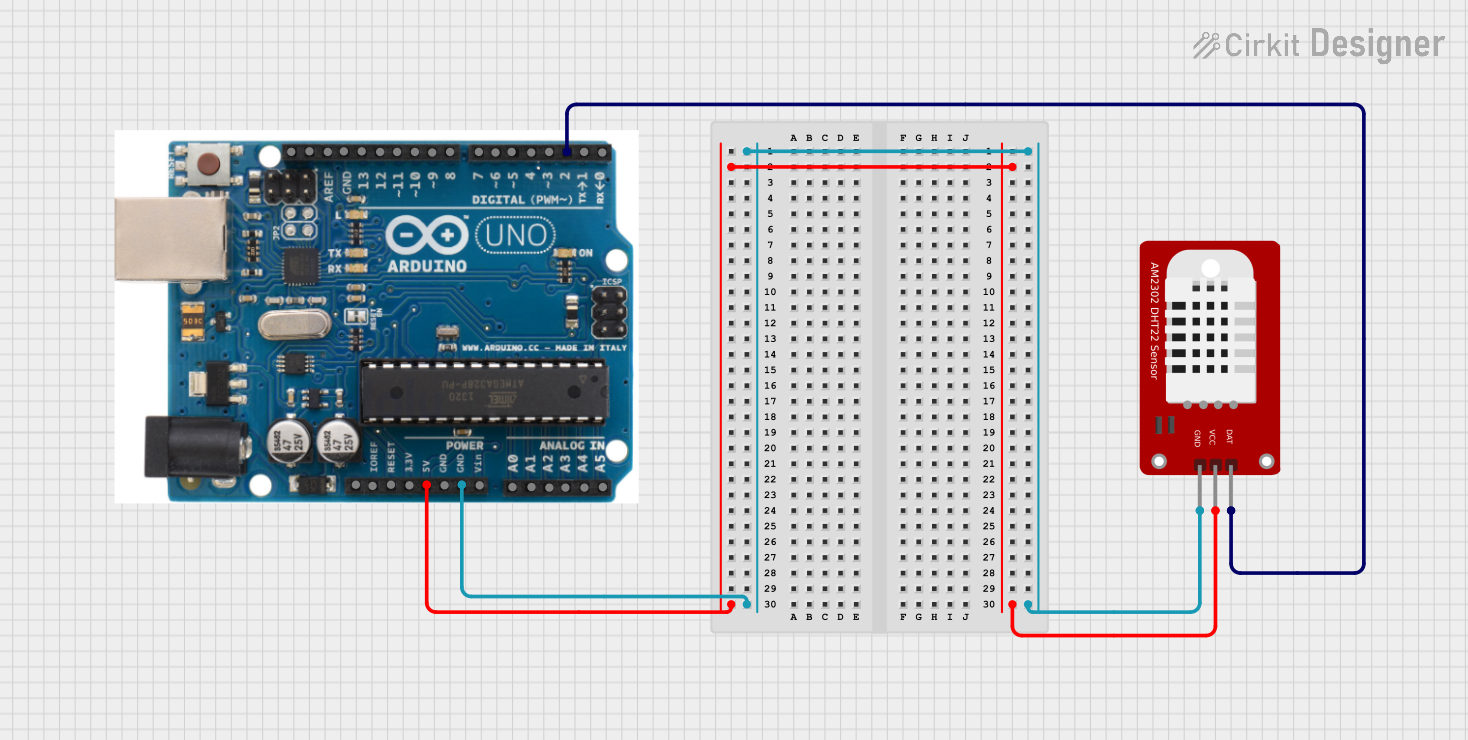
Below is an example of how to connect and use the DHT22 with an Arduino UNO:
Circuit Diagram
- VCC: Connect to the 5V pin on the Arduino.
- DATA: Connect to digital pin 2 on the Arduino with a 10kΩ pull-up resistor to 5V.
- GND: Connect to the GND pin on the Arduino.
Arduino Code
// Include the DHT library for communication with the sensor
#include <DHT.h>

// Define the pin where the DATA pin of the DHT22 is connected
#define DHTPIN 2

// Define the type of DHT sensor (DHT22 in this case)
#define DHTTYPE DHT22

// Initialize the DHT sensor
DHT dht(DHTPIN, DHTTYPE);

void setup() {
  // Start the serial communication for debugging
  Serial.begin(9600);
  Serial.println("DHT22 Sensor Initialization");

  // Begin communication with the DHT sensor
  dht.begin();
}

void loop() {
  // Wait 2 seconds between readings to respect the sensor's sampling rate
  delay(2000);

  // Read temperature in Celsius
  float temperature = dht.readTemperature();
  // Read humidity in percentage
  float humidity = dht.readHumidity();

  // Check if the readings are valid
  if (isnan(temperature) || isnan(humidity)) {
    Serial.println("Failed to read from DHT sensor!");
    return;
  }

  // Print the readings to the Serial Monitor
  Serial.print("Temperature: ");
  Serial.print(temperature);
  Serial.println(" °C");

  Serial.print("Humidity: ");
  Serial.print(humidity);
  Serial.println(" %");
}
Important Considerations and Best Practices
- Pull-Up Resistor: Always use a pull-up resistor (typically 10kΩ) on the DATA pin to ensure reliable communication.
- Sampling Rate: Do not attempt to read data from the sensor more frequently than once every 2 seconds.
- Cable Length: Keep the cable length between the sensor and the microcontroller as short as possible to avoid signal degradation. If longer cables are necessary, consider using shielded cables.
- Environmental Factors: Avoid placing the sensor in direct sunlight or near heat sources, as this may affect the accuracy of the readings.
Troubleshooting and FAQs
Common Issues
No Data or Incorrect Readings
- Cause: Missing or incorrect pull-up resistor on the DATA pin.
- Solution: Ensure a 10kΩ pull-up resistor is connected between the DATA pin and VCC.
Sensor Fails to Initialize
- Cause: Incorrect wiring or insufficient power supply.
- Solution: Double-check the wiring and ensure the power supply voltage is within the specified range (3.3V to 6V).
Frequent NAN (Not a Number) Errors
- Cause: Polling the sensor too frequently.
- Solution: Ensure a delay of at least 2 seconds between consecutive readings.
Inconsistent Readings
- Cause: Electrical noise or long cable lengths.
- Solution: Use shorter cables or shielded cables to reduce interference.
FAQs
Q: Can the DHT22 be powered with 3.3V?
A: Yes, the DHT22 can operate with a power supply voltage between 3.3V and 6V. However, ensure the microcontroller's logic level matches the sensor's output.
Q: What is the difference between the DHT11 and DHT22?
A: The DHT22 offers better accuracy, a wider temperature and humidity range, and faster response times compared to the DHT11. However, it is slightly more expensive.
Q: Can I use multiple DHT22 sensors in the same project?
A: Yes, you can use multiple DHT22 sensors by connecting each sensor's DATA pin to a separate digital pin on the microcontroller.
Q: How do I protect the sensor in outdoor environments?
A: Use a weatherproof enclosure with proper ventilation to protect the sensor from rain and direct sunlight while allowing air circulation.
Q: Why does the sensor require a 2-second delay between readings?
A: The DHT22 has a maximum sampling rate of 1 Hz (one reading per second). A 2-second delay ensures accurate and stable readings.