
How to Use Fan 12V 3010: Examples, Pinouts, and Specs
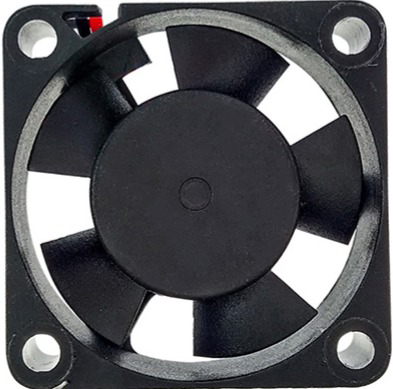
 Design with Fan 12V 3010 in Cirkit Designer
Introduction
The Fan 12V 3010 (Manufacturer Part ID: DC Brushless Fan / AM3010M12) is a compact, high-performance cooling fan designed for use in electronic devices and enclosures. Manufactured by OEM, this fan operates on a 12V DC power supply and is ideal for dissipating heat in confined spaces, ensuring optimal operating temperatures for sensitive components. Its small size (30mm x 30mm x 10mm) makes it suitable for applications where space is limited.
Explore Projects Built with Fan 12V 3010
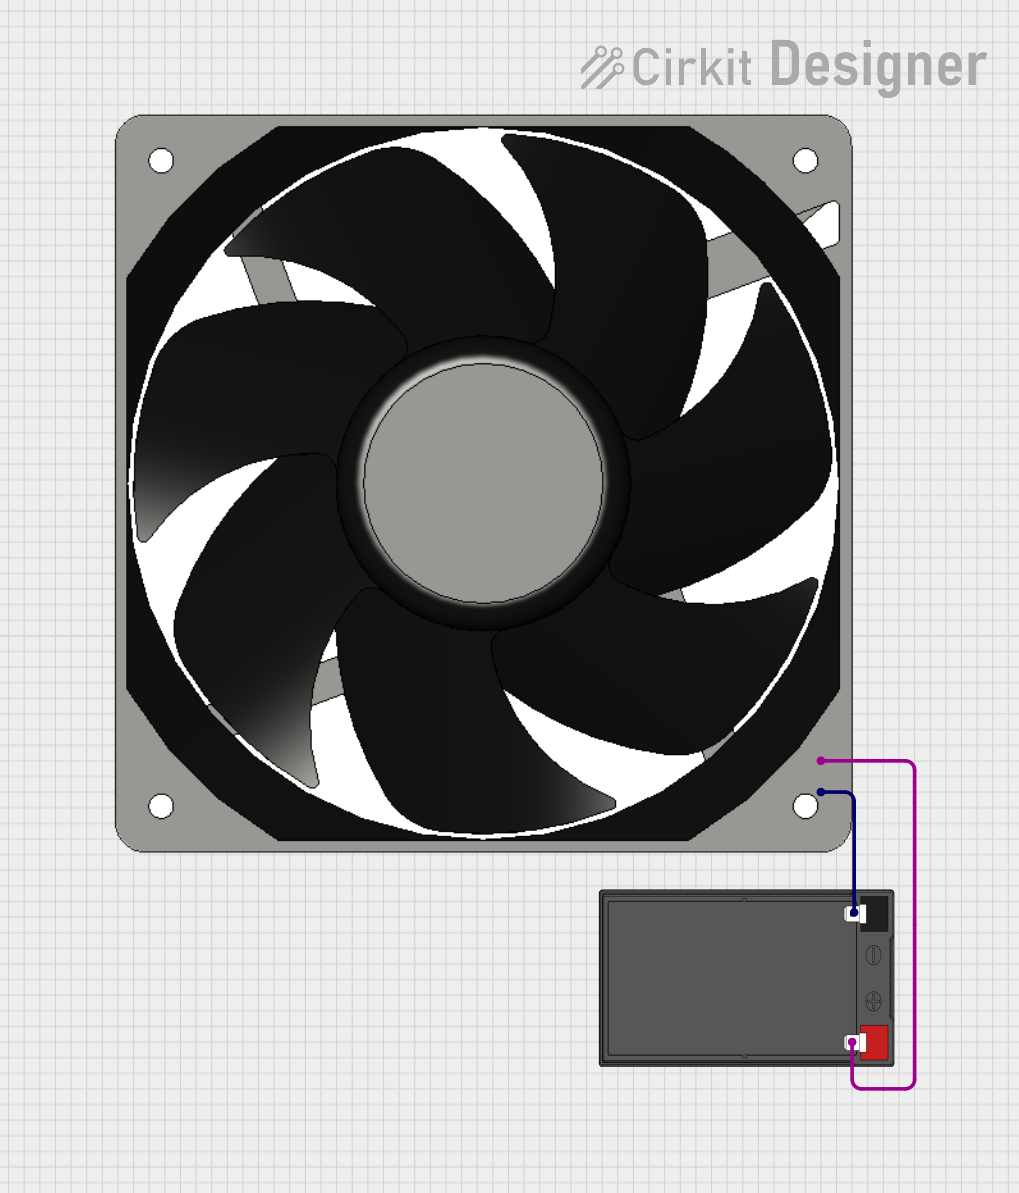 Open Project in Cirkit Designer
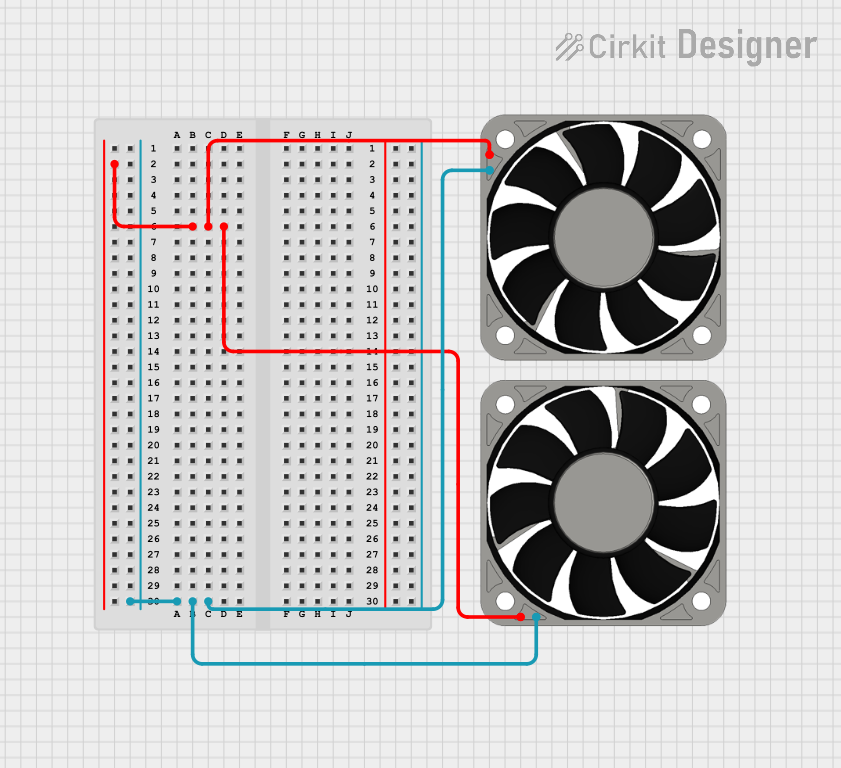 Open Project in Cirkit Designer
 Open Project in Cirkit Designer
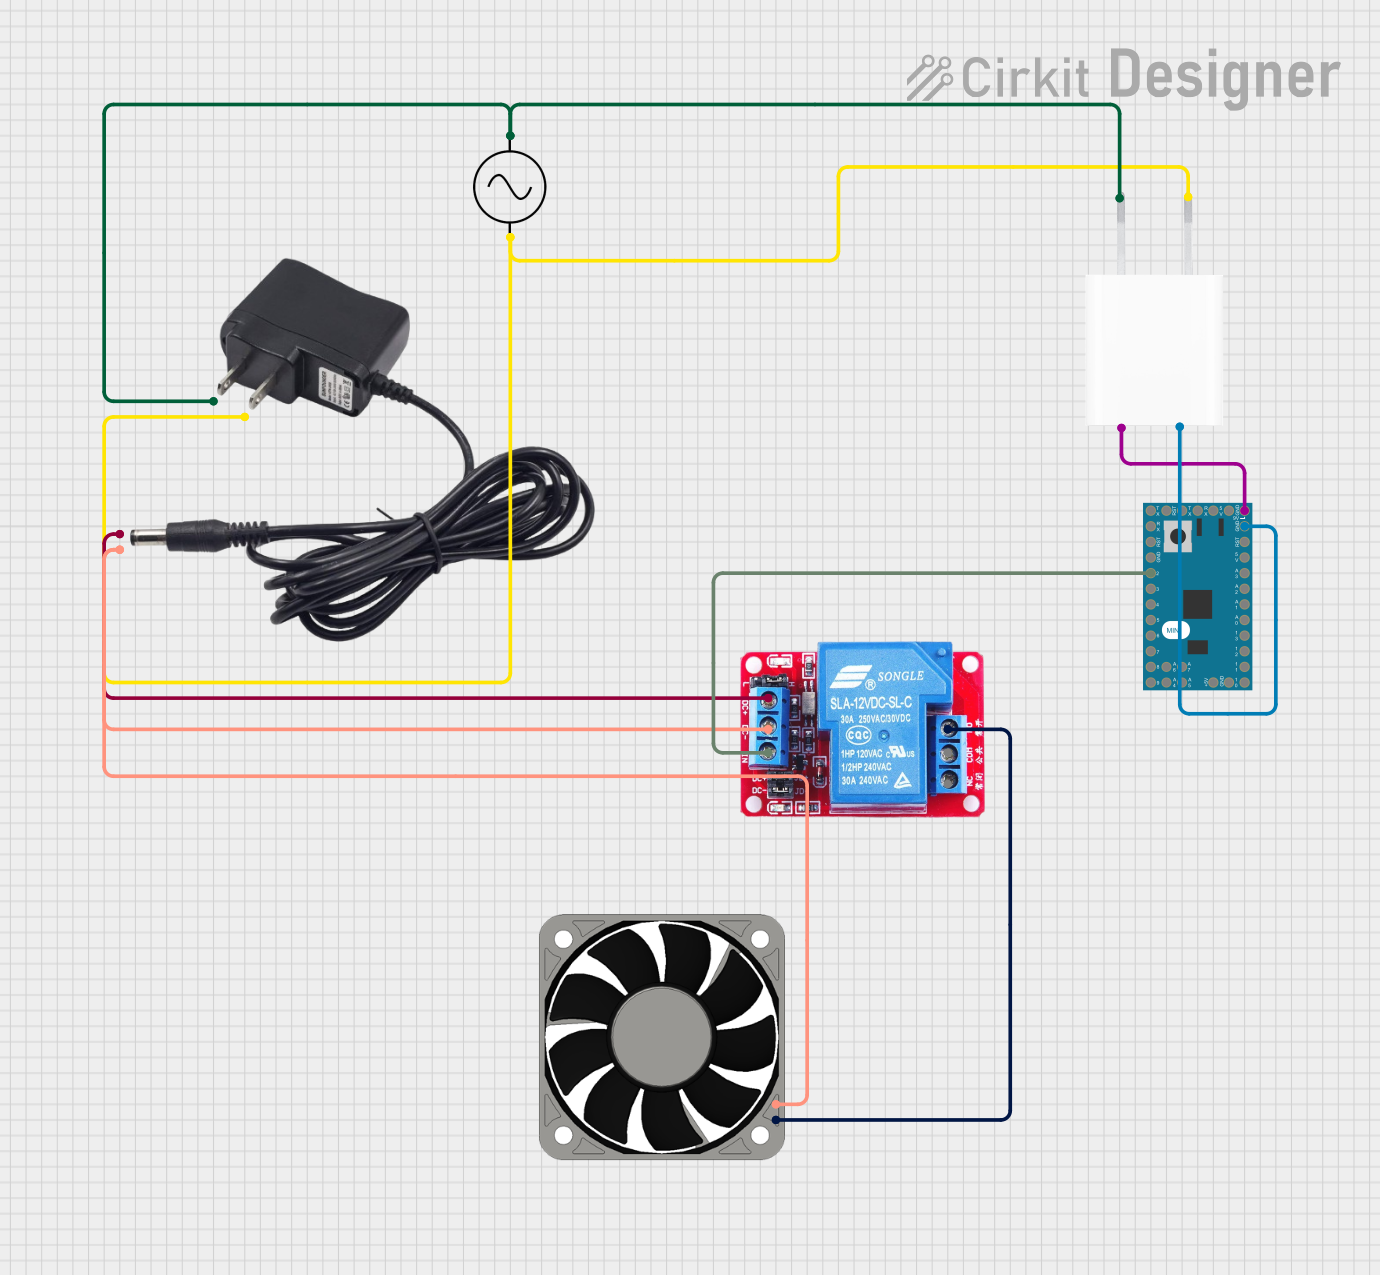 Open Project in Cirkit Designer
Explore Projects Built with Fan 12V 3010
Open Project in Cirkit DesignerOpen Project in Cirkit DesignerOpen Project in Cirkit DesignerOpen Project in Cirkit DesignerCommon Applications
- Cooling for microcontrollers, single-board computers (e.g., Raspberry Pi, Arduino-based systems)
- Heat dissipation in power supplies and voltage regulators
- Ventilation in small enclosures or cases
- Cooling for 3D printers, network devices, and other compact electronics
Technical Specifications
Key Technical Details
| Parameter | Value |
|---|---|
| Operating Voltage | 12V DC |
| Operating Current | 0.08A (typical) |
| Power Consumption | 0.96W |
| Dimensions | 30mm x 30mm x 10mm |
| Airflow | 4.5 CFM (Cubic Feet/Minute) |
| Noise Level | 18 dBA |
| Bearing Type | Sleeve Bearing |
| Connector Type | 2-pin JST or bare wires |
| Operating Temperature | -10°C to +70°C |
| Weight | ~8g |
Pin Configuration and Descriptions
The Fan 12V 3010 typically comes with a 2-pin connector or bare wires for power input. Below is the pin configuration:
| Pin/Wire Color | Function | Description |
|---|---|---|
| Red | VCC (+12V) | Connect to the positive terminal of the 12V power supply |
| Black | GND (Ground) | Connect to the ground terminal of the power supply |
Usage Instructions
How to Use the Fan in a Circuit
- Power Supply: Ensure you have a stable 12V DC power source. The fan operates optimally at this voltage.
- Connections:
- Connect the red wire to the positive terminal of the 12V power supply.
- Connect the black wire to the ground terminal of the power supply.
- Mounting: Use screws or adhesive mounts to secure the fan in place. Ensure the airflow direction aligns with your cooling requirements (airflow direction is typically indicated by an arrow on the fan housing).
- Optional Control: If you wish to control the fan speed, you can use a PWM (Pulse Width Modulation) signal with a transistor or MOSFET circuit.
Important Considerations and Best Practices
- Voltage Tolerance: Do not exceed the rated 12V DC input to avoid damaging the fan.
- Airflow Direction: Check the airflow direction before installation. The fan typically pulls air from the side with the label and pushes it out the opposite side.
- Noise Reduction: To minimize noise, ensure the fan is mounted securely and avoid obstructions near the blades.
- Maintenance: Periodically clean the fan blades to prevent dust buildup, which can reduce efficiency and increase noise.
Example: Connecting to an Arduino UNO
The fan can be controlled using an Arduino UNO and a transistor for switching. Below is an example circuit and code to control the fan using a PWM signal:
Circuit Diagram
- Connect the red wire of the fan to the 12V power supply.
- Connect the black wire of the fan to the collector of an NPN transistor (e.g., 2N2222).
- Connect the emitter of the transistor to the ground.
- Connect a 1kΩ resistor between the base of the transistor and a PWM-capable pin (e.g., Pin 9) on the Arduino.
- Connect the ground of the Arduino to the ground of the power supply.
Arduino Code
// Fan control using PWM on Arduino UNO
// Pin 9 is used to control the fan speed via PWM signal

const int fanPin = 9; // PWM-capable pin connected to the transistor base

void setup() {
  pinMode(fanPin, OUTPUT); // Set fanPin as an output
}

void loop() {
  analogWrite(fanPin, 128); // Set fan speed to 50% (128 out of 255)
  delay(5000); // Run at 50% speed for 5 seconds

  analogWrite(fanPin, 255); // Set fan speed to 100% (255 out of 255)
  delay(5000); // Run at full speed for 5 seconds

  analogWrite(fanPin, 0); // Turn off the fan
  delay(5000); // Fan off for 5 seconds
}
Troubleshooting and FAQs
Common Issues and Solutions
| Issue | Possible Cause | Solution |
|---|---|---|
| Fan does not spin | No power or incorrect wiring | Verify the power supply and wiring connections. Ensure 12V is supplied to the fan. |
| Fan spins but makes noise | Dust buildup or loose mounting | Clean the fan blades and ensure it is securely mounted. |
| Fan speed is inconsistent | Unstable power supply | Use a regulated 12V DC power source. |
| Fan does not respond to PWM | Incorrect circuit or code | Check the transistor connections and ensure the PWM pin is correctly configured in the code. |
FAQs
Can I run the fan at a lower voltage?
- Yes, but the fan speed will decrease, and it may not start reliably below 7V.
Can I use the fan with a 5V power supply?
- No, the fan is designed for 12V operation. Using 5V may prevent it from starting or running effectively.
How do I determine the airflow direction?
- Look for the arrow on the fan housing, which indicates the airflow direction.
Can I use this fan in outdoor applications?
- The fan is not waterproof or weatherproof. It is recommended for indoor use only.
By following this documentation, you can effectively integrate the Fan 12V 3010 into your projects for reliable cooling performance.