How to Use Arduino UNO: Examples, Pinouts, and Specs
Introduction
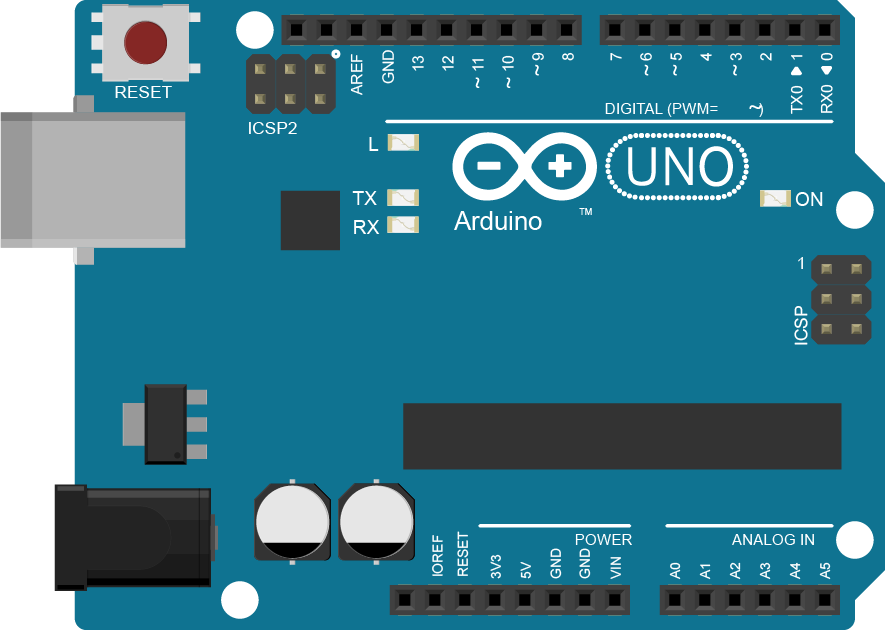
The Arduino UNO is a widely-used open-source microcontroller board based on the ATmega328P microcontroller. It is an essential tool for hobbyists, educators, and professionals for creating interactive electronic projects. The Arduino UNO is designed to be easy to use and accessible, making it ideal for beginners learning about electronics and programming, as well as for rapid prototyping by more experienced users.
Common applications of the Arduino UNO include:
- Robotics
- Home automation systems
- Sensor networks
- Educational projects
- DIY electronics
Explore Projects Built with Arduino UNO
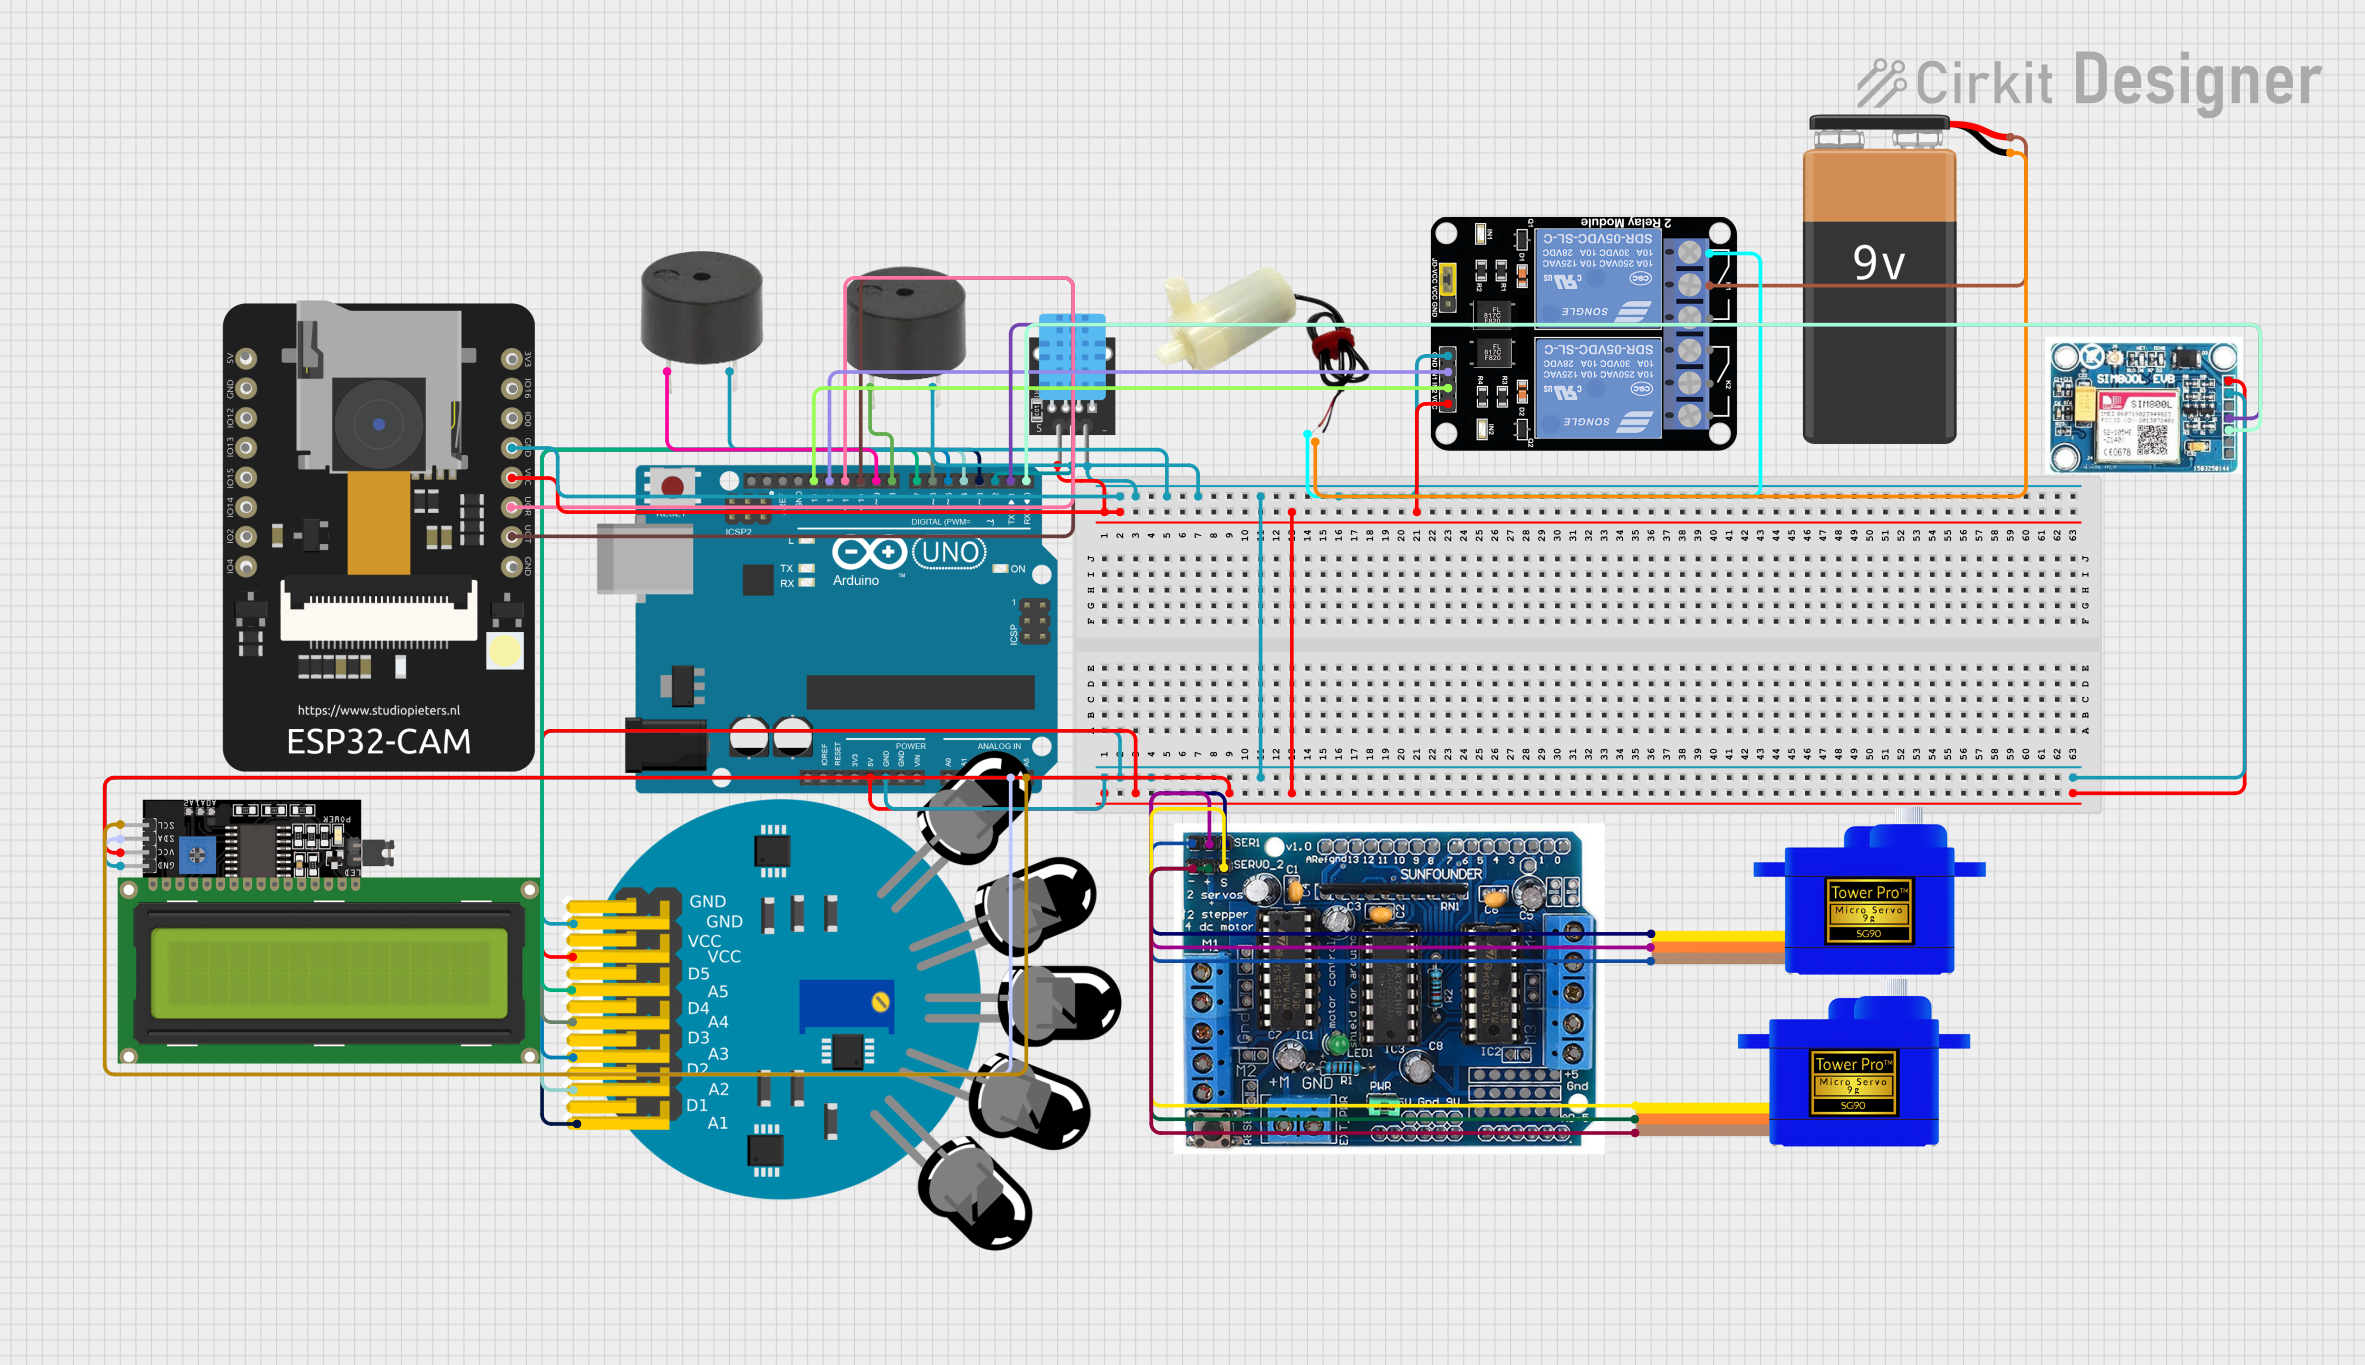

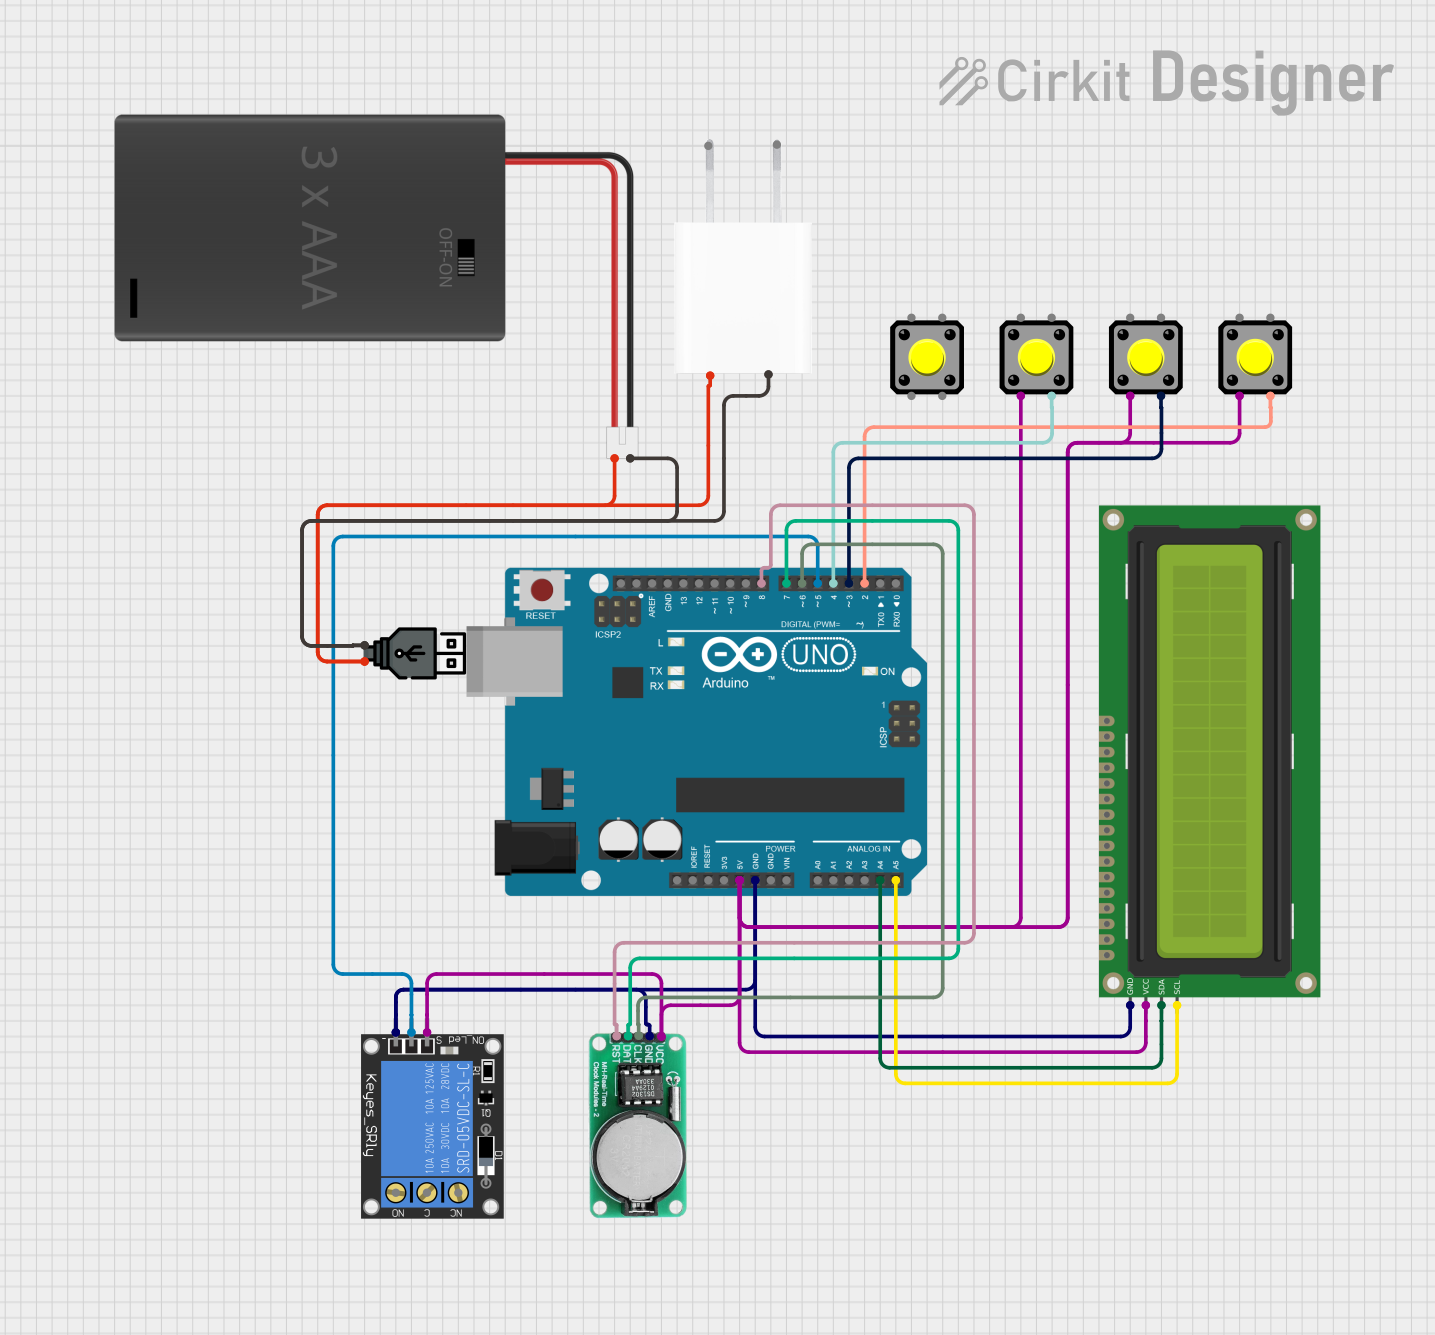
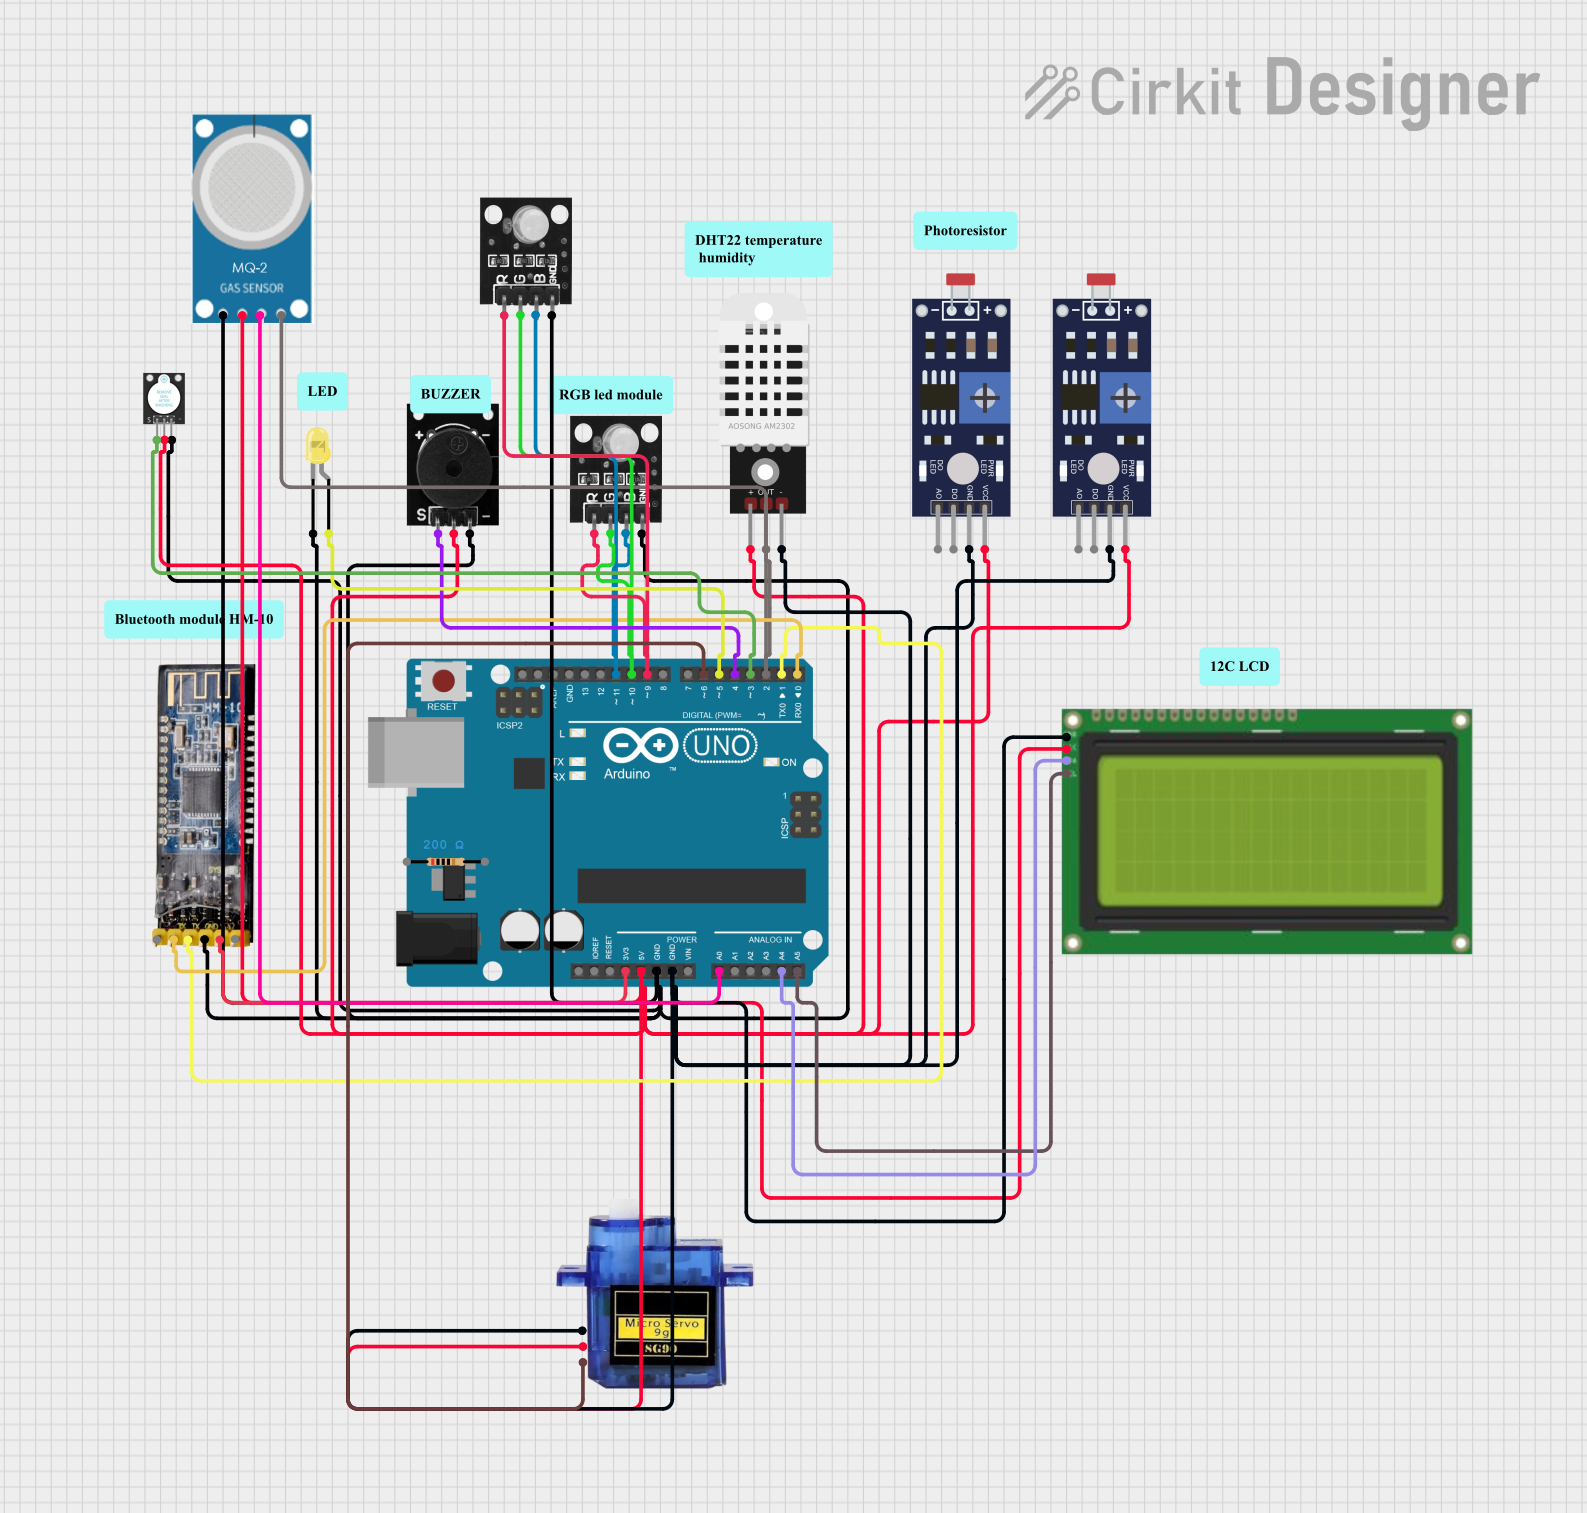
Explore Projects Built with Arduino UNO
Technical Specifications
Key Technical Details
- Microcontroller: ATmega328P
- Operating Voltage: 5V
- Input Voltage (recommended): 7-12V
- Input Voltage (limit): 6-20V
- Digital I/O Pins: 14 (of which 6 provide PWM output)
- Analog Input Pins: 6
- DC Current per I/O Pin: 20 mA
- DC Current for 3.3V Pin: 50 mA
- Flash Memory: 32 KB (ATmega328P) of which 0.5 KB used by bootloader
- SRAM: 2 KB (ATmega328P)
- EEPROM: 1 KB (ATmega328P)
- Clock Speed: 16 MHz
- LED_BUILTIN: Pin 13
Pin Configuration and Descriptions
| Pin Number | Function | Description |
|---|---|---|
| 1-13 | Digital I/O | Digital pins which can be used as input or output |
| 14-19 | Analog Input | Analog input pins (A0 - A5) |
| AREF | Analog Reference | Reference voltage for the analog inputs |
| GND | Ground | Ground pins |
| RST | Reset | Used to reset the microcontroller |
| 3V3 | 3.3V Supply | 3.3V output from the onboard regulator |
| 5V | 5V Supply | 5V output from the onboard regulator |
| VIN | Voltage Input | Input voltage to the Arduino board |
| ICSP | In-Circuit Serial Programming | Header for programming the microcontroller |
Usage Instructions
Integrating Arduino UNO into a Circuit
Powering the Arduino UNO:
- You can power the Arduino UNO via the USB connection or with an external power supply. The power source is automatically selected.
- When using an external power supply, connect it to the VIN pin and GND, or use the DC power jack.
Connecting to I/O Pins:
- Digital pins can be configured as input or output using the
pinMode()function in your code. - Analog pins are primarily used for analog input using the
analogRead()function.
- Digital pins can be configured as input or output using the
Programming the Arduino UNO:
- Connect the Arduino UNO to your computer using a USB cable.
- Use the Arduino IDE to write and upload your code to the board.
Best Practices
- Always ensure that the voltage levels on the I/O pins are compatible with the devices you are connecting to avoid damaging the board.
- Do not draw more than 20 mA from a single I/O pin.
- When connecting sensors or other components, use appropriate resistors to prevent short circuits.
Example Code for Blinking an LED
// The setup function runs once when you press reset or power the board
void setup() {
  // initialize digital pin LED_BUILTIN as an output.
  pinMode(LED_BUILTIN, OUTPUT);
}

// The loop function runs over and over again forever
void loop() {
  digitalWrite(LED_BUILTIN, HIGH);   // turn the LED on (HIGH is the voltage level)
  delay(1000);                       // wait for a second
  digitalWrite(LED_BUILTIN, LOW);    // turn the LED off by making the voltage LOW
  delay(1000);                       // wait for a second
}
Troubleshooting and FAQs
Common Issues
The Arduino UNO is not recognized by my computer:
- Check the USB cable and connections.
- Ensure the correct drivers are installed.
- Try a different USB port or computer.
I can't upload my sketch to the Arduino UNO:
- Check that the correct board and port are selected in the Arduino IDE.
- Press the reset button on the board just before uploading.
- Ensure there are no issues with your code that would prevent compilation.
The Arduino UNO behaves unexpectedly or resets:
- Ensure that the power supply is stable and within the recommended voltage range.
- Check for any shorts or incorrect connections in your circuit.
- Verify that your code does not exceed the memory limits of the ATmega328P.
FAQs
Q: Can I use the Arduino UNO with a higher voltage than 12V?
- A: It is not recommended to exceed 12V as it may overheat and damage the voltage regulator.
Q: How many devices can I connect to the Arduino UNO?
- A: It depends on the power consumption and I/O requirements of the devices. Ensure that the total current does not exceed the board's limits.
Q: Can I program the Arduino UNO without using the Arduino IDE?
- A: Yes, you can use alternative IDEs or command-line tools, but the Arduino IDE is the simplest method for beginners.
For further assistance, consult the Arduino community forums or the extensive online resources available for Arduino users.