How to Use YL-99: Examples, Pinouts, and Specs
Introduction
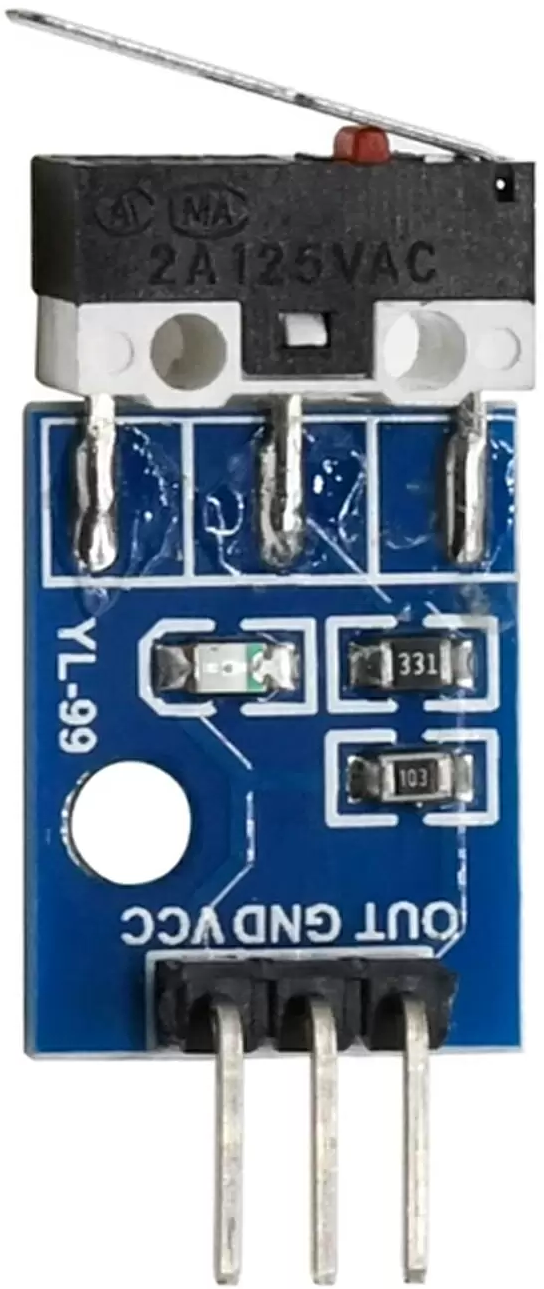
The YL-99 is a versatile LED display module designed for visual output in electronic projects. It features a 7-segment display format, enabling clear readability of numerical values and basic alphanumeric characters. Its compact design and ease of use make it an excellent choice for applications requiring a simple and efficient way to display information.
Explore Projects Built with YL-99


Explore Projects Built with YL-99
Common Applications and Use Cases
- Digital clocks and timers
- Counter displays
- Voltage or temperature readouts
- DIY electronics projects
- Educational tools for learning about 7-segment displays
Technical Specifications
Below are the key technical details of the YL-99 module:
| Parameter | Specification |
|---|---|
| Manufacturer | YL-99 |
| Manufacturer Part ID | YL-99 |
| Display Type | 7-segment LED |
| Operating Voltage | 3.3V to 5V DC |
| Operating Current | ~20mA per segment (typical) |
| Dimensions | 30mm x 15mm x 10mm |
| Interface Type | Digital (common cathode or anode) |
| Number of Digits | 1 digit |
| LED Color | Red (standard) |
Pin Configuration and Descriptions
The YL-99 module typically has 10 pins for interfacing. Below is the pinout and description:
| Pin Number | Pin Name | Description |
|---|---|---|
| 1 | A | Segment A control pin |
| 2 | B | Segment B control pin |
| 3 | C | Segment C control pin |
| 4 | D | Segment D control pin |
| 5 | E | Segment E control pin |
| 6 | F | Segment F control pin |
| 7 | G | Segment G control pin |
| 8 | DP | Decimal point control pin |
| 9 | Cathode/Anode | Common cathode or anode pin (depending on variant) |
| 10 | NC | Not connected (reserved for future use) |
Usage Instructions
How to Use the YL-99 in a Circuit
- Power Supply: Connect the common cathode (or anode) pin to ground (or Vcc) depending on the module variant.
- Segment Control: Use digital output pins from a microcontroller (e.g., Arduino) to control each segment (A-G) and the decimal point (DP).
- Resistors: Place current-limiting resistors (typically 220Ω to 1kΩ) in series with each segment to prevent overcurrent damage.
- Programming: Write a program to control the segments based on the desired number or character to display.
Important Considerations and Best Practices
- Voltage Levels: Ensure the operating voltage matches the module's specifications (3.3V or 5V).
- Current Limiting: Always use resistors to limit current through the LEDs.
- Pin Mapping: Verify the pinout of your specific YL-99 module variant, as it may differ slightly.
- Brightness Control: Use pulse-width modulation (PWM) on the control pins to adjust brightness.
Example Code for Arduino UNO
Below is an example Arduino sketch to display the number "8" on the YL-99 module:
// Define pin connections for each segment
const int segmentA = 2;
const int segmentB = 3;
const int segmentC = 4;
const int segmentD = 5;
const int segmentE = 6;
const int segmentF = 7;
const int segmentG = 8;
const int decimalPoint = 9;

void setup() {
  // Set all segment pins as outputs
  pinMode(segmentA, OUTPUT);
  pinMode(segmentB, OUTPUT);
  pinMode(segmentC, OUTPUT);
  pinMode(segmentD, OUTPUT);
  pinMode(segmentE, OUTPUT);
  pinMode(segmentF, OUTPUT);
  pinMode(segmentG, OUTPUT);
  pinMode(decimalPoint, OUTPUT);

  // Display the number "8" by turning on all segments
  digitalWrite(segmentA, HIGH);
  digitalWrite(segmentB, HIGH);
  digitalWrite(segmentC, HIGH);
  digitalWrite(segmentD, HIGH);
  digitalWrite(segmentE, HIGH);
  digitalWrite(segmentF, HIGH);
  digitalWrite(segmentG, HIGH);
  digitalWrite(decimalPoint, LOW); // Decimal point off
}

void loop() {
  // No actions in the loop for this example
}
Troubleshooting and FAQs
Common Issues and Solutions
Problem: The display is not lighting up.
- Solution: Check the power supply connections and ensure the common cathode or anode pin is correctly connected.
- Solution: Verify that current-limiting resistors are in place and not too high in value.
Problem: Incorrect segments are lighting up.
- Solution: Double-check the wiring and ensure the correct pins are connected to the microcontroller.
- Solution: Verify the program logic to ensure the correct segments are being activated.
Problem: The display is too dim.
- Solution: Reduce the value of the current-limiting resistors (but not below 220Ω).
- Solution: Ensure the power supply voltage is within the specified range.
Problem: The decimal point is not working.
- Solution: Confirm the decimal point pin is connected and properly controlled in the code.
FAQs
Q1: Can the YL-99 display letters?
A1: Yes, the YL-99 can display simple alphanumeric characters, but it is primarily designed for numbers.
Q2: Can I use the YL-99 with a 3.3V microcontroller?
A2: Yes, the YL-99 is compatible with both 3.3V and 5V systems.
Q3: Do I need a driver IC to use the YL-99?
A3: No, the YL-99 can be directly controlled by a microcontroller, but a driver IC like the 74HC595 can simplify wiring for multiple displays.
Q4: How do I control multiple YL-99 modules?
A4: Use a multiplexing technique or a driver IC to control multiple displays efficiently.