
How to Use TMP36: Examples, Pinouts, and Specs
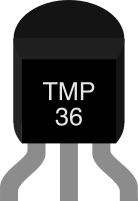
 Design with TMP36 in Cirkit Designer
Introduction
The TMP36 is a low-voltage, precision centigrade temperature sensor that provides an analog output voltage proportional to the temperature in degrees Celsius. It is designed to operate from a single power supply, making it ideal for low-power applications. The TMP36 is widely used in temperature sensing applications such as environmental monitoring, HVAC systems, and embedded systems. Its ease of use and accuracy make it a popular choice for both hobbyists and professionals.
Explore Projects Built with TMP36
 Open Project in Cirkit Designer
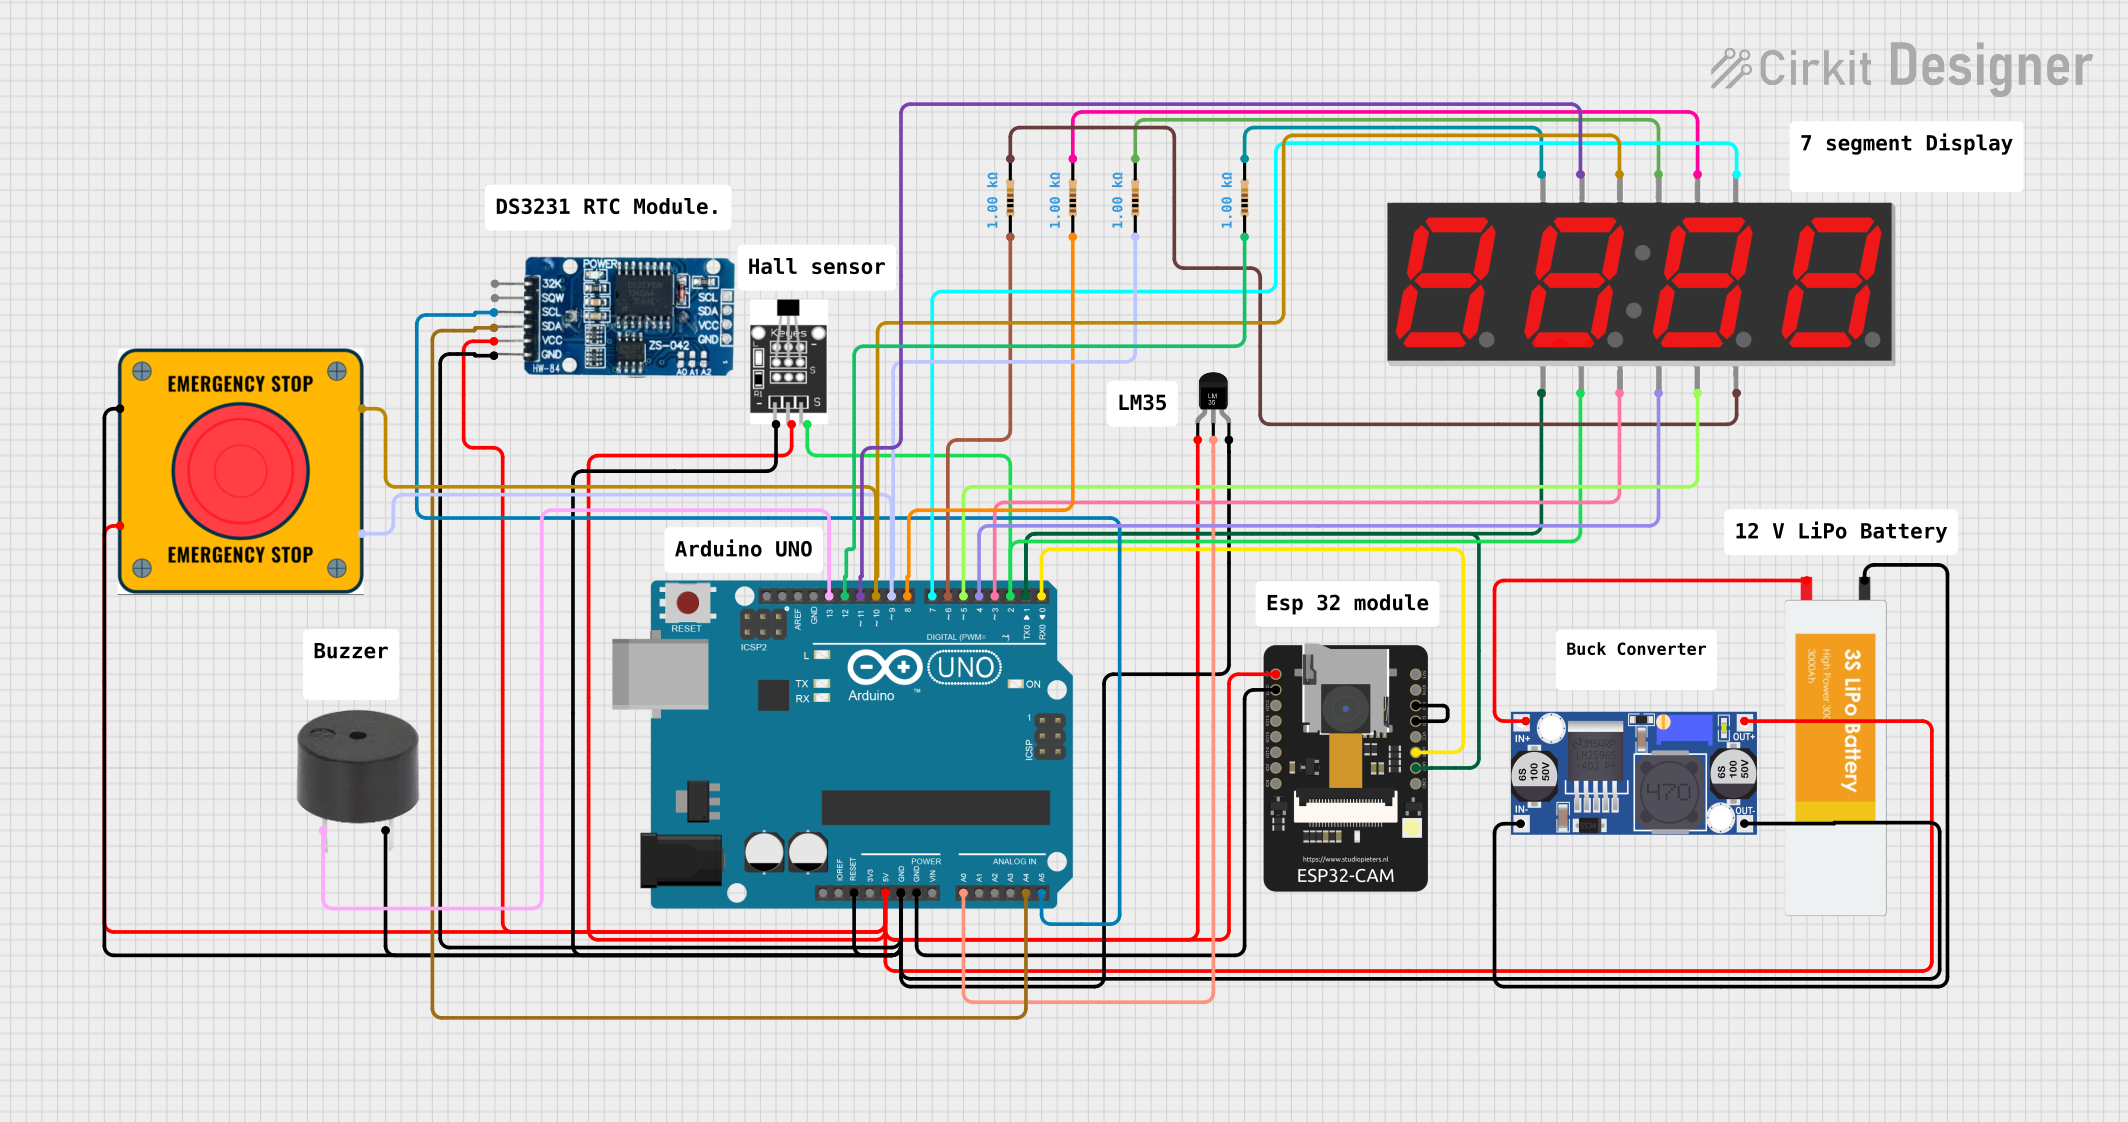 Open Project in Cirkit Designer
 Open Project in Cirkit Designer
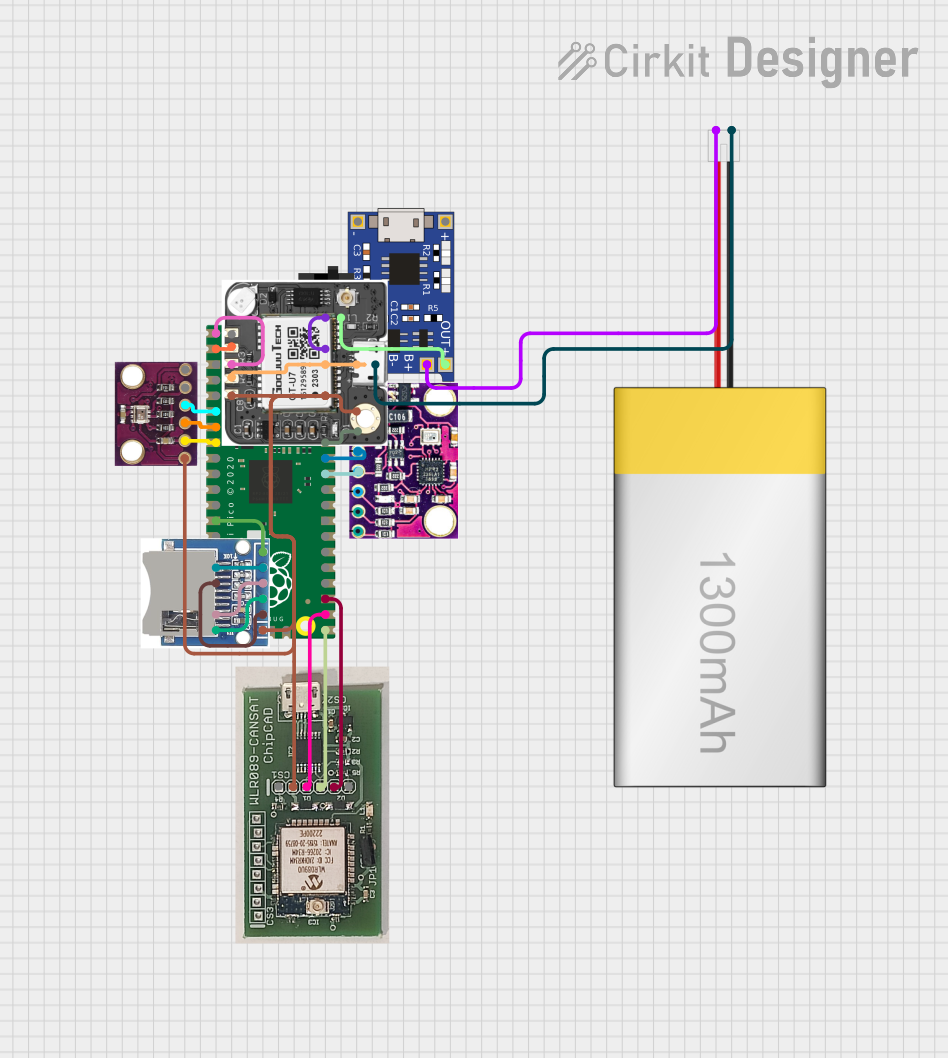 Open Project in Cirkit Designer
Explore Projects Built with TMP36
Open Project in Cirkit DesignerOpen Project in Cirkit DesignerOpen Project in Cirkit DesignerOpen Project in Cirkit DesignerTechnical Specifications
The TMP36 offers reliable performance with the following key specifications:
- Operating Voltage: 2.7V to 5.5V
- Output Voltage Range: 0.1V to 2.0V (corresponding to -40°C to +125°C)
- Accuracy: ±2°C (typical) at 25°C
- Temperature Range: -40°C to +125°C
- Output Scale Factor: 10 mV/°C
- Quiescent Current: 50 µA (typical)
- Package Types: TO-92, SOIC-8
Pin Configuration and Descriptions
The TMP36 is typically available in a 3-pin TO-92 package. The pinout is as follows:
| Pin Number | Pin Name | Description |
|---|---|---|
| 1 | V+ | Power supply input (2.7V to 5.5V) |
| 2 | VOUT | Analog output voltage (temperature) |
| 3 | GND | Ground |
Usage Instructions
How to Use the TMP36 in a Circuit
- Power the Sensor: Connect the V+ pin to a power supply (2.7V to 5.5V) and the GND pin to the ground of your circuit.
- Read the Output: The VOUT pin provides an analog voltage proportional to the temperature. Use an analog-to-digital converter (ADC) to read this voltage.
- Calculate the Temperature: The output voltage can be converted to temperature using the formula: [ T(°C) = \frac{V_{OUT} - 500 , \text{mV}}{10 , \text{mV/°C}} ] Here, ( V_{OUT} ) is the output voltage in millivolts.
Important Considerations and Best Practices
- Decoupling Capacitor: Place a 0.1 µF capacitor between V+ and GND to reduce noise and improve stability.
- Avoid Long Wires: Minimize the length of wires connected to the TMP36 to reduce noise pickup.
- Thermal Coupling: Ensure good thermal contact between the TMP36 and the surface or environment being measured for accurate readings.
- Operating Range: Do not exceed the specified voltage or temperature range to avoid damaging the sensor.
Example: Using TMP36 with Arduino UNO
The TMP36 can be easily interfaced with an Arduino UNO to measure temperature. Below is an example code:
// TMP36 Temperature Sensor Example with Arduino UNO
// Reads the analog output of the TMP36 and calculates the temperature in Celsius
// and Fahrenheit. Displays the results on the Serial Monitor.

const int sensorPin = A0; // TMP36 output connected to analog pin A0
float voltage;            // Variable to store the sensor's output voltage
float temperatureC;       // Variable to store temperature in Celsius
float temperatureF;       // Variable to store temperature in Fahrenheit

void setup() {
  Serial.begin(9600); // Initialize serial communication at 9600 baud
}

void loop() {
  int sensorValue = analogRead(sensorPin); // Read the analog value (0-1023)

  // Convert the analog value to voltage (assuming 5V reference)
  voltage = sensorValue * (5.0 / 1023.0);

  // Calculate temperature in Celsius
  temperatureC = (voltage - 0.5) * 100.0;

  // Convert Celsius to Fahrenheit
  temperatureF = (temperatureC * 9.0 / 5.0) + 32.0;

  // Print the results to the Serial Monitor
  Serial.print("Temperature: ");
  Serial.print(temperatureC);
  Serial.print(" °C, ");
  Serial.print(temperatureF);
  Serial.println(" °F");

  delay(1000); // Wait for 1 second before the next reading
}
Troubleshooting and FAQs
Common Issues
Incorrect Temperature Readings:
- Cause: Noise in the power supply or incorrect wiring.
- Solution: Add a 0.1 µF decoupling capacitor between V+ and GND. Verify the wiring.
No Output Voltage:
- Cause: The sensor is not powered or is damaged.
- Solution: Check the power supply voltage and ensure proper connections.
Fluctuating Readings:
- Cause: Electrical noise or unstable power supply.
- Solution: Use a stable power source and minimize wire lengths.
FAQs
Q1: Can the TMP36 measure negative temperatures?
Yes, the TMP36 can measure temperatures as low as -40°C. The output voltage will be below 500 mV for negative temperatures.
Q2: What is the maximum distance between the TMP36 and the microcontroller?
For best results, keep the distance as short as possible (less than 30 cm). For longer distances, use shielded cables and consider buffering the signal.
Q3: Can I use the TMP36 with a 3.3V system?
Yes, the TMP36 operates with supply voltages as low as 2.7V, making it compatible with 3.3V systems.
Q4: How do I improve accuracy in noisy environments?
Use a decoupling capacitor, ensure proper grounding, and avoid placing the sensor near high-frequency noise sources.