Cirkit Designer LogoCirkit DesignerYour all-in-one circuit design IDE Launch Cirkit Designer App

How to Use Contaceur modulaire 2NC: Examples, Pinouts, and Specs

Image of Contaceur modulaire 2NCDesign with Contaceur modulaire 2NC in Cirkit Designer

Introduction

The Contactor Modulaire 2NC by TOMZN is a modular contactor equipped with two normally closed (NC) contacts. It is designed for controlling electrical circuits by interrupting or completing the circuit path. This component is widely used in automation systems, lighting control, and industrial applications where reliable switching of electrical loads is required.

Explore Projects Built with Contaceur modulaire 2NC

Use Cirkit Designer to design, explore, and prototype these projects online. Some projects support real-time simulation. Click "Open Project" to start designing instantly!
Image of Cellular-Enabled IoT Device with Real-Time Clock and Power Management: A project utilizing Contaceur modulaire 2NC in a practical application
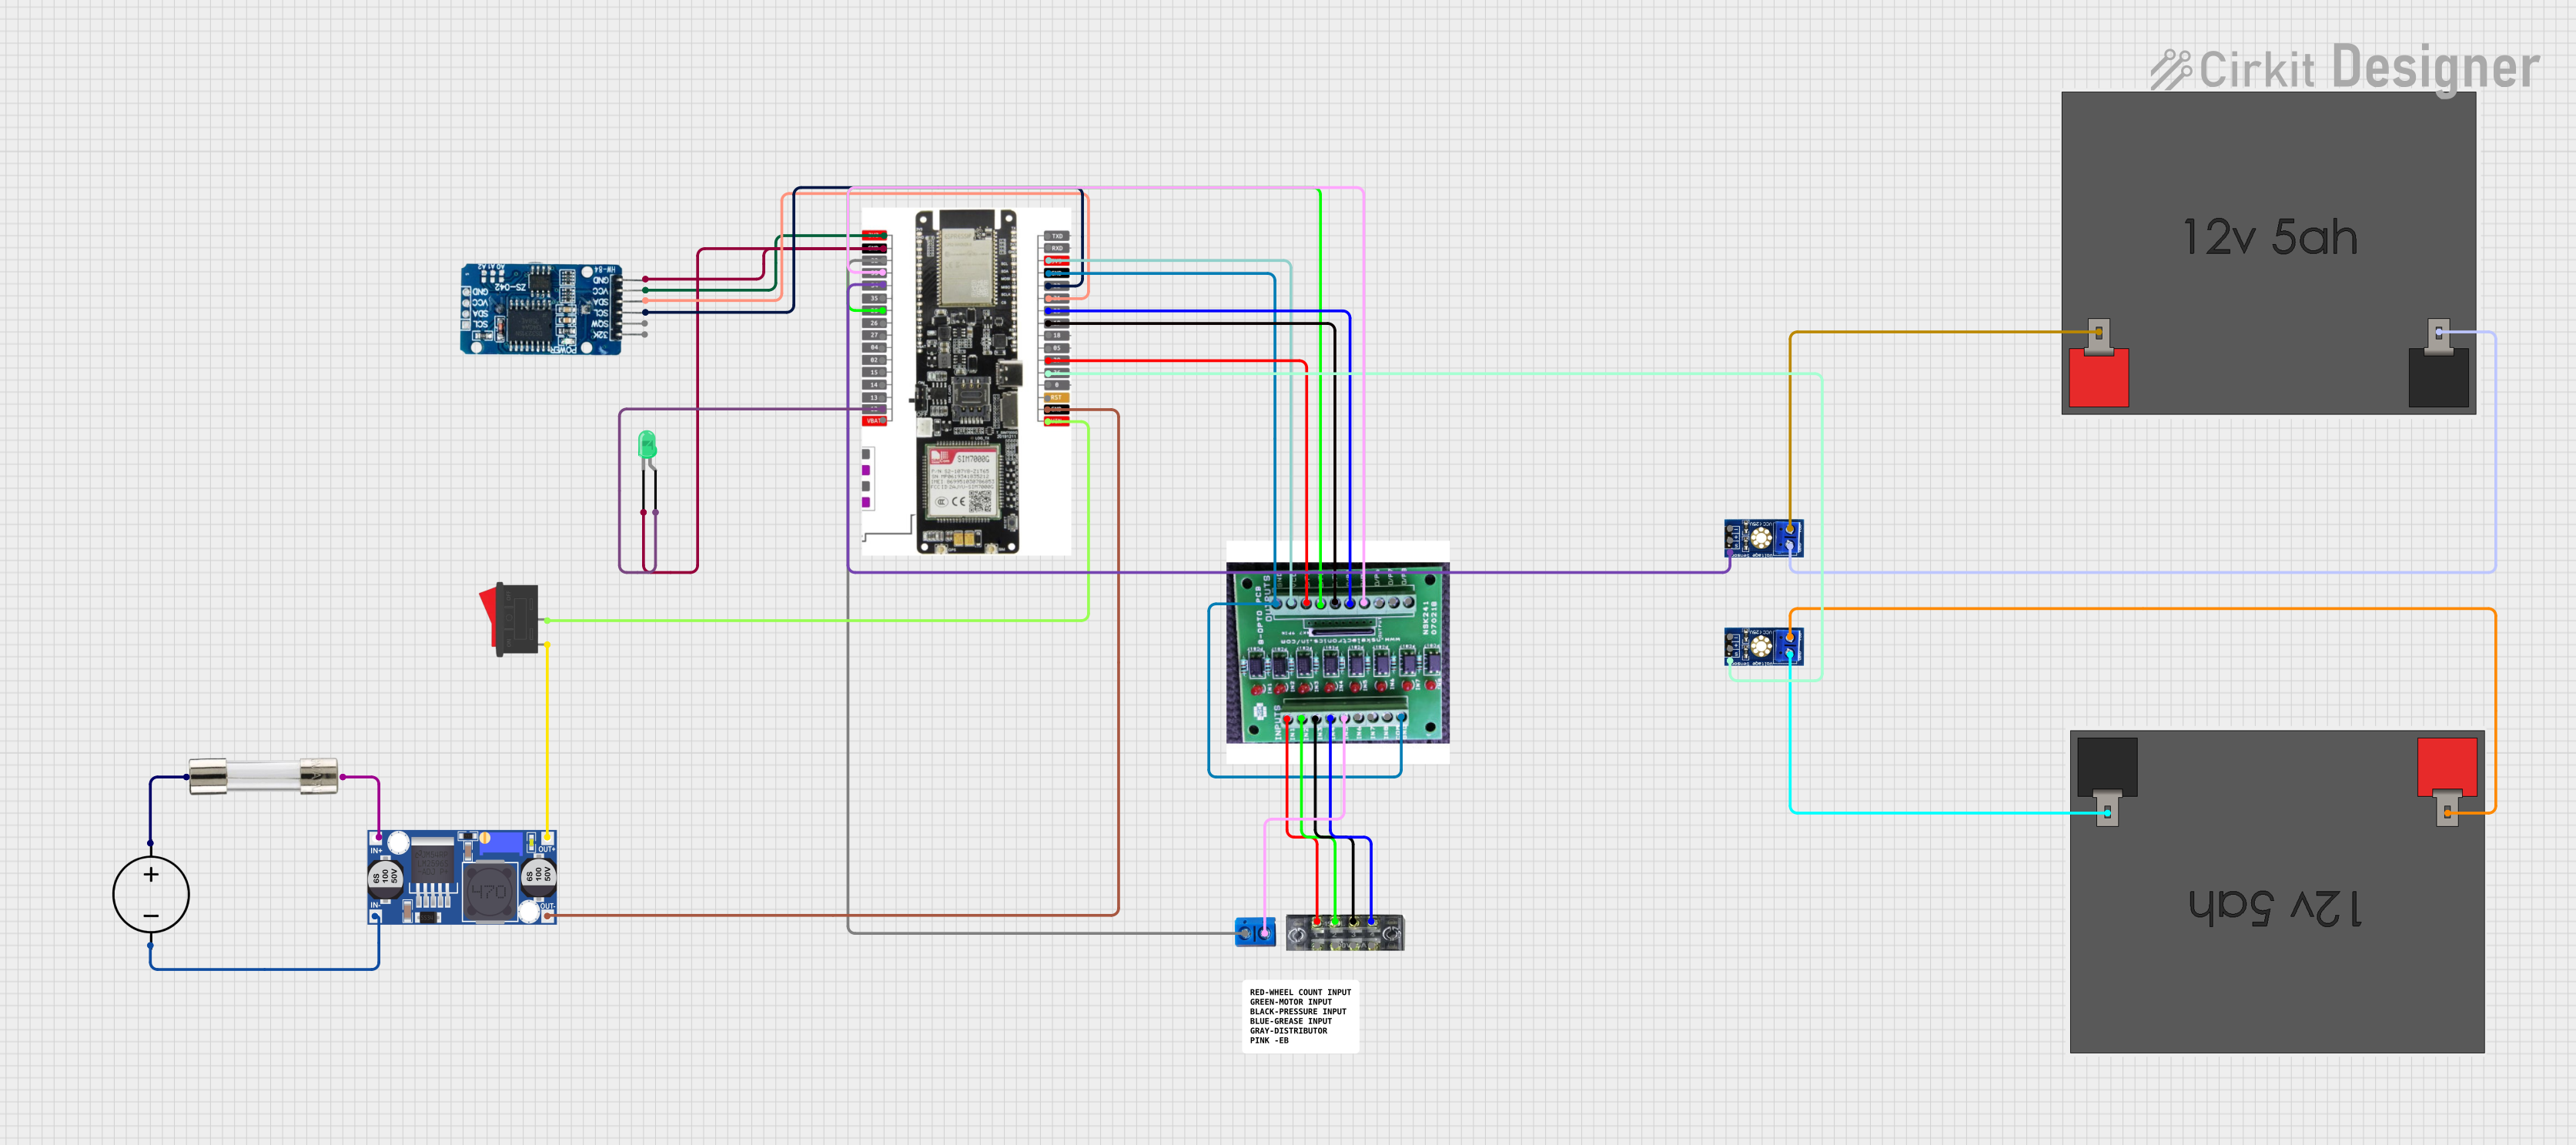
Cellular-Enabled IoT Device with Real-Time Clock and Power Management

This circuit features a LilyGo-SIM7000G module for cellular communication and GPS functionality, interfaced with an RTC DS3231 for real-time clock capabilities. It includes voltage sensing through two voltage sensor modules, and uses an 8-channel opto-coupler for isolating different parts of the circuit. Power management is handled by a buck converter connected to a DC power source and batteries, with a fuse for protection and a rocker switch for on/off control. Additionally, there's an LED for indication purposes.

Open Project in Cirkit Designer
Image of IoT-Enabled Environmental Monitoring System with NUCLEO-F303RE and ESP8266: A project utilizing Contaceur modulaire 2NC in a practical application
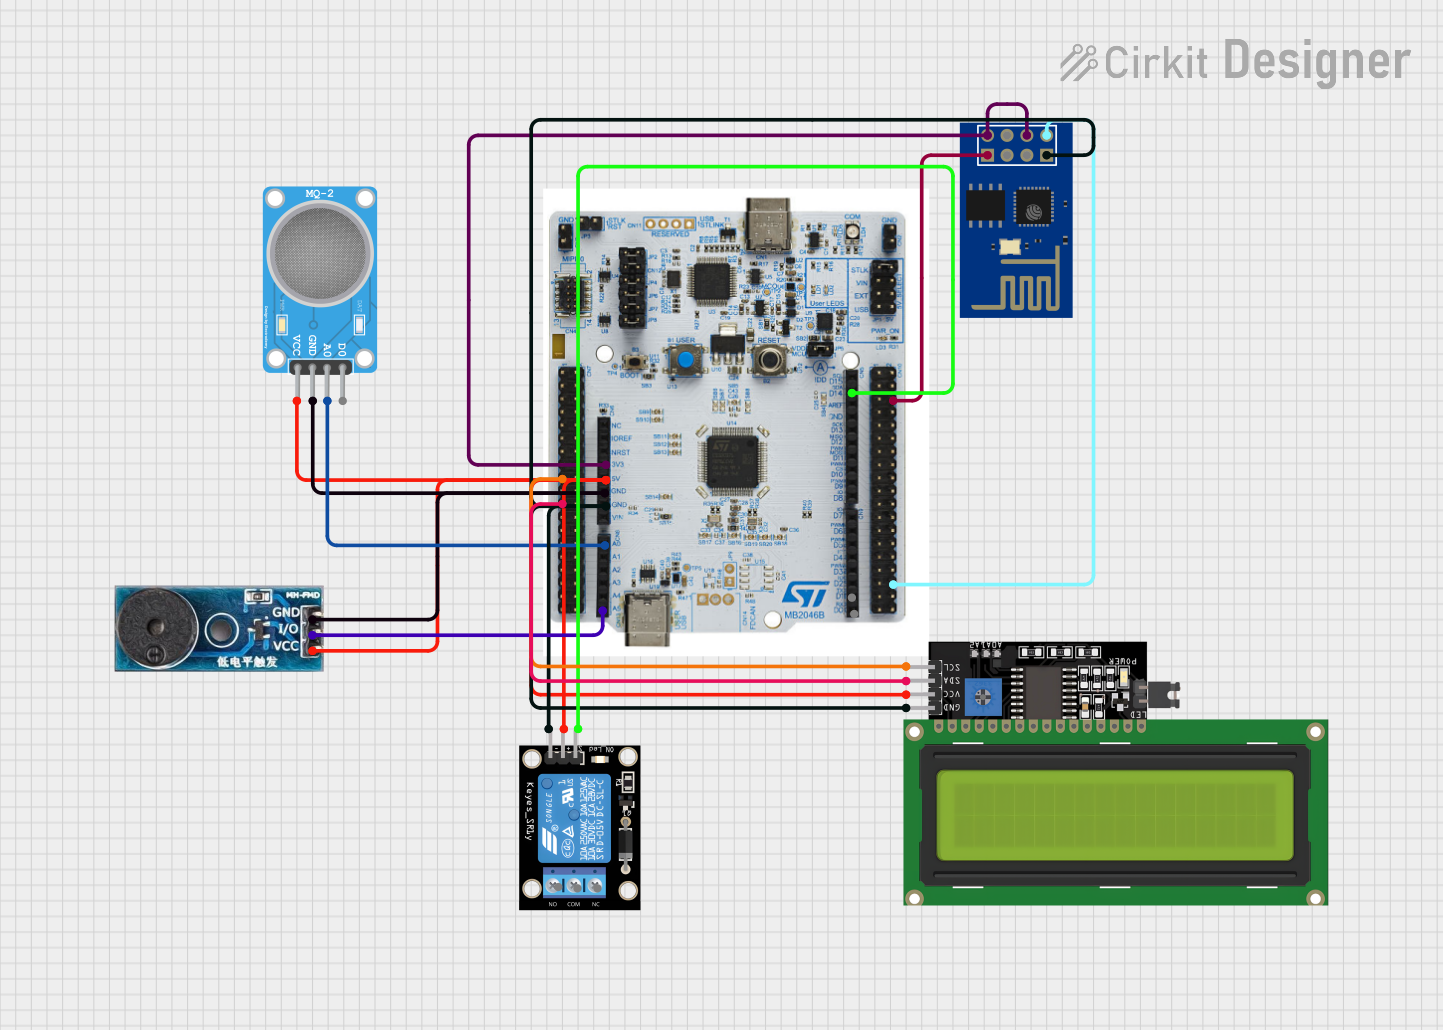
IoT-Enabled Environmental Monitoring System with NUCLEO-F303RE and ESP8266

This circuit features a NUCLEO-F303RE microcontroller board interfaced with various modules for sensing, actuation, and communication. It includes an MQ-2 gas sensor for detecting combustible gases, a buzzer for audible alerts, and a relay for controlling high-power devices. Additionally, the circuit uses an ESP8266 WiFi module for wireless connectivity and an I2C LCD display for user interface and data display.

Open Project in Cirkit Designer

Common Applications and Use Cases

Technical Specifications

The following table outlines the key technical details of the Contactor Modulaire 2NC:

Parameter Value
Manufacturer TOMZN
Contact Configuration 2 Normally Closed (2NC)
Rated Voltage (AC) 230V AC
Rated Current 25A
Coil Voltage 230V AC
Frequency 50/60 Hz
Mechanical Durability 1,000,000 operations
Electrical Durability 100,000 operations
Mounting Type DIN Rail
Operating Temperature -5°C to +40°C
Dimensions (L x W x H) 36mm x 90mm x 65mm
Weight 200g

Pin Configuration and Descriptions

The Contactor Modulaire 2NC has the following terminal layout:

Terminal Description
A1 Coil input terminal (live)
A2 Coil input terminal (neutral)
1L1 Input terminal for the first NC contact
2T1 Output terminal for the first NC contact
3L2 Input terminal for the second NC contact
4T2 Output terminal for the second NC contact

Usage Instructions

How to Use the Contactor in a Circuit

  1. Mounting: Secure the contactor onto a standard DIN rail in your electrical panel.
  2. Wiring the Coil:
    • Connect the live wire to terminal A1 and the neutral wire to terminal A2.
    • Ensure the coil voltage matches the rated voltage (230V AC).
  3. Wiring the Load:
    • For the first NC contact, connect the input wire to terminal 1L1 and the output wire to terminal 2T1.
    • For the second NC contact, connect the input wire to terminal 3L2 and the output wire to terminal 4T2.
  4. Testing:
    • Energize the coil by applying voltage to terminals A1 and A2. The NC contacts will open, interrupting the circuit.
    • De-energize the coil to return the contacts to their normally closed state.

Important Considerations and Best Practices

Example: Using the Contactor with an Arduino UNO

The Contactor Modulaire 2NC can be controlled using an Arduino UNO and a relay module. Below is an example circuit and code:

Circuit Description

Code Example

// Define the pin connected to the relay module
const int relayPin = 7;

void setup() {
  // Set the relay pin as an output
  pinMode(relayPin, OUTPUT);
  
  // Ensure the relay is off at startup
  digitalWrite(relayPin, LOW);
}

void loop() {
  // Turn on the relay (energize the contactor coil)
  digitalWrite(relayPin, HIGH);
  delay(5000); // Keep the contactor energized for 5 seconds
  
  // Turn off the relay (de-energize the contactor coil)
  digitalWrite(relayPin, LOW);
  delay(5000); // Wait for 5 seconds before repeating
}

Note: Ensure proper isolation between the Arduino and the high-voltage circuit. Use a relay module with optocoupler isolation for safety.

Troubleshooting and FAQs

Common Issues and Solutions

Issue Possible Cause Solution
Contactor does not switch when energized Coil voltage is incorrect or not applied Verify the coil voltage and connections.
Contacts remain open even when de-energized Mechanical failure or debris in the contact Inspect and clean the contactor. Replace if necessary.
Excessive heating during operation Overloaded contacts or loose connections Check the load current and tighten connections.
Humming noise from the contactor Coil voltage fluctuation or loose mounting Stabilize the voltage and secure the contactor.

FAQs

  1. Can I use the contactor for DC loads?

    • No, the Contactor Modulaire 2NC is designed for AC loads only.
  2. What happens if the coil voltage is too low?

    • The contactor may fail to operate or may chatter, leading to unreliable switching.
  3. Can I use this contactor for motor control?

    • Yes, but ensure the motor's starting current does not exceed the contactor's rated current (25A).
  4. How do I know if the contactor is faulty?

    • Test the coil with a multimeter for continuity. If the coil is intact but the contacts do not switch, the contactor may need replacement.