
How to Use Splicing connector WAGO 221: Examples, Pinouts, and Specs
 Design with Splicing connector WAGO 221 in Cirkit Designer
Introduction
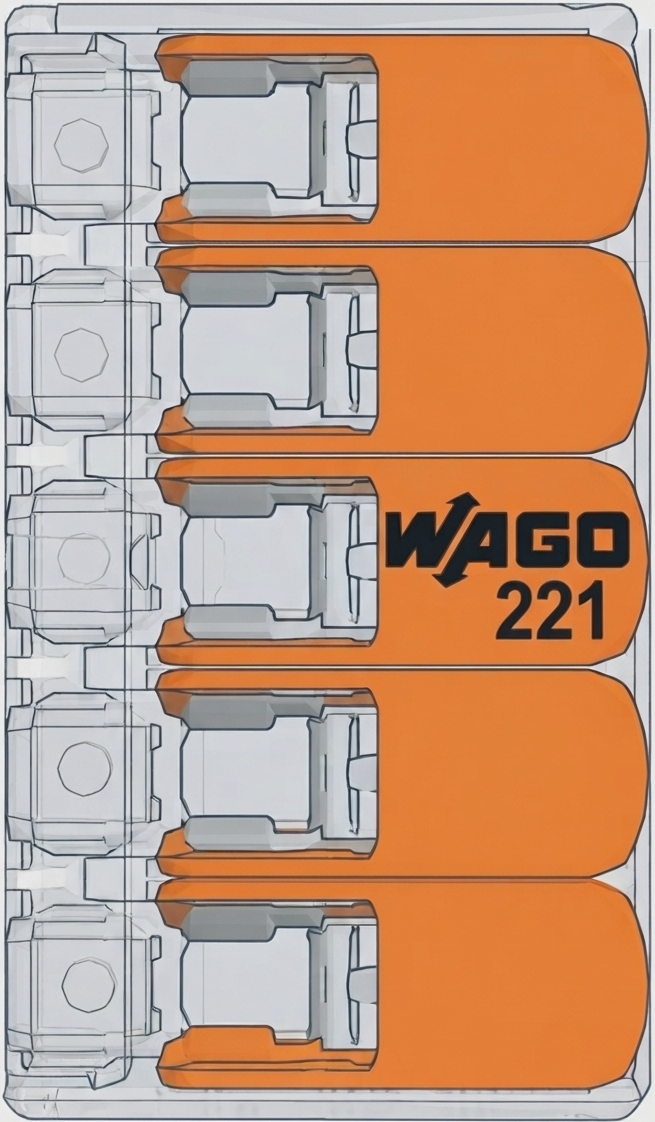
The WAGO 221-415 splicing connector is a compact, user-friendly solution for quick and reliable electrical wire connections. Designed with a transparent housing, it allows for easy visual inspection of wire placement and connection integrity. This connector supports a wide range of wire types and sizes, making it a versatile choice for both professional and DIY electrical projects.
Explore Projects Built with Splicing connector WAGO 221
 Open Project in Cirkit Designer
 Open Project in Cirkit Designer
 Open Project in Cirkit Designer
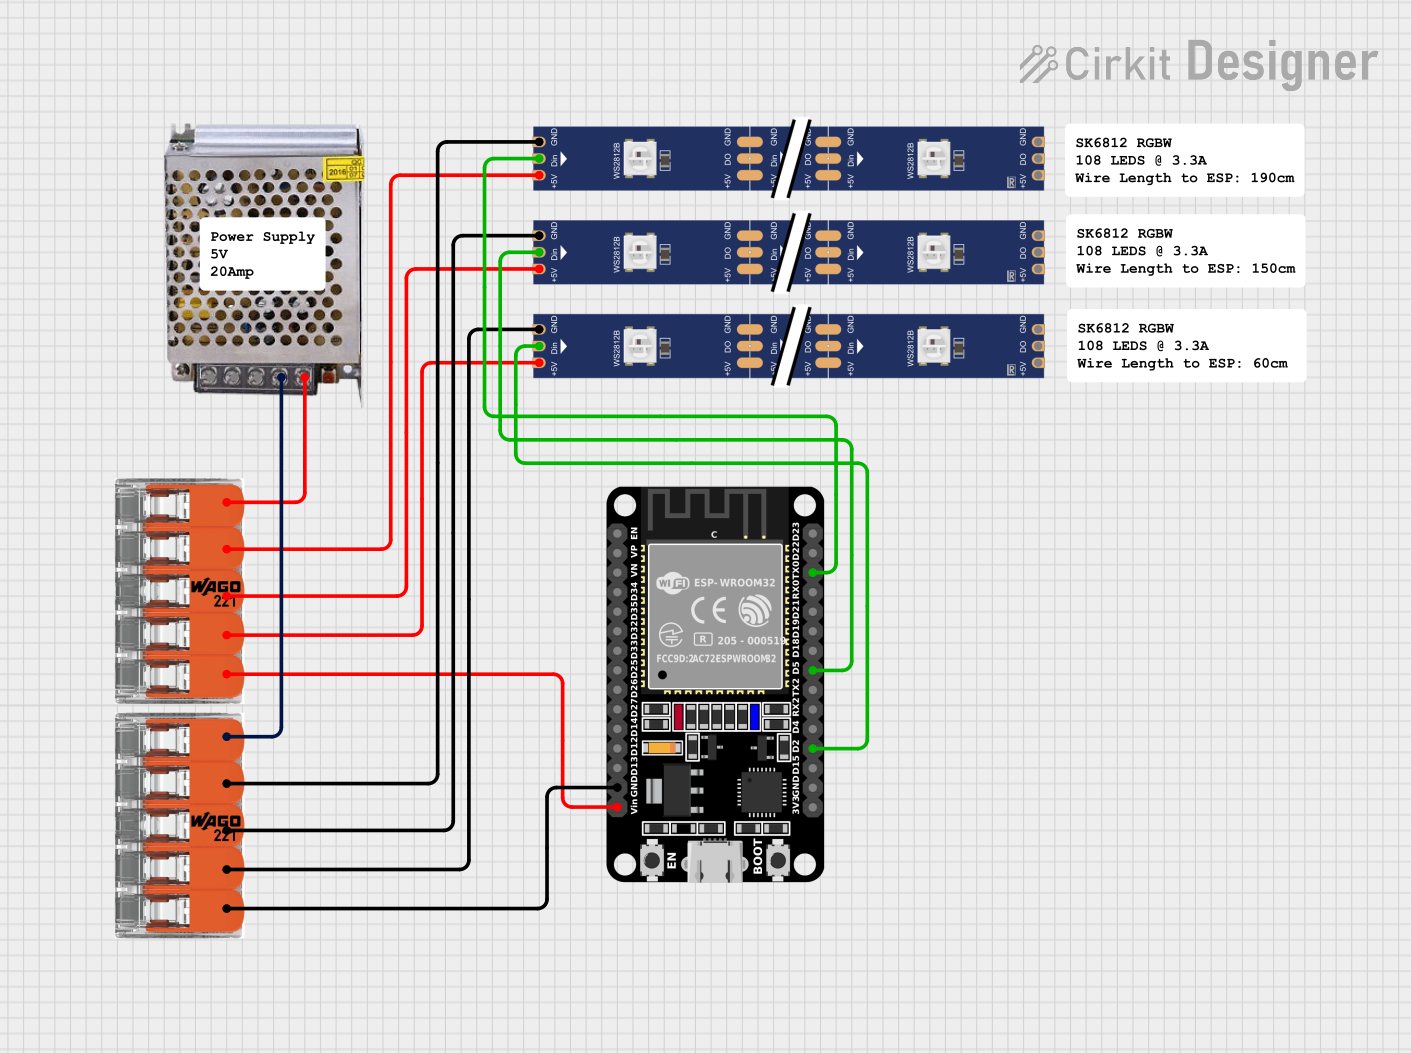 Open Project in Cirkit Designer
Explore Projects Built with Splicing connector WAGO 221
Open Project in Cirkit DesignerOpen Project in Cirkit DesignerOpen Project in Cirkit DesignerOpen Project in Cirkit DesignerCommon Applications and Use Cases
- Electrical wiring in residential, commercial, and industrial installations
- Temporary or permanent wire splicing in control panels
- Prototyping and testing electrical circuits
- Connecting solid, stranded, or fine-stranded wires without the need for tools
- Ideal for use in tight spaces due to its compact design
Technical Specifications
The WAGO 221-415 splicing connector is designed to meet the needs of modern electrical installations. Below are its key technical details:
Key Technical Details
| Parameter | Specification |
|---|---|
| Manufacturer | WAGO |
| Part Number | 221-415 |
| Wire Type Compatibility | Solid, stranded, and fine-stranded wires |
| Wire Size Range | 0.14 mm² to 4 mm² (24–12 AWG) |
| Voltage Rating | 450 V |
| Current Rating | 32 A |
| Operating Temperature | -20°C to +85°C |
| Housing Material | Polycarbonate (transparent) |
| Number of Connections | 5 |
| Dimensions (L x W x H) | 28.3 mm x 13.1 mm x 8.3 mm |
| Certifications | UL, CE, ENEC, and IEC compliant |
Pin Configuration and Descriptions
The WAGO 221-415 features five connection points for splicing wires. Each connection point is equipped with a lever for easy wire insertion and secure clamping. Below is a description of the pin configuration:
| Pin Number | Description |
|---|---|
| 1 | Wire connection point 1 |
| 2 | Wire connection point 2 |
| 3 | Wire connection point 3 |
| 4 | Wire connection point 4 |
| 5 | Wire connection point 5 |
Usage Instructions
The WAGO 221-415 splicing connector is designed for ease of use, even for those with minimal electrical experience. Follow the steps below to use the connector effectively:
How to Use the Connector
Prepare the Wires:
- Strip the insulation from the wire ends, leaving approximately 10–12 mm of exposed conductor.
- Ensure the wire ends are clean and free of damage.
Open the Lever:
- Lift the lever on the WAGO 221-415 to open the clamping mechanism for the desired connection point.
Insert the Wire:
- Insert the stripped wire end into the open connection point until it reaches the stop.
Close the Lever:
- Push the lever back down to secure the wire in place. The transparent housing allows you to visually confirm that the wire is properly inserted.
Repeat for Additional Wires:
- Repeat the process for the remaining wires, using the other connection points as needed.
Inspect the Connections:
- Verify that all wires are securely clamped and that no exposed conductor is visible outside the connector.
Important Considerations and Best Practices
- Ensure that the wire size is within the supported range (0.14 mm² to 4 mm² or 24–12 AWG).
- Avoid over-stripping the wire insulation to prevent exposed conductors from causing short circuits.
- Do not exceed the voltage (450 V) or current (32 A) ratings of the connector.
- Use the connector in environments within the specified operating temperature range (-20°C to +85°C).
- For safety, always disconnect power before working on electrical connections.
Example: Connecting to an Arduino UNO
While the WAGO 221-415 is not directly used with microcontrollers like the Arduino UNO, it can be used to simplify wiring in projects. For example, you can use the connector to splice power and ground wires for multiple components in a circuit.
// Example: Powering multiple components using WAGO 221-415
// This example assumes you are using the WAGO connector to distribute power
// from the Arduino's 5V and GND pins to multiple sensors or modules.

void setup() {
  // Initialize components connected to the Arduino
  pinMode(13, OUTPUT); // Example: Set pin 13 as an output
}

void loop() {
  // Example: Blink an LED connected to pin 13
  digitalWrite(13, HIGH); // Turn the LED on
  delay(1000);            // Wait for 1 second
  digitalWrite(13, LOW);  // Turn the LED off
  delay(1000);            // Wait for 1 second
}

// Note: Use the WAGO 221-415 to distribute 5V and GND to multiple components.
// Ensure all connections are secure and within the connector's specifications.
Troubleshooting and FAQs
Common Issues and Solutions
| Issue | Possible Cause | Solution |
|---|---|---|
| Wire slips out of the connector | Lever not fully closed | Ensure the lever is pushed down completely. |
| Poor electrical connection | Wire not fully inserted | Reinsert the wire and confirm proper placement. |
| Overheating of the connector | Exceeding current rating (32 A) | Reduce the load or use a connector rated for higher current. |
| Difficulty inserting the wire | Wire size outside supported range | Use wires within the specified size range (0.14–4 mm²). |
FAQs
Can I reuse the WAGO 221-415 connector?
- Yes, the connector is reusable. Simply lift the levers to release the wires and insert new ones.
Is the connector suitable for outdoor use?
- The WAGO 221-415 is not specifically designed for outdoor use. If used outdoors, ensure it is housed in a weatherproof enclosure.
Can I connect wires of different sizes?
- Yes, the connector supports mixing wire sizes within the specified range (0.14–4 mm²).
What is the maximum number of wires I can connect?
- The WAGO 221-415 has five connection points, allowing you to connect up to five wires.
By following this documentation, you can confidently use the WAGO 221-415 splicing connector for a wide range of electrical applications.