
How to Use DRV8833 Motor Driver: Examples, Pinouts, and Specs
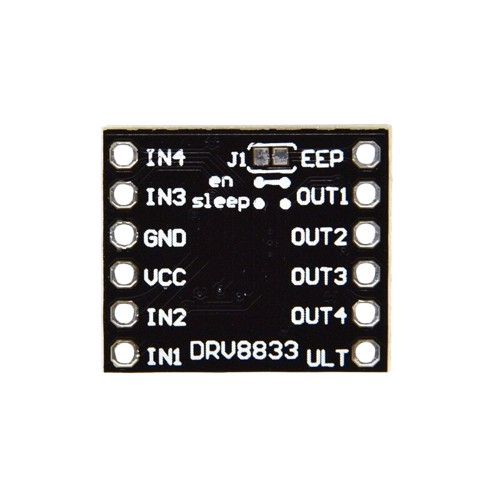
 Design with DRV8833 Motor Driver in Cirkit Designer
Introduction
The DRV8833 is a dual H-bridge motor driver designed for controlling two DC motors or a single stepper motor. It operates within a voltage range of 2.7V to 10.8V, making it suitable for low-voltage motor control applications. The DRV8833 is equipped with advanced features such as adjustable current limiting, thermal shutdown, and overcurrent protection, ensuring reliable and efficient operation.
Explore Projects Built with DRV8833 Motor Driver
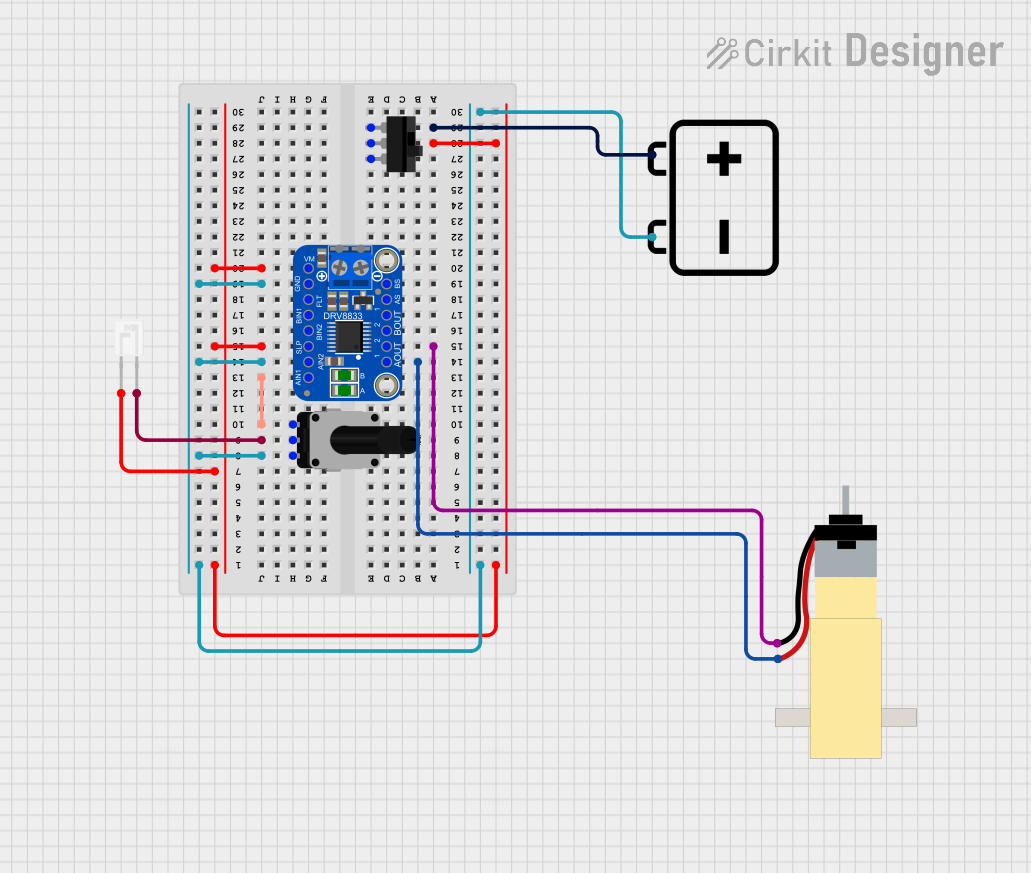 Open Project in Cirkit Designer
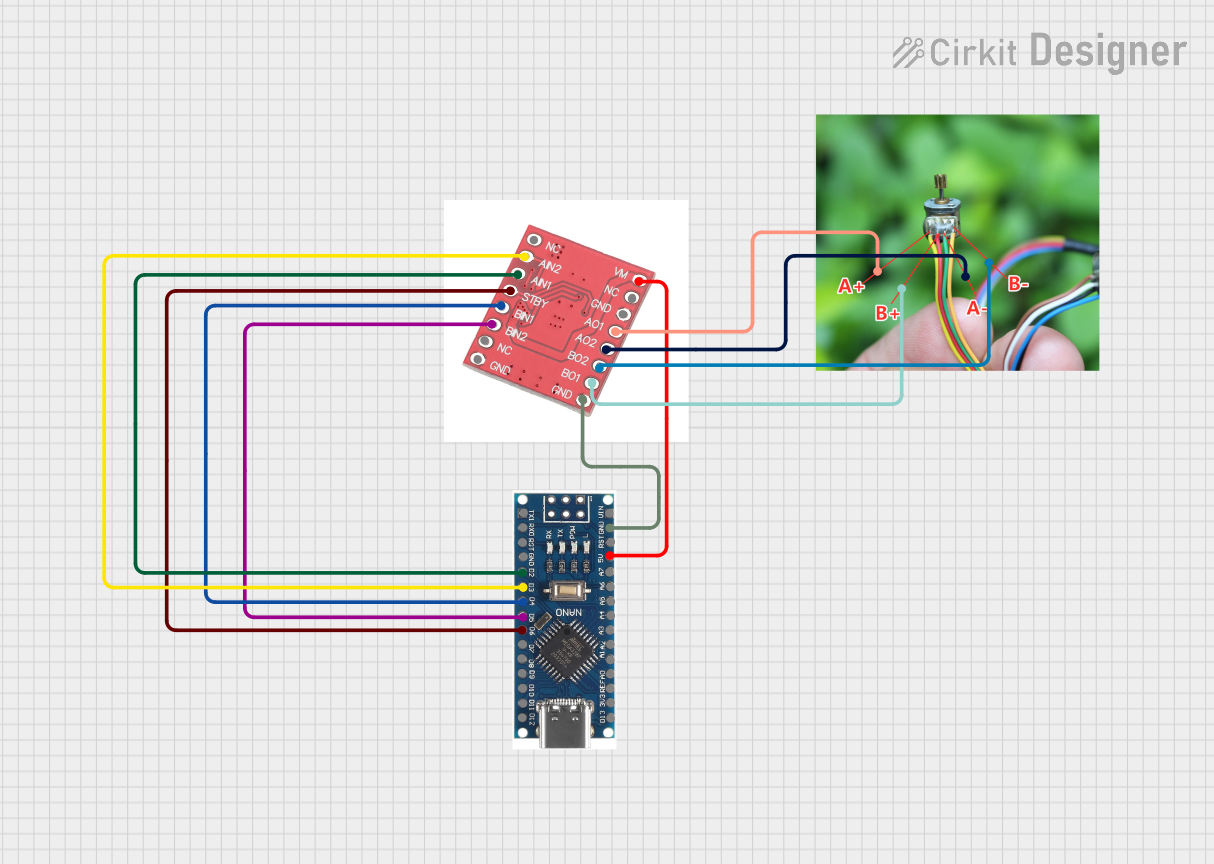 Open Project in Cirkit Designer
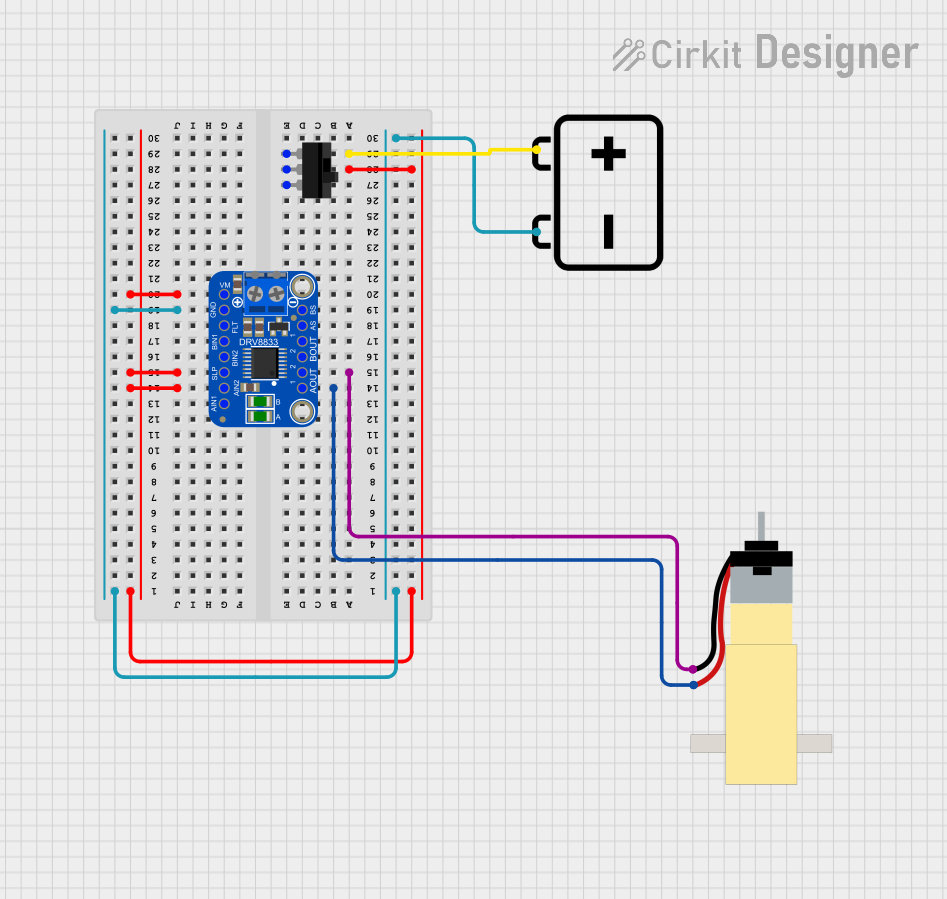 Open Project in Cirkit Designer
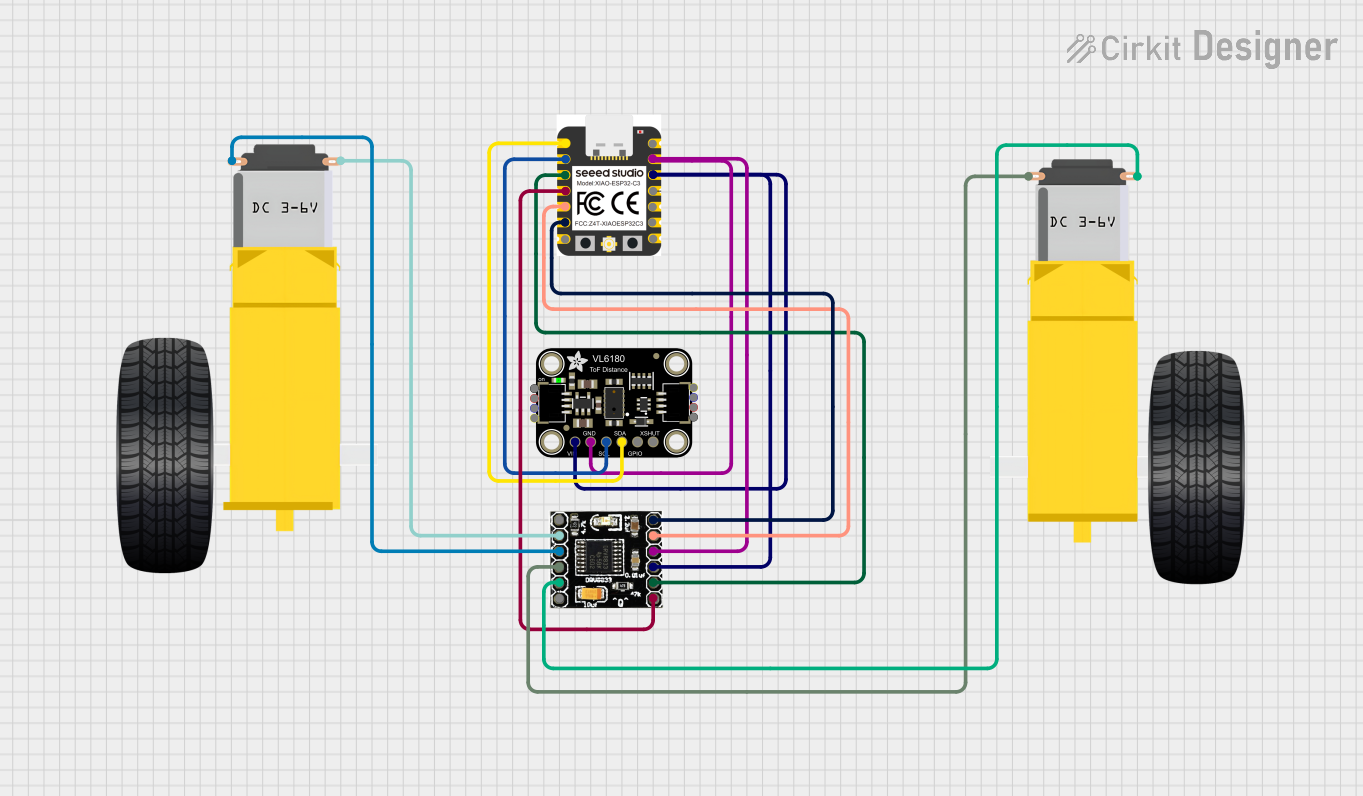 Open Project in Cirkit Designer
Explore Projects Built with DRV8833 Motor Driver
Open Project in Cirkit DesignerOpen Project in Cirkit DesignerOpen Project in Cirkit DesignerOpen Project in Cirkit DesignerCommon Applications and Use Cases
- Robotics: Driving small DC motors for wheels or actuators
- Consumer electronics: Controlling motors in toys, cameras, or small appliances
- Automation: Operating stepper motors in precision systems
- Educational projects: Motor control in Arduino or Raspberry Pi-based projects
Technical Specifications
Key Technical Details
| Parameter | Value |
|---|---|
| Motor Voltage Range | 2.7V to 10.8V |
| Output Current (per H-bridge) | 1.5A continuous, 2A peak |
| Logic Voltage Range | 2.7V to 5.5V |
| PWM Frequency | Up to 250 kHz |
| Protection Features | Overcurrent, thermal shutdown, undervoltage lockout |
| Package Type | HTSSOP-16 or WQFN-16 |
Pin Configuration and Descriptions
| Pin Number | Pin Name | Description |
|---|---|---|
| 1 | AIN1 | Input control for H-bridge A (logic high/low for motor direction or PWM) |
| 2 | AIN2 | Input control for H-bridge A (logic high/low for motor direction or PWM) |
| 3 | BIN1 | Input control for H-bridge B (logic high/low for motor direction or PWM) |
| 4 | BIN2 | Input control for H-bridge B (logic high/low for motor direction or PWM) |
| 5 | VCC | Logic voltage supply (2.7V to 5.5V) |
| 6 | GND | Ground connection |
| 7 | VM | Motor power supply (2.7V to 10.8V) |
| 8 | OUT1A | Output 1 for H-bridge A |
| 9 | OUT2A | Output 2 for H-bridge A |
| 10 | OUT1B | Output 1 for H-bridge B |
| 11 | OUT2B | Output 2 for H-bridge B |
| 12 | nSLEEP | Sleep mode control (active low, pull high to enable the driver) |
| 13 | nFAULT | Fault indicator (active low, open-drain output) |
| 14 | DECAY | Decay mode selection (fast or slow decay) |
| 15 | NC | No connection |
| 16 | NC | No connection |
Usage Instructions
How to Use the DRV8833 in a Circuit
Power Connections:
- Connect the motor power supply (VM) to the VM pin. Ensure the voltage is within the range of 2.7V to 10.8V.
- Connect the logic voltage supply (VCC) to the VCC pin. This should match the logic level of your microcontroller (2.7V to 5.5V).
- Connect the GND pin to the ground of your circuit.
Motor Connections:
- For DC motors, connect the motor terminals to the OUT1A/OUT2A pins (motor A) and OUT1B/OUT2B pins (motor B).
- For stepper motors, connect the two coils to the same output pins.
Control Signals:
- Use the AIN1/AIN2 and BIN1/BIN2 pins to control the direction and speed of the motors. Apply PWM signals to these pins for speed control.
- Pull the nSLEEP pin high to enable the driver. Pull it low to put the driver into low-power sleep mode.
Optional Features:
- Use the DECAY pin to select the decay mode (fast or slow) for motor braking.
- Monitor the nFAULT pin for fault conditions such as overcurrent or thermal shutdown.
Important Considerations and Best Practices
- Current Limiting: Ensure the motor current does not exceed the maximum continuous current rating (1.5A per H-bridge) to avoid damage.
- Heat Dissipation: Use proper heat sinking or cooling if operating near the maximum current or in high-temperature environments.
- Decoupling Capacitors: Place a decoupling capacitor (e.g., 100 µF) close to the VM pin to stabilize the motor power supply.
- Logic Level Compatibility: Ensure the logic voltage (VCC) matches the voltage levels of your microcontroller.
Example: Using DRV8833 with Arduino UNO
Below is an example code to control two DC motors using the DRV8833 and an Arduino UNO:
// Define motor control pins
#define AIN1 9  // Connect to DRV8833 AIN1 pin
#define AIN2 10 // Connect to DRV8833 AIN2 pin
#define BIN1 5  // Connect to DRV8833 BIN1 pin
#define BIN2 6  // Connect to DRV8833 BIN2 pin

void setup() {
  // Set motor control pins as outputs
  pinMode(AIN1, OUTPUT);
  pinMode(AIN2, OUTPUT);
  pinMode(BIN1, OUTPUT);
  pinMode(BIN2, OUTPUT);
}

void loop() {
  // Motor A: Forward
  digitalWrite(AIN1, HIGH);
  digitalWrite(AIN2, LOW);

  // Motor B: Reverse
  digitalWrite(BIN1, LOW);
  digitalWrite(BIN2, HIGH);

  delay(2000); // Run motors for 2 seconds

  // Stop both motors
  digitalWrite(AIN1, LOW);
  digitalWrite(AIN2, LOW);
  digitalWrite(BIN1, LOW);
  digitalWrite(BIN2, LOW);

  delay(2000); // Wait for 2 seconds
}
Troubleshooting and FAQs
Common Issues and Solutions
Motors Not Spinning:
- Verify that the nSLEEP pin is pulled high to enable the driver.
- Check the power supply connections (VM and VCC) and ensure they are within the specified voltage range.
- Confirm that the control signals (AIN1/AIN2, BIN1/BIN2) are correctly configured.
Overheating:
- Ensure the motor current does not exceed the maximum continuous rating.
- Use proper heat dissipation methods, such as heat sinks or cooling fans.
Fault Indicator (nFAULT Pin) is Active:
- Check for overcurrent or thermal shutdown conditions.
- Reduce the motor load or improve cooling to resolve thermal issues.
Motor Vibrates but Does Not Rotate:
- Verify the wiring of the motor connections.
- Ensure the control signals are not conflicting (e.g., both AIN1 and AIN2 set to HIGH).
FAQs
Q: Can I use the DRV8833 to control a stepper motor?
A: Yes, the DRV8833 can control a single bipolar stepper motor by connecting the two coils to the H-bridge outputs and using appropriate stepper motor control logic.
Q: What happens if the motor current exceeds the maximum rating?
A: The DRV8833 includes overcurrent protection, which will disable the outputs temporarily to protect the driver. Reduce the motor load to prevent this condition.
Q: Can I use the DRV8833 with a 3.3V microcontroller?
A: Yes, the DRV8833 supports logic voltages as low as 2.7V, making it compatible with 3.3V microcontrollers.